
Looking to add some extra warmth and style to your hoodie? Learn how to line a hoodie with this step-by-step tutorial.
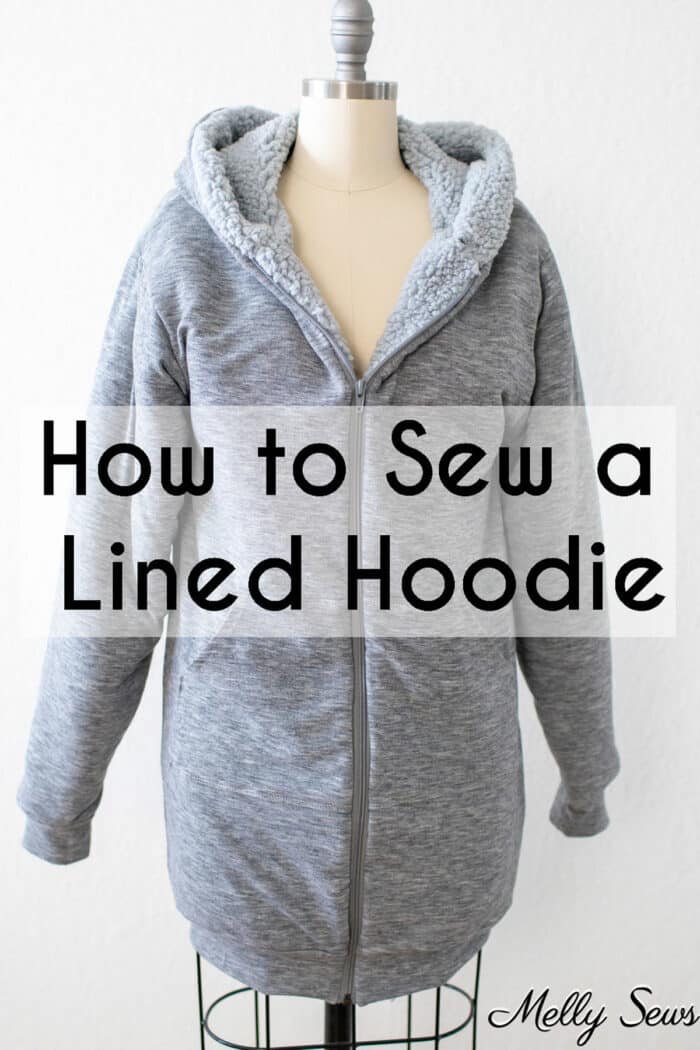
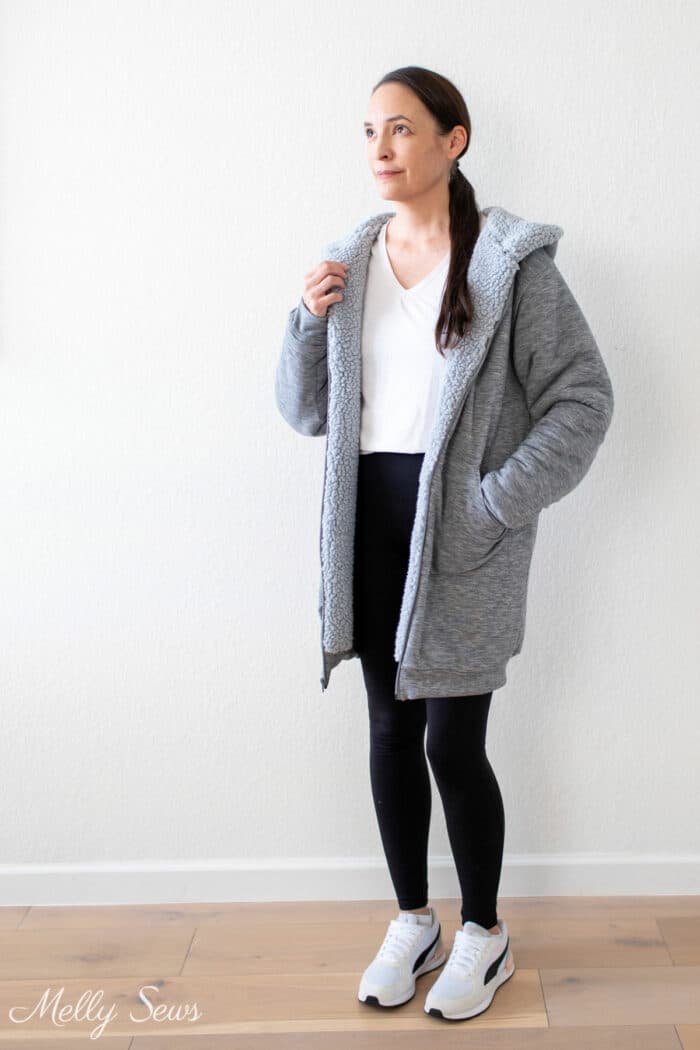
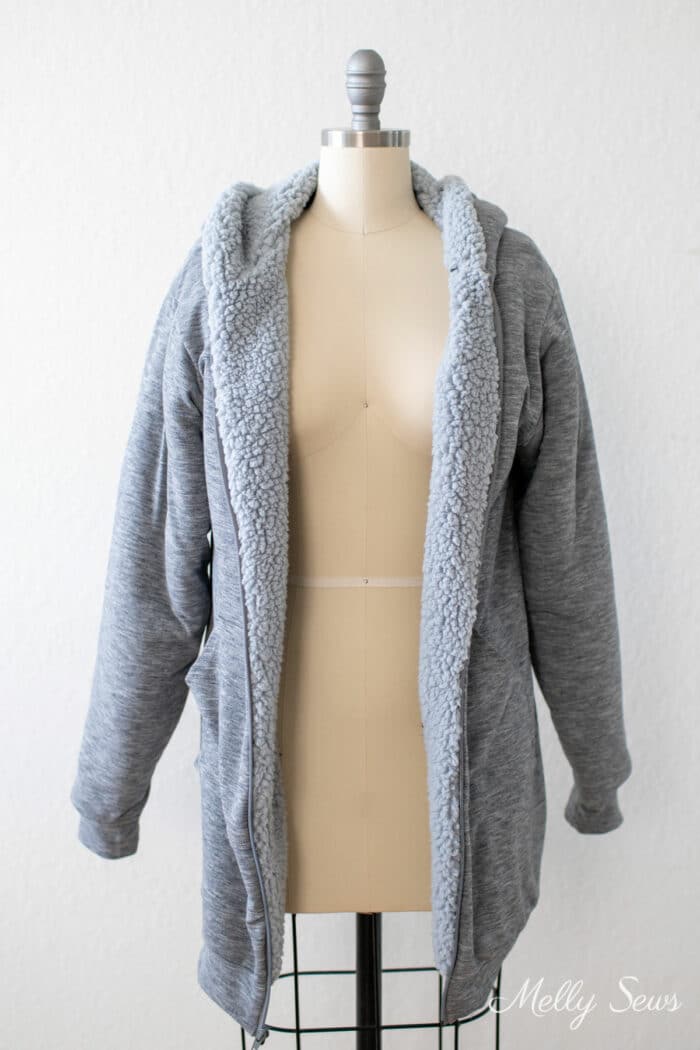
Hey y’all, today I’m going to show you how to line a hoodie, in case you want to sew a hoodie that is extra warm. I also made this hoodie a little longer, and it is currently my cuddliest favorite hoodie to wear. The sherpa fleece inside is super soft and very warm. Honestly, I don’t need a heavier jacket most of the time since our winters are generally mild with sporadic bouts of actual winter weather.
I’ve sewn many hoodies in my decades of sewing because at this point they’re part of my winter uniform. So in this post I’ll show you exactly how to line a hoodie starting with how to modify a pullover hoodie pattern to add a zipper, which pattern pieces to cut from the outer fabric and the lining fabric, and how to sew the two fabrics together for a super warm hoodie.
Key Skills for the Project
While making this lined hoodie, you’ll practice the following sewing skills:
- Printing a PDF pattern
- Modifying a pullover pattern to have a center front zipper
- Lengthening a pattern
- Cutting and sewing hoodie fabrics like sweatshirt fleece, stretch sherpa or teddy bear fleece, French Terry and stretch fleece
- Using a sewing machine to sew stretch stitches
- Using a zipper foot
- Attaching a separating zipper between layers of fabric
- Stretching hem bands and sleeve cuffs to fit as you sew

This post contains affiliate links. As an Amazon Associate I earn from qualifying purchases. All affiliate links are identified with (affiliate link) after the link or a commissions earned statement above the link(s).
Materials Needed
To make your own lined hoodie you’ll need:
- 2 1/2 yards or more (depending on size) of outer hoodie fabric. I used French terry.
- 2 1/2 yards or more (depending on size) of hoodie lining fabric. I used stretch teddy bear fleece.
- A separating zipper. I used a 30 inch zipper (affiliate link) for my hoodie. For reference I am 5 feet 3 inches tall
- A marking tool. I often like to use washable markers, but for this project I used a chalk marking tool (affiliate link)
- Your sewing machine and basic sewing supplies: thread, needles, pins, etc. I find sewing clips (affiliate link) helpful when working with thicker fabrics like the teddy bear fleece.
- A hoodie pattern. In the next section I have options for both free and paid patterns.
How to Get the Pattern
The free pattern is for a size 36-38 inch chest ONLY. If you need a different size, you can grade up or down as shown in this post or you can purchase the multi-sized pattern here. As a note, my bust is 34 inches, so you can see how it fits oversized.
Click your preferred option below to get the free pattern as a newsletter subscriber or buy the multi-sized pattern with printable instructions. The pattern for purchase is the Conroe Sweatshirt, and it will fit chest/bust sizes 31-60″. Note that free patterns don’t have printable instructions.
 |  |  |
Please note that all my free patterns are licensed for personal use only (no selling items made from them unless you purchase the pattern) and by downloading you are agreeing to this license.
Sewing a Lined Hoodie
You can watch the video below or on YouTube here for how to add a lining to a hoodie. Written instructions are below the video. Note that the video only shows the different order of construction for sewing a lined hoodie, and not the step by step of the whole project. If you’d like a step by step tutorial for how to sew a hoodie, see this post. And this post shows the zipper variation of the hoodie.
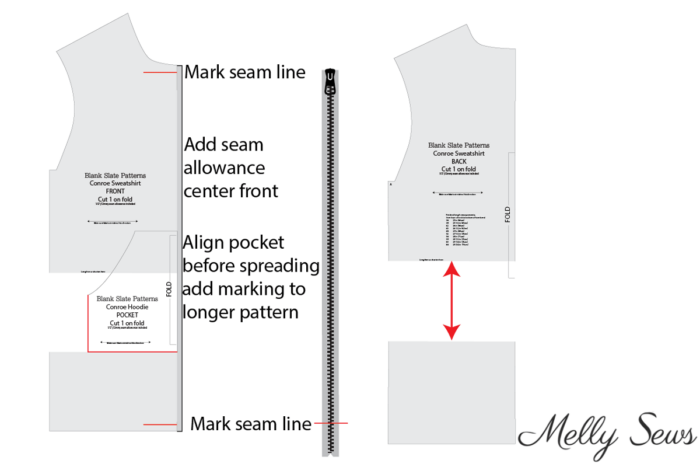
To make your lined hoodie, first measure your zipper. Adjust the length of the front and back pattern pieces to match your zipper OR use this post to shorten your zipper to your desired length. If you lengthen your pattern make sure to mark where the bottom of the pocket goes. Add a seam allowance to the center front and to the center of the pocket instead of cutting these pieces on a fold.
Cut the hood, sleeves, front, and back pattern pieces out of both your outer and lining fabrics. Cut the pockets, hem band, and cuffs out of the outer fabric only.
Construct hoodie so that everything except zipper, hem band and cuffs are sewn. Sew with a stretch stitch in this order:
- Fold and press the curved edge of the pocket to the wrong side, topstitch. Fold top, short side and bottom seam allowances of pocket to the wrong side, press. Pin pocket to front at your mark and topstitch top, short side and bottom in place. Center front of pocket will remain open for now but you can baste in place if desired. Repeat on other side of front.
- Sew fronts to back at shoulders, right sides together.
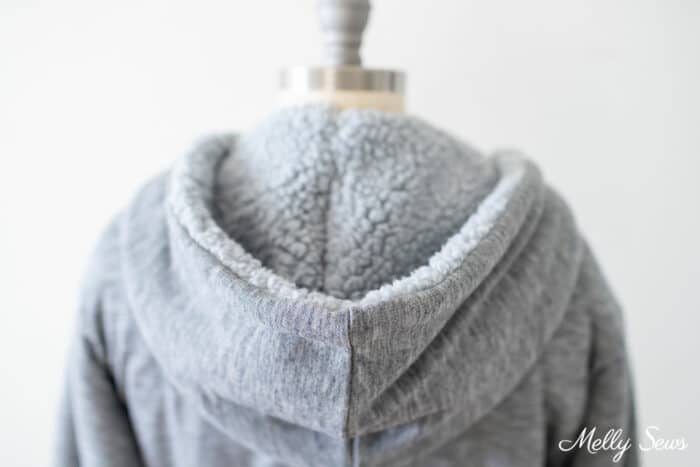
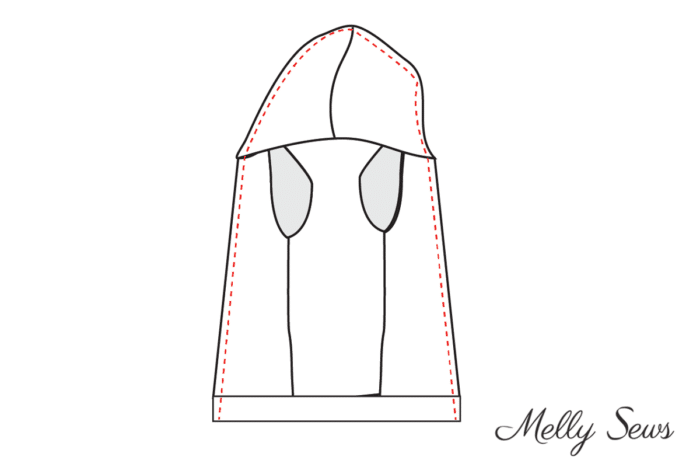
- Sew center seam of hood. Align seam with center back neckline, sew hood onto neckline.
- Align sleeves with shoulder seams, pinning right sides together, and stitch sleeves into place.
- Sew sleeve and side seams all in one pass.
- Repeat steps 2- 5 with lining fabric EXCEPT leave a 4-5 inch wide gap in one side seam.
Installing the Zipper
Once you have basically two hoodies, it’s time to attach the zipper. Make a mark on the zipper 2 1/2 inches from bottom edge. Mark 1/2 inch up from the bottom raw edge of the hoodie at center front (this is the seamline).
Lay the zipper right sides together with the outer fabric hoodie, aligning raw edge of center front with edge of the zipper. Align the mark at the bottom of the zipper with the mark above the bottom raw edge of the hoodie fabric. Using a zipper foot and a straight stitch, baste zipper in place from the bottom seam line to the top, leaving bottom 1/2 inch of fabric not attached to zipper. Make marks on the wrong side of the zipper on the unstitched side showing where the top and bottom of the pocket land and where the neck seam lands; these marks will help you line up the other side of the zipper.
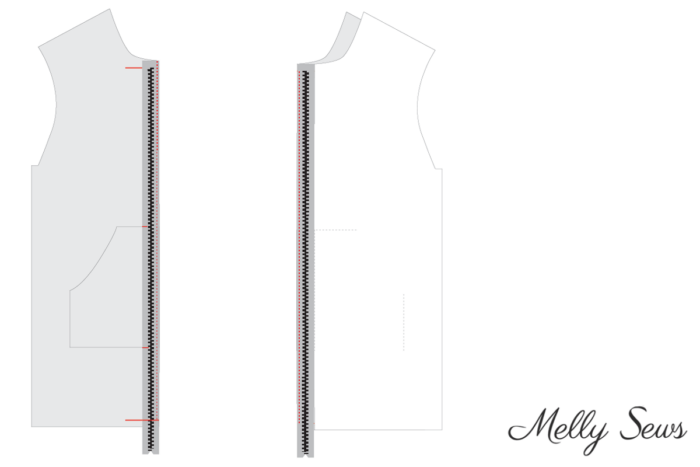
Place the other side of the zipper right sides together with the other front piece and align all marks. Baste from the bottom seam line to the top. Check that everything on the right side aligns when you zip up the zipper, if not, you can remove basting stitches and adjust.
Attaching the Lining
Unzip the zipper. Place the hem band right sides together with the outer hoodie, aligning the center back with the center of the hem band and the edges of the hem band with the edges of the hoodie. Stretch the hem band flat as you sew it to the hoodie.

Align the other long side of the hem band with the bottom edge of the lining fabric. Match the center back of the lining with the center of the hem band and the edges of the hem band with the edges of the hoodie. Stretch the hem band flat as you sew it to the lining.
Fold so that the the lining hoodie and outer hoodie are right sides together. Put the sleeves in the middle so that they don’t get caught in any stitching. Fold the short edges of the hem band around the bottom of the zipper on each side and then match the center front edges, the neck seams, and the seams of the hood and hood edges of the outer and lining fabrics. Stitch all the way around. Use a stretch stitch when you’re not on the zipper area, and a straight stitch when in the zipper area.
Turn the entire hoodie right side out through the gap in the hoodie lining side seam.
Finishing Touches
Push or pull the lining sleeves into the outer fabric sleeves. Attach the cuffs to the sleeves, sewing through both outer and lining layers and both layers of the cuffs. Finally, use a blind stitch to sew the gap in the lining closed.

FAQs
Here are some frequently asked questions about lining a hoodie.
- Can you line a hoodie?
I hope you can see from this post that the answer is yes! If you are adding a hood lining to an already made hoodie, you can also just sew the new hood, place it right sides together with the old hood, stitch around the face opening and then turn right side out and stitch the bottom edge of the hood to the existing neckline seam. - How do you sew faux fur lining?
If you’re using a fabric like faux sherpa aka teddy bear fleece like I did, first make sure it stretches for this pattern. Then for more tips on sewing fuzzy fabrics, check out this post.
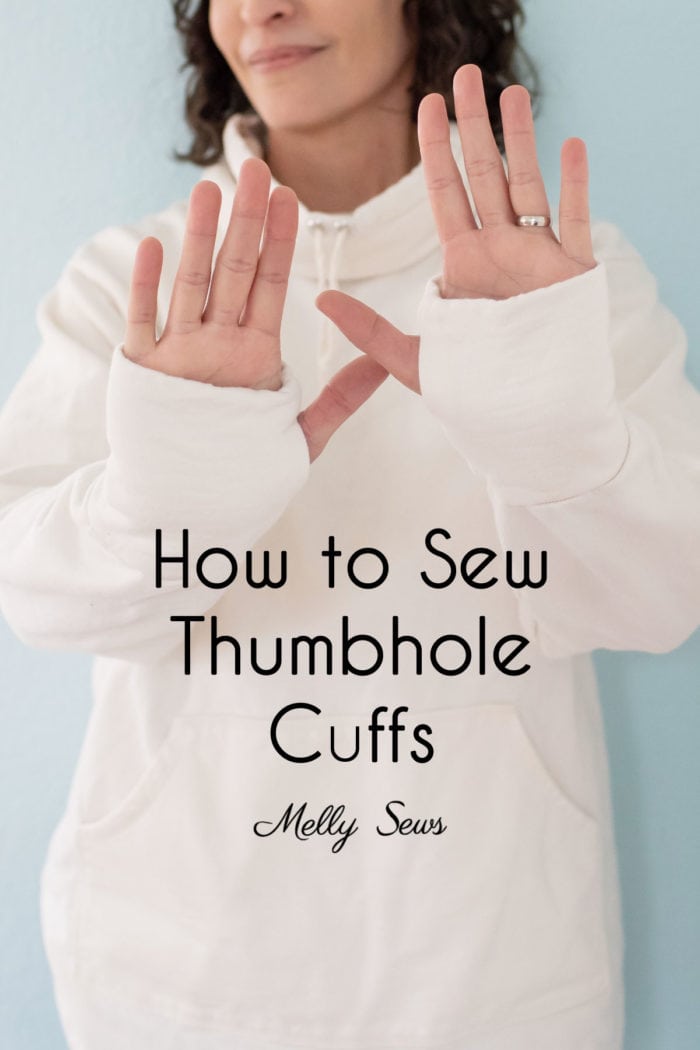
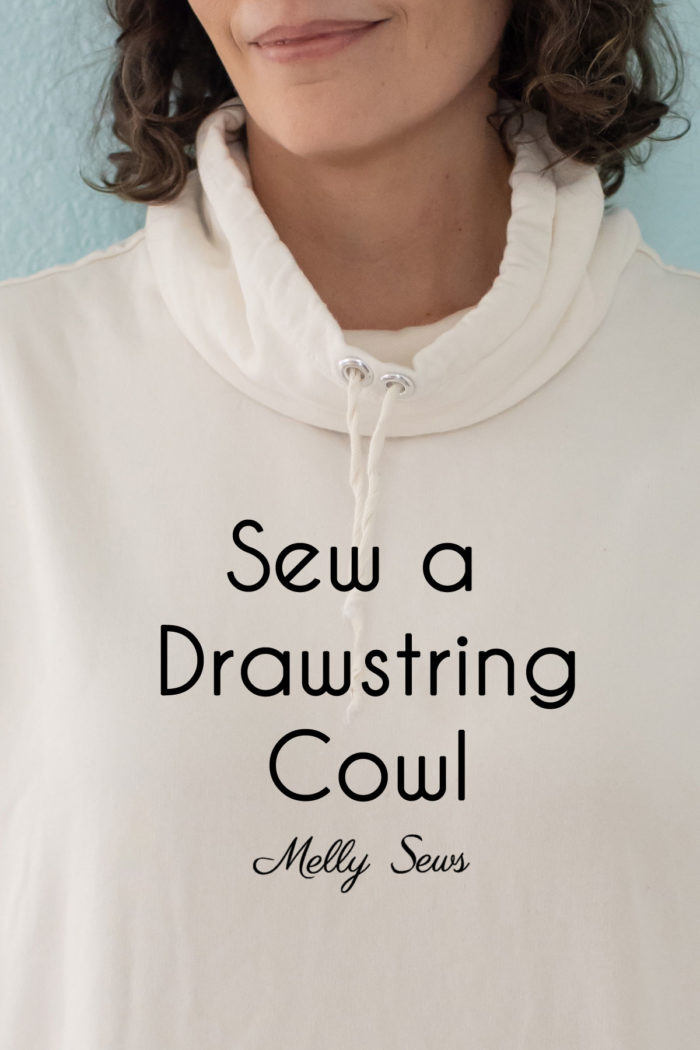
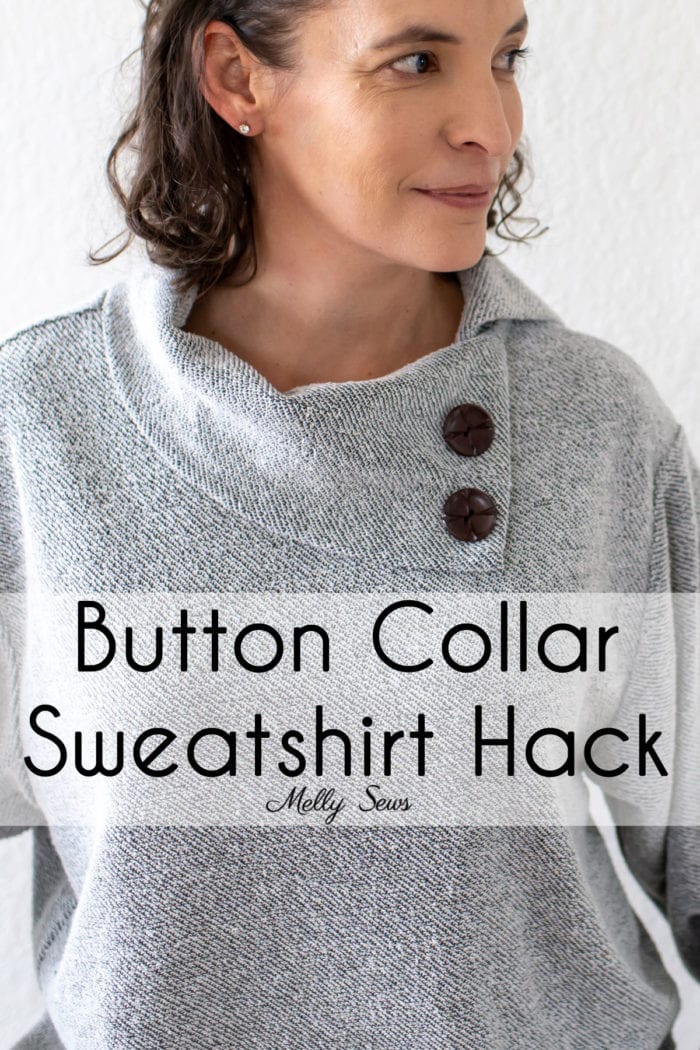
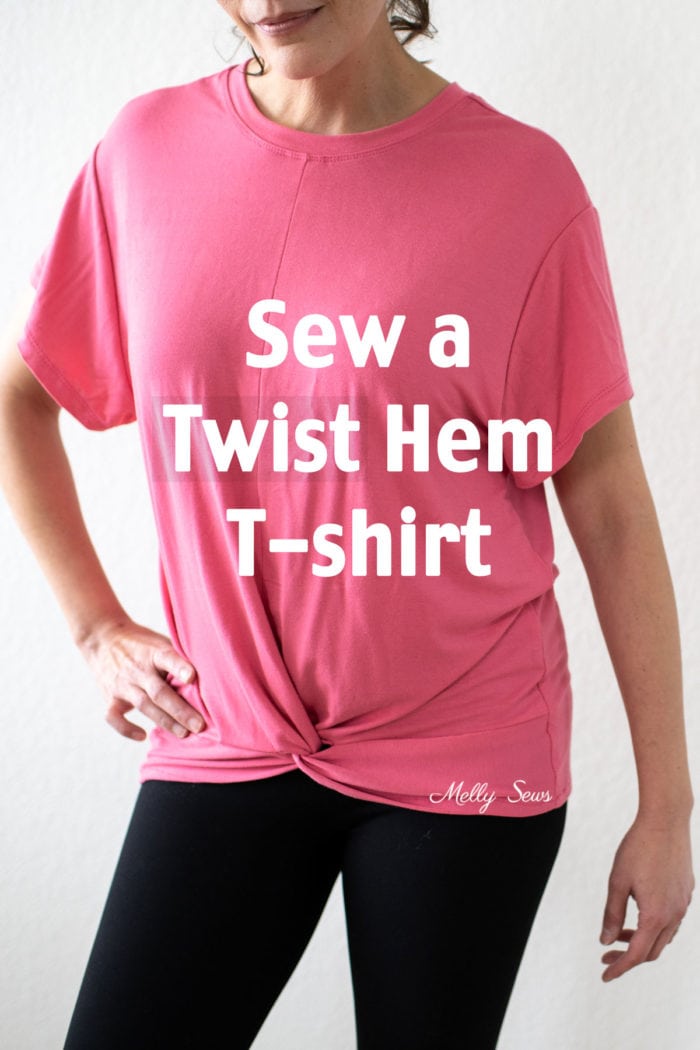
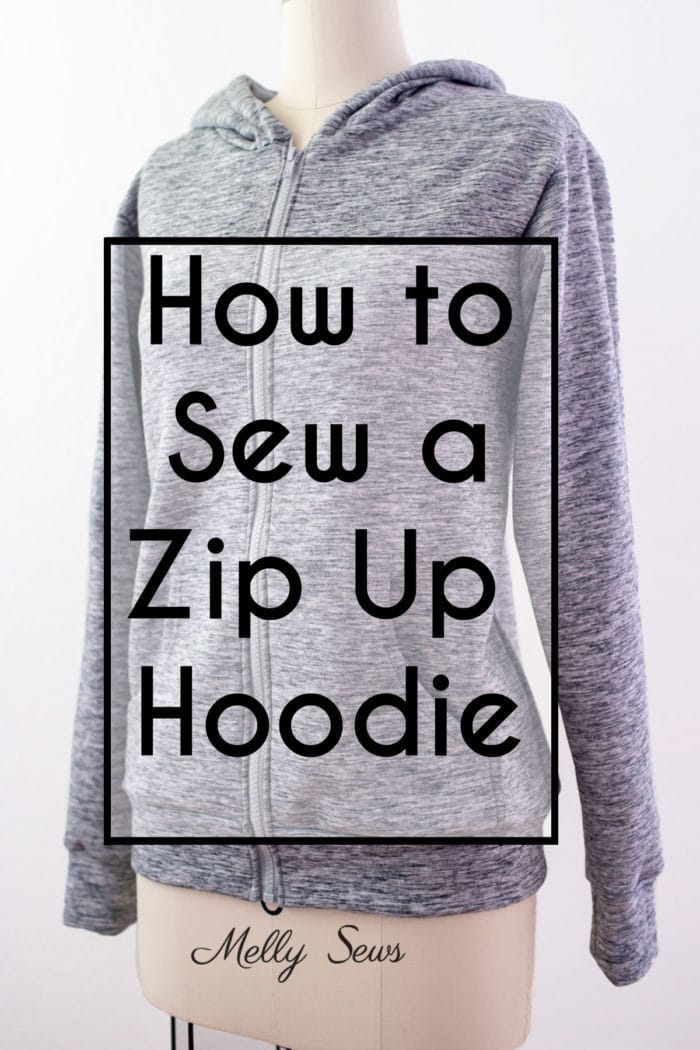
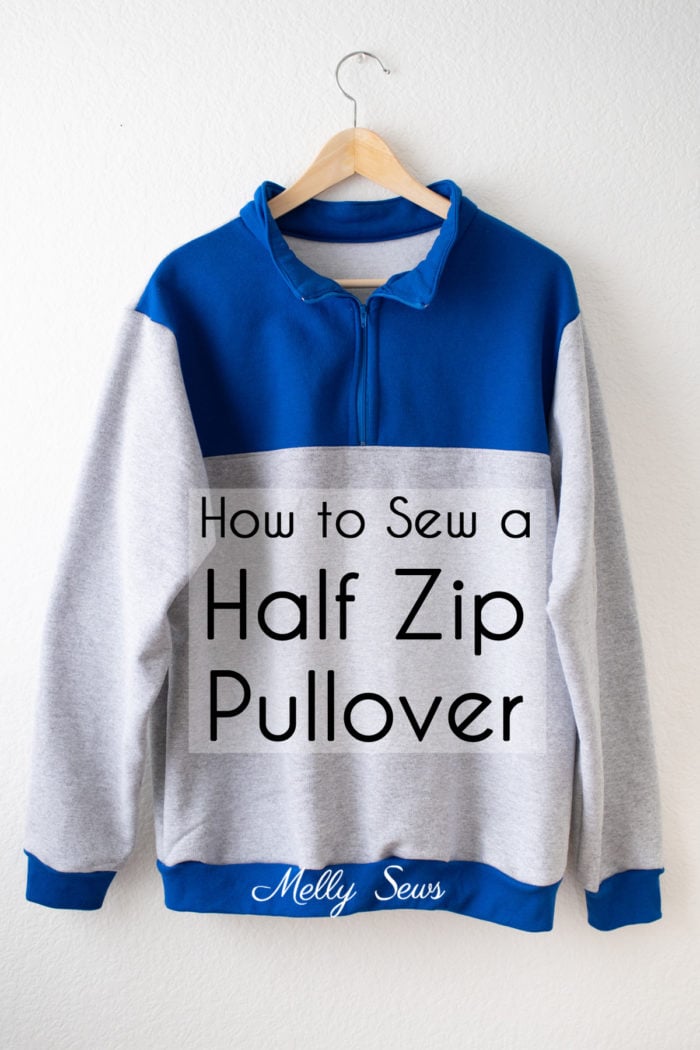
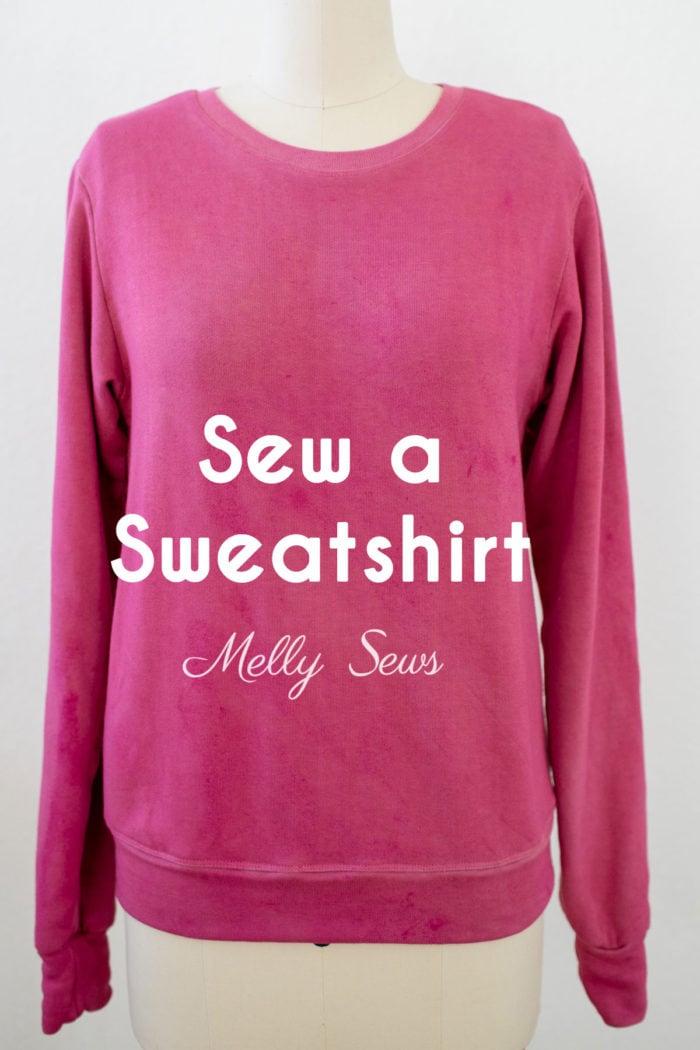
Other Hoodie Variations
Check out all the other pattern hacks and variations you can make with this hoodie pattern below. You can click on any image to go to the post.
Michelle
Thanks for sharing sewing patterns and tips with us. I look forward to reading your emails!
Fabiola Wiseman
Such an informative video, thank you so much
Ann
Love the length!