
Making a slipcover can save money and give your furniture a fresh new look. Follow these 5 simple steps to create a custom slipcover for your couch or chair.

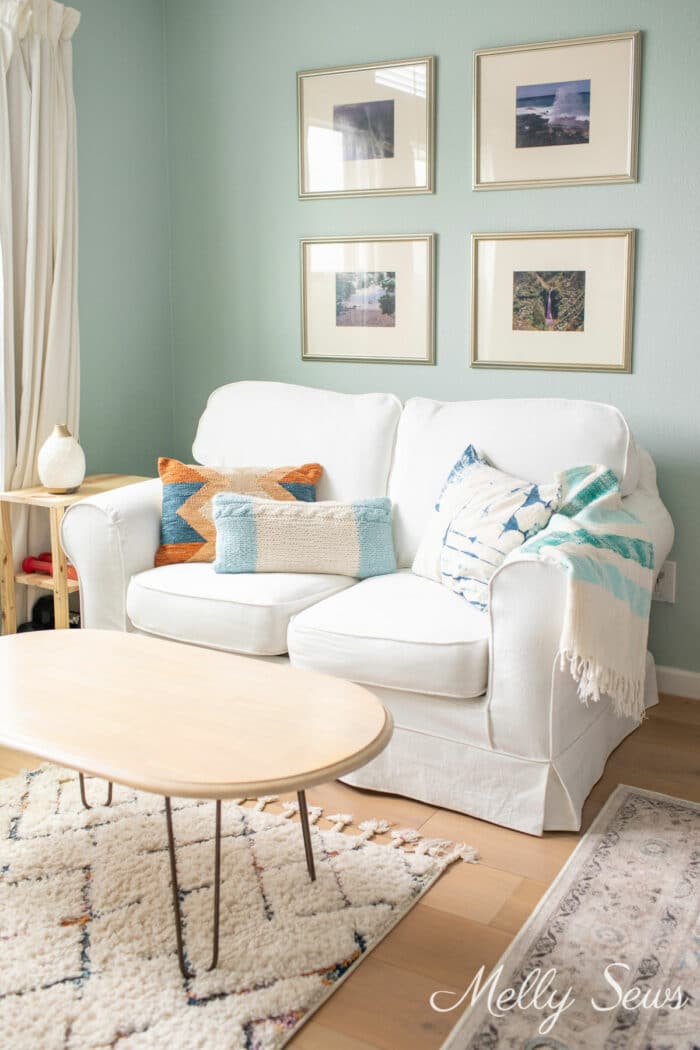
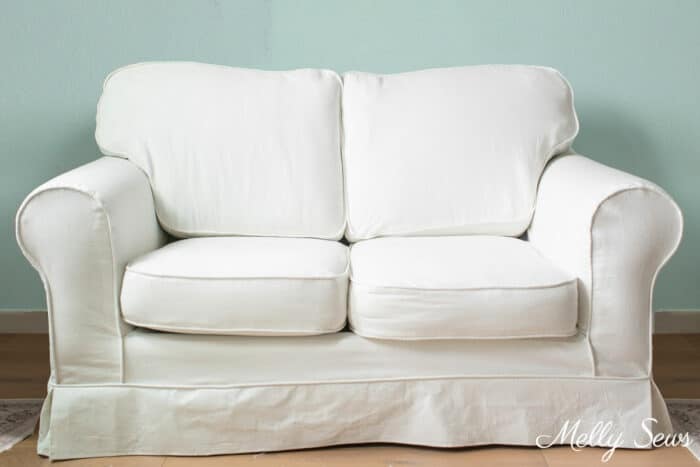
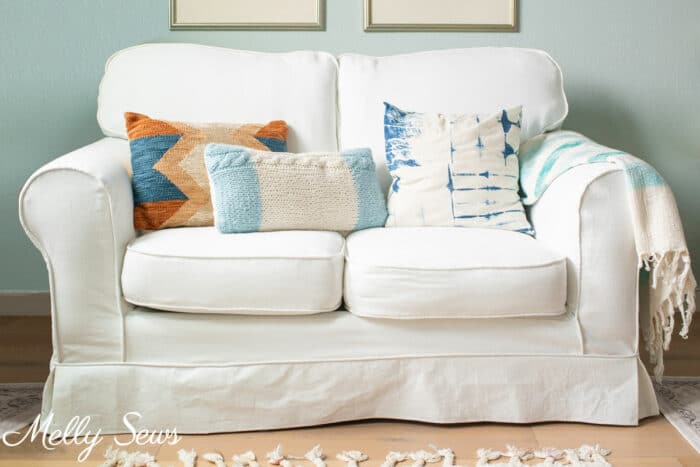
Hey y’all, today I’m going to share how to make a slipcover like the one I made pictured above. I documented the process as I was doing it in my Instagram stories. I got a lot of questions asking for more specific information. So in this tutorial I’ll cover what fabric I used for my sofa slipcover, what the process was, and the five basic steps to making a DIY slipcover for any piece of furniture.
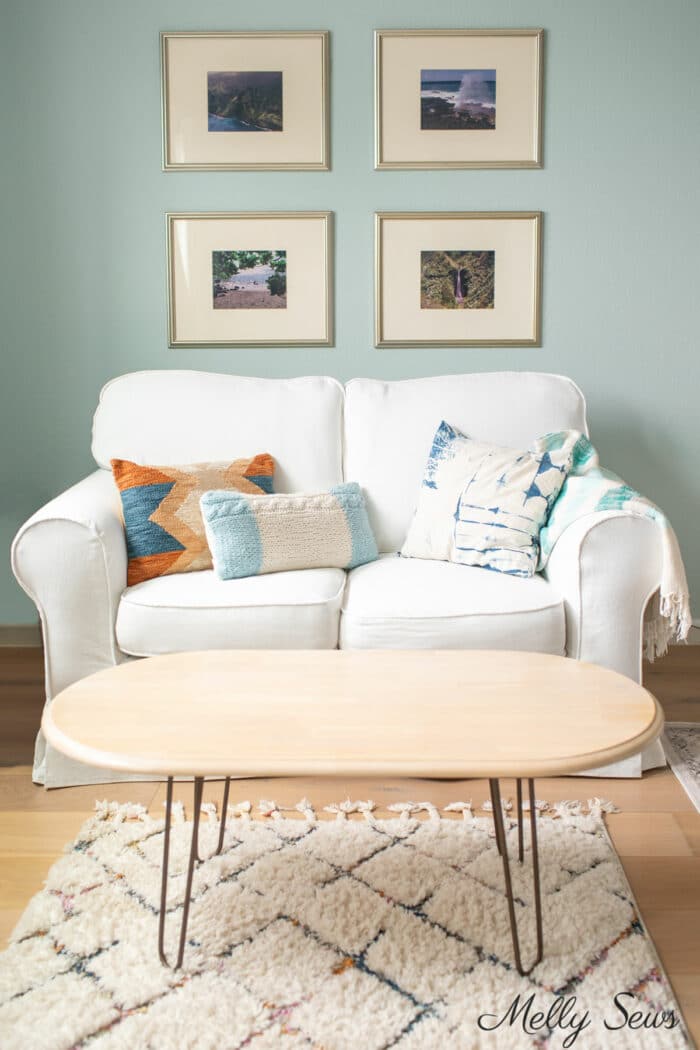
I love slipcovered furniture because I have children and pets. Between the two, being able to wash things like furniture and rugs is essential. This couch in my bedroom needed an update big time. It had stains that were not coming out. And while you might think I’m crazy to have a white couch with kids and pets, I’ve done it before. I actually prefer it for the same reasons that I buy all white towels and bedsheets for our house. Because it’s very easy to bleach white linens in case of kid/dog/mom’s chocolate melting incidents.
However, I won’t say I enjoy sewing slipcovers. In fact I hate sewing upholstery in general. I always end up stabbing/scratching myself with pins and it takes me forever. But I’m too picky about fit for ready made slipcover solutions and I’m too cheap to pay someone to make them when I have the skills to do it myself, so even though I swear I won’t, I end up doing my own upholstery.
Key Skills You’ll Need to Sew Slip Covers
While a slipcover isn’t the easiest of DIYs, it is fairly straightforward. Here are some of the skills you’ll practice while making a slip cover:
- Making a pattern from an existing piece
- Keeping fabric on grain while draping to create a pattern
- Sewing piping
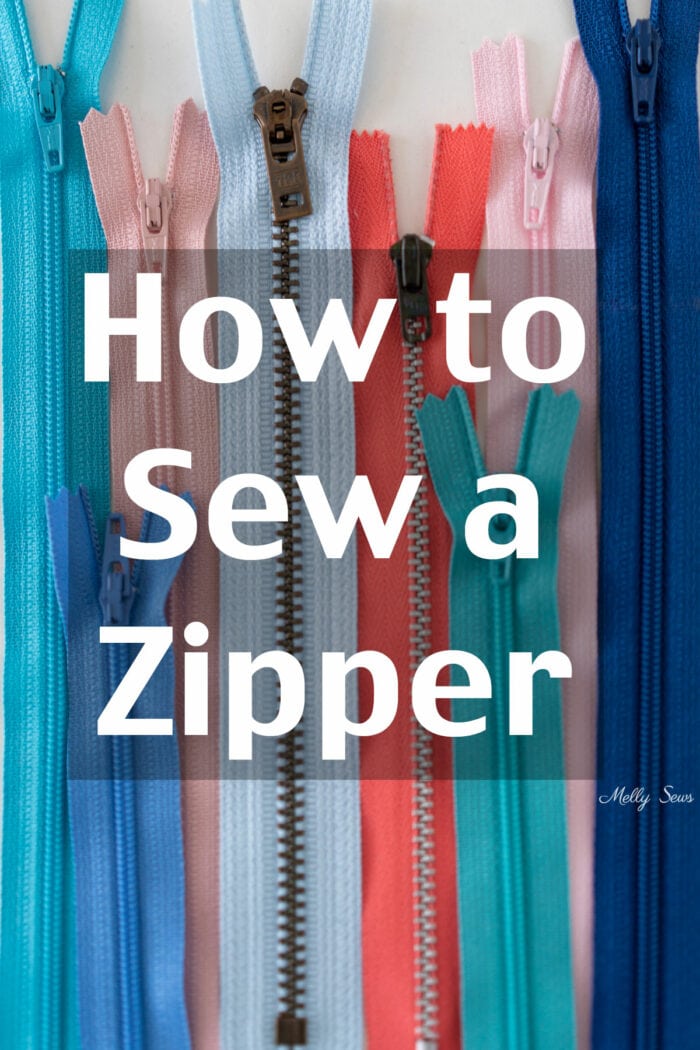
- Sewing lapped zippers
- Marking seam locations, basting and adjusting fit
Supplies for Slipcover Sewing
This post contains affiliate links. As an Amazon Associate I earn from qualifying purchases. All affiliate links are identified with (affiliate link) after the link or a commissions earned statement above the link(s).
Aside from your sewing machine and basic notions like seam ripper, measuring tape, sewing machine needles and thread, here are some specific supplies you might want for your slipcover project
- Heavier Pins (affiliate link)
- Fabric. In a section below I talk about estimating fabric yardage. Good fabrics for slipcovers are lighter weight upholstery fabrics. I used 10 oz cotton canvas. Other good fabrics options include cotton twill, denim, upholstery weight linen, etc.
- Piping foot, zipper foot and/or narrow zipper foot (affiliate link). I used my narrow zipper foot for both the piping and the zippers
- Cotton filler cord (affiliate link) to make piping. I used 3/16 diameter piping
- Chalk marking tool (affiliate link) to mark seamlines
- Upholstery zippers
How to Make a Slipcover for a Chair, Couch, Sectional, etc
I have a video below showing me working on the slipcover for my couch and explaining the steps I went through. You can also watch on YouTube here.
Techniques to help with Sewing Slipcovers
There are two techniques I used on my slipcover that you might find helpful to review. The first is making piping. The second is how to sew a lapped zipper – scroll toward the bottom of the zipper post to see that technique.

Five Steps to Sew a Slip Cover
Making a slipcover always boils down to these five steps. First you estimate the fabric yardage you’ll need. Next you use existing pieces to make patterns where you can. After that you pattern the rest of the piece by draping and pinning seams. Next you baste your fabric together to check the fit and adjust it if necessary. Finally you sew the final fabric together with piping in the seams where you’re using it. Below I have more details on each step.
Step 1: Estimating Yardage
To begin estimating yardage, remember that most upholstery fabrics are 58-60 inches wide. Check how wide the fabric you are going to use is, then start measuring surfaces on your piece. For my couch I started with the cushions. They were 22 inches tall, so I knew I could lay the front and back pieces side by side across the width of the fabric. They were about 35 inches long (including the side depth) so I knew I needed about a yard just to cut each cushion. I had 4 cushions, so that was 4 yards. Continue measuring length and width of each piece you’re going to cut, and add all of that together to get your yardage. Remember to add extra yardage for custom piping – at least 2 inches of width for each piece of piping you’ll sew – and also extra for mistakes in your calculations or sewing.
I ordered 15 yards of canvas for my couch slipcover, and I have about 2 yards left. I did make a cutting mistake on one arm piece so I recut that, using about 1 yard. So I could have gotten away with less fabric, but I know I’ll use the extra canvas and the piece of mind in having enough fabric was great for me.
If you are using a fabric that costs a lot of money per yard, it can be worth it to buy muslin yardage to make a test fit pattern before cutting your final fabric. Had I done that I wouldn’t have needed to recut the arm piece I messed up.
Step 2: Make Patterns from Existing Pieces
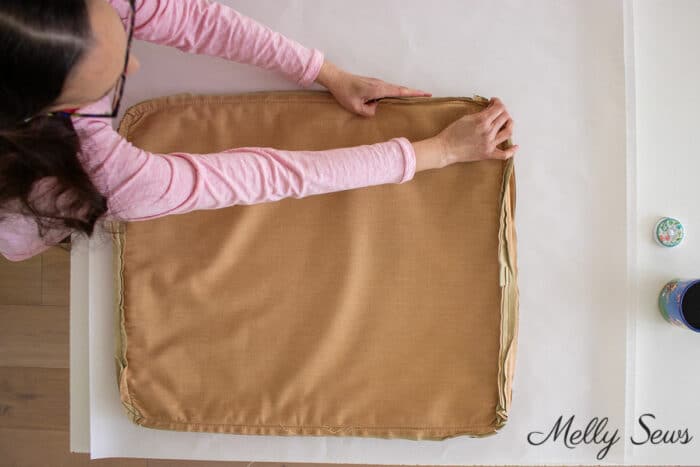
For the seat cushion covers and any other part of the old couch or chair that you can remove, remove the pieces and use them to make a pattern. As you can see in the image above, this is as simple as laying the piece flat on paper to trace around it. After tracing, fold your paper in half both directions to true up the shape and make sure it’s symmetrical where it should be.
Match the curves and mark the seam allowance. Measure for your piping on the seam allowance. This length is also the length for the side piece. Then use these pieces to make your new seating cushions. You’ll install the zipper flat on the side piece, then sew the side piece into a loop, then pin it right sides together with one side of the cushion and piping in the seam. Stitch, open the zipper, then pin the other side and piping on and stitch. Turn right side out through the zipper.
Step 3: Drape Fabric and Pin Seams
The frame of the furniture is, in my opinion, the harder part. This is definitely the part that took me the longest. First, mark the center of the couch in several places. I measured and marked the top of the back, center back, and at the floor as well as on the center of the front piece, the middle of the seat, and near the floor on the front.
Next, drape large pieces of fabric over each part of the couch. Make sure you have 3-4 inches of fabric beyond each edge. Use the center markings to help keep your fabric on grain. For example, for the back of the couch which was 60 by 34 I used a rectangle of canvas that was 68 by 40. I ripped the canvas instead of cutting it since it was very easy to rip along the grainline. Then I installed a lapped zipper in the middle. That meant I was able to fold the rectangle in half at the zipper, match my fold to the center marks on my sofa, and pin from the center toward the edges to keep the grain lined up.
Repeat this process until you have all the major surfaces covered. If your fabric has a right and wrong side, make sure the right side is agains the chair and the wrong side is up so you can mark on it. Then pin the pieces of fabric together along the edges of the furniture where you want the seams to go. Try to fold fabric instead of cutting it whenever possible and when you do have to cut leave as much seam allowance as you can. For example I had to cut curves where the arms met the back of the couch.
Take your slipcover off (my center back zipper came in handy for this) and then use a marking tool to mark the pins where the seemliness should be. You should straighten and true up the seams as much as possible.
Step 4: Baste and Adjust Fit
Once you have approximate seams, then baste your slipcover together. Don’t add your piping yet in this step. Try it on the furniture wrong side out, and re-pin, re-mark seams and re-baste as needed until you get a good fit. I kept taking a little more and more ease out of my slipcover and cutting the seam allowances down as I went until I got a really good fit.
Step 5: Sew the Final Seams
Once you’re satisfied with the fit, remove your basting stitches and add piping into the seams where it belongs. Stitch, turn right side out, and put your slipcover on!
Slipcover FAQS
I know this tutorial isn’t as step by step and detailed as others on my site, so hopefully the FAQs below will also help with your process.
- How much fabric do I need for a slipcover?
As noted in the Estimating Yardage section above, this is a matter of measuring each surface of the furniture and adding all the totals together. If you’re just trying to get a general sense of cost, ballpark 3-5 yards for an armless chair with exposed legs, 5-10 yards for an armchair with a skirt, 10-15 yards for a small couch and 16-20+ yards for a larger couch or sectional. - Are custom slipcovers cheaper than reupholstering?
When I’ve priced it out, not really. A slipcover is just as much fabric and almost as much work as a full reupholster job, so the prices were pretty similar. - Are slipcovers worth it?
After living with regular upholstered and slipcovered furniture, I definitely prefer slipcovers since I can wash them. So I think they’re worth it to keep furniture looking newer longer. Also if you have a slipcover you can take it apart as a pattern for future slipcovers and speed up the process. I also think slipcovers are worth it if you have sturdy, well built furniture and just want an updated look.
Leave a Reply