
Follow the easy step by step directions to learn how to sew a zippered hoodie. Includes video tutorial for visual learners.
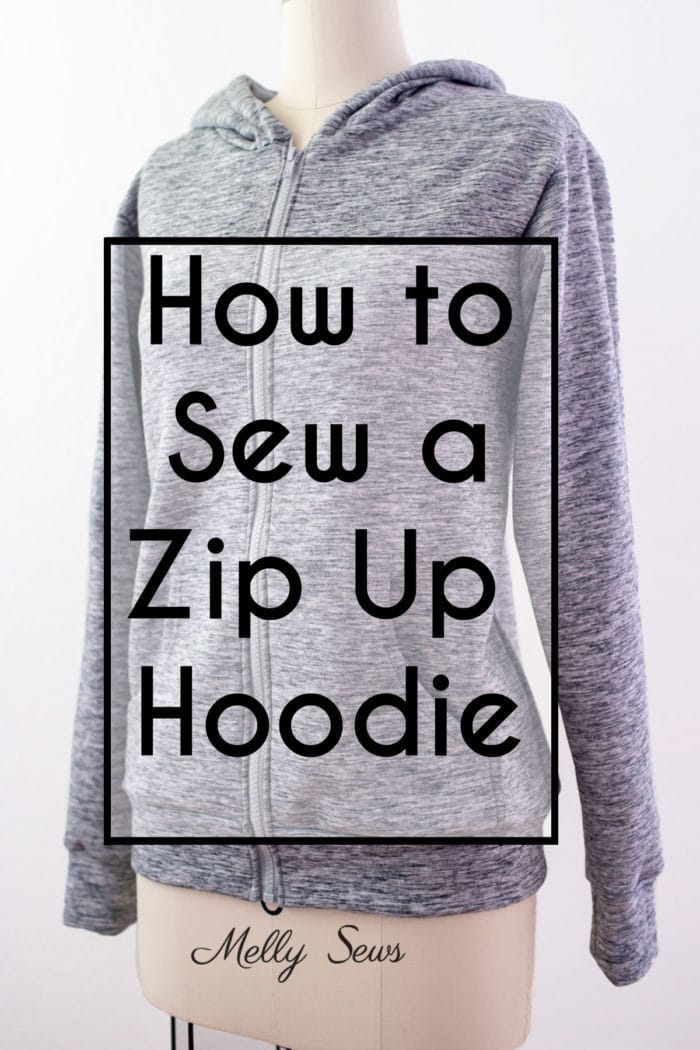
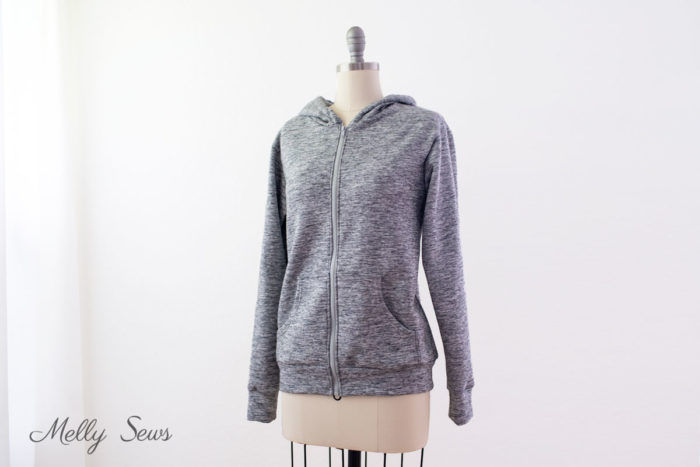
Hey y’all, today I’m sharing a hack to my free hoodie pattern and showing you how to sew a zip up hoodie instead of a pullover hoodie. This zipper sweatshirt has front kangaroo pockets, a soft hood, and if you sew it in sweatshirt fleece fabric it’s the perfect cozy garment. In fact, it’s so perfect I made myself and the Coach each one. Though, like the pullover version, I reserve the right to borrow his at will, lol!

This post contains affiliate links. As an Amazon Associate I earn from qualifying purchases. All affiliate links are identified with (affiliate link) after the link or a commissions earned statement above the link(s).
Supplies
Want to make your own hoodie? You’ll need these supplies (affiliate links):
- About 2 1/2 yards sweatshirt fleece. Make sure this stretches at least 10% widthwise, 30% for the cuffs and hem band
- 1/4 yard rib knit for the cuffs and waistband
- A separating zipper to match the center front length of your hoodie (more on that below)
- Sewing machine with a zipper foot
- The hoodie sewing pattern – see below
The free men’s hoodie pattern is for a size 36-38 inch chest ONLY. If you need a different size, you can grade up or down as shown in this post or you can purchase the multi-sized pattern here. As a note, my bust is 34 inches, so you can see how it fits oversized and how this pattern works as a unisex sweatshirt.
Click your preferred option below to get the free pattern as a newsletter subscriber or buy the multi-sized pattern with printable instructions. The pattern for purchase is the Conroe Sweatshirt, and it will fit chest/bust sizes 31-60″.
 |  |  |
Please note that all my free patterns are licensed for personal use only (no selling items made from them unless you purchase the pattern) and by downloading you are agreeing to this license.
How to Sew a Zippered Sweatshirt
Watch the video below or on YouTube here to see how I sew a zipper hoodie. If you prefer written instructions, scroll below the video.
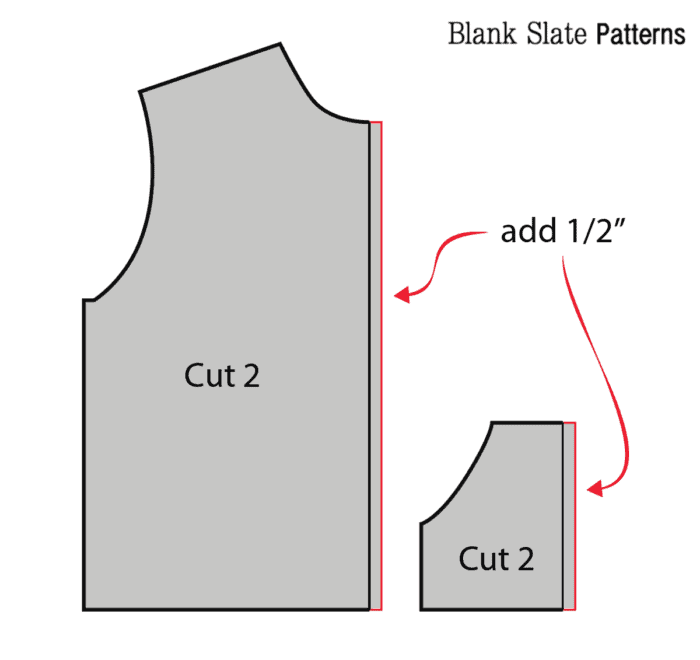
Modify the Pattern
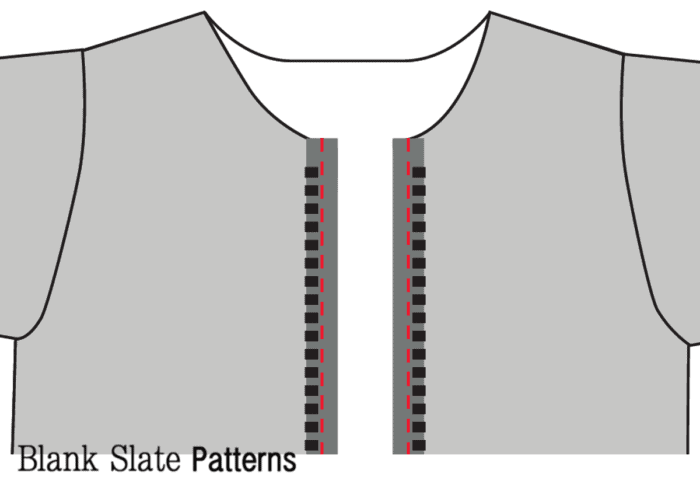
The first step to sew a zippered sweater from a pattern for a pullover sweatshirt is to modify the pattern. Do this by adding 1/2″ seam allowance to the center front and the fold line of the pocket. Then cut two mirrored fronts and two mirrored pockets. Cut the back, hem band, sleeves, cuffs and hood according to the original pattern.
Sew the Hoodie
Sew the pattern according to the pullover instructions with the following modifications:
- Skip hood sewing until after zipper insertion
- Sew two pockets to two fronts. The center line of each pocket should align with the center front raw edge.
- Sew shoulder seams, side seams, sleeves and cuffs according to the original pattern
- Do not sew the bottom band in a loop. Fold it in half, wrong sides together, matching the long edges. Align the folded short ends with the center fronts, and stretch the hem band slightly so that it lays flat against the sweatshirt as you sew it to the bottom edge. You should be stitching through three layers.
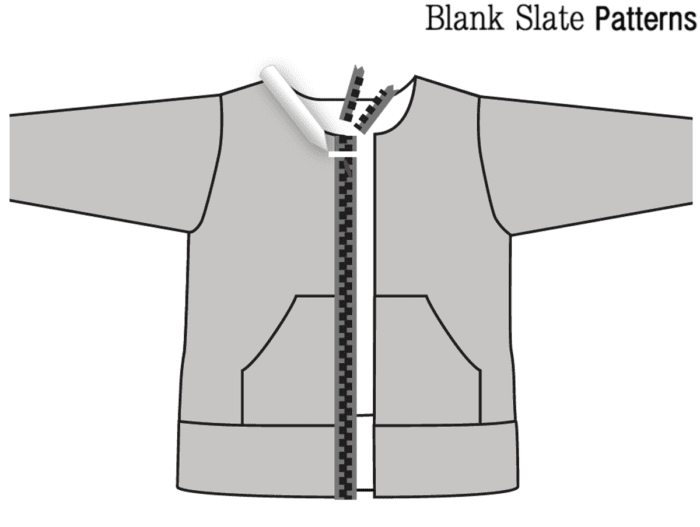
Insert the Zipper
Now you’re ready to insert the zipper. First make sure your separating zipper is the same length as your center front plus hem band, minus the neckline seam allowance. If you need to shorten the zipper, check out this post for instructions and a video. That post shows how to shorten both metal and molded plastic separating zippers.
Once your zipper is the correct length, lay it right sides together with one of the front pieces. Your zipper stop should be just below the neck seam allowance line. Baste the zipper in place. On the back of the zipper, on the other side of the tape, mark lines even with the top of the pocket and the hem band seam. Separate the zipper, then match the other half right sides together with the other front piece. Match your marks to the top of the pocket and the hem band seam. Baste this half of the zipper in place.
After the zipper is basted, zip up the hoodie to double check that your pockets and hem band seam will match across the front. If they don’t, pull out your basting stitches and try again. If they do, unzip and then stitch each half of the zipper in place with a straight close to the zipper teeth and right sides together.
Turn each half of the zipper so that the teeth face the center. Topstitch close to the zipper teeth with a straight stitch. This will help keep the zipper tape turned to the inside of the hoodie.
Finishing the Hood
Finally, sew the hood pieces right sides together. Match the hood seam with the center top of the back piece at the neckline, right sides together. Leave the casing allowance hanging past each neckline edge at center front. Stitch the hood to the jacket along the neckline using a stretch stitch (I used a serger).
Wrap the hood casing amount around the top of the zipper tape at center front. Continue folding the hood casing all along the face edge of the hood. Stitch the casing.
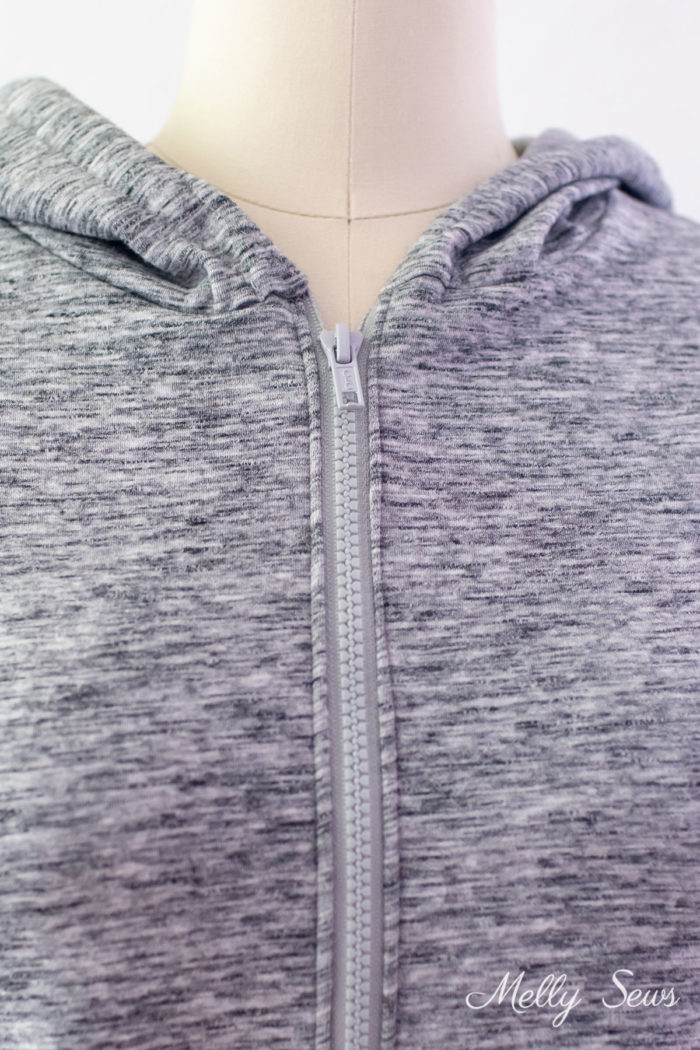
And now you’re finished! Enjoy your zip up hoodie.
Leave a Reply