
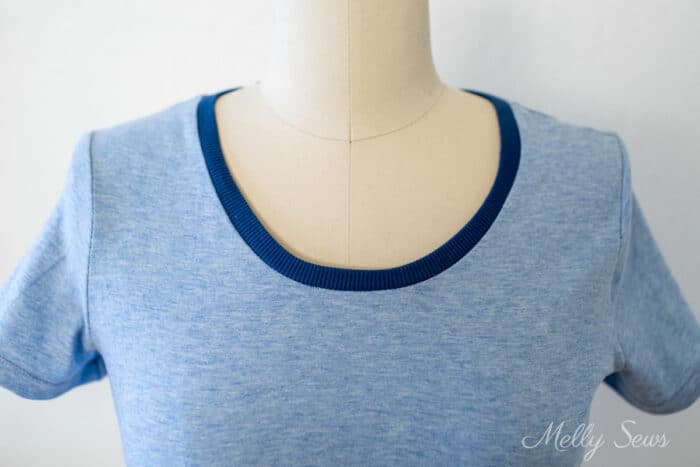
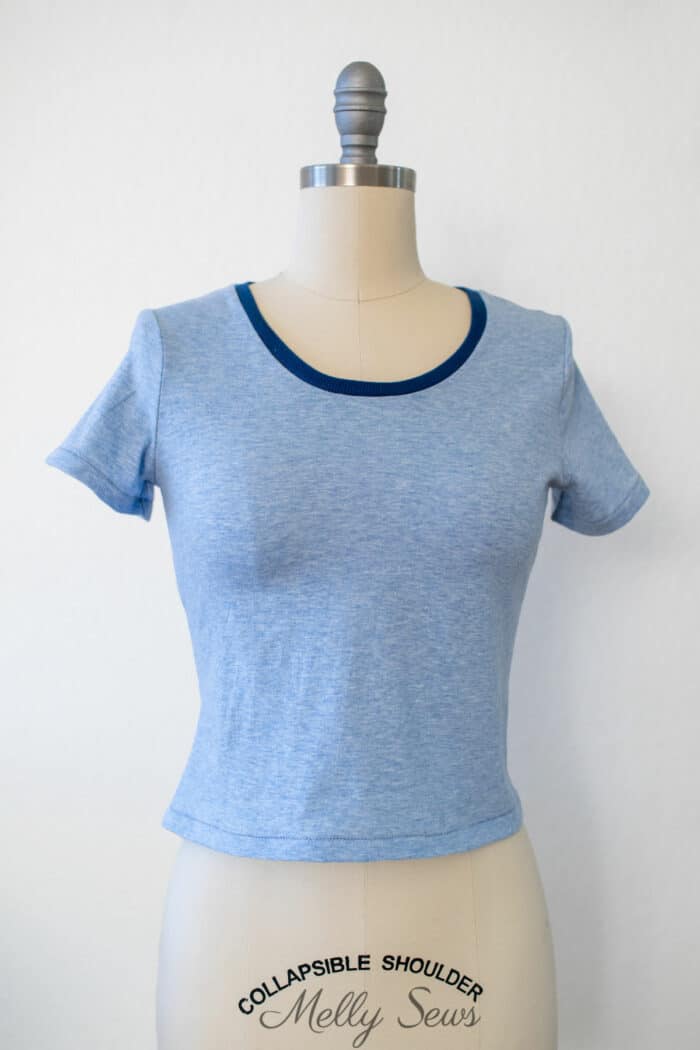
Learn how to sew your own t-shirt entirely on your serger. Make a t-shirt quickly, from seams to hems, with this tutorial.

Hey y’all, in today’s blog post I’m going to share how to sew a t-shirt using a serger. In fact, we’re ONLY going to use the serger for this project. In my decades of sewing I don’t generally use only my serger on a project, but I wanted to show it’s possible
I got a question a while back from someone who wanted to learn to sew, but due to circumstances only had a serger and wanted project ideas. That’s where I got the idea for this post. This isn’t how I always make my t-shirts; I generally switch to a different machine (either my regular sewing machine with a stretch stitch or my coverstitch machine) for the hems. However it is a fast way to make a t-shirt. You can use just an overlocker to sew neckbands, seams and even hems (as long as your machine has a flat lock option).
Introduction To Sergers
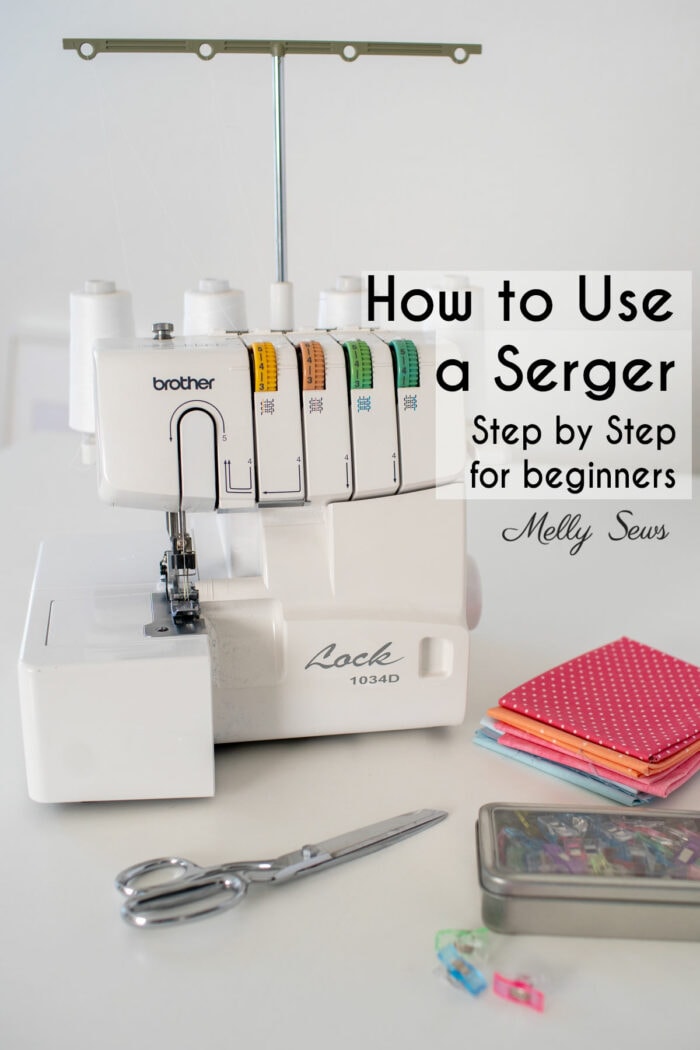
If you’re not sure what a serger or overlocker machine is, it’s a different type of sewing machine that doesn’t have a bobbin. Instead, it has loopers that loop thread around the raw edges of the fabric. It also has a knife to automatically trim the seam allowances as your sew and make sure they’re the perfect width for to lay flat while the looper thread wraps around. A serger makes quick work of sewing knits since the stitch is inherently stretchy.
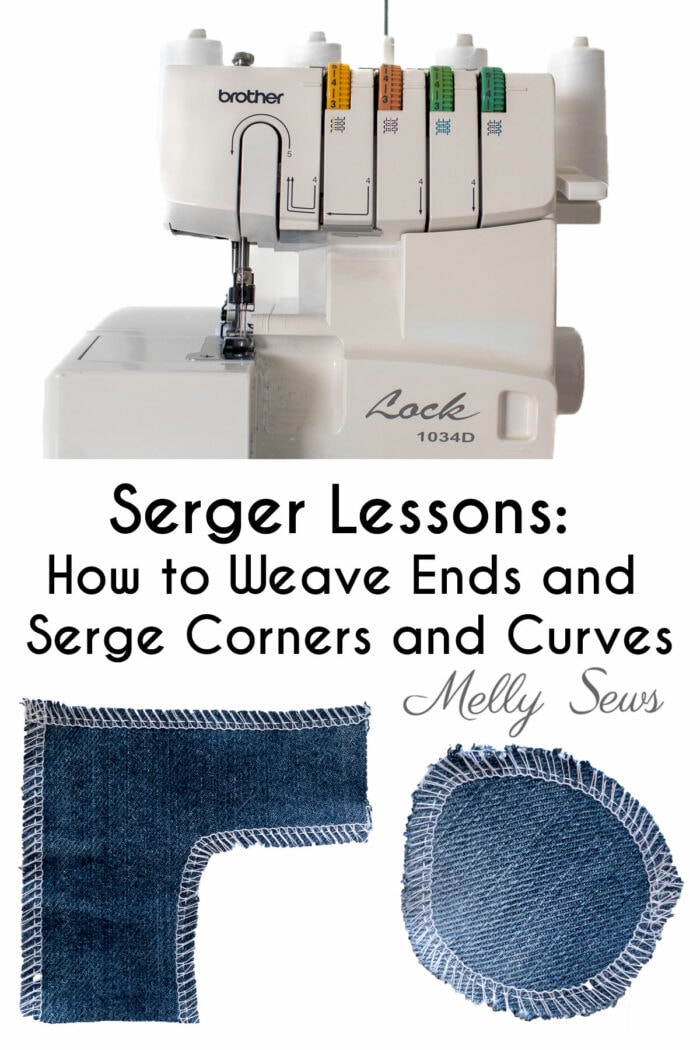
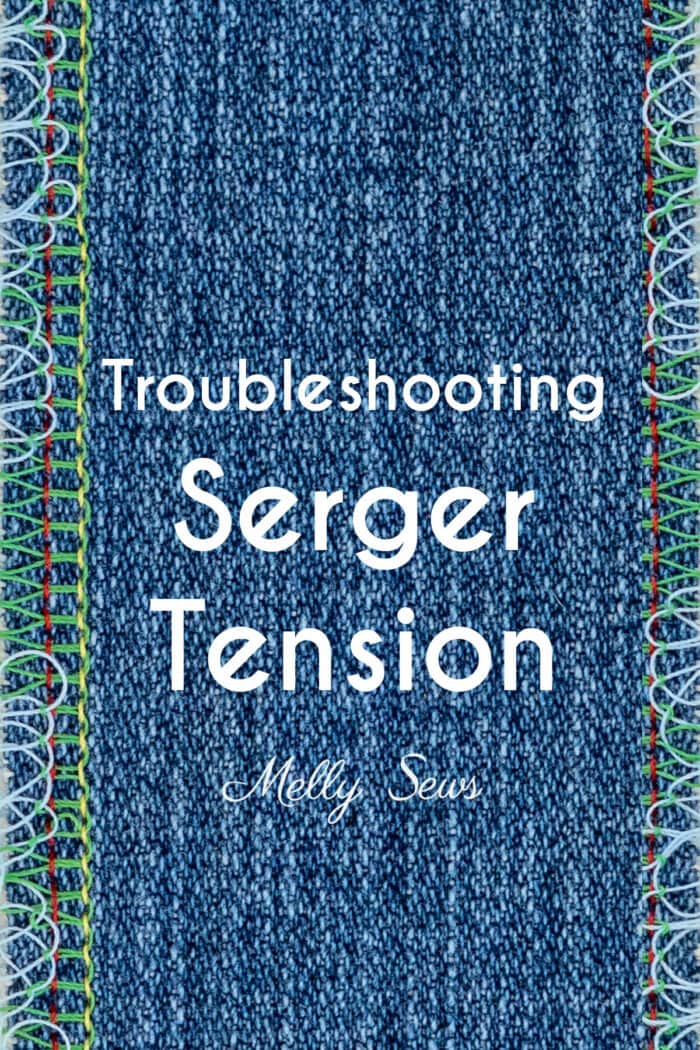
I wrote a series about how to use a serger that covers serger skills in more depth. You can see the posts from the series below and click on any one you’re interested in learning more about.
Key Skills for this Project
If you want to sew a tee on your overlocker, you’ll practice these skills:
- Working with stretch knit fabrics
- Sewing a neckband
- Using a serger to sew seams
- Flat construction of a garment
- Using an overlocker to sew a flat lock hem
If you aren’t familiar with using your serger, making either these non-paper towels or these makeup rounds is a great way to practice before you tackle something like this t-shirt.
Materials Needed For Sewing A Tee
This post contains affiliate links. As an Amazon Associate I earn from qualifying purchases. All affiliate links are identified with (affiliate link) after the link or a commissions earned statement above the link(s).
In order to serge a t-shirt, you’ll need:
- A serger. I sew on a Baby Lock Imagine, and I’ve also had good experiences with a Brother 1034 (affiliate link). Each of these is a 4-thread serger with the option to sew a 3 thread flatlock serger stitch.
- Serger thread (affiliate link) in a color that coordinates with your fabric for the hems. You can also wind all purpose polyester thread onto bobbins to use for the hem instead of buying several cones of thread.
- Serger needles
- Stretch jersey fabric. This one (affiliate link) is similar to what I used. You can see more about types of knit fabrics in this post.
- Rib knit fabric for the neckband
- A t-shirt pattern. You can alter the neckline of this one from a v-neck to a rounded neckline for this project; it’s pretty hard (though not impossible) to sew a v-neckline entirely on a serger. There’s also a men’s t-shirt here and a toddler t-shirt here that would work well for this project.
- Sewing clips (affiliate link) I prefer to use these with my serger instead of pins, and you can’t accidentally sew over them and mess up your serger blades.
How to Sew A T-shirt on Your Serger
I made a short video overview of how to sew a tee with the overlocker that you can watch below or on my YouTube channel here. As you can see from the video length, this can be a very fast project. Below the video there are step by step instructions.
Written T-shirt Sewing Instructions
- First, you’ll sew your neckband into a loop.
Pro tip: If you match the short ends and then fold in half, you can sew the whole thing in one step, then turn right side out. Your other option is to sew the short ends together and then use an iron to press the neckband wrong sides together. - Next, sew the shoulder seams with the shirt front and back right sides together.
Pro tip: sew one shoulder seam, then chain stitch across to the other shoulder seam in one pass. Cut the thread tails after you get the fabric out of the machine. - Open the shirt and fold to mark quarter points on the neckband and the neckline. Match these quarter points and clip the neckband to the shirt with right sides together.
- Stitch the neckband on, stretching it as you sew so that it lays flat against the shirt.
Pro tip: check out this post on neckband techniques to get a great finish - Lay the shirt out flat. Pin each sleeve to the corresponding armscye, right sides together. Match the ends of the sleeves with the ends of the armhole as well as any notches. Stitch.
Pro tip: flat construction like this, whenever possible, is faster. - Fold the shirt wrong side out and match the sleeve seams at the underarms. Stitch the side seam and sleeve seam all in one go.
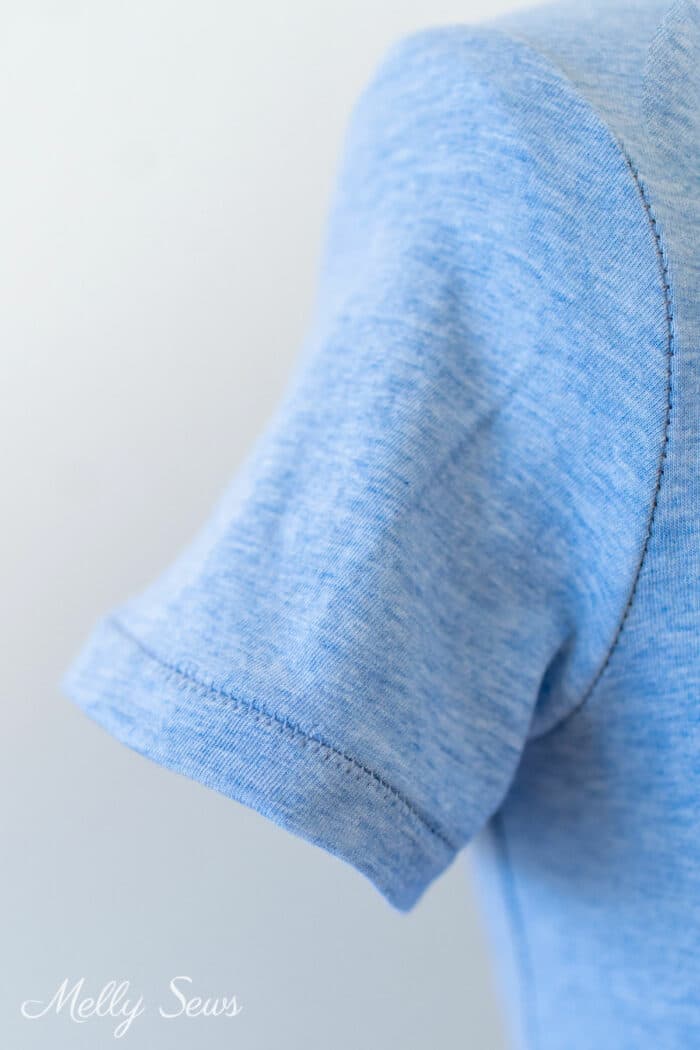
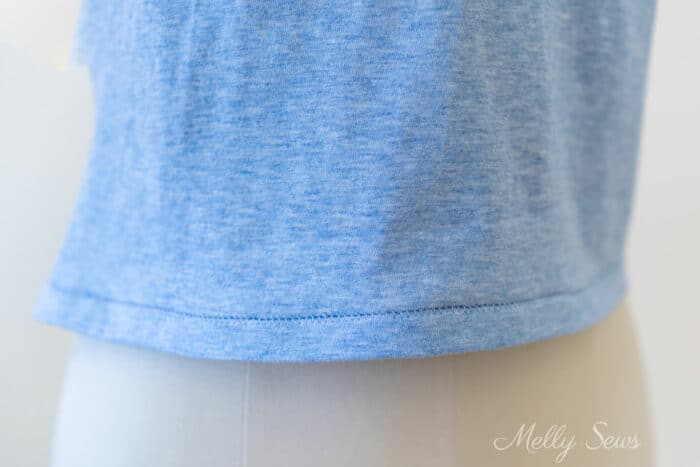
Pro tip: I prefer to push my serger seam allowance toward the sleeve and begin stitching each side at the hem. - Fold the hem and the sleeve hems for a flatlock hem. This means you’ll fold once for the hem, then make a second fold back toward the right side so that the raw edge of the fabric can be lined up with the edge of the presser foot.
- Convert your machine to sew a 3 thread flat lock (consult your manual for help) and stitch each.
Pro tip: see this post for an in depth tutorial on using the flatlock function. - On the top side, stretch the hems slightly to flatten the stitch.
Troubleshooting Common Sewing Mistakes
Here are some common mistakes made on this project and how to avoid them, so you can successfully sew a t-shirt on your serger.
Problem: Neckband width not even all around
Solution: Leave your presser foot down and feed the neckband seam into the machine at an angle, then straighten out. As you come back around, you’ll overlap where you started and cut off some of the excess fabric at beginning of the seam. Then angle the fabric back out of the machine and chain stitch off.
Problem: The flatlock hems don’t lay flat
Solution: First make sure you followed the tension settings for the upper looper and lower looper specified in your machine manual and that you threaded your machine correctly for the stitch. Then make sure you gently pull the hem and the body of the shirt away from each other after stitching to flatten each seam and “lock” it.
Problem: Holes appear in the fabric when you stretch the seams flat.
Solution: If you’re using a lightweight fabric change to a smaller needle size and consider a ballpoint needle instead of a universal one.
Leave a Reply