
Hey y’all – we’re back with more sewing for boys today! This time we’re talking that boy wardrobe staple – the t-shirt. Every season I take a day, cut out about 10 of these, and sew up enough to last my boys through that season (or until the next growth spurt).
(For more tips on sewing quickly in bulk, see this post.)
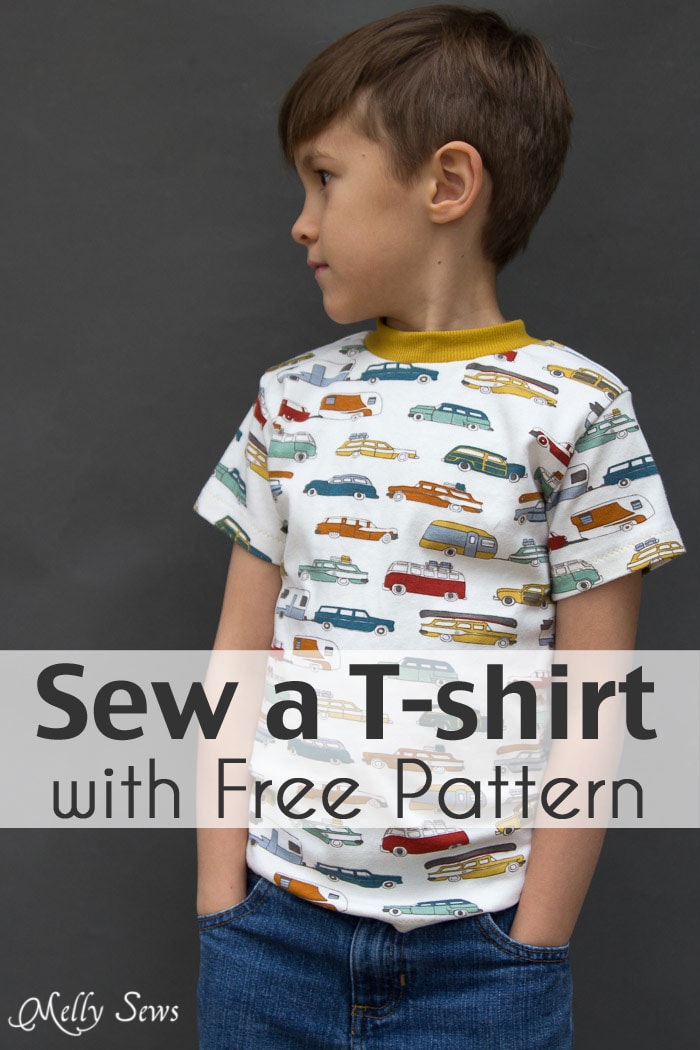
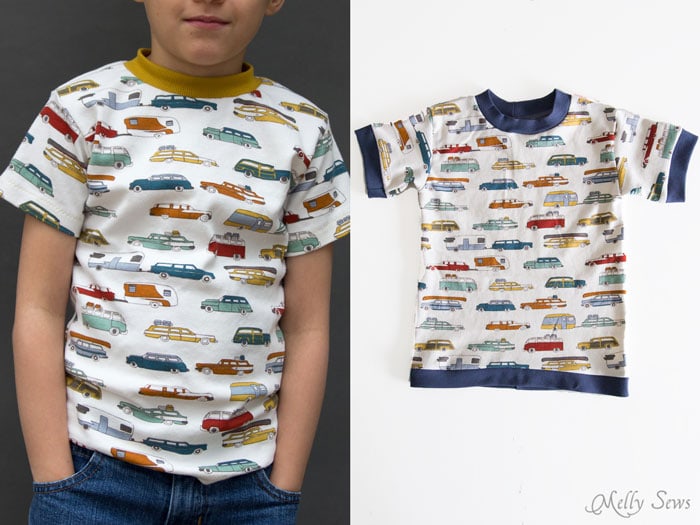
I use both upcycled t-shirts and new fabric, and I often add in scraps from other knit projects for pockets and sleeves. The fabric for this shirt is Jay Cyn Designs for Birch Fabrics Feather River Knit – River Rally, and I couldn’t resist it when I saw the print.
So, who wants to make a t-shirt?
To make the Toddler T-shirt you’ll need:
- 2/3 yd of knit fabric (at least 10% stretch).
- 1/8 yd of rib knit fabric
- The pattern, see below
How to Get the Pattern
The free pattern is in kids size 2-4. If you need a different size, the Tee x 3 pattern is available for purchase below and comes in sizes 18m-8 with optional hood, Peter Pan collar and/or kangaroo pocket. To get the pattern, click your preferred option below to get the free pattern only as a newsletter subscriber, or to buy the full digital pattern + printable instructions.
 |  |  |
Please note that all my free patterns are licensed for personal use only (no selling items made from this unless you purchase it) and by downloading you are agreeing to this license.
Use 1/2 inch seam allowances to sew this.
Start with a front, back, two sleeves and a neckband. The neckband pattern piece isn’t on the pattern because it’s a rectangle. Cut it at 3 inches wide by 10 inches long, and make sure your ribbing has at least 80% stretch (in other words, you should be able to stretch your 10″ neckband to 18 inches long).

Place the front and the back right sides together and sew one shoulder using a stretch stitch (use stretch stitching throughout this project. Need help sewing knits? See this post).

Open up the shirt and pin the neckband in, stretching it from shoulder to shoulder. Be careful not to stretch the t-shirt, just the neckband. Stitch it in.


Sew the other shoulder and neckband together in one seam, making sure to match the neckline seam and to press the neckline seam toward the neckband.

Pin in the sleeves by placing them right sides together on the shirt. Line up the top center of the sleeve with the shoulder seam, then pin the ends of the sleeve to the end of the armhole, then ease the rest of the sleeve into place. Stitch.


Fold the shirt right sides together and sew the underarm seam and the side seam in one (red line).

Fold the neckband to the inside of the shirt, covering the neckband seam, and pin. Use a zig-zag stitch on the right side of the neckline to stitch in place.

If desired, hem the sleeve edges and bottom edge – though you don’t have to – knits don’t unravel like wovens. I prefer to hem with a twin needle; you can find more about that here. For the size 2 do a 1 1/2″ hem, for the size 3, do a 1″ hem, and for the size 4 do a 1/2″ hem.
You’ll also notice the pattern has a long sleeve option – which I used on Bean’s shirt. I chose to add cuffs to his version – read below to see how to do that. The fabric for his shirt is a knit picked up at Mood LA over a year ago.

Cuffs should be made out of ribbing, and be at least 1″ less in circumference than the sleeve. Sew down the edge of the folded cuff, then roll the top edge down over the tube, until you can match the raw edges. This leaves you with a tube that has right sides out on both the inside and outside.
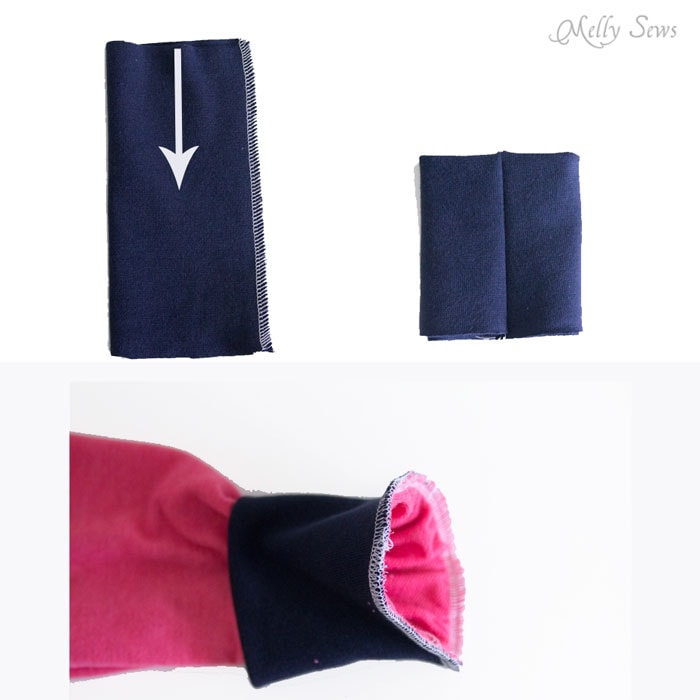
Place that tube over the sleeve (with the sleeve right side out) and stitch around the cuff/sleeve raw edges.
I had not quite enough fabric left for another River Rally t-shirt for Bean – I added cuffs to the sleeve and a band to the hem (sewn the same way as the cuffs) to get the extra length I needed for him. I really like both variations of the shirt.
For other fun variations for your T-shirt – check out this post on how to sew a V-neck, and this one on how to add a henley placket.
dara
Thanks sew much for this !!
Elizabeth
Nice! Thanks so much for this one. I do the same kind of batch sewing with pants with my boys. I’m always amazed at how much you really can sew a lot when it’s all prepped up and ready to go.
Kristie
I have one all cut out for my son, just need to figure out if I want to stencil anything on the front. Thanks for sharing this pattern. I anticipate using it a lot this summer.
Tracey
Thank you sew much Melly, I love your posts, patterns, and handy tips 🙂
Lilliane
Thank you so much… just what i was looking for…. and super explanations .
Lynn
Melly, thanks so much for these great patterns and since they are free I can sew one for the grand kids, friend’s kids and my Sunday School 4 yo class! They will love it! 1 likes dinosaurs, 1 likes unicorns, 1 likes… Now I can buy fabric because the pattern is free!
I appreciate your sharing and love your site! Thanks! 🙂 <3
Anne
T-shirts are my favorite thing to make for little kids! I’ve got a Craft Gossip post scheduled for later this morning that links to your post:
http://sewing.craftgossip.com/free-pattern-little-boys-t-shirt/2015/03/11/
–Anne
Amy Curreli
Thank you so much for this!! I just started to learn to sew with knits and this is such a great pattern and tutorial. I feel like I might know what I’m doing now 🙂
Nia Lorre
Thank you very much for this freebie. I am sewing for charity and this is perfect!
Reeva
Thanks for the pattern. This will come in handy for my little grandson when he comes to visit. It always pays to have some extra clothes on hand with a little boy.
Michele Canady Morrill
I love this pattern- so easy to sew and I’ve never seen a better fitting sleeve. Thanks for the great pattern!!
Cheryl Gray
That picture of the boys it too cute!