
Sergers are special sewing machines that finish seams with an overlock stitch. But they can do more! Learn advanced serger skills in this post.
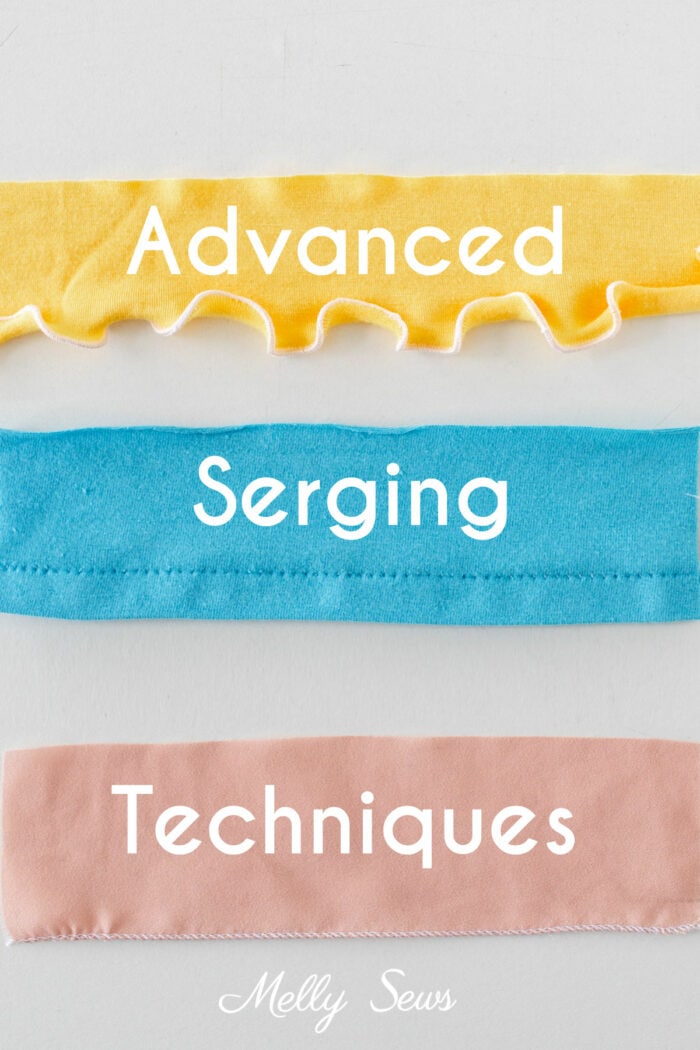
Hey y’all, today is the last post in my serger series and we’re going to be covering advanced serger skills and going beyond basic sewing skills for your overlocker. In this post we’ll have an overview of how to use your serger to flatlock, how to serge a rolled hem, how to sew a lettuce hem on your serger, and how to sew blind hems on a serger.
You can do all of these different types of stitches with just the accessories that came with your serger in most cases. Mastering these techniques takes you from a beginner to a serger pro and helps you get the most out of your machine. And as always, I recommend practicing these advanced serger skills on scraps before you grab your designer fabric.
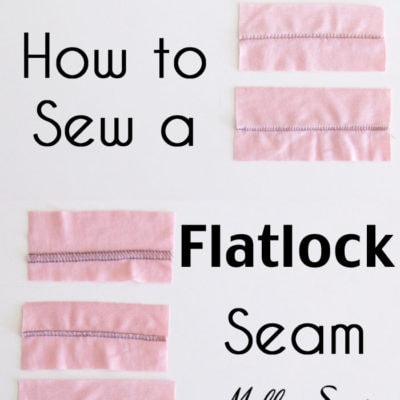
Flatlock Stitching
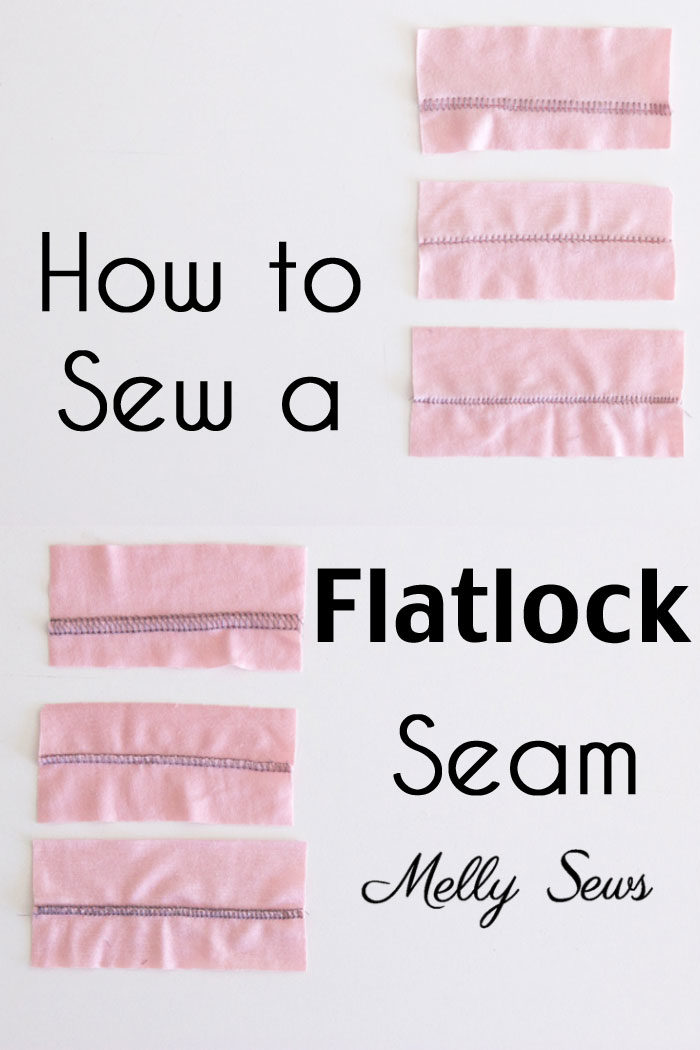
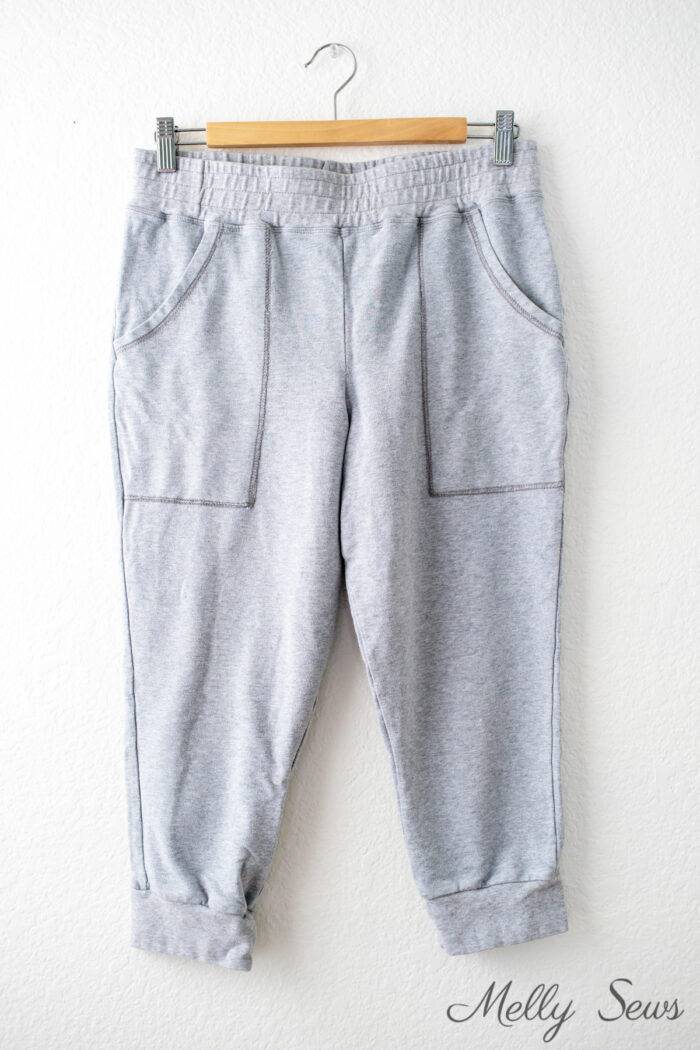
A flatlock seam is a way to use your serger to create seams that lay flat. These are great for people with sensitive skin, because you can put the bulk of the seam on the outside of the garment. Flatlocked seams also can be a great as decorative stitches, especially if you use contrasting colored thread. That’s what I did on the pockets of the gray pants shown below (sewn from my own pattern, the Skye Joggers, available in my shop here.)
Correct tension is the biggest key for a sewist to get a sturdy flatlock seam. Your machine will have starting point suggestions, but you’ll have your needle thread looser than you would on an overlock stitch. You may also need to trim your seam allowance to make sure it lands within the width of your flatlock stitch.
You can see how to create flatlock seams in the video below or on YouTube here. For more details in written form, check out this post to see how to flatlock.
Blind Hem

Similar settings to the flatlock stitch can also make a blind hem on your serger. For this, you’ll want to follow the instructions in your machine manual to set up your serger for a narrow flatlock. On many machines, this will be a 3 thread flatlock. On my Baby Lock Imagine it suggests a 2 thread overlock stitch, so that’s what you’ll see in the video below. Not all sergers can do a 2 thread overlock.
Next you’ll press your hem up, then flip your fabric and fold the hem back. Press again so that there’s about 1/4 inch of raw edge peeking out. You’ll want to set your stitch length to the longest setting you can, and then sew with the needle barely catching the folded edge of the hem. The raw edge will get trimmed off. Then pull the hem flat and press if desired.
It should be noted that the more you practice this technique, the better you’ll get at it. Most machines also have a blind hem foot with a guide that you can purchase to help if you plan to do this technique often. But the one shown in the picture above and the video below was done with my regular presser foot.
You can see exactly how to do this in the video below or on YouTube here.
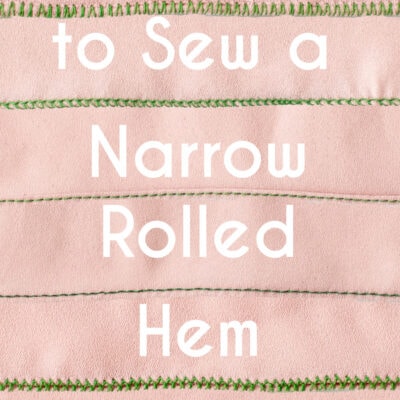
Rolled Hems
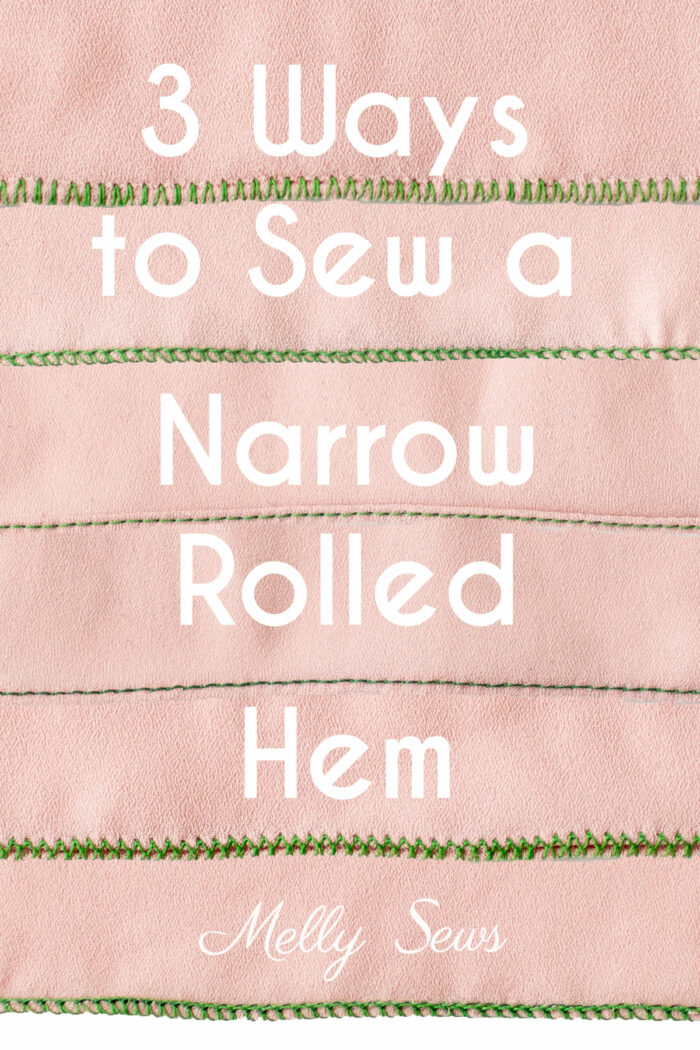
Rolled hems and variations of them are my favorite advanced serger skills. There are a few ways to sew a rolled hem, but the serger is the fastest, and I like to sew fast. A rolled hem is a very narrow width hem perfect for many sewing projects, from napkins to skirts. It’s done with only one needle on your serger, while the blade handles trimming the edge of the fabric and the loopers wrap thread around the edge to finish it and create the hem. The image below is the rolled hem created with a serger.

You can see how to create a rolled hem in the video below or on YouTube here. Or if you prefer detailed written instructions check out the full post on rolled hems.
Lettuce Hems
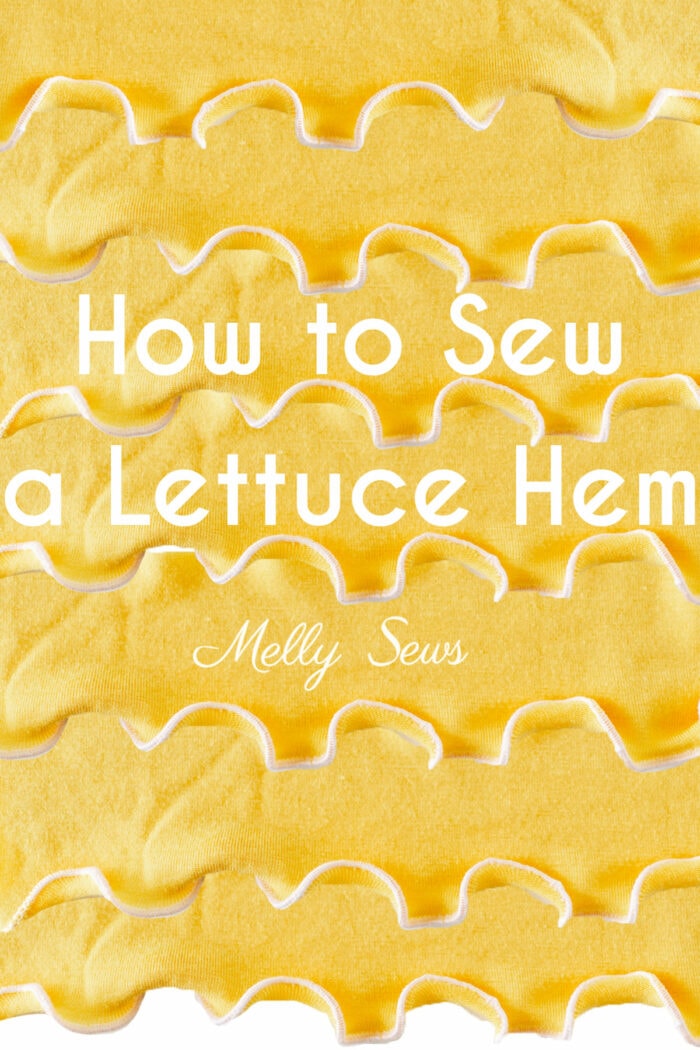
A lettuce hem is a variation of a rolled hem for knit fabrics that creates a waves and curves on the hemmed edge. These types of hems are pretty embellishments for something that could be otherwise plain. I particularly like to use a lettuce hem on pajamas personally.
Set your machine up for a rolled hem and then you stretch your fabric as you sew. If you’re doing this on a serger you can also use the differential feed to stretch your fabric as it goes through the presser foot. I find a combination of using the differential feed plus me stretching the fabric by hand makes the most satisfying hem for me on my machine.
You can see how I sew a lettuce hem in the video below or on YouTube here.
So get your scraps and practice these advanced serger skills! Once you can do them, you can let your creativity lead you to use them on your own patterns. And if you liked this post, you can see all my serger tutorials below.

Marilyn
Thank you for taking the time to post these tips! Very helpful. My husband gifted me a serger for Christmas I am trying to learn how to use it.