
Learn how to sew cloth napkins easily in about 10 minutes. This DIY project is eco friendly and useful!
Hey y’all, today I’m going to show you how to make cloth napkins. Napkins are an easy sewing project that’s eco friendly and will make your Thanksgiving table prettier. This is a sewing project for beginners or experienced sewists who want a more sustainable substitute for disposable napkins.
Gather Materials
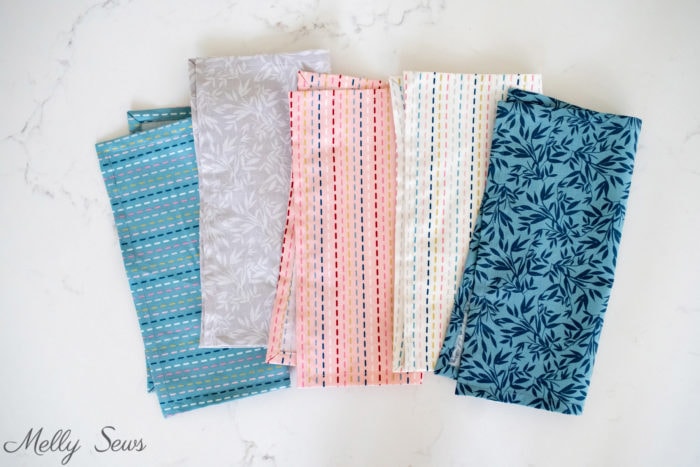
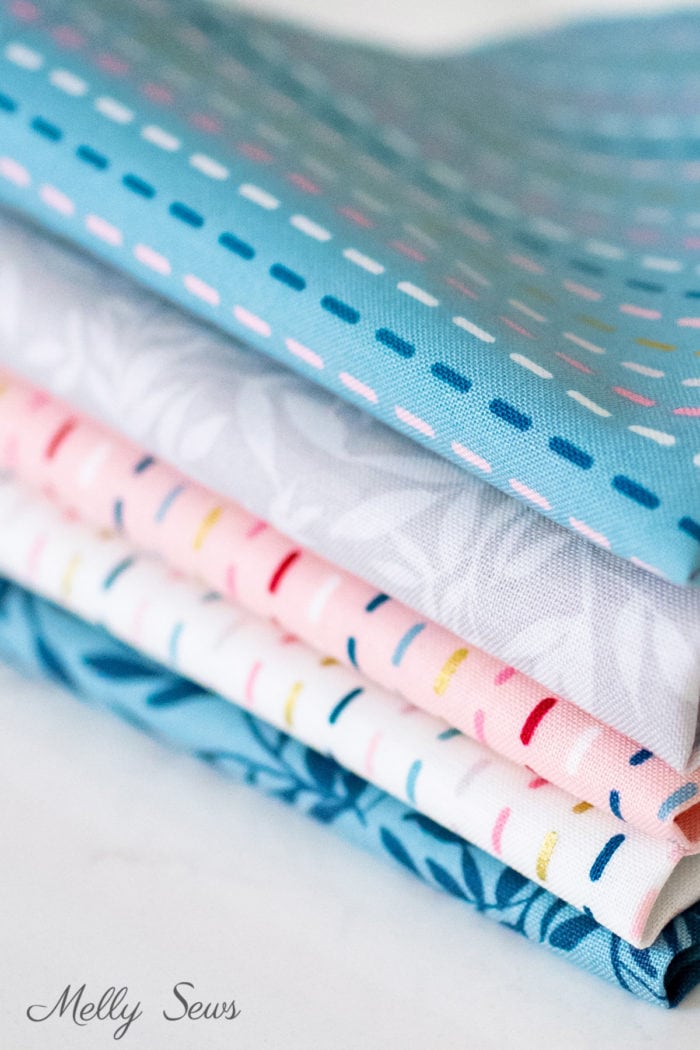
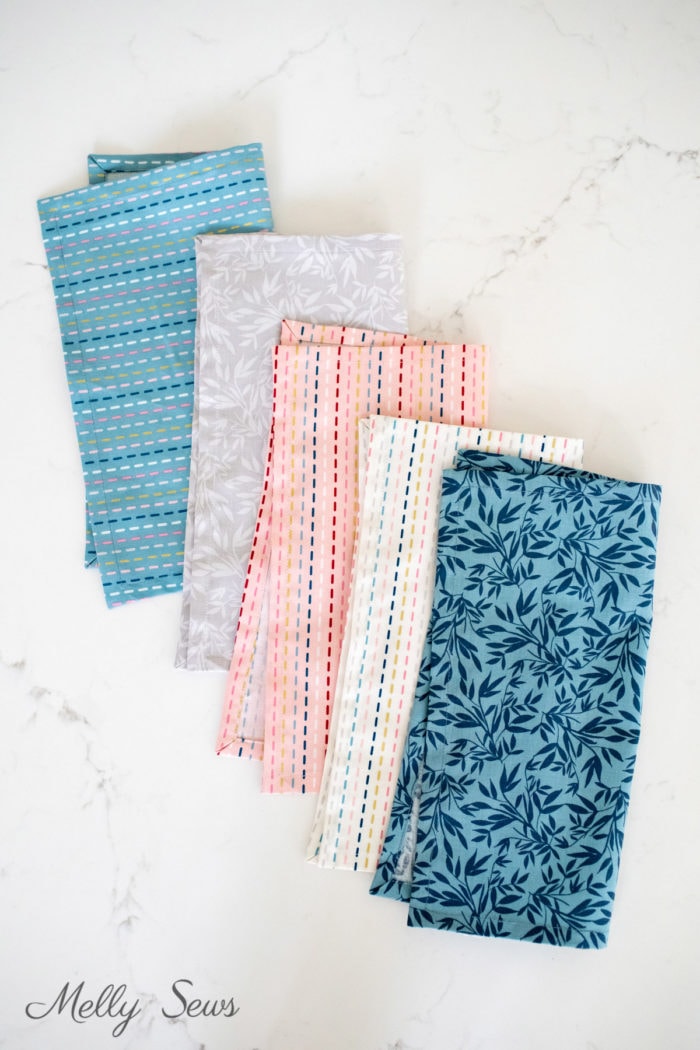
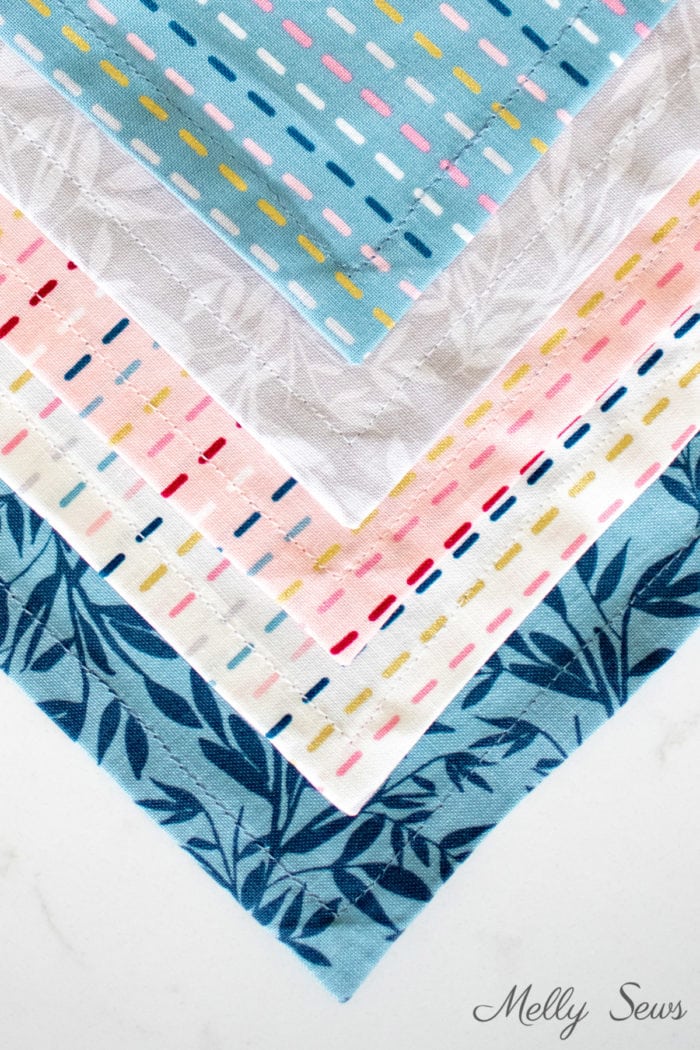
Fabric choice is important for reusable napkins. I like to make mine from quilting cotton. It comes in soooooo many patterns and prints. You could buy several fat quarters of material and mix and match a set of diy cloth napkins. In addition it absorbs. I’ve found polyester blend fabrics don’t work as well – you may have noticed this with restaurant napkins in many restaurants. They’re often polyester blends or 100% polyester so that they won’t wrinkle and they’re stain resistant. But the trade off for those qualities is that they don’t absorb as well as natural fiber fabrics. Since we use our cloth napkins every day, I prefer them to be softer and more absorbent. I’m not as concerned with wrinkles or stains. I tend to bleach my napkins anyway for stains, which does fade the prints, but again that’s a trade off I’m willing to make. If you’d like to preserve your prints longer I recommend washing your cloth napkins in hot water without bleach and pre-treating stains.
Linen is another fabric that can be good for napkins. Like cotton, it is soft, absorbent and gets softer with repeated washings. The only drawback to linen napkins is that the material can be a looser weave, which can be harder for a beginner to handle and keep on grain. If you’re not a beginner, that’s probably not a concern for you.
You’ll also want to grab thread. Consider whether you want the thread to coordinate or contrast. Keep in mind that using contrasting thread will make any mistakes in your stitching stand out more.
Sew the napkins
Once you have your fabric chosen for your napkins, you can watch the video below or on YouTube here to see how I sew them with mitered corners. Mitered corners are easy to do with a regular sewing machine. This is the technique I’d recommend for beginners, because a rolled hem (instructions for which are shown further down in this post) requires either a serger or a rolled hem foot and some practice.
Here are the steps to sewing cloth napkins:
- Choose your fabric
- Cut the fabric
- Finish the raw edges with some kind of hem or a rolled edge
- Find an easy to use storage solution for them
Cut The Fabric
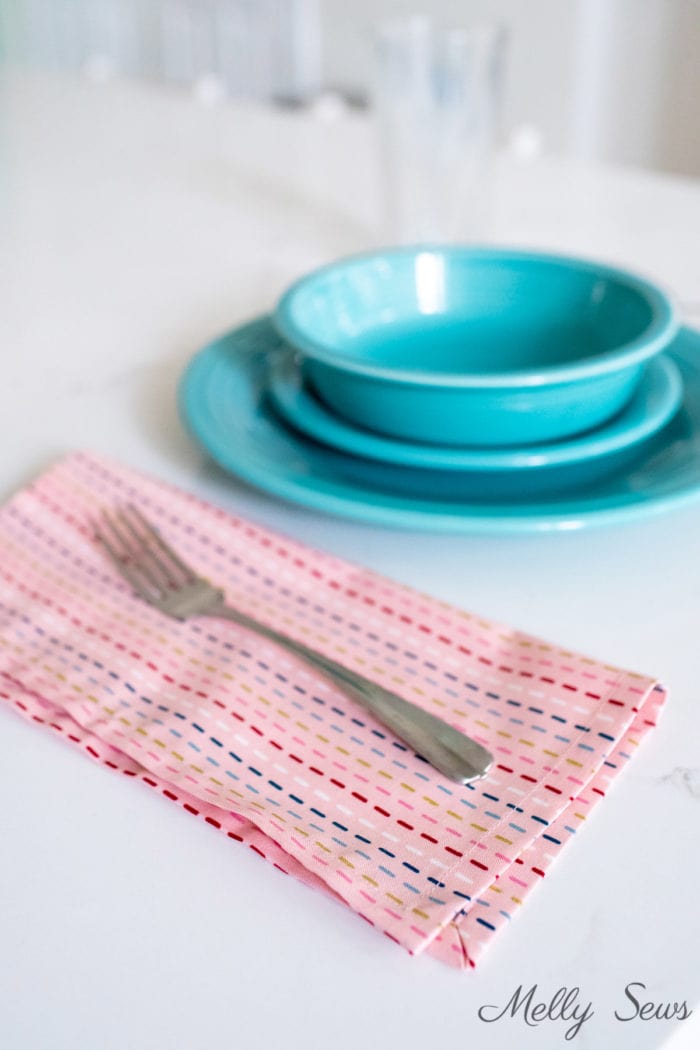
Since I was mostly going to use these for our family at home, I didn’t cut them out to the standard 22″ x 22″ dinner napkin size – I think that would be so big that the kids would actually make a mess instead of using them to clean messes. So I made mine about 12″ x 12″ squares. You can make any size you’d like. I use a ruler, rotary cutter and cutting mat to cut mine, but you can also just cut one square and then use it as a template to cut more fabric with your scissors.
Assembly – Mitered Corners
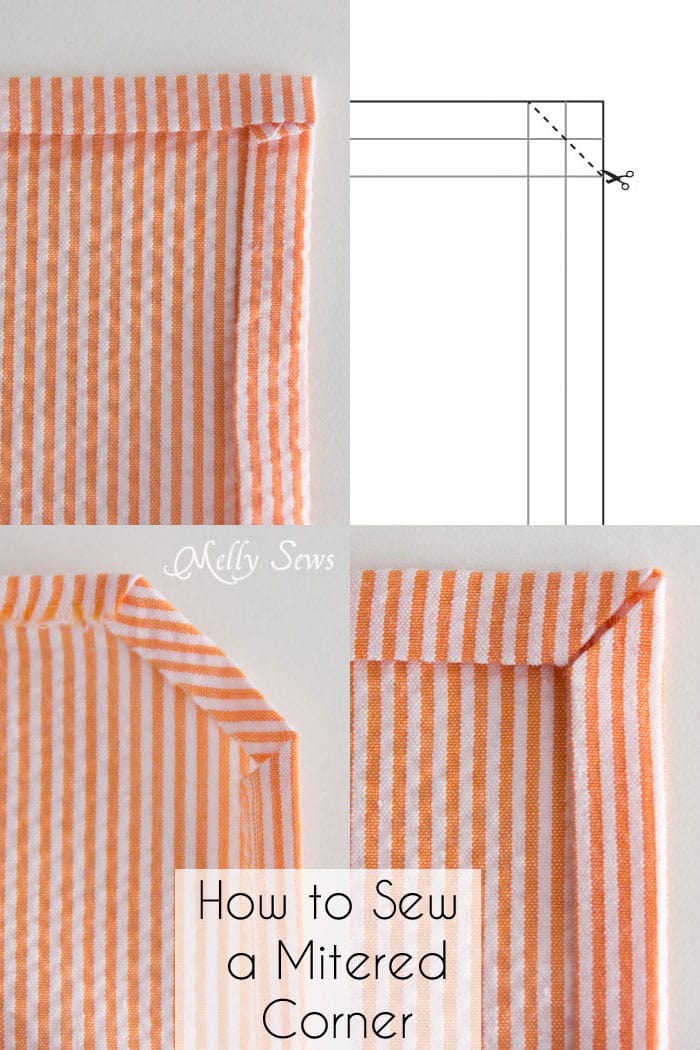
Napkins are a super easy sewing project. Here’s how you make mitered corners:
- Press the edges to the wrong side twice. The measurement doesn’t matter so much as making sure each fold is the same amount. So fold 1/4 inch twice or 3/8 inch twice or 1/2 inch twice – whatever width hem you want.
- Unfold the edges and fold or cut at a 45 degree angle, using the pressed fold lines to help you determine where to cut. I diagrammed this step so you could see more easily where this line should be.
- Fold the 45 degree edge once more to the wrong side. Then fold the straight edges in once to the wrong side.
- Fold the straight edges in again – this will leave you with a nice mitered corner. You can then pin and/or press the corners. If you’re going to press with pins in place, make sure you’re using glass headed pins that won’t melt from the heat of the iron.
Assembly – Rolled Hems
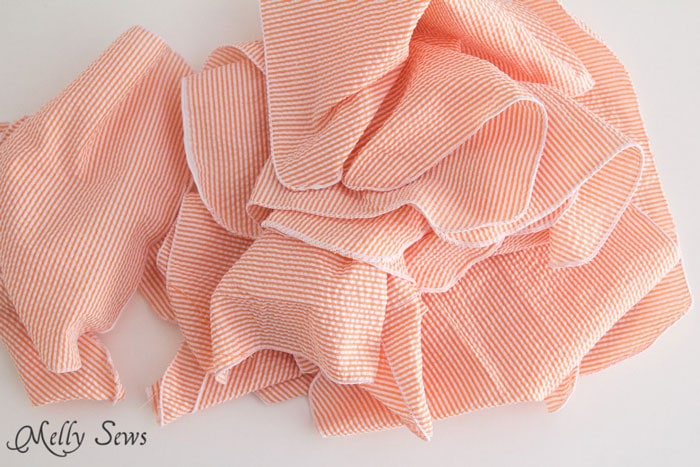
Even though I love a good mitered corner, they take a while. And I still had a pile of napkins to go. So, I grabbed the rest of my napkins, with their 45 degree cut corners, and sat down at my serger and started doing rolled hems. One of the things I love about the Imagine is how easy it is to switch to rolled hems. With my old machine I literally had to remove the stitch finger, then the left needle, and then spend a while fiddling with the tension. With Imagine I just remove the left needle, then turn three knobs and I’m ready to go – with perfect tension.
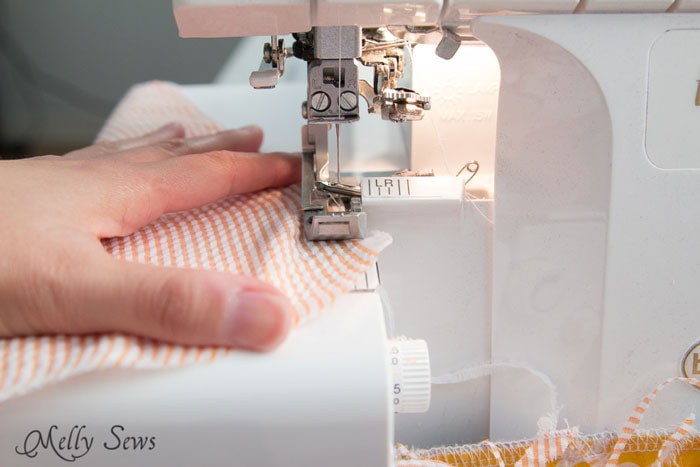
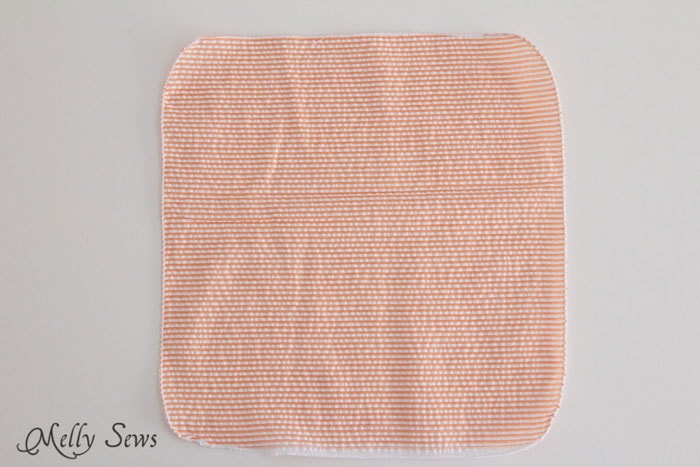
To sew even faster, I rounded off the corners on my serger. Note that the napkins pictured below are from cotton seersucker fabric. While we still have a few of these around (I originally stitched them in 2014) I much prefer quilting cotton now. My favorite napkins are two layers of quilting cotton serged with wrong sides together to finish the raw edges. They’re very similar to the way I make my reusable paper towels.
And before I knew it with the speedy serger I had a whole bunch of napkins Then they needed something to keep them organized on the table, so I sewed a storage box for them too – and wrote an extra tutorial you can find at that link.

This post contains affiliate links. As an Amazon Associate I earn from qualifying purchases. All affiliate links are identified with (affiliate link) after the link or a commissions earned statement above the link(s).
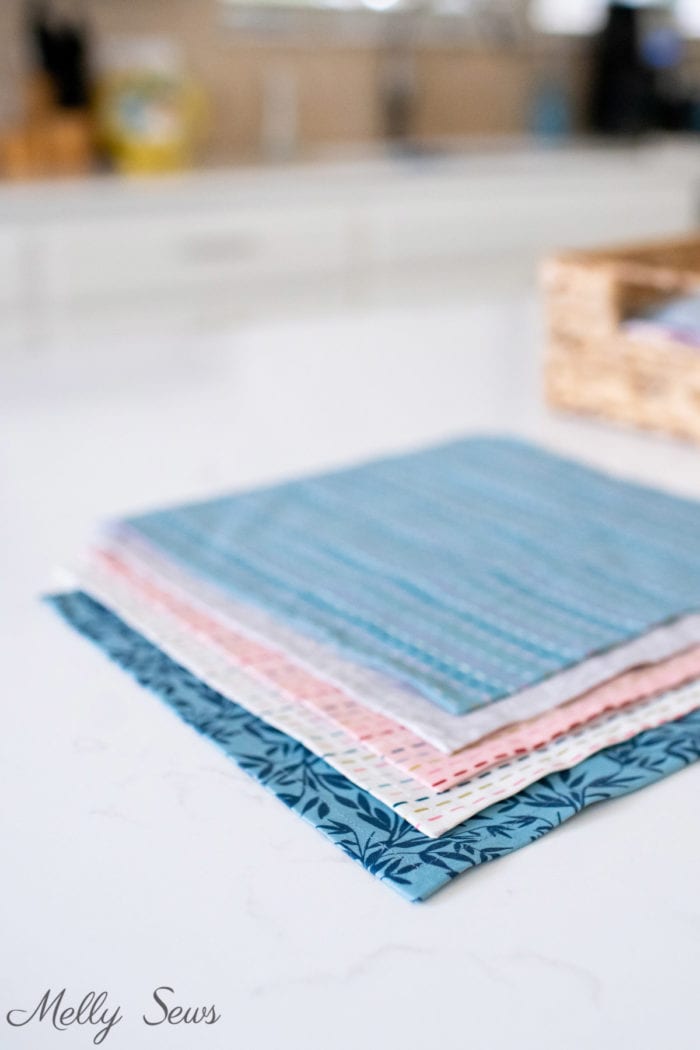
While the storage box served us well at our old house when we had a table, in our current kitchen we normally eat at the larger island. The flat storage box took up too much room on the island, and after many years it was also pretty beat up. So I switched to a water hyacinth woven basket and it works just as well, even if the napkins don’t lay perfectly flat inside. You can see it in the background of the photo below, and similar baskets are available here (affiliate link).
Anne
Great tutorial! Love the matching storage box! I’ve got a Craft Gossip post scheduled for tomorrow that links to your tutorial:
http://sewing.craftgossip.com/tutorial-fabric-napkins-and-a-matching-storage-box/2014/11/12/
–Anne
brenda
this and the tray tutorial are the reason I so appreciate your blog. Your fashions are great but the practical things like this makes for a really well rounded repertoire. there really are a lot of neat things we can do with our machines.
Erin
My kids are older now, but when I had the opportunity to become a stay at home mom after the birth of my third child, I quickly realized how much money we were spending on paper towels. That was 15+ years ago and we’ve been cloth napkin people ever since! I really love them, with a few caveats. Don’t get crazy with them staying “clean” looking. Boys, especially, seem to use them roughly and they will get stained! Stained napkins are napkins which are being used as intended. Make enough napkins that you can train everyone to just clear their places and toss their napkins straight onto the washing machine (or in the hamper). They’ll get washed every time you do a load of laundry. Before you know it, everyone will prefer cloth napkins. As I said, we’ve been a cloth napkin family for 15 years now and I love it.
P.S. Paper towels can add up, too…reusable kitchen cloths save a lot of money!
Abbey
Great tutorial–just pinned! Those rolled hems are awesome!
Christine Hicks
I love this tutorial, diagrams are so easy to follow and everything is explained in easy to follows terms. I’ve just started back sewing, so I can’t wait to practice my skills on these napkins. I don’t have the imagine machine, but I so needed to learn how to do mitered corners again! Plus, I love your website, it’s not bogged down with lots of pop ups and easy to navigate. Thanks for your excellent guidance!
Gayle Wayne
Such a great idea and simple instructions . You inspire me!
Marnie Johnk
Melissa, you’ve done it again; read my mind! I’d just set a reminder to sew more cloth napkins!! Personally, I like mine on the large side; hubby is rather messy! Haha
Thanks!
Marnie
Suzanne Beck
A few years ago I realized how much I love cloth napkins and I was like, uh, why don’t we use them every day??! I have a stash and love, love, love them. Thanks for a great tutorial.
P. K.
Thank you so much this will help me a ton. I’m new at sewing?
Vivienne C Carter
Thank you Melly. Your instructions for mitred corners is so clear. Looking forward to making some napkins.