
Learn how to make your own racerback tank top with this simple sewing tutorial. Perfect for hot summer days or a workout at the gym.
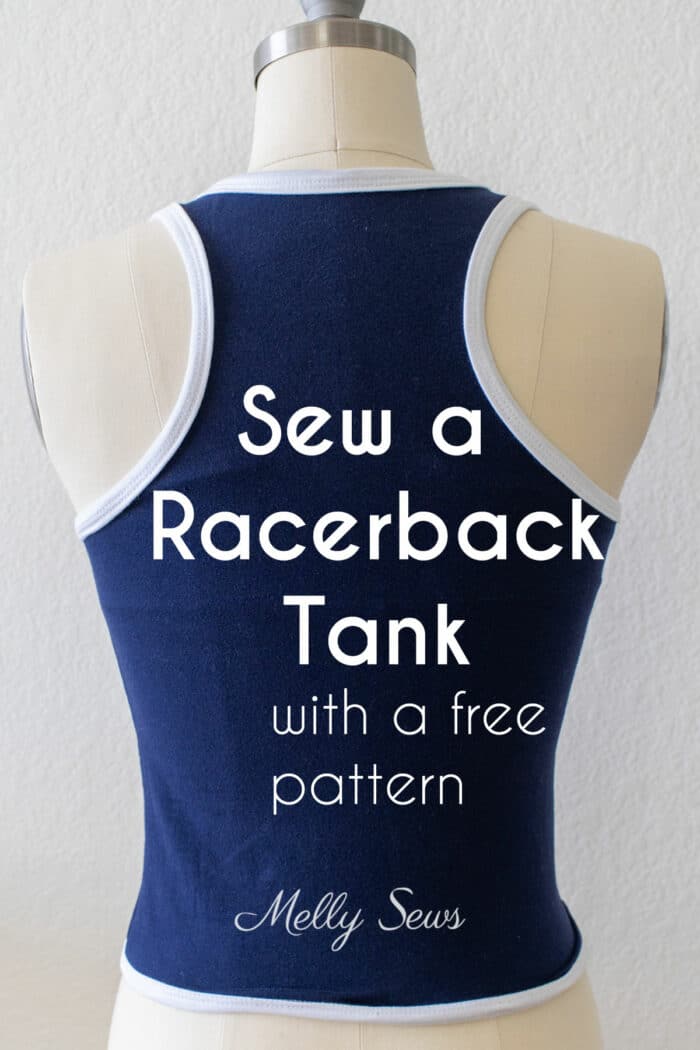
Hey y’all, today I’m going to show you how to sew a racerback tank top that includes an optional shelf bra using a free tank sewing pattern. I personally like this style to sleep in. The soft support of the shelf bra is comfortable without feeling restraining.
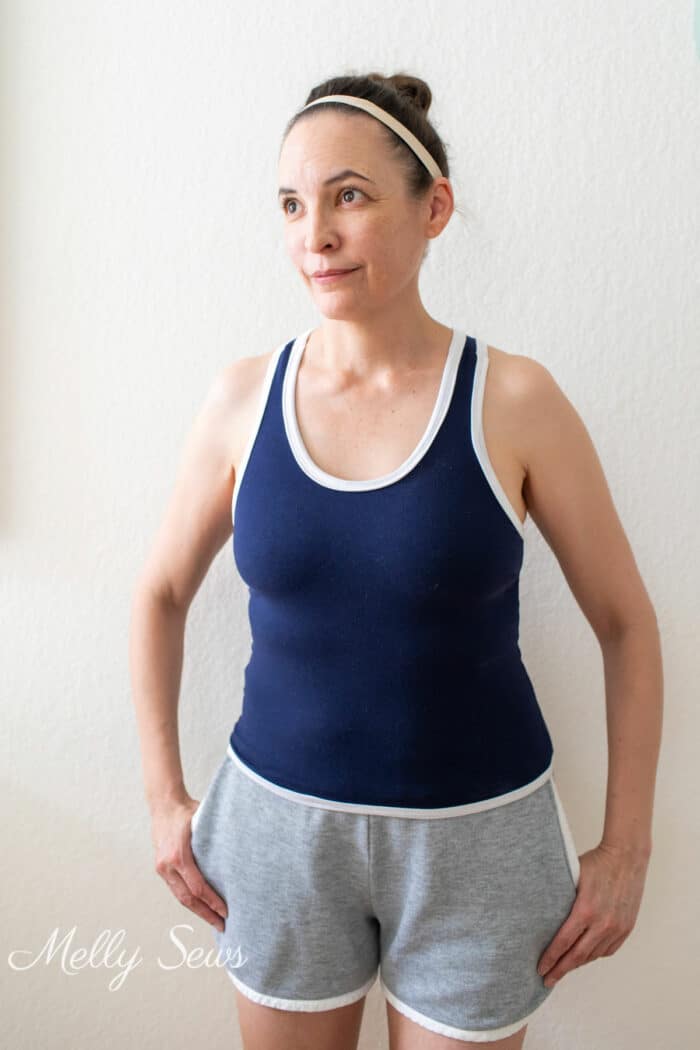
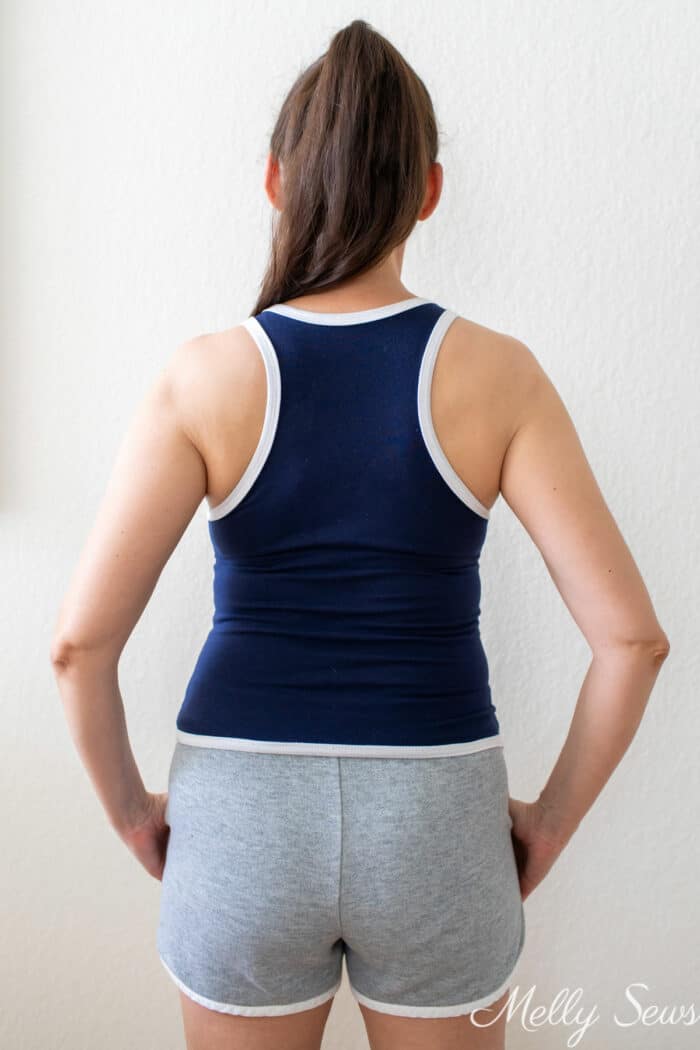
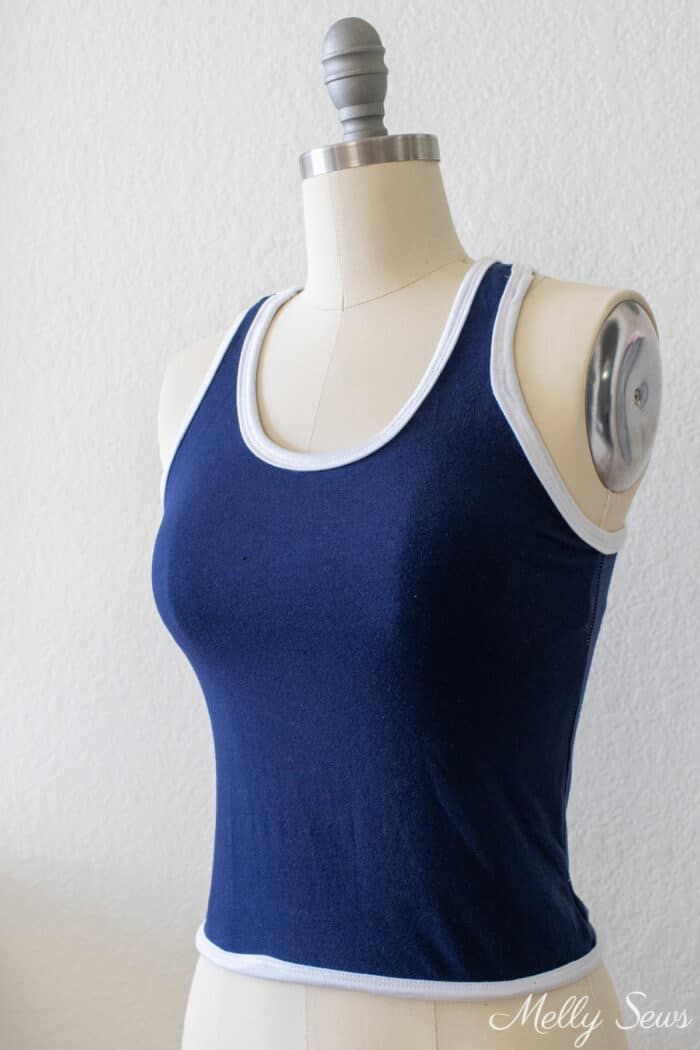
Because a racerback tank has larger armholes, it doesn’t restrict arm motion. That makes this style great for exercise. I also like that you can add contrasting bands at the neckline and armholes like I did on the sample I sewed up for myself.
Materials Needed
If you’d like to make your own racerback tank, here are the supplies you’ll need:
- Knit fabric. This design has negative ease and works best in a stretchy spandex blend. I prefer cotton spandex as it has better recovery than rayon spandex and it is more breathable than most polyester spandex. You’ll need 1 yard of 58 inch wide fabric. Add another 1/2 yard if you want to add in the shelf bra. If you want contrasting bands, then you’ll need 1/8 yard for them if you can cut very carefully. If you aren’t confident in your cutting get 1/6 of a yard.
- For the shelf bra you’ll need 3/4″ plush bra band elastic (affiliate link), 25.5 inches for the size small and 50 inches for the size 5X
- Sewing machine and basic notions – pins, needles, thread, etc.
- the pattern, see next section.
- Optional – if you want the shelf bra to be more supportive, baste a layer of bra mesh to the wrong side of the shelf bra fabric pattern pieces.
Note that you don’t need a special sewing machine to make this, you can sew stretch stitches as long as your machine can do a zig-zag stitch. Here’s a post with more about stretch stitches.
How to Get the Pattern
To get this pattern, you must either be a free newsletter subscriber or have purchased a gallery access pass. Then click your preferred option from the buttons below. Existing newsletter subscribers should look at the bottom of the most recent Friday newsletter for the current free pattern gallery password. If you purchased the all access pass you’ll log in to your shop account to download the pattern. Note that the free version of the pattern does not have printable instructions so you’ll need to refer to this post for instructions.
 |  |  |
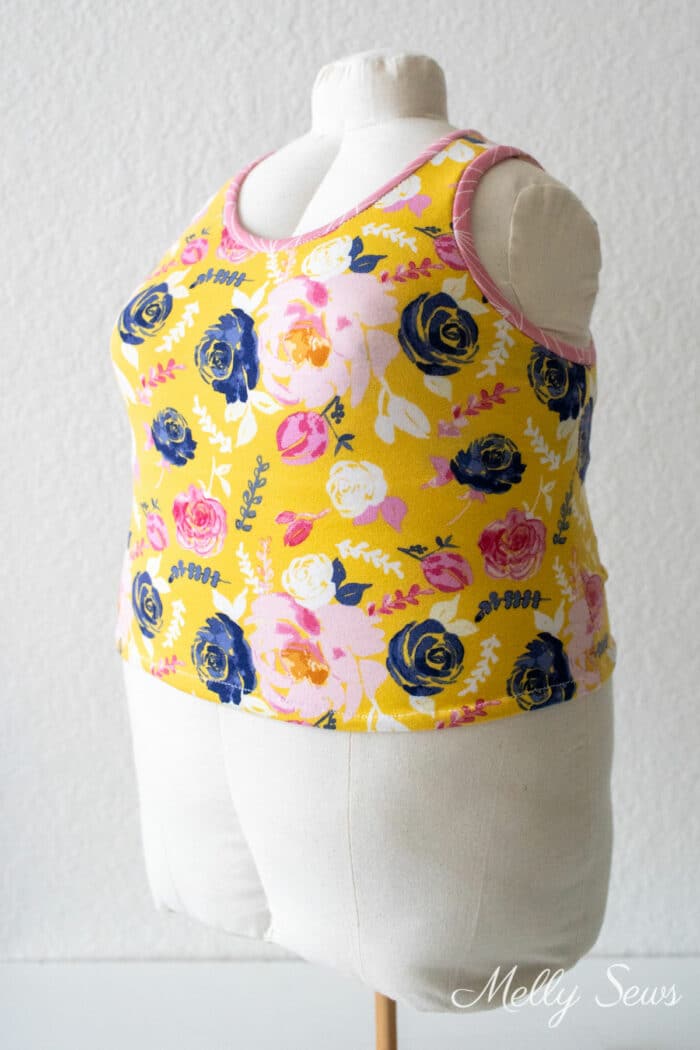
The free racerback pattern comes in two sizes, a size small for bust measurement of 34 inches and a size 5X, for bust measurement of 59 inches. If you need a different size, you can resize according to the instructions on this post.

Also note that the size 5x has only been tested on my to scale dress form, not on a person. I’d suggest you measure carefully and check fit with less expensive fabric before you cut the good stuff. The pattern has a 1/2 inch seam allowance unless otherwise specified.

For the size small, print pages 1-6. Add pages 11, 13-14 if you want to add the shelf bra to the size small. For the size 5x print pages 1-12, then add 13-14 if you’re adding the shelf bra.
Video Tutorial to Sew a Racer Back Tank Top
You can watch a video of how to sew this tank top below or on YouTube here. There are also written instructions below the video.
DIY Racerback Top Instructions
If you prefer written instructions to sew your top, you can find those below. Refer back to the video tutorial above for any steps that don’t make sense.
- Begin with the shelf bra. If you’re not sewing the shelf bra, skip to step 5. Start by placing the front and back bra pieces right sides together and sewing the side seams with a stretch stitch.
- Match the side seams of the shelf bra to each other so you can mark center front and center back.
- Butt the ends of the bra elastic together and use a wide zig zag stitch to join them. Next, mark quarter points on the elastic.
- Place the plush side of the elastic against the right side of the shelf bra fabric with the picots pointing toward the fabric. After that, match the quarter points and the straight edge of the elastic with the raw edges of the fabric. Stretch the elastic flat against the fabric as you stitch using a zig zag stitch on the edge. I use a 2.5mm wide and 2mm long zig zag stitch.
- Place the front and back right sides together and sew the side seams with a stretch stitch.
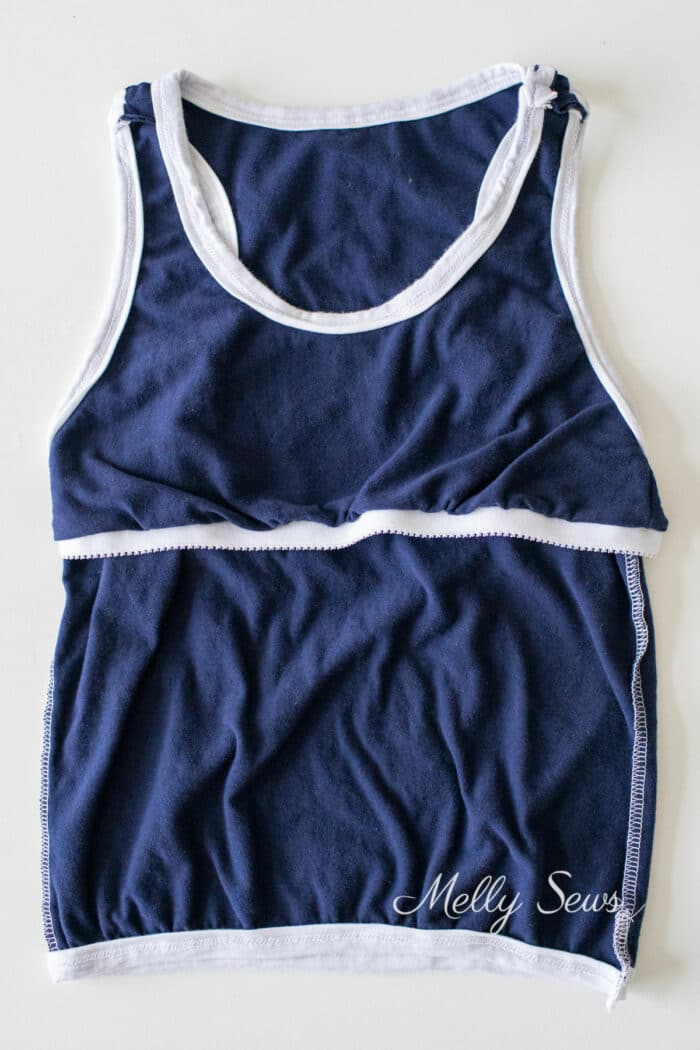
- Skip this step if you’re not adding the bra. Place the shelf bra inside the tank top, with fabric wrong sides together. Match the neck opening and arm openings to each other and pin. Turn inside out, so the shelf bra is the outer layer.
- I used my cover stitch binder to finish my tank top at this point. I’m assuming most sewists don’t have this specialized equipment, but if you do and would like to see how to use a cover stitch binder to finish edges, check out this post.
- Match shoulder seams right sides together. There will be 4 layers of fabric if you’re sewing the bra. Stitch each shoulder seam, using a stretch stitch.
- Fold the arm and neckbands right sides together and stitch across the short ends.
- Mark quarter points on each armhole and the neckline. Note that the shoulder seams come forward onto the front of the tank, so the quarter point is behind them if the side seams are one quarter point.
- There are two ways to attach the binding. Method one is to fold the band wrong sides together and press it. Next, match the quarter points and stitch through all 3 (or 4 with the shelf bra) layers of fabric at once. Stretch the band flat against the armhole. This method is faster, but it does result in open seam allowances on the inside of the garment.
- The second method is to pin the band to the opening right sides together, matching quarter points. Stretch the band flat as you stitch it on. Then fold the band to the inside around the seam allowance, covering the stitching line from the previous step and pin. Finally stitch the band again, on the right side, close to the seam line. This will secure the fabric on the wrong side. This takes longer but results in all the seam allowances being enclosed within the band.
- Finally, fold the bottom edge of the tank top to the wrong side and stitch a hem. Here’s a post with methods to sew knit hems.
- Note that I hemmed my tank top with my cover stitch binder as well. I did this because I didn’t have enough fabric so I cut my tank top short and I didn’t want to lose any length. Therefore the tank top pictured here is shorter than the pattern.
Irene Denbesten
I need help arranging the pattern pieces for making the racer back top. The lines just don’t match up. Is there a picture of how it should look?
Thank you