
Tulle is a thin, sheer fabric that can be used to add volume and soft details to clothing. Learn how to sew tulle in this post.

Hey y’all, today I have a tulle-torial for you on how to sew tulle. See what I did there? LOL! But seriously, today I’ll be sharing my best tips to sew with tulle without losing your mind. Tulle is a sheer mesh or net fabric that can be used as an underlayer (think petticoats) to support a garment. It can also be used as a top layer to add dreamy softness and volume to a dress or skirt. Tulle is what you most often see in wedding dresses, on a tutu, and in bridal veils.
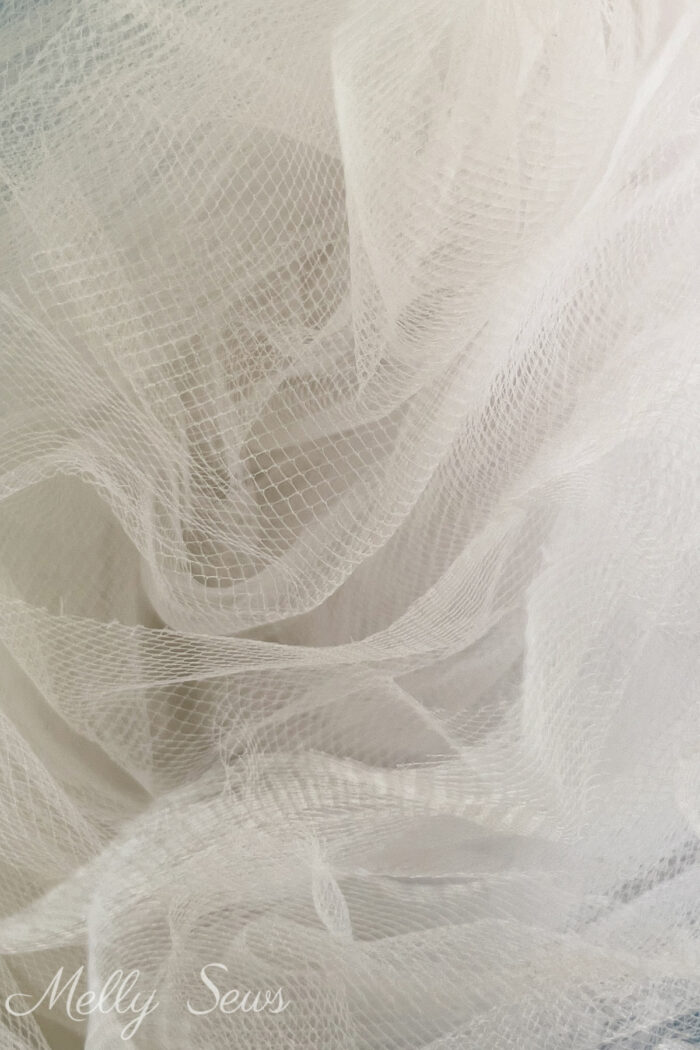
Tulle is a delicate fabric that can be a pain to sew because it is so lightweight and sheer. It can be prone to snagging, tearing and shifting. It is most often made of nylon fibers in a netted pattern. So here are my best tips and tricks for sewing with tulle without pulling out your hair.
You can watch my best tips for sewing tulle below or on YouTube here.
Types of Tulle
First, let’s look at different types of tulle. Most readily available tulle in stores is made from nylon fibers. If you search specialty suppliers, you can find silk tulle and cotton tulle. Embroidered nylon tulle is also somewhat easy to find, and is another beautiful formal fabric option.
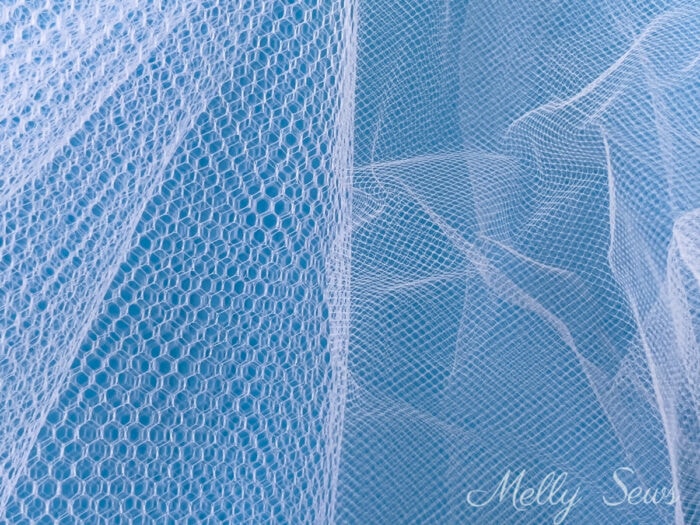
The kind with larger holes (on the left below) is made with slightly thicker fibers and is therefore stiffer. This is perfect for layers in a petticoat, to get the maximum volume with the least amount of fabric. The tulle with smaller holes is also sometimes called illusion mesh or netting. It works well on the outside of a garment, as a veil, or to add subtle volume under a skirt or sleeve.
When shopping, I always buy more tulle fabric than I think I’ll need, and I often use all of it. It’s easy to cut out extra layers if the skirt gets too poufy, as tulle doesn’t fray.
Needles, Thread and Stitch Length for Tulle
I don’t switch needles and thread for tulle away from the basics I always use – an 80/12 universal needle and all purpose polyester thread. I do often shorten my stitch length for tulle. You can also switch to a zig-zag stitch instead of a straight stitch to make it harder for the thread to pull out of the seam. Use caution with wide zigzag stitches, however, as they can cause tunneling in your tulle.
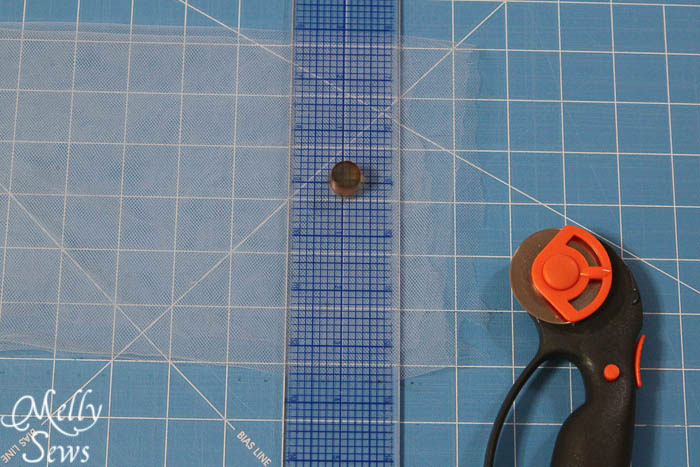
Use a Rotary Cutter
If possible, cut tulle while folded, using a rotary cutter, ruler and cutting mat. This is the best way to get a straight edge.
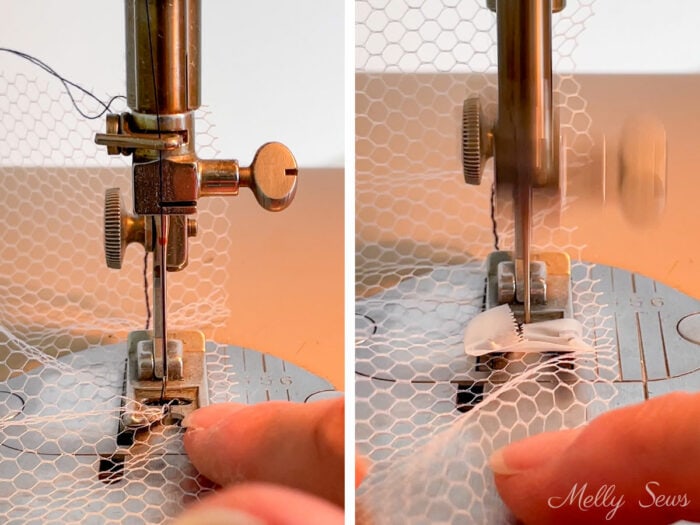
Transparent Tape to Help with Snagging
Transparent tape can be one of your best friends when sewing with tulle. In fact, it’s a staple sewing notion in my studio in general; here’s another way I love to use it.

Yup, plain transparent tape. You can use it to hold tulle together to sew (then tear the tape off after sewing). You can also put a piece on the bottom of your presser foot to keep the “toes” of the foot from getting stuck in the holes in the tulle and snagging it. This is particularly a problem on my vintage sewing machine which has a very narrow presser foot and not as many options to change it as my newer machine.
This post contains affiliate links. As an Amazon Associate I earn from qualifying purchases. All affiliate links are identified with (affiliate link) after the link or a commissions earned statement above the link(s).
Gather onto Water Soluble Stabilizer
When gathering tulle, I like to use my ruffle foot and just gather a whole lot more in length than the pattern calls for. That way I can add several layers to taste, cutting off my tulle ruffle at the length needed. And on the off chance I have leftovers, well, that’s less work for the next project.
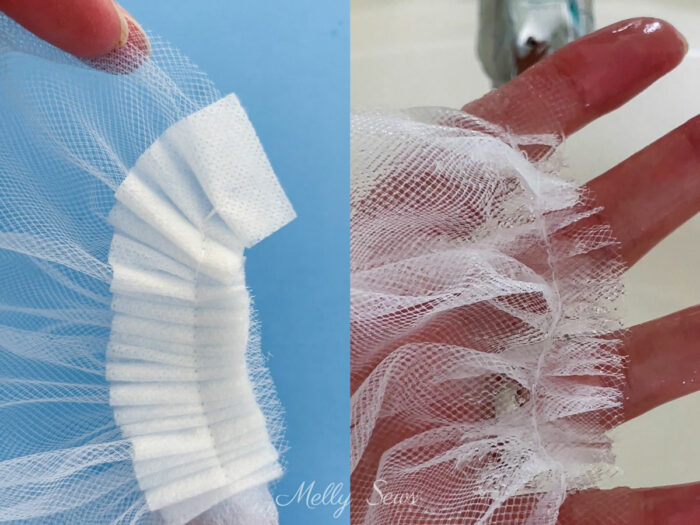
Many times, the thread in a seam on tulle can pull right out because the fabric is literally full of holes. This happens especially when gathering, so I like to gather my tulle in several layers (3-4) at once onto strips of water soluble embroidery stabilizer (affiliate link). I put one strip above the tulle and one below. This also prevents the ruffle foot from snagging and tearing the tulle.
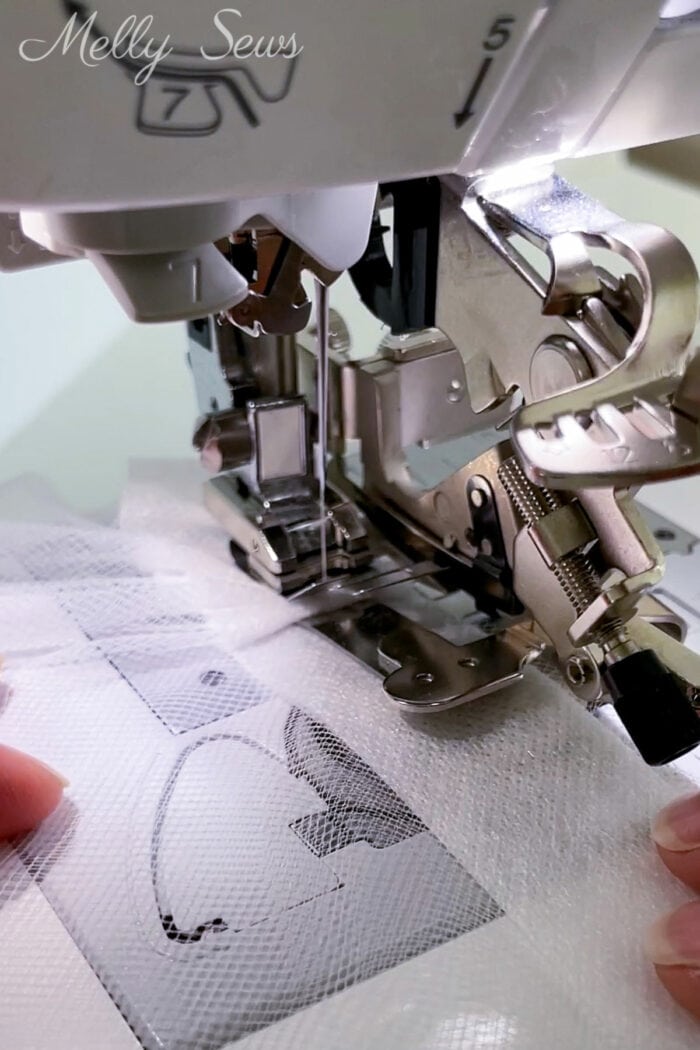
Once you’re done gathering, you can stitch the tulle ruffle onto your garment if it’s washable fabric. If it’s not, wash out the stabilizer before sewing the ruffle on.
The stabilizer also gives you an easy to pin and sew edge to work with, making tulle wrangling a cinch if you can leave it on.
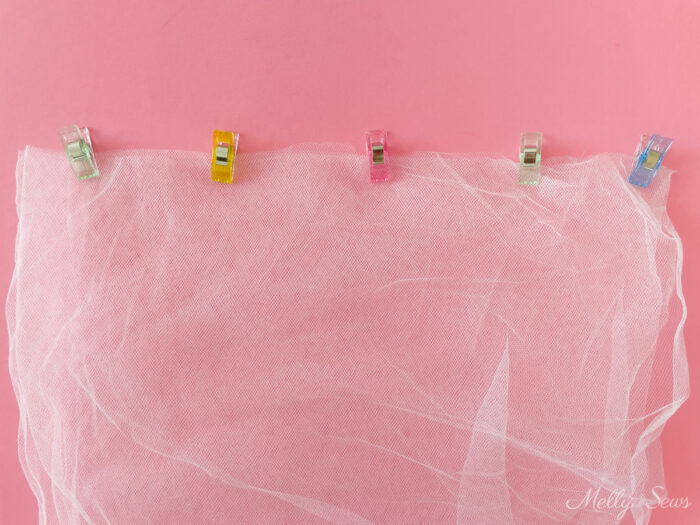
Use Clips, Not Pins
Because of the open net structure of tulle, pins can easily fall out. Clips (affiliate link) work much better for holding the layers together. If you don’t have clips, safety pins can also be very effective. Since they close on themselves, they don’t easily fall out.
Use a Pressing Cloth
If you have bothersome wrinkles in your tulle, you can straighten them out with an iron and a pressing cloth. It’s important not to put the iron directly on the tulle as it can easily melt right onto your iron.
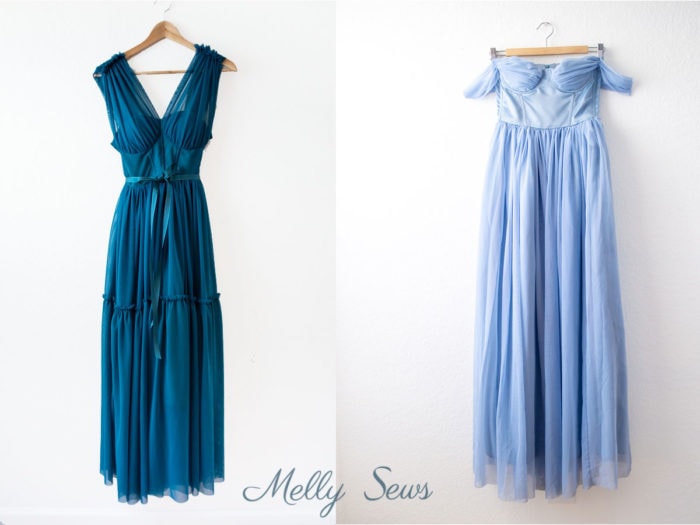
Don’t Hem
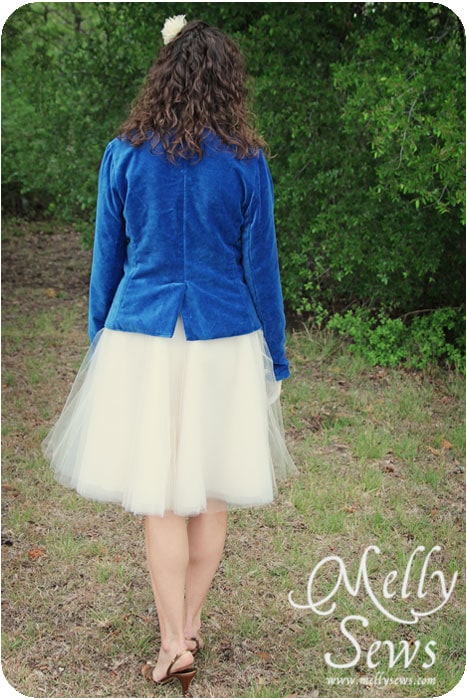
Hemming tulle is difficult – it’s hard to fold a small edge to stitch on the sewing machine. A rolled hem foot can help, but even with that and a short stitch length you run the risk of the thread just pulling out of the hem. Hand sewing can work, but you’ll need to make tiny folds and tiny stitches. So I prefer to just cut the tulle to length and leave it unhemmed. (Note that the dresses below are nylon stretch mesh, which is slightly different than tulle and has more drape, but the idea is the same).
Here is a tulle circle skirt I sewed. All the layers of this are also unhemmed. Tulle skirts like this one generally have many layers of tulle for volume over a base fabric to make sure the skirt isn’t see through.
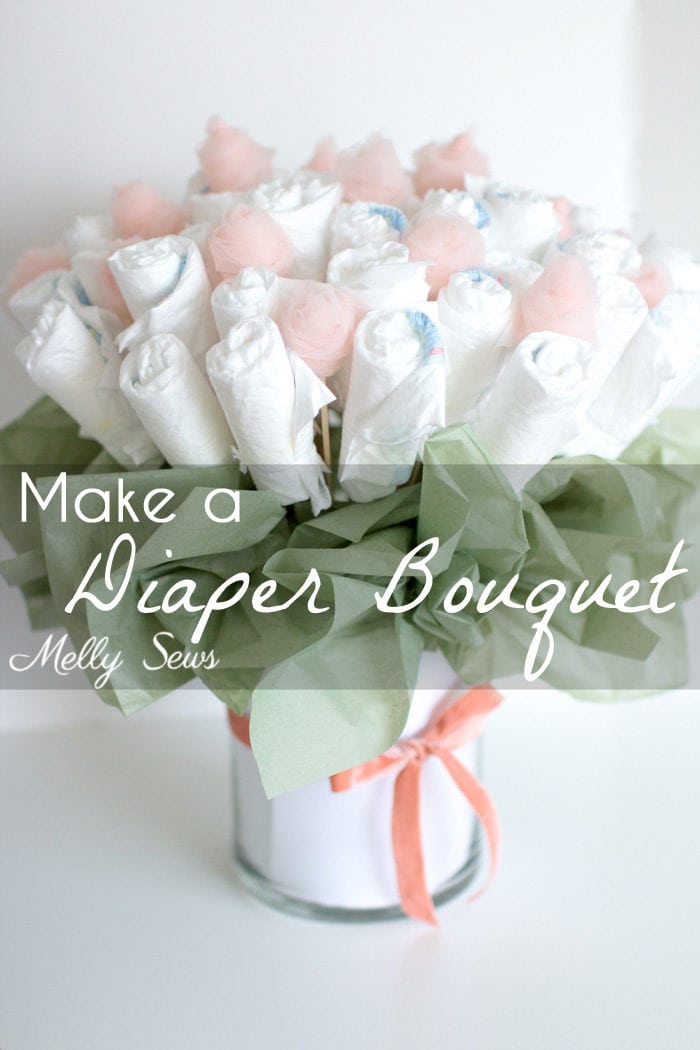
I hope you’ve found some great tips for sewing tulle, as it really is a beautiful fabric in the right applications. And just for fun, below you can find a few tutorials with minimal or no sewing that use tulle.


Rachel
I’ll have to give the bias tape a try. My first run with mass amounts of tulle was an -experience.
Emily
Tape and bias tape- great ideas!
Karla
thank you!!!!
Lisa
I’m so happy I came across your site. My granddaughter will be a flower girl in a July wedding. I am sewing her dress and the bride wants it to be similar to hers (which happens to have A LOT of tulle on the skirt). I’ve never
sewn that much tulle before and want it to look good. That’s for the great ideas, just in the nick of time!
Virginia Fynes
Great tips!!
Bonnie
Awesome! Thanks for the tip…if we don’t have a ruffler foot, how would we use your bias-tape trick? I’m thinking there’s not a way. In that case, do you have another suggestion for how to get the stitching not to pull out? I’m about to make a tutu for my 5yo this weekend. 🙂 Thank you!!
angie
I don’t have a ruffler foot either and was wondering the same, so I too would appreciate the reply, thanks for your help! 😀
Melissa Mora
Try folding small pleats in your tulle and pinning it to the bias tape.
Alena
Your tip with ruffle foot and bias tape is great! I am going to make petticoat and this will be nice help.
Bev
Perfect! Thanks!
Shannon
What type of thread and tension so you suggest? I’m having trouble sewing my ribbon edged tutus that I love so much!
Tammy
I’ve been trying to use my ruffle foot to gather tulle. It does fine set on 6 (a tuck every 6 inches) but when I set it on 1 (to tuck every stitch) My bobbin thread turns to a rats nest and tangles so badly that the entire machine jams. WHAT AM I DOING WRONG???
Melissa Mora
Often when you’re sewing a thin fabric there’s not enough “meat” for the threads to hang onto without tangling upper/lower thread. Add to this the fabric barely feeding because of the ruffling, and you can run into issues. Have you tried gathering the tulle to a strip of bias tape as shown in this tutorial? The bias tape might provide just enough fabric to help prevent the rat’s nest issue.
Pam Westbrook
Thank you for the tape info.
Kristie
Will it work to sew on the tulle and a layer of tissue paper with basting stitches and then gather it and sew it on to the bias tape instead of using a ruffler? I haven’t tried it yet, just wondering.
PATTERNPILE.com
Some really valuable information and tips. I’ve honestly never sewn with tulle, and I would never have thought about using ta0e etc. Thank you very much.
Marshall Noblitt
thank you. Very helpful. Allowed me to keep my sanity.
Courtney
Ahh!! So helpful!! I also am sans-ruffler foot and JUST went to the store…don’t want to drive across town again. Another tutorial I saw said to use a super-fine needle so I went and got the smallest for my machine. I’ve also heard that some machines allow you to decrease the foot tension and that that might help? I’m not sure if mine does or not, but I’m going to try that as well.
Mary guidry
Thanks for sharing Great idea
Janet z
I have had great luck using an older top to the Bic straight pen and pushing the tulle under the foot evenly as I sew. It works great with double layers of tulle and I have done it many times making petticoats for ballet costumes and bridal gowns. I have a ruffled but much prefer this method.
Kristen
Thank you for your detailed DIY. My teenage girls are off to Paris in three weeks and wearing tulle skirts is an absolute must. Your DIY is making it possible to give them each exactly what they are seeking in multiple colors and lengths. You have saved my budget.
Bonjour!
Paula
Thanks for the insight on how to gather tulle on bias tape! It will make it so much more stable and I don’t have to worry about tearing the tulle while gathering.
bisi
gonna try out the bias tape guess it’ll make work easier
Kathy
Thank you.
Lorraine Hotchkies
Thank you it worked beautifully!