
An overview of how I sewed two different bustier dresses – one drafted from measurements, another from a modified purchased sewing pattern
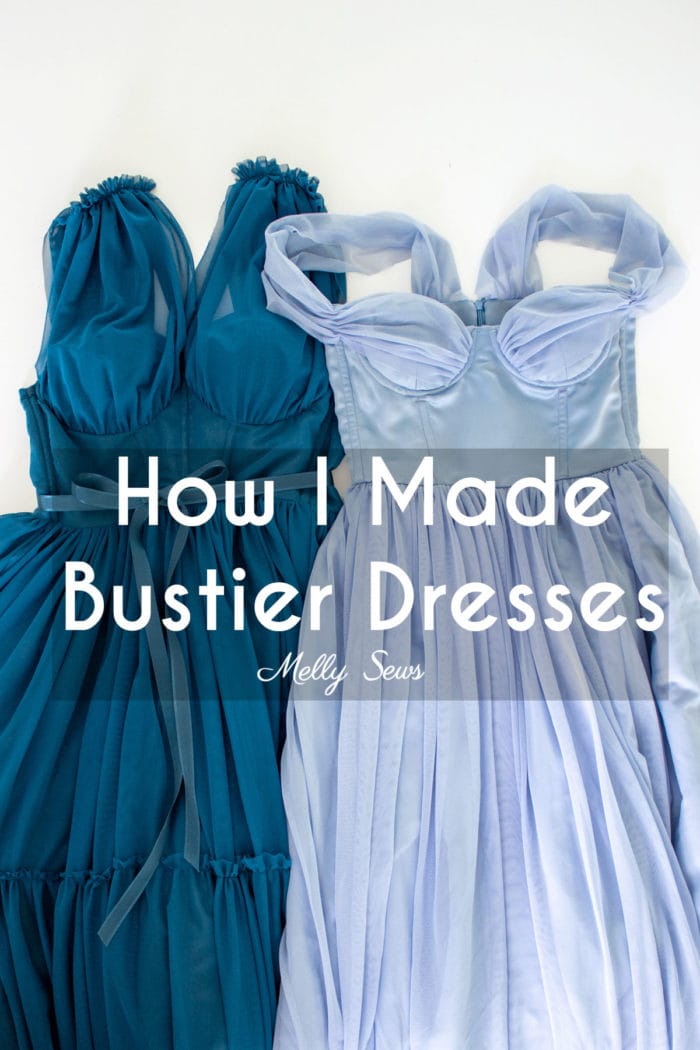
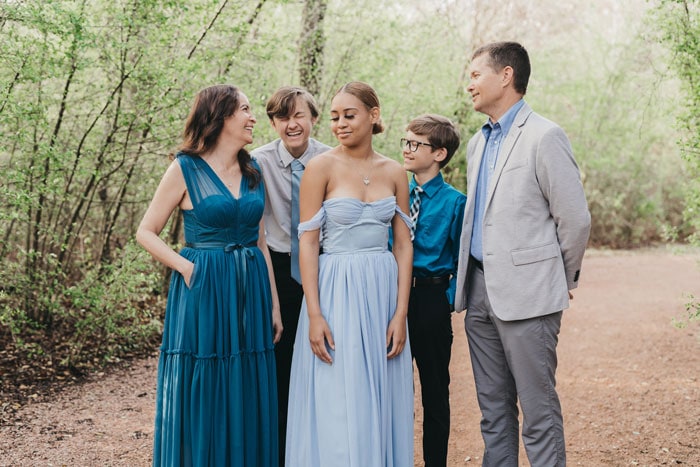
Hey y’all, today I’m sharing an overview of how to sew a bustier dress. As I shared over the months of March/April on Instagram, I sewed these two bustier dresses for a special occasion in our family – the finalization of my daughter’s adoption. I documented a lot of the process of making mine on Instagram, so in this post I’m going to be gathering all that information in one place.
What this post will not be is a step by step bustier top tutorial on how to sew your own dress. I’m not going to be walking through the process of how I drafted my own pattern, but I will share the resources I used for patterns, fabric and sewing these dresses. I’ll also share a huge setback I had that kept me sewing until late the night before our court date.

And since the subject of adoption comes up in this post, I want to add that we followed my daughter’s lead on whether and how to celebrate her adoption. Foster care and adoption encompass complicated situations with complex feelings. I want to make sure to acknowledge that complexity. Adoption is anchored both in loss of a first family and gain of a second one. Holding space for that both/and is important.
How I Sewed Bustier Top Dresses
I made a video talking about my process of sewing these bustier dresses which you can watch below or on YouTube here. I’ve also got written details and more pictures below the post if you prefer.
Making a Bustier Pattern
This post contains affiliate links. As an Amazon Associate I earn from qualifying purchases. All affiliate links are identified with (affiliate link) after the link or a commissions earned statement above the link(s).
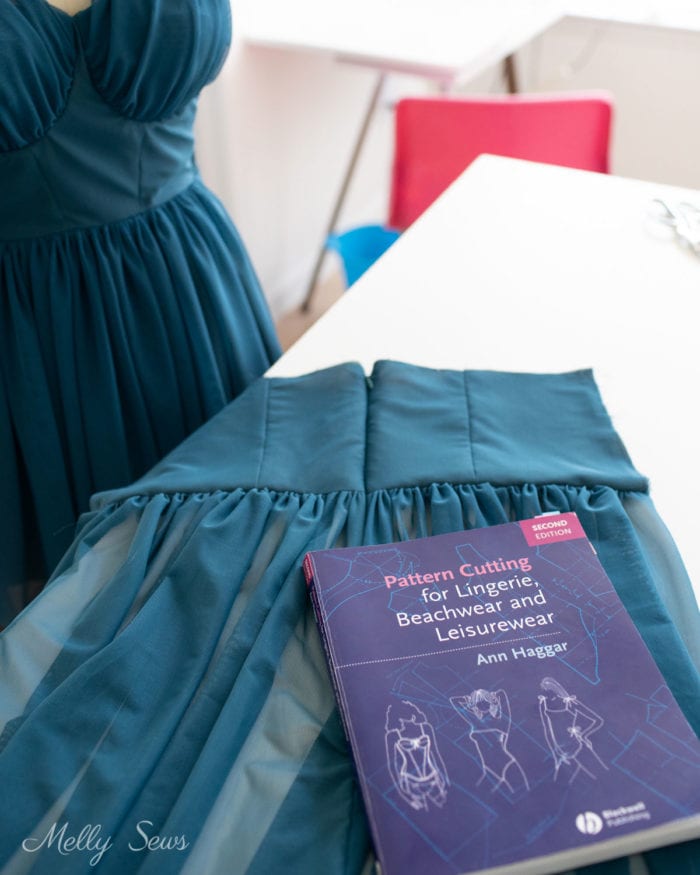
To make the pattern for the bustier part of my dress, I started with Pattern Cutting for Lingerie, Beachwear and Leisurewear by Ann Haggar (affiliate link). I originally bought this book to improve my swimwear drafting skills, and still mostly use it for that. And now that I’ve drafted and fit the corset pattern from the book, I feel like I might adapt parts of it for swimwear too.
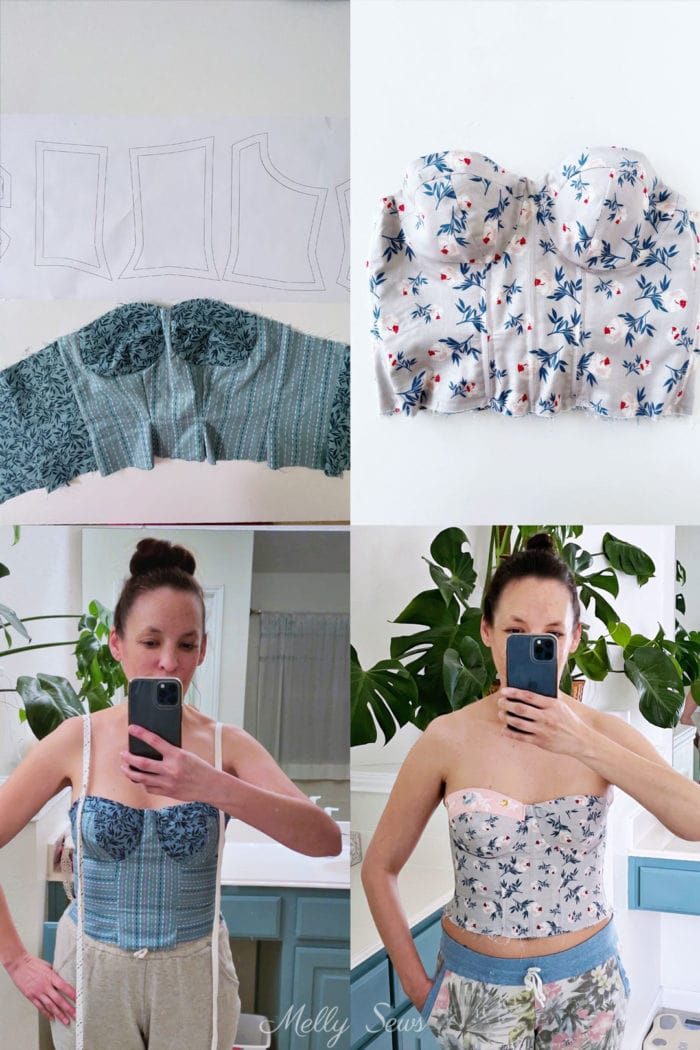
Fitting a pattern like this in a woven fabric took many iterations. I made 4 muslins, then added one more change (the pink band on the gray cup above) before I cut out my good fabric.
Fabrics and Supplies
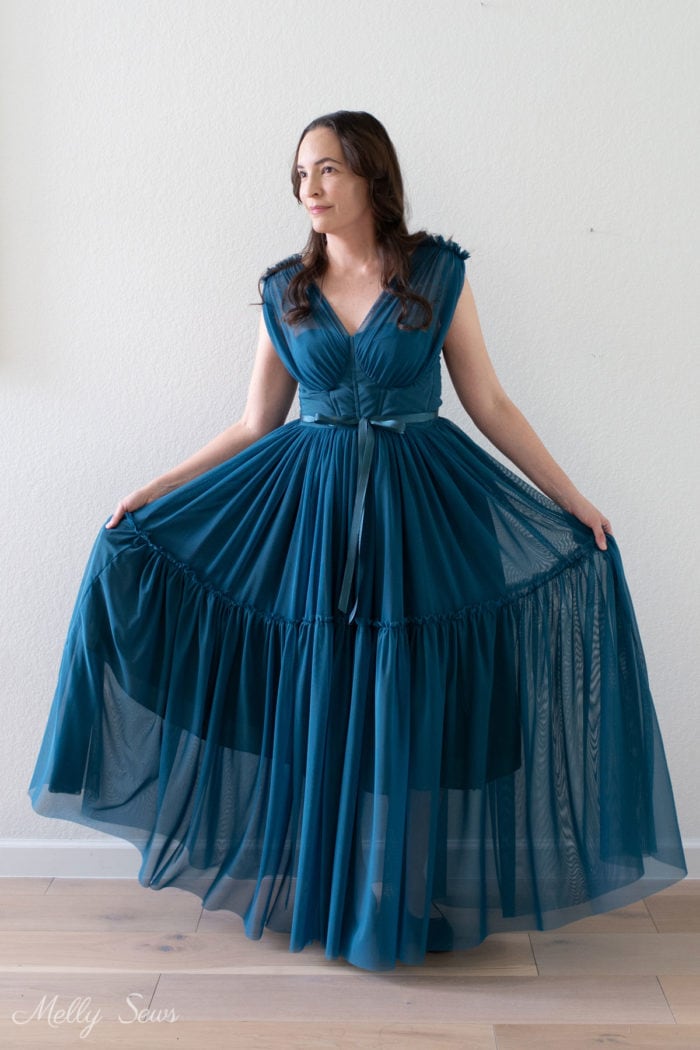
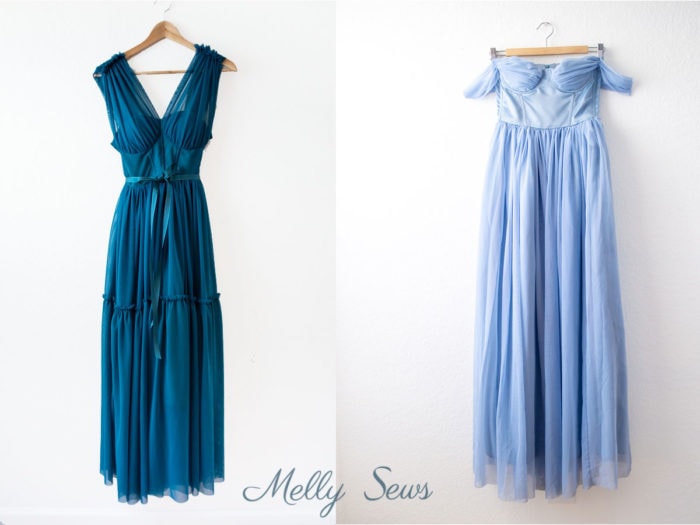
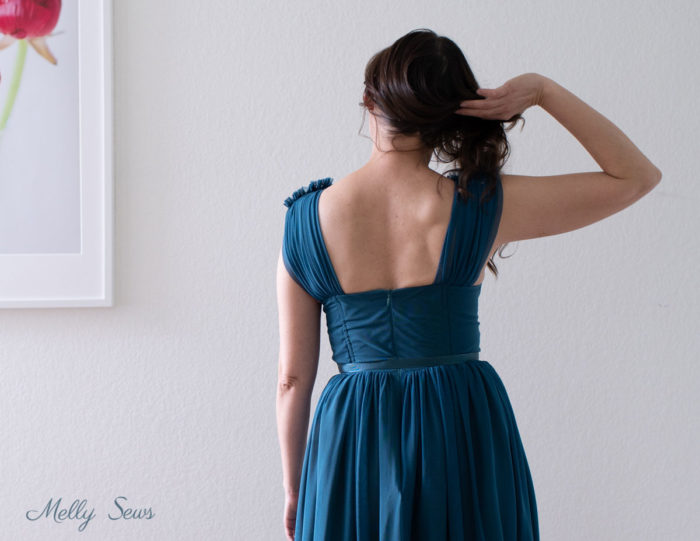
To sew my bustier dress, I used silk tissue fabric from my stash for the lining and ordered nylon mesh from Spandex World for the main fabric. For my daughter’s dress I also ordered the nylon mesh, but for the bodice and lining of her dress I bought some duchess satin. I really wish I had done that for mine as well, because the silk tissue was very difficult to work with.
In addition to the fabrics, thread and my sewing machine, I also used molded bra cups, underwire, invisible zippers and plastic boning for both of our dresses. And the molded bra cups caused a last minute issue in my dress that almost derailed my whole plan for this dress.
My plan for the dress/order of construction went something like this:
- Sew back in outer fabric and in lining
- Sew front in outer fabric and in lining
- Attach top tier of skirt to front, repeat for back
- Insert zipper
- Cut straps and attach to outer fabric top of the bustier
- Insert cups
- Sew front and lining together along top, repeat for back
- Sew side seams
- Add boning by sewing outer fabric to lining to create boning casings
- Finish straps at shoulders
- Attach bottom tier of skirt
I did all my muslin fitting without putting in the bra cups. This is because I originally planned to use cut and sew bra foam to line the cups, which I knew from use in swimwear shouldn’t alter my fit much. But when I had my final pattern pieces ready to cut, I realized I did not have enough bra foam to do that, and I didn’t have enough time to get more. So I bought the molded cups and inserted them. And this is where the problems started.
Sewing Setbacks
The morning before the adoption was scheduled, I just needed to finish the straps and the bottom tier of my dress. I tried it on to double check strap length and I REALIZED I COULDN’T ZIP MY DRESS. Like I was nowhere close to being able to zip it. I took it off and compared it to the last muslin I had made and realize it was TWO INCHES SMALLER. I compared pattern pieces, which seemed to match my dress, and then I was stumped. Until I thought about the fact that the only change I had made was to add the bra cups.
The thickness and inflexibility of the cups is what was making the top smaller. I confirmed this with the tape measure – each piece of the bodice measured the same as my muslin but the overall circumference at the bust was not the same. Luckily, I had used 1/2 inch seam allowances to construct my bodice AND there were 8 total seams I could let out. I left the center front to side-front panel seams alone so I wouldn’t have to take the cups out, then let out all the other seams including the zipper to gain back the two inches I lost. And then I still couldn’t zip it.
The Solution Worked
At that point I called a friend to come zip me in to check that it was possible. I’m not sure if it was stress or what, but the same dress I could barely zip into that day I easily zipped myself into on the day I took the pictures in my studio.
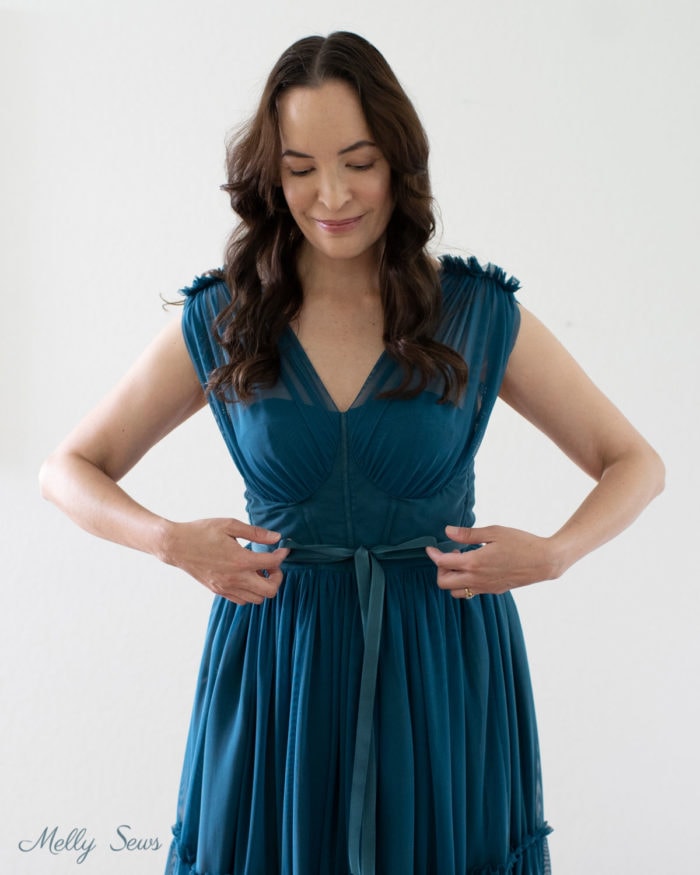
With the zip finally zipping I finished the straps and the bottom tier. I’ve got a tutorial showing the same tier technique here, the only difference is that I didn’t have to finish the top edge of my tier because nylon mesh doesn’t fray. (I also didn’t have to finish the bottom edge for the same reason).
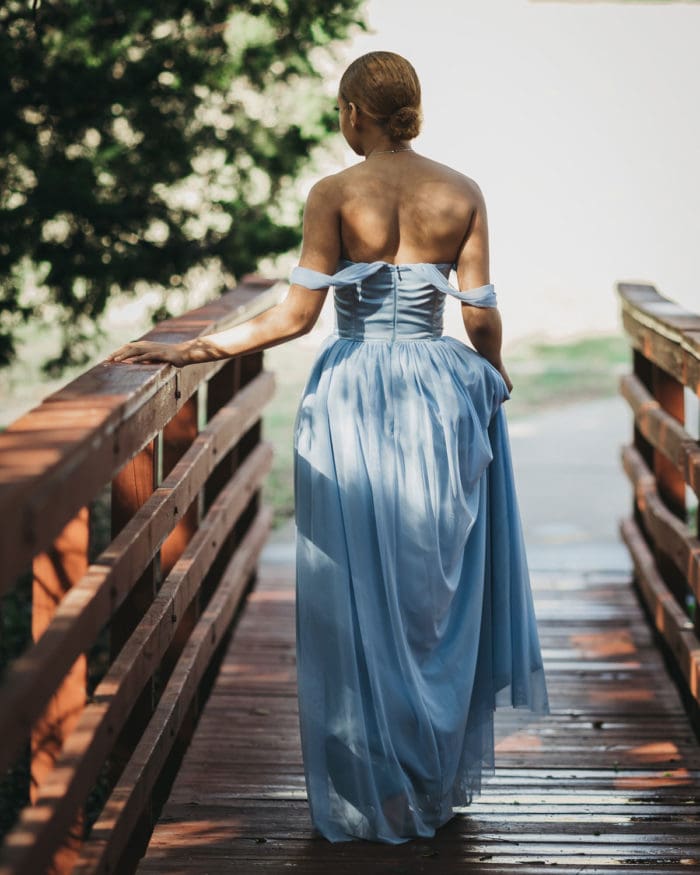
Buying a Pattern
In truth, if I had found the Rose Cafe Bustier Dress pattern sooner, I probably would have fit it to myself as well for my bodice. But since I had already drafted my own and gone through the whole muslin process, I knew how long it would take to do the same for my daughter. That’s when I went to look for patterns and decided to give this one a try. I was glad the size I sewed up as a muslin for her fit on the first try. That made her dress much faster to sew. I finished it before I finished mine, even with additional time added as we played with different options for the arm drape we eventually went with.
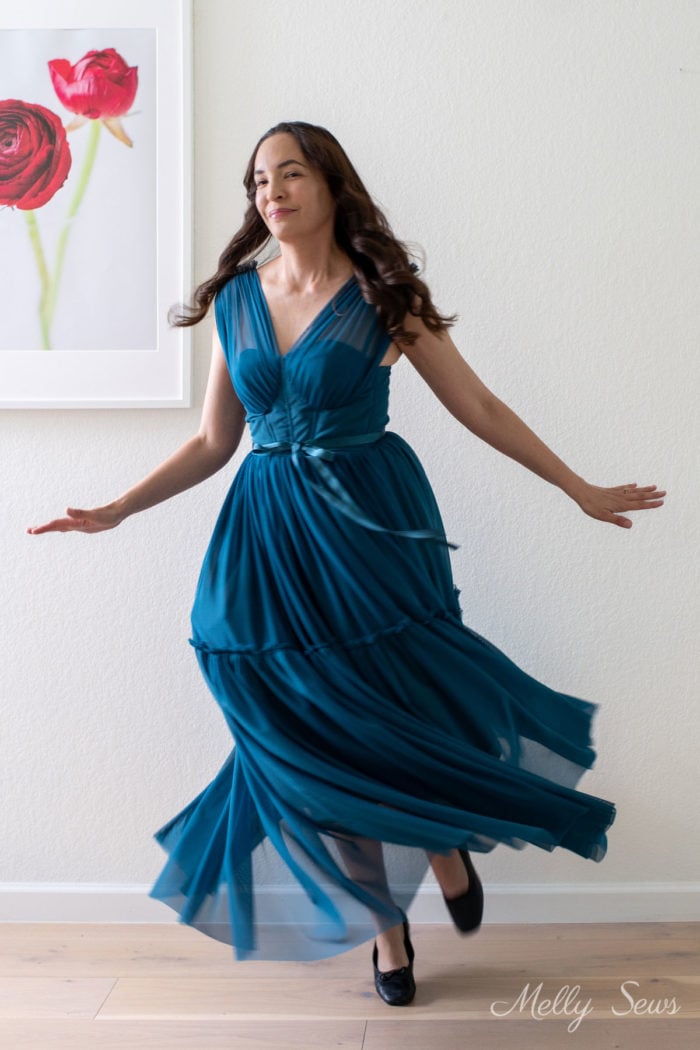
In the end, I am so glad I persisted even after the sewing setbacks, and that we had a great photographer who captured images of that day.
Barbara Showell
Both dresses are beautiful. That fabric might have been tricky, but the finished product has you looking like a queen. Wishing your family many more days this happy in the future.
Mea Cadwell
You did a beautiful job on both dresses!! I could not imagine the stress you were under to get them done in time. And congratulations to you all around. 🙂
S
Such Beautiful dresses! You truly are so skilled and talented! Congratulations on the new addition to your family!
Yvonne
The dresses came out beautiful! What a keepsake for a monumental day!!! Wishing you and your family much happiness 💕
Jeanne
Absolutely gorgeous, both of you! What a labor of love for a very special day. Congratulations and many blessings to your family!
Marty
Your dresses are gorgeous, but your family is even more beautiful. Such happiness shines in all your faces.
Jean
These dresses are so lovely. so solid old Hollywood glamour meets Cinderella.
Sharon Rothwell
Both dresses are beautiful. I think You are such an inspiration for sewers. Congratulations on your wonderful day for all your family.
Abbey
The whole learning process was totally worth it! Both dresses are beautiful and you both looked fabulous 🤩🤩🤩
Pennyfp
Who else got verclempt when the first dress photo appeared and there they were, mother and daughter!?!!! I’d love to hear your daughter’s side of the story, “and after all that, her dress wouldn’t zip! But she just told me…” 😆
Because I’ve always been here for the sewing, I’m impressed with the dress, of course. Your ability to persist and fix it is an incredible lesson its own. “How to make 2″ of fabric appear!”
But my heart is full of more joy for your familial celebration. So much respect for you and your whole family. 💛💛💛