
Need to make your dress bigger without using extra fabric? Follow this step by step guide and learn how to let out a dress!
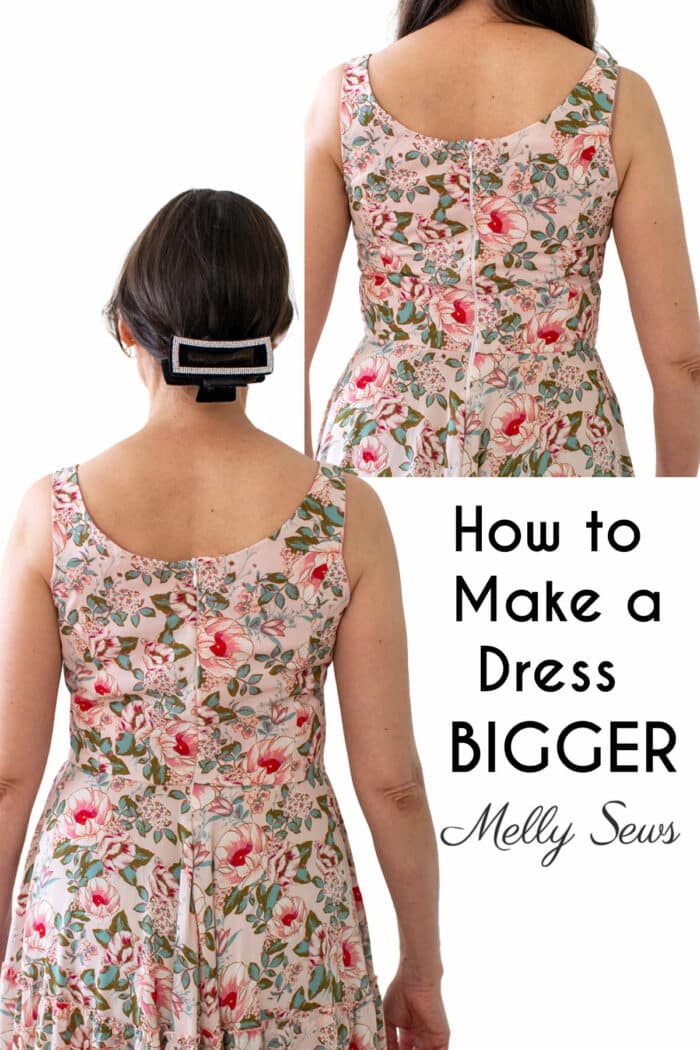
Hey y’all, today I’m going to show you how to make a dress bigger. In my 30+ years of sewing, especially the years spent sewing for the theatre, I have had a lot of dresses that I’ve had to let out. The DIY technique I’ll show you today will add up to a couple inches to a gown. This works on formal gowns and casual dresses. I’ll show you the same steps a professional tailor would take to enlarge a dress.

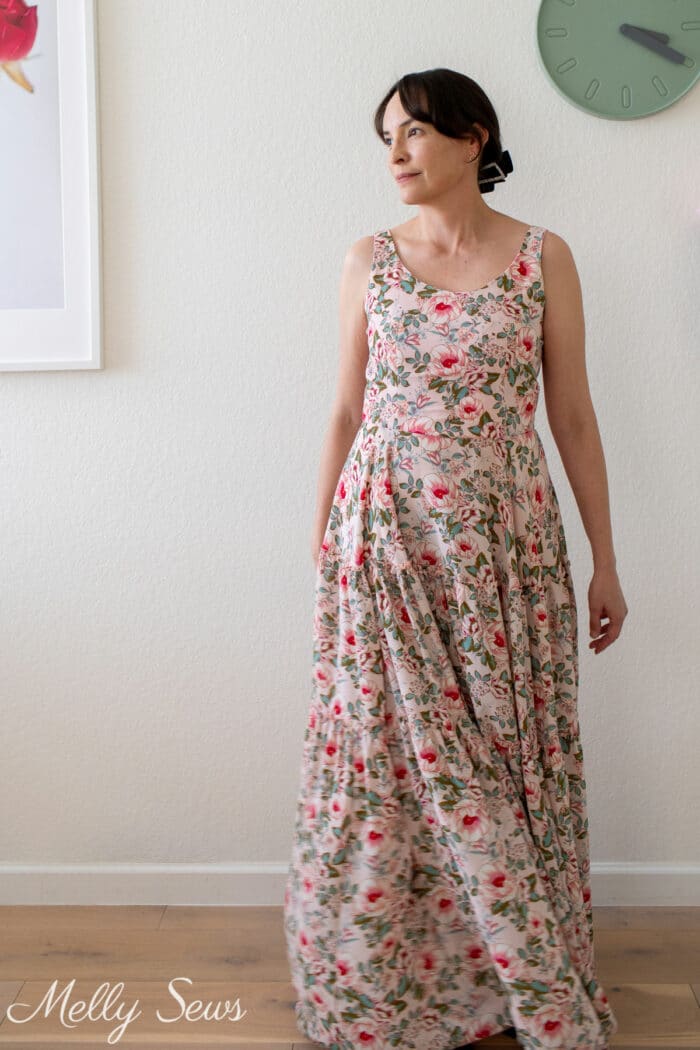
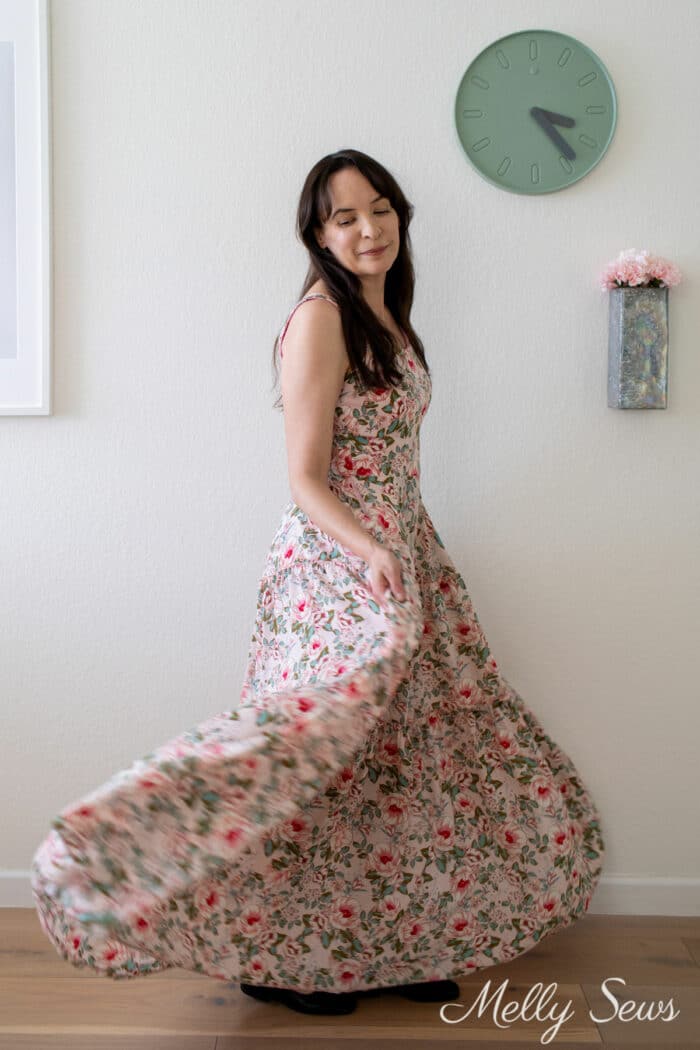
The dress I’m showing in the images here was one I sewed for myself six years ago, and my body shape has changed some since then. It still zips, but it’s a little tight. It is also princess seamed, making it a great candidate for this technique. Above is a picture of me wearing it at a wedding shortly after I made it. I know I’ve shared this on Instagram a few times, but I don’t think I’ve ever posted it here on the web site. I kind of miss that shorter hair.

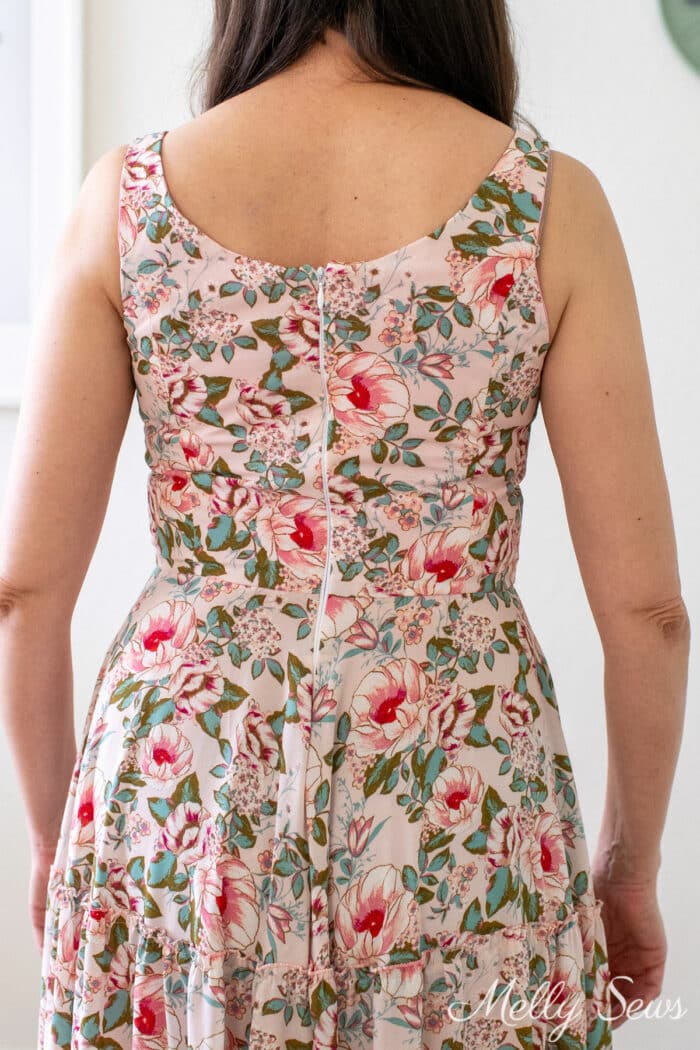
And above and below are more recent pictures in my studio. The waist pinches me. You can also see how the invisible zipper is visible down my back but not in my skirt because the dress bodice is tighter.
Assess The Dress And Fabric
The first step to letting out a dress is to determine if you can actually let it out. You’ll need to assess the construction and fabric to do this. Below are the things you want to look for.
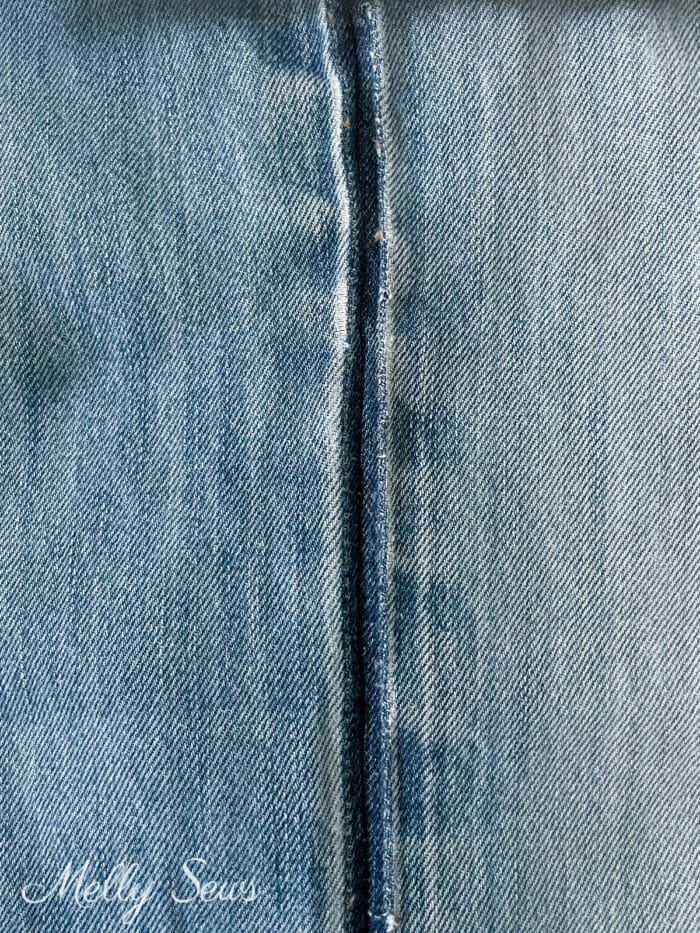
How big are the seam allowances?
Since I sewed this dress, I knew I had used 1/2 inch seam allowances. That gives me wiggle room. But if you’re working with a ready to wear dress that has 1/4 inch seams finished by a serger, you won’t be able to add as much room and the new stitching lines won’t have as much fabric behind them if fraying occurs.
What kind of fabric are you working with?
You can’t go down to tiny seam allowances with a fabric that frays. My dress is made from polyester crepe, so 1/4 inch allowances are the smallest I’m comfortable with. However, if you are working with a knit fabric, going down to 1/8 inch allowances isn’t a big deal. Also consider…
How the fabric is dyed?
If the fabric was dyed with indigo or another type of dye that fades over time, letting it out might reveal darker dyed areas around each seam of the dress. That would make the alteration very obvious. You may not be able to tell without unpicking part of a seam. But if your dress is denim or 100% cotton or rayon, know that the dye fading is a strong possibility.
How is the original sewn and finished?
No matter what, you’ll be doing a lot of seam ripping to do this alteration. It’s easier to remove straight stitches than serged ones. Though this tip for serged seams helps. Lined bodices are easier to alter than those with French seaming.

How many vertical seams does the garment have?
This combined with the seam allowance width will determine how much you can let out. You can get more extra room with 7 panels of a princess line ensemble than you can with just two side seams of the dress.
Does the dress have sleeves?
This is a consideration because if you let the bodice out at the armscye point, then you’ll have to let the sleeves out too. If you’re working with a sleeveless bodice you don’t have to worry about this.
Will you be able to let this dress out enough to make it fit?
See the next section about measuring before you commit to this alteration.
Measure Everything
Grab your measuring tape and start by taking your bust, waist and hip measurements. If the dress is not fitted around the hips, you can skip that measurement. For example, my frock has a circle skirt on the top layer. So I skipped the hip measurement. Measure the bodice (and skirt, if needed) at the same points. You can take the dress measurements by laying it flat and doubling the side to side measurements.
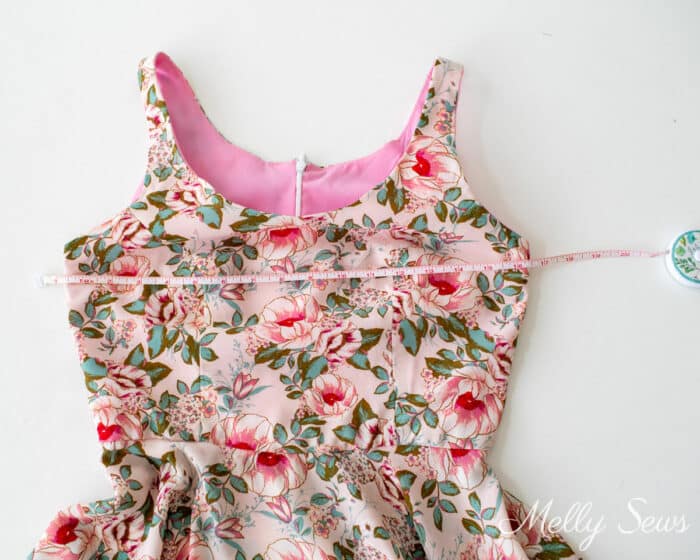
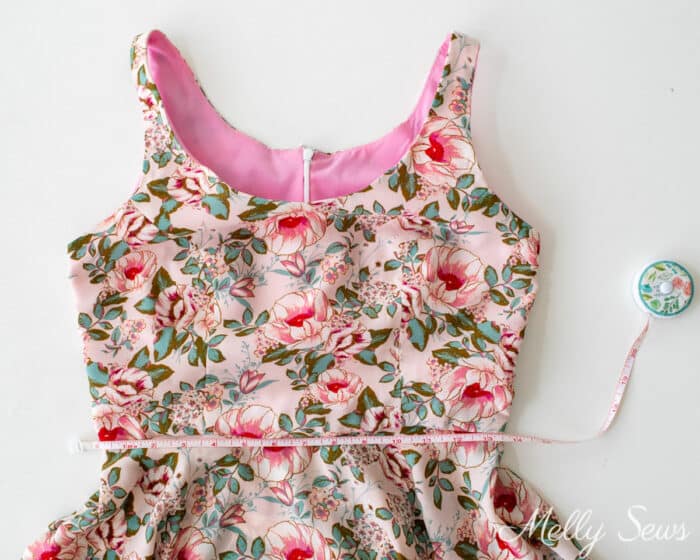
Compare your measurements to the measurements of the dress. For example, my bust is 34 inches and my waist is 29 inches. The bustline on the dress is 33 inches and the waistline is 27.5 inches. That means I’d like the dress to be 1.5 inches bigger at the waist and 1 inch bigger at the bust to fit me better.
Next look at the number of seams in the dress. The more vertical seams it has, the more you can let out. Mine has 2 front side seams, 2 side seams, 2 back side seams and one center back seam with a zipper for a total of 7 seams. I prefer not to mess with a zipper seam if I can help it. Since this has a back zipper, I can leave that alone. If it had a side zipper I’d have to alter it or else leave the other side seam alone as well for symmetry’s sake. That leaves me 6 seams. If I divide 1.5 by 6, I get 0.25. That means if I let each of those seams out just 1/4 inch, by reducing from a 1/2 inch seam to a 3/8 seam, I will have the extra room I need.
If it turns out that you need more inches than you’ll be able to get from letting out seams, scroll down to the section titled Alternatives to Letting Out a Dress for more options to make your gown bigger.
Gather Your Tools
Once you’ve determined your frock can be let out, it’s time to gather your supplies. Here’s what you’ll need:
- Sewing machine and basic notions – pins, needles, scissors, etc
- Seam Ripper – this one is my favorite (affiliate link)
- Matching thread
- Patience! This isn’t a hard process, but it will take some time!
- Iron to press your new seams
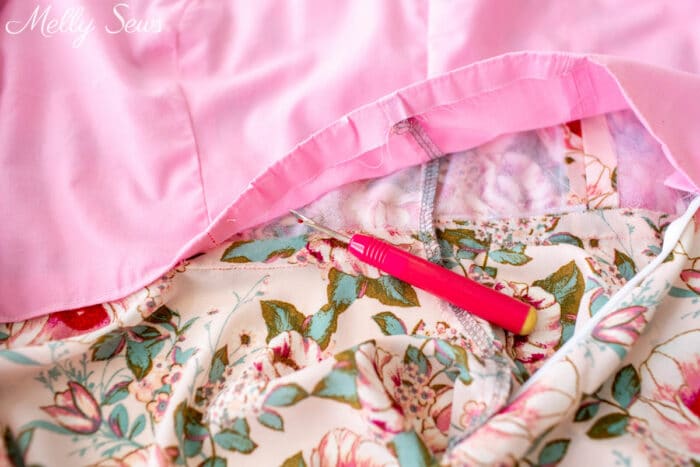
Remove Old Stitching, Sew New Seams
You can watch the video below to see the process of letting out a dress. You can also watch it on my YouTube channel here if you prefer.
The basic process is to sew each seam with smaller seam allowances so you have more fabric let out at each stitching line. If possible, I prefer to stitch my new line and then unpick the stitches from the old seam. That way the original stitches hold everything in place and I don’t have to pin. But sometimes it’s better to seam rip and then re-stitch. And of course when you have lining attached to the skirt like this dress, you have to seam rip that to have access to re-stitch.
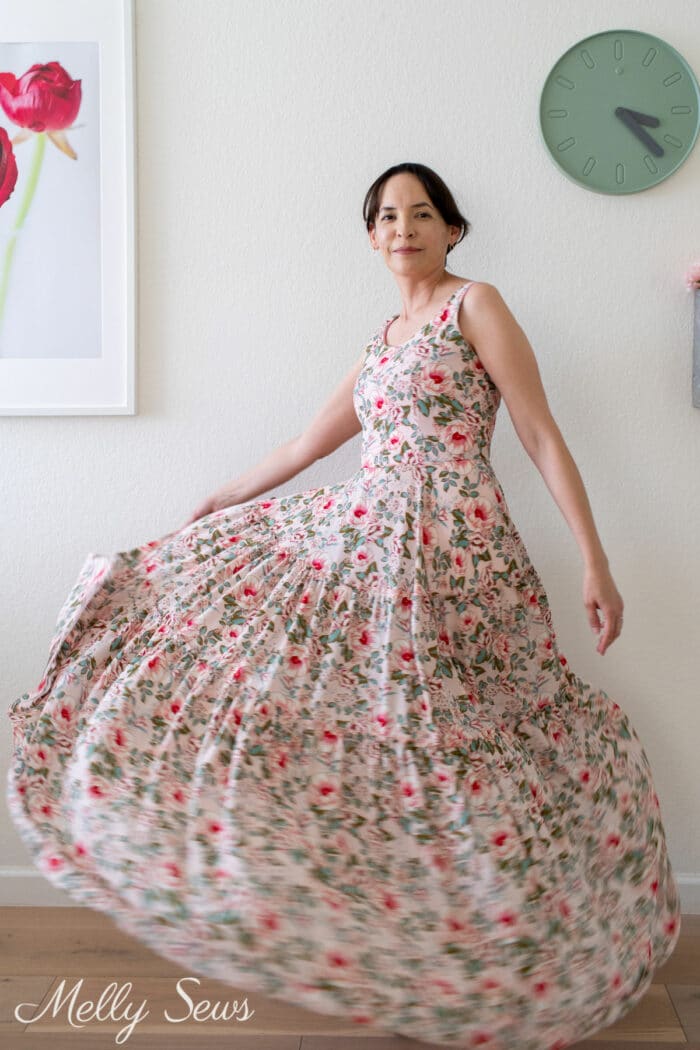
Once you’re done, enjoy your larger dress! I appreciate that I can still wear this dress and breath now that I’ve take time to alter it. And the zipper is no longer exposed below the pull.

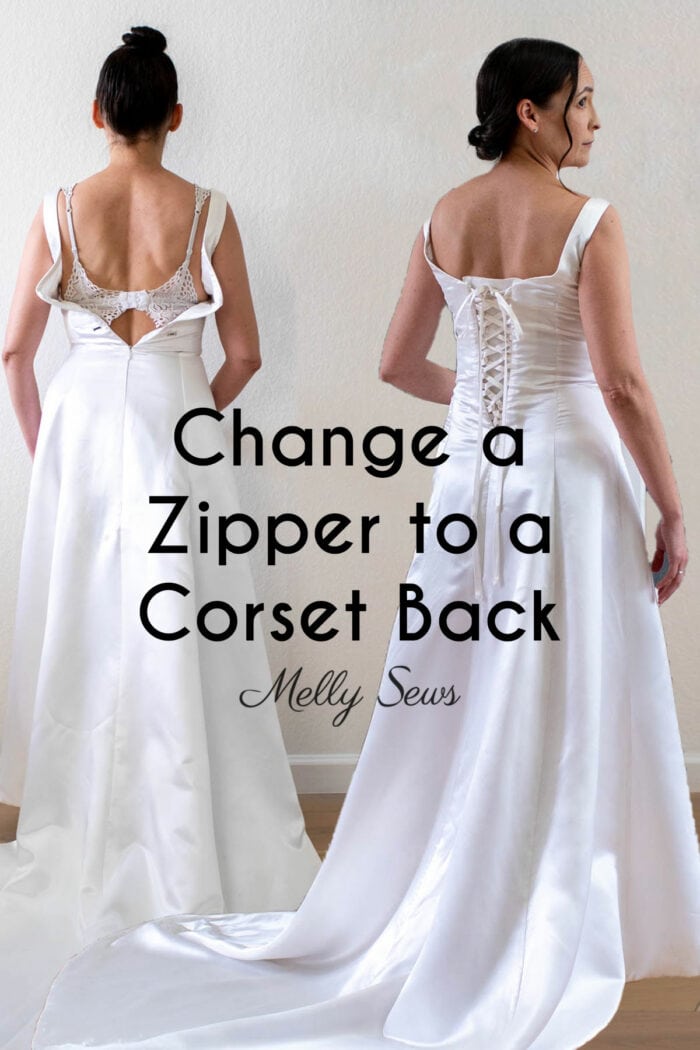
Alternatives To Letting Out A Dress
If you did the math and measuring and determined you won’t be able to let out the dress as much as you need to, you can add some more inches with these methods. First, you can try adding a corset back.
If that’s not an option, you can also try adding extra material. I show how I did that to a t-shirt to make it bigger in this post and the concept would be the same for a dress.

brendalynne1
oh I loved the idea of creating the new seam allowance FIRST then picking out the old one. !!!I never seem to think about the easier less complicated method. Thank you for this amazing tip.
Donna Smith
Your math for letting out the seams is very easy to follow. Also I like the alternative methods to letting out seams.