
Learn All About Interfacing for Sewing Clothes – what are the types of Interfacing, how are they different, and when should you use each
Hey y’all, today we’re going to talk all about interfacing, another one of those things that’s underneath in garment sewing. I’m going to be specifically talking about using it for clothes in this post; if you have questions about using it for bag sewing, there’s a great post here.
What is interfacing?
Interfacing is a type of material applied to the inside of a garment to give it support, shape, and body. It is not the same as a facing. Facings are a way to finish raw edges, for example at a neckline. Interfacing doesn’t finish an edge, instead it helps give shape to fabric. Think about collars, cuffs, button plackets, waistbands and other parts of a garment that you might want to have more stiffness and shape than the rest of the garment. For example, the quilting cotton shirt below has it in the collar and button placket.

Underlining vs Interfacing vs Lining
You may sometimes see the terms underlining and lining and wonder how those are different from interfacing.
Underlining is to reinforce seams, inhibit stretch and help make sheer fabrics more opaque to hide construction details from the outside. It is also a layer that you can tack hems, interfacings, and facings to. It is fabric chosen for the specific garment and is generally attached to the main fabric somehow before seams are sewn.
Interfacing is to give shape, stability and support to the garment. It is not the same as fabric, but a special type of fabric-like material. The main types of interfacing are fusible non woven, non fusible woven, and stretch.
Lining is to hide construction details from the inside of the garment, to give a clean finish, to allow the garment to slide on and off easily, and to protect the skin from outer fabrics that may be uncomfortable against the skin (wool coats are a good example here). It is fabric, and generally a lightweight fabric. It is usually sewn separately from the garment at first and then attached in later steps.
How to choose the right interfacing type
When choosing which interfacing to use for your project, there are several properties to consider, and the choices you make are going to be influenced by what fabric you are using for the project, so choose your main fabric first. You’ll make different choices depending on whether you’re using woven fabrics or knit fabrics, lightweight fabrics or heavy bottom weights. There are different brands, but Pellon is most commonly found in fabric shops in the U.S.
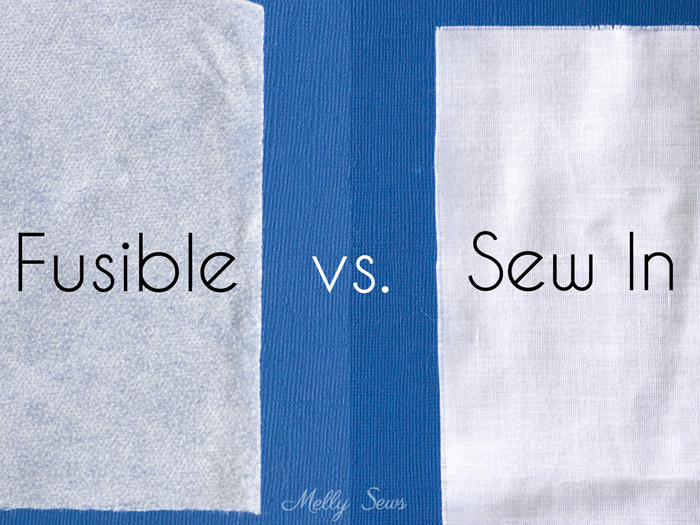
Fusible vs Sew-In Interfacing
The first choice is whether you want to use fusible or sew in interfacing. Fusible stabilizers have heat activated glue on one side. This fuses to the wrong side of the fabric when you iron it. Choose fusible for casual, easy wear garments and sew in for special fabrics or special occasion sewing. Because fusible is literally fused to the wrong side of the fabric, it changes the behavior and drape of the fabric instead of merely supporting it as sew in types do.
Application and Use
To apply fusible interfacing, first make sure that you’ve cut it so that the adhesive side will be against the wrong side of your fabric when finished (this is really important for pieces that aren’t symmetrical). The bumpy side with shiny dots if you look at it in the light is the side with the glue and that side should be against your fabric. Place your fabric wrong side up on the ironing board, then put the interfacing adhesive side down, then cover with a press cloth. Press without steam, lifting the iron straight up and down – don’t move it side to side or you could shift and wrinkle the interfacing or fabric. When it is fused, the dots of adhesive become less distinct. Trim any edges that hang beyond the fabric.
Flip the fabric right side up and cover with the press cloth again, then steam press to finish.
Sew in interfacing can either be basted to the outer fabric within the seam allowances, or catchstitched by hand to the fabric. Catchstitching is a better option when you are working with heavier fabrics.
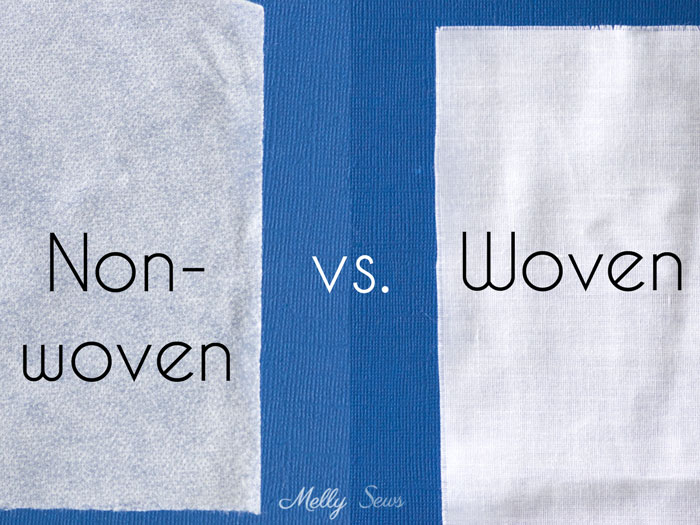
Non Woven vs Woven
The next choice is whether you want to use non-woven or woven interfacing. Woven interfacing will behave in the same way as woven fabric with grainlines to consider. Non-woven interfacing can be cut in any direction, so that sometimes saves fabric. My default is to go with non-woven, unless I have a specific reason for wanting woven. I might use woven if I was interfacing a drapey skirt, for example, because it would drape in the same way as the fabric, i.e. the bias would hang lower and the straight and cross grains would stand out more.
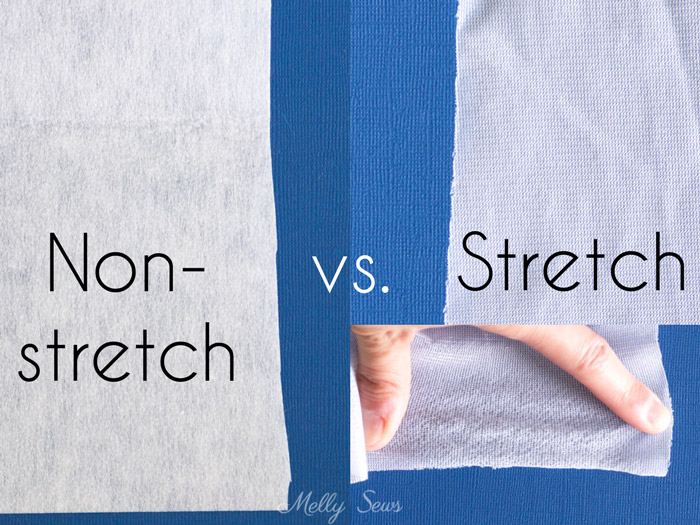
Non-stretch vs Stretch Interfacing
If you are sewing a knit garment and you want to retain the stretch, you must use stretch interfacing. In general, knit interfacing stretches horizontally but not vertically. Because of this, I sometimes use vertically cut strips to reinforce seams or shoulders in knit garments. That’s what I did in this dress, so that the seams won’t stretch.
Weights and Types
Just like fabric, interfacing comes in different weights. In general, pick a similar weight to your fabric. A lighter weight fabric will need less support. Presumably you chose the light weight fabric for its float and drape and you don’t want to ruin that with heavy stabilizer. You can estimate how the fabrics will behave together by draping them together over your hand or arm.
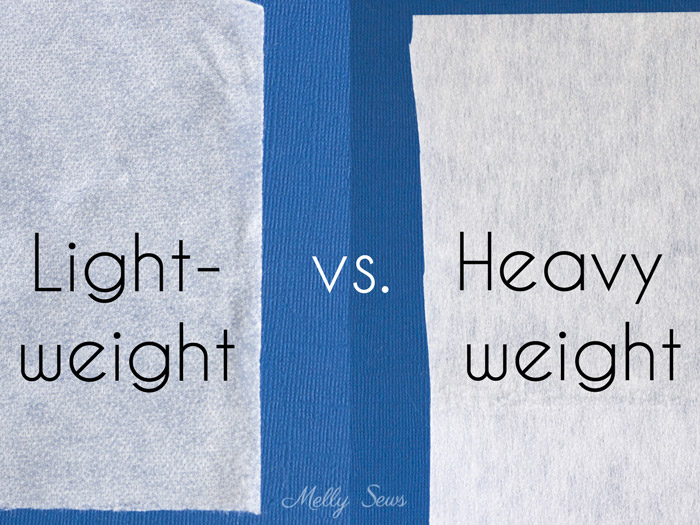
For a medium weight fabric, use a medium weight product. For a heavyweight fabric like denim, you would want a more substantial and weighty interfacing.
Kristie
Thanks for defining and giving a picture of each one. I have sewn for years, but this is such a great reminder!
Julia
Thanks! This was very helpful! Now the problem is finding the right interfacing in German stores! Their interfacing is identified by letters… But thanks to the pictures, I think I can handle it!
michaela
thanks for the tremendous work and detail you have give us here. my husband has a very large head…he is not listening…but we find it impossible to buy a hat for him. this has given me and my 5 yr old something to do just before fathers day. I’ve subscribed to you as I think you deserve our support!
Michaela