
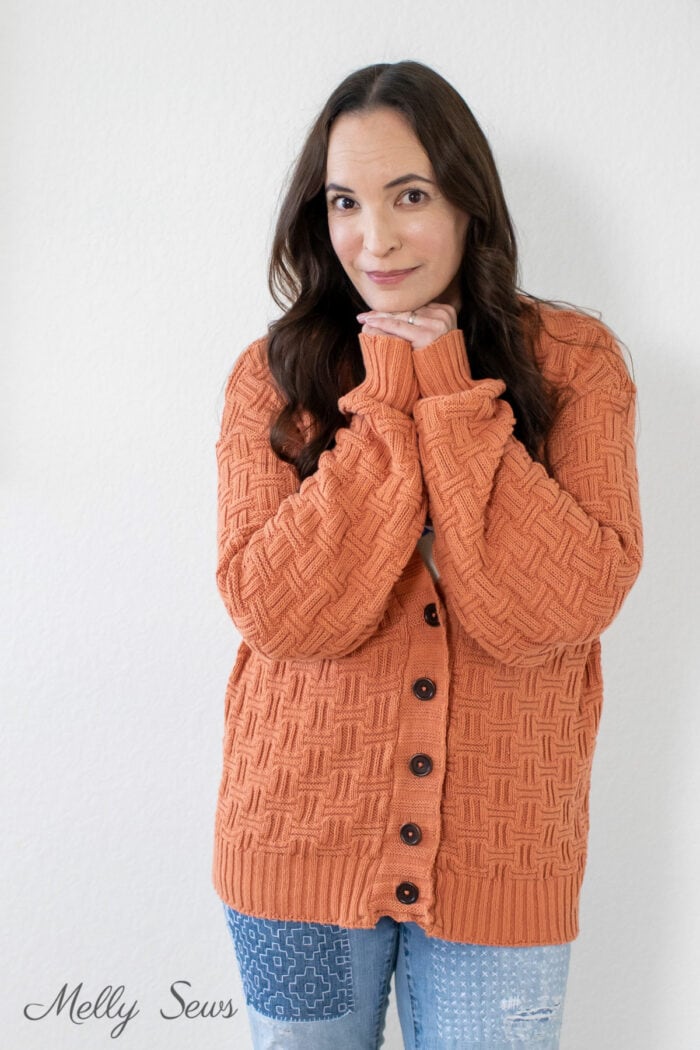
See how to repurpose a throw blanket to sew into a cardigan sweater with this DIY tutorial
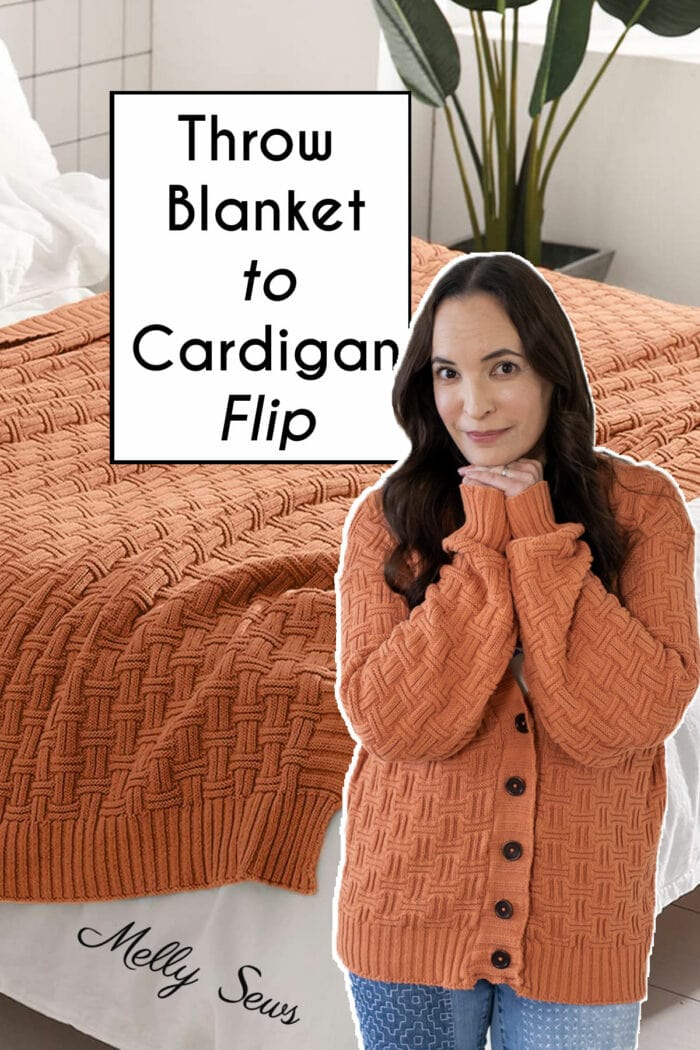
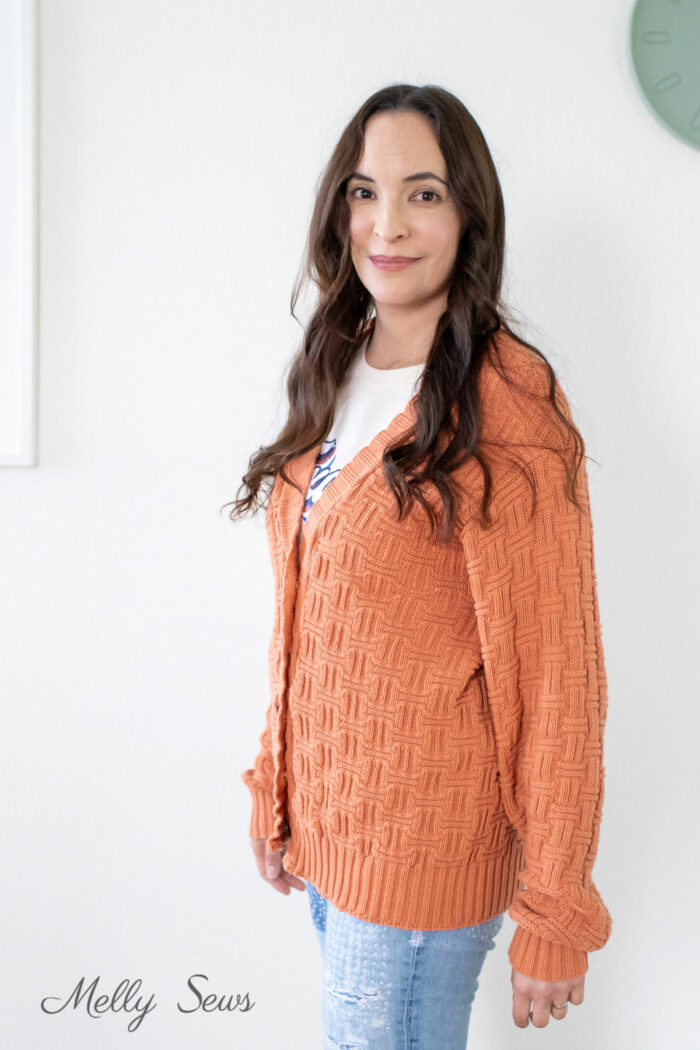
Hey y’all, today I’m going to show you how I turned a knitted throw blanket into a cardigan. I was having trouble finding a sweater knit fabric with enough texture and substance to make a cozy cardigan, and so I decided to take a look at some throw blankets to use as fabric. I found a few options and chose this one, which is a 100% cotton knit. I’ve linked the exact blanket I used in the supplies below.
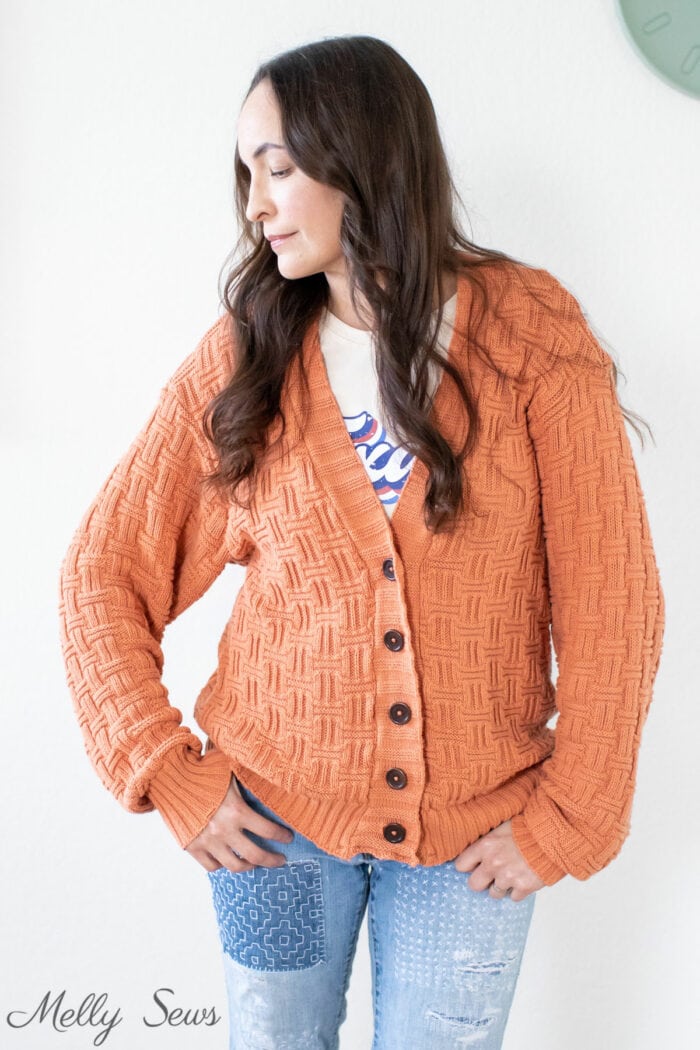
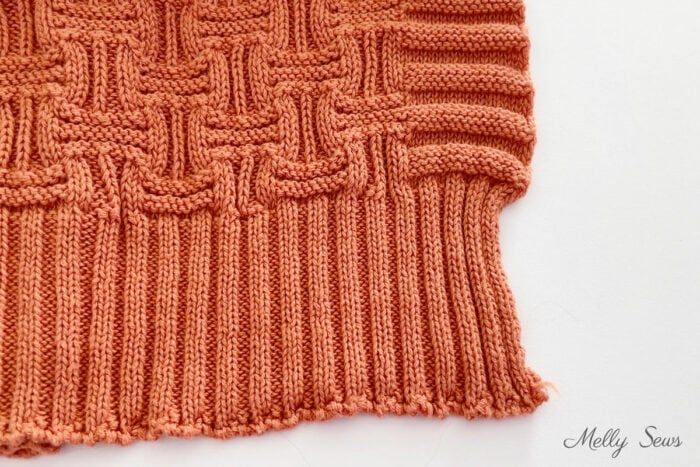
One of the reasons I like to use a blanket as my fabric is that they usually have finished edges that you can repurpose into your cardigan to make it look more knit than sewn. As you can see in the images above and below, I cut my sleeves and bodice to make use of the rib knit trim on the blanket. I also used the faux rib knit finish from the sides of the throw to make my button band.
This cotton fabric is cozy with a nice weight and drape, but it also grows on me. Like literally, the body and sleeves are longer at the end of the day than at the beginning. While I can (and probably will) add some twill tape to stabilize the shoulder seams, it’s not going to help with the body length as there aren’t any body seams with the way I cut this. Just consider that a caution, especially if you’re re-sizing your pattern. You don’t need to go up in size at all to get an oversized fit from cotton knit like this.
Materials to Make a Cardigan From a Throw Blanket
This post contains affiliate links. As an Amazon Associate I earn from qualifying purchases. All affiliate links are identified with (affiliate link) after the link or a commissions earned statement above the link(s).
Want to make your own blanket cardigan? Here are the supplies I used to make my sweater
- A knitted throw blanket. I used this exact one (affiliate link) in the color Caramel. It comes in quite a few colors if this one is not your style. If you buy a twin size blanket, these are typically 60 inches by 80 inches, which works out to just over 2 yards of fabric.
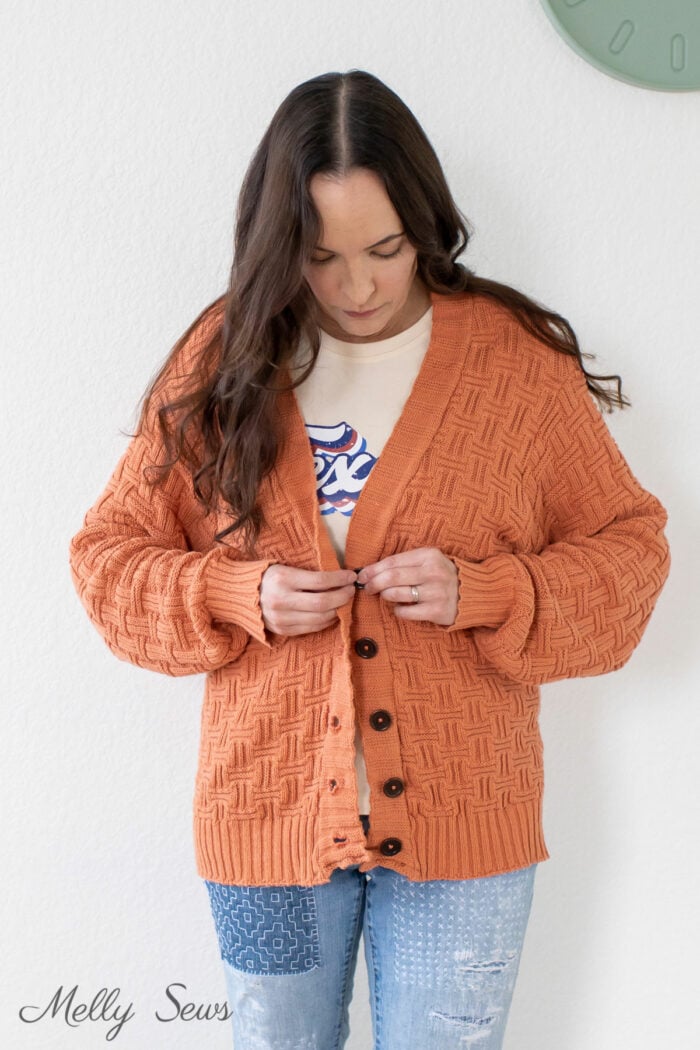
- Buttons – I used five 7/8 inch diameter buttons.
- The cardigan pattern. See this post for the pattern download instructions and the basic sewing tutorial
- Embroidery thread (I used Anchor Stranded Cotton, color 0338) and embroidery needle (affiliate link) to hand sew the buttonholes
- Sewing machine that can sew stretch stitches or a serger
How to Turn a Blanket into a Cardigan
To make your own, watch the video below or on YouTube here. Or if you prefer written instructions, see below the video.
For more information about hand sewing buttonholes, see this post.
Step by Step Cardigan Sweater Sewing Tutorial
The basic difference between how I made this cardigan and the basic pattern in my last post is in how I cut out my pieces. In the close up below you can see the true rib knit stitch (alternating knit and purl stitches in the same row) at the bottom of the blanket. This was also at the top of the blanket. On the sides were faux rib knit (alternating rows entirely of knit stitches or purl stitches), seen below at right. Before laying out your pattern, take time to plan out how you want to make use of these features.
Next, mark off the seam allowances on your pattern. The pattern I used has 1/2 inch seam allowances included. So mark the lines where you would stitch. Next, fold your button band and hem band in half, since we’re not going to be doubling those up like the original sew.
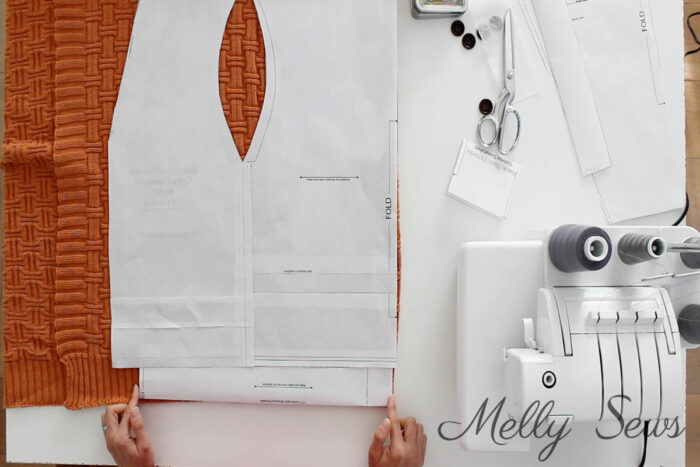
I eliminated the side seams and the seam to the hem band. So I folded my throw blanket, being careful to keep the bottom ribbed edges aligned. I placed the back on the fold, then overlapped the front at the side seam stitching line. I added the hem band at the bottom, again, overlapping at the seam line. The hem band is shorter than the front and back be design, but for this version I cut even with the edge of the front piece.

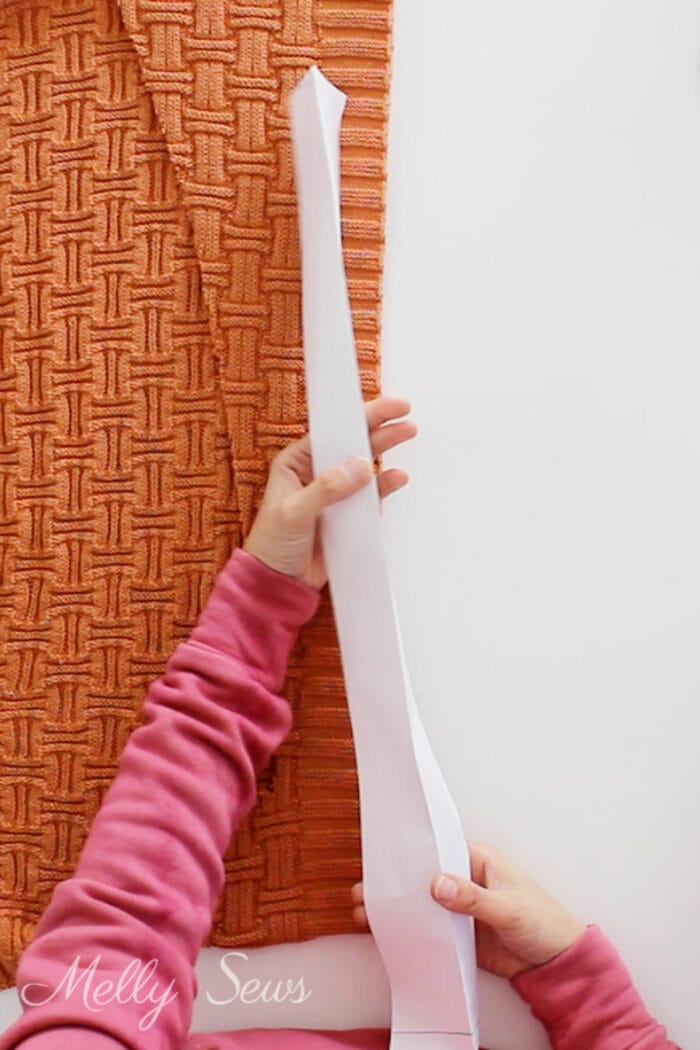
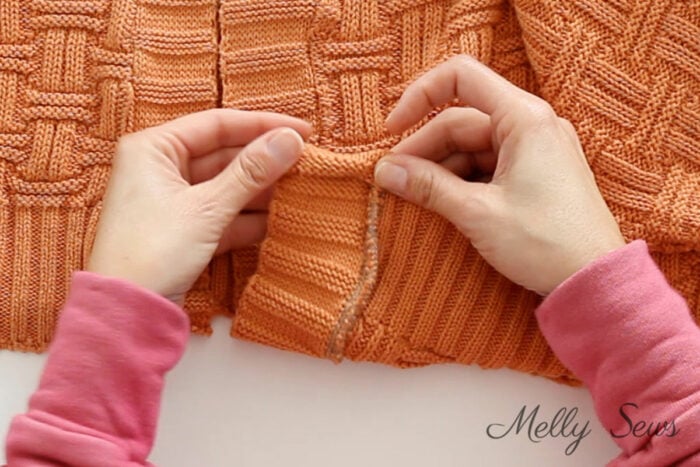
The sleeves and cuffs have the same issue, where the cuff is narrower that the bottom of the sleeve. Instead of cutting the cuff wider, like I did with the hem band, I folded in the seam of the sleeve to match the cuff width, as you can see above.
And then I folded the faux ribbing in half and cut out the button band. To sew the cardigan together, I sewed the shoulder seams. Then I sewed the sleeve underarm seams and with the sleeves right side out and the cardigan wrong side out I placed the sleeves inside the sweater. I matched the underarm seam with where the side seam should have been, and the top of the sleeve with the shoulder seam. Then sew around the armhole to attach the sleeve.
Finally, fold the bottom edge of the button band up and zig zag stitch in place to finish it. And you’re done with your cardigan!
Janice D. Simmons
Such a cute cardigan and fast to sew up.
Oennyfp
So CUTE!!! I love it!!!
LYNETTE CHARNIAK
Oh boy! Can’t wait to try this. Thank you.