
Sewing a waterfall sweater is quick and easy with this simple pattern hack + video tutorial
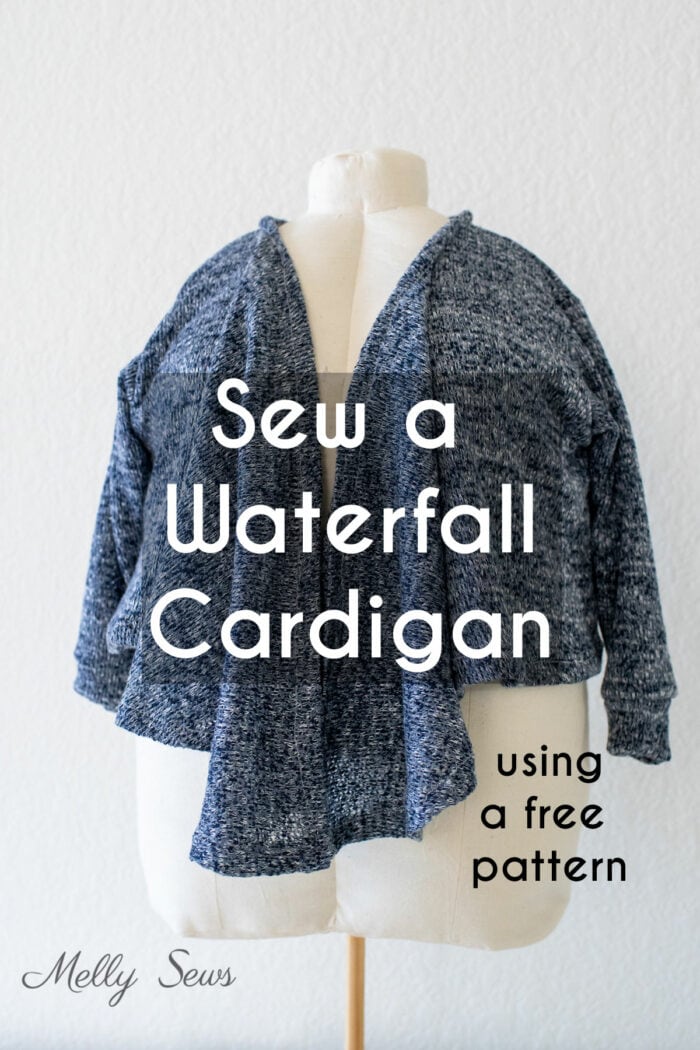
Hey y’all, today I’m going to share how to make a waterfall cardigan, which is another easy hack to the basic cardigan pattern I shared earlier this month. This is also a great hack if you want to skip the buttonholes on the original cardigan, because a waterfall front like this doesn’t need buttons. However, you can play with using a vintage brooch to secure the front drape in different ways. This is a garment that can feel a little dressier than a plain cardigan.
While I wouldn’t call this an absolute beginner project, if you can find a stable sweater knit it’s probably an easier make than the original cardigan since you don’t need to do a hem band or buttonholes.
Materials to Sew a Cardigan
If you’d like to make your own cardigan, you’ll need:
- 1 3/4 yards of sweater knit fabric. Make sure to choose something that looks good on both sides of the fabric, as you will see the wrong side of the fabric in this design. A heathered colorway like the one I used will also help disguise the hem of the waterfall portion.
- Sewing machine that can sew a stretch stitch, and basic sewing notions like needles, pins, scissors etc.
- The PDF pattern. Check this post for the details to get the original cardigan pattern and to see how it was originally sewn.
The cardigan pattern in the free pattern gallery is for bust size up to 34 inches, so just like that tutorial you’ll want to re-size your pattern as needed before you do the hack to turn this into a waterfall front.
Video Tutorial for a Waterfall Cardigan
You can watch the video tutorial below or on YouTube here to see how I modified the pattern to make this waterfall version of my cardigan. If you prefer written instructions, scroll below the video.
How to Modify a Cardigan Pattern for a Waterfall Front
To make this cardigan, we’ll omit the hem band and neckband pieces from the original pattern. Since the hem band adds 2 1/2 inches to the finished length of the cardigan, if you want the same finished length you’ll need to add that amount on the lengthen/shorten line. You can add more if you want an even longer cardigan, but be sure to adjust the amount of fabric you buy accordingly. Note that I did not add that length to my sample, so mine is a little cropped from the original cardigan length.

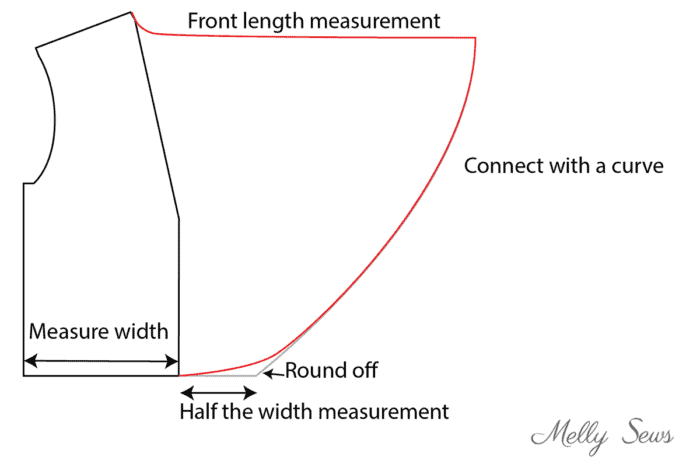
Next, you’ll need to lay the front pattern piece on a large piece of paper. Put back pattern on top and line up the shoulders. Trace off the curve of the back piece. Then measure the front from the neck point to the hem.
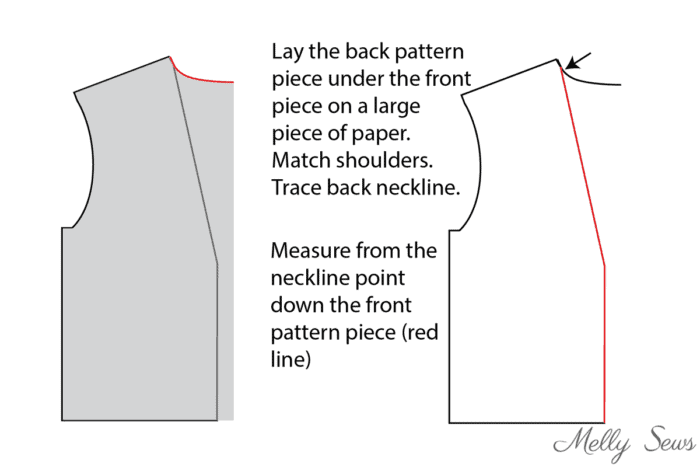
After that, you’ll extend horizontally from the neck point the same amount as you measured down the center front. Measure the bottom of your pattern and extend half that amount out at the bottom. Connect the two points in a curve and round off the bottom corner. This is your modified front piece to make the cardigan.
Step by Step Instructions to Sew a Draped Front Sweater
Time needed: 2 hours
How to Make a Waterfall Cardigan
- Cut out your pieces
Cut two mirrored front pieces, a back on the fold, two sleeves and two cuffs on the fold.
- Sew shoulder, sleeve and side seams
Following the original cardigan tutorial, place fronts right sides together with the back and sew the shoulder seams. Align the sleeves and sew the armhole seams. Next sew the underarm and side seams. Then finish the sleeves with the cuffs.
- Stabilize raw edges
Use either a serger overlock stitch, a faux overlock stitch (shown in in video above), or iron on fusible knit interfacing, stabilize the raw edges of the fronts, hem and back neck. Press if necessary, if the stitching stretches the raw edge.
- Baste a hem guide
Baste along the neck edge, fronts and hem edges 3/4 inch in from the raw edge.
- Hem the edges
Using the basted stitching line as a guide, press the fabric to the wrong side. Miter the corners. Pin all of this, then finish with the stretch stitch of your choice (narrow zig zag, lightning bolt stretch stitch, twin needle, cover stitch, etc). For more help on hemming curved edges, see this post. To see how to miter corners, check out this post.
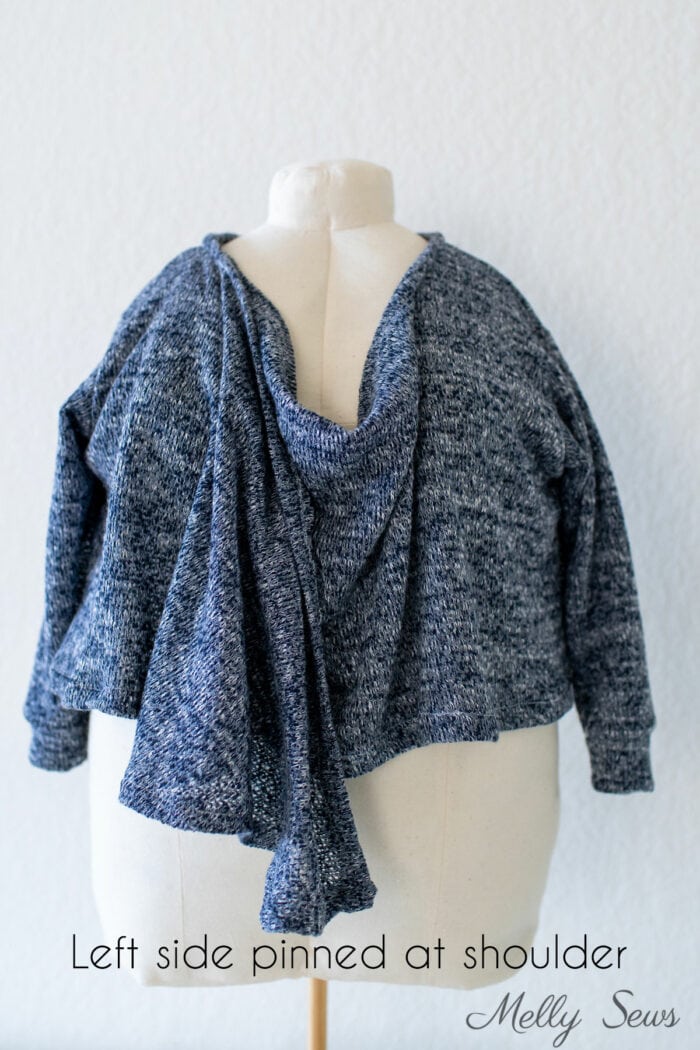
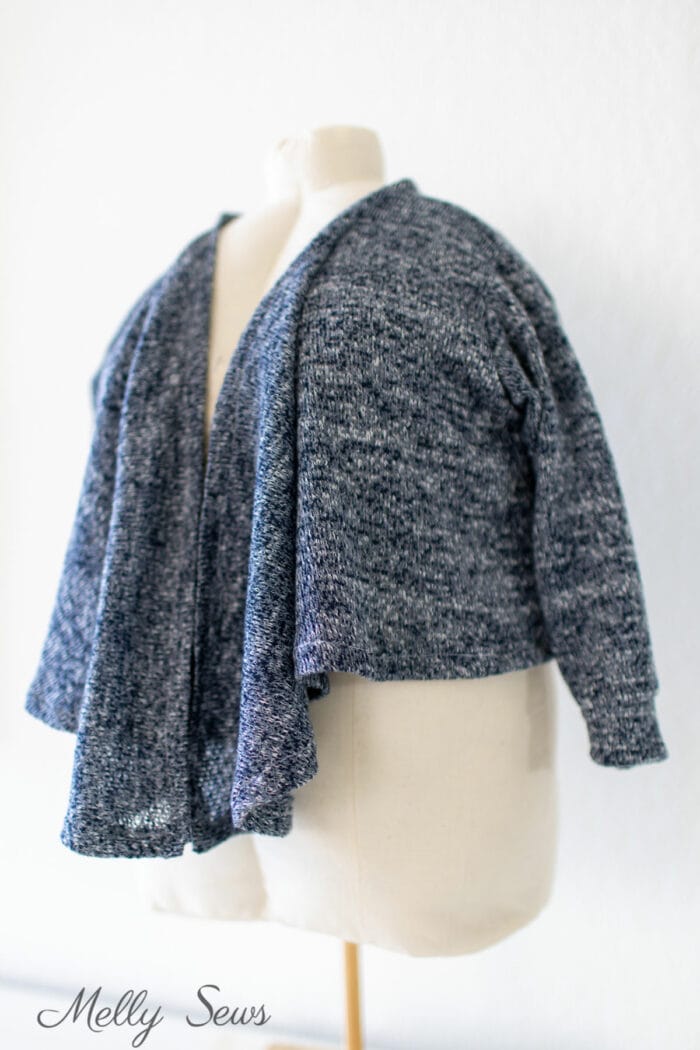
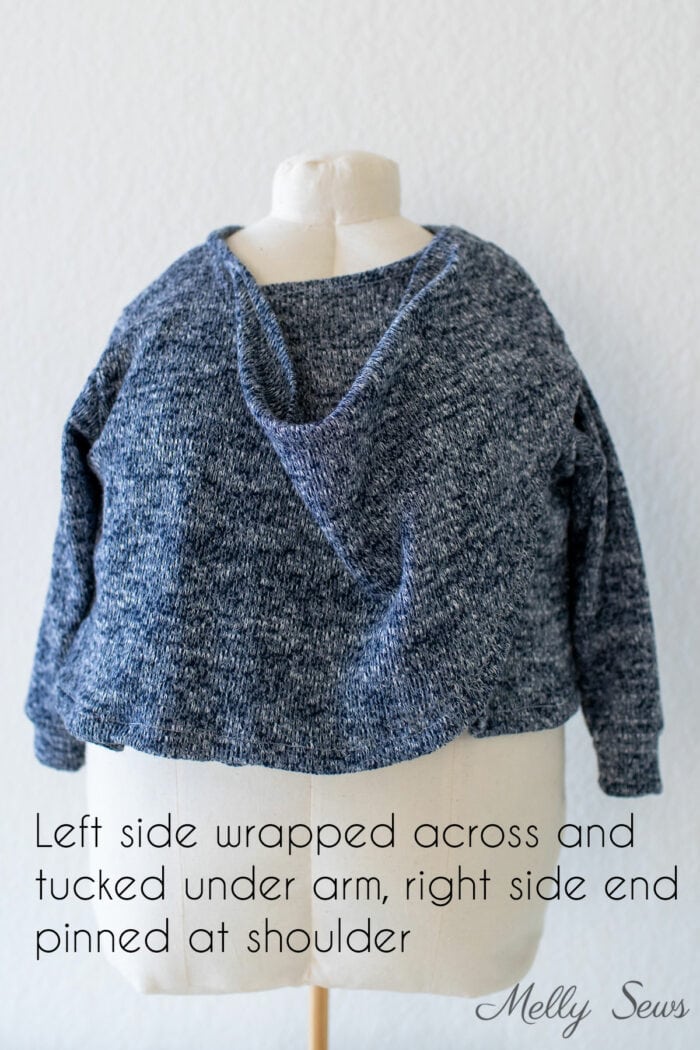
As mentioned, you can also use a safety pin or brooch to play with your cardigan. Above you can see what it looks like if you pin the left edge under the right shoulder seam. Below is what it looks like if you wrap the left edge across and under your arm, then pin the right edge on top.
Hopefully you enjoy your waterfall cardigan!
Peg
How do you keep coming up with so many ideas. I bought a Haaci sweater knit and it will be the perfect summer cardigan now using this hack,
Thank you thank you
Peg
PS I already have 2 cardigans cut out ready to sew since your free cardigan pattern. Love ypour jeans. Might even have a go at a pair myself
Again thank you Peg