
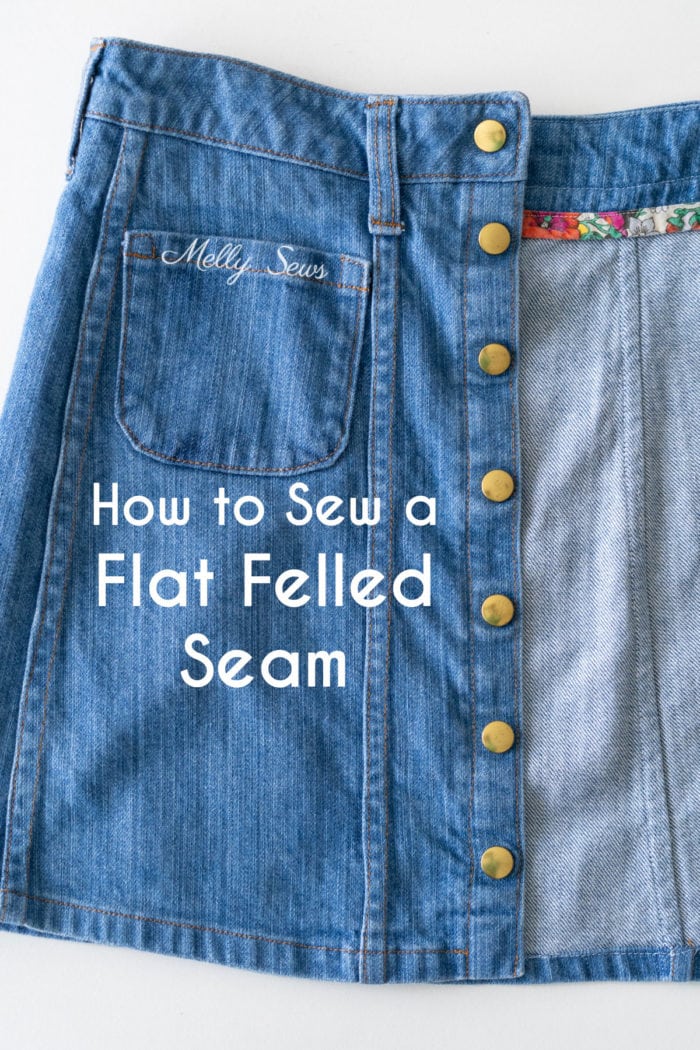
This article with video tutorial shows how to sew a flat felled seam finish using a sewing machine.
Hey y’all, today we’re going to be talking about how to sew a flat felled seam. This is a seam finish that you can do with a regular sewing machine. In this post I’ll include step by step instructions with photos as well as a video demonstrating how to flat fell your seam.
What is a Flat Felled Seam?
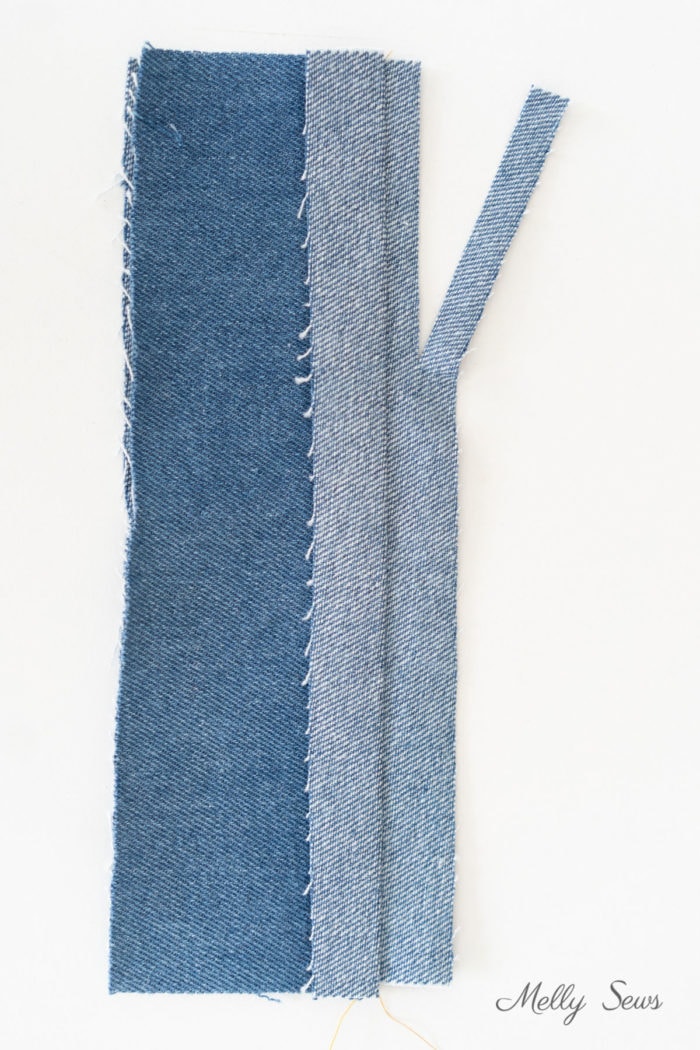
Flat felling is considered a self enclosed seam finish, meaning that all the raw edges are enclosed within the seam. The seam is typically combined with topstitching. To create it, you will stitch, wrap the raw edges of the seam allowance around each other, and stitch again. A flat felled seam is a very sturdy seam and suitable for heavy fabrics. Therefore you often see it used on garments like a pair of jeans or on a denim skirt. You can do this seam finish on a regular sewing machine.
Pros: Can be done with a regular sewing machine with only straight stitching, very strong and durable seam.
Cons: Takes more time; precise fabric cutting, seam allowance sewing, and trimming is key; needs a wider seam allowance – at least 1/2 inch in width; can be bulky; hard to do on curves.
Making the Seam
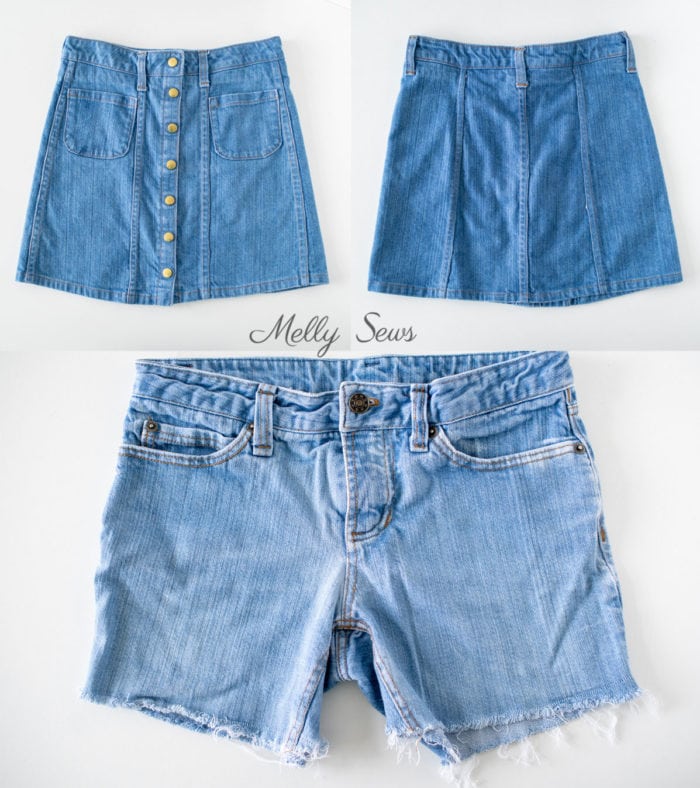
First decide whether you want to sew starting with wrong sides of the fabric together or right sides together. Starting with wrong sides together will give you a ridge on the outside like you normally see on jeans. It is the type finish I used on this skirt. If you do this with right sides together, you’ll have two lines of stitching visible on the inside and one line of stitching visible on the outside next to the seam.
You’ll also need to think about which way you want to press the seam allowances because that will affect which of the seam allowances you trim and which one you press around it. When I sew this type of seam on the right side of the fabric, I tend to press seam allowances away from the center front. At the center front or center back, you can choose which way to press. This may be influenced by another design element, for example a zipper fly (press folded edge away from the fly stitching). On shirts you want to press the shoulder seam allowance toward the front, etc. You can also check ready to wear clothes to see which way the seams are pressed.
Once you’ve made those decisions, watch the video below or on YouTube here to see how to sew your seams. You can also use the illustrated step by step instructions below the video for reference. Note that this tutorial shows the extra steps to sew a flat felled seam without special tools like a felling foot.
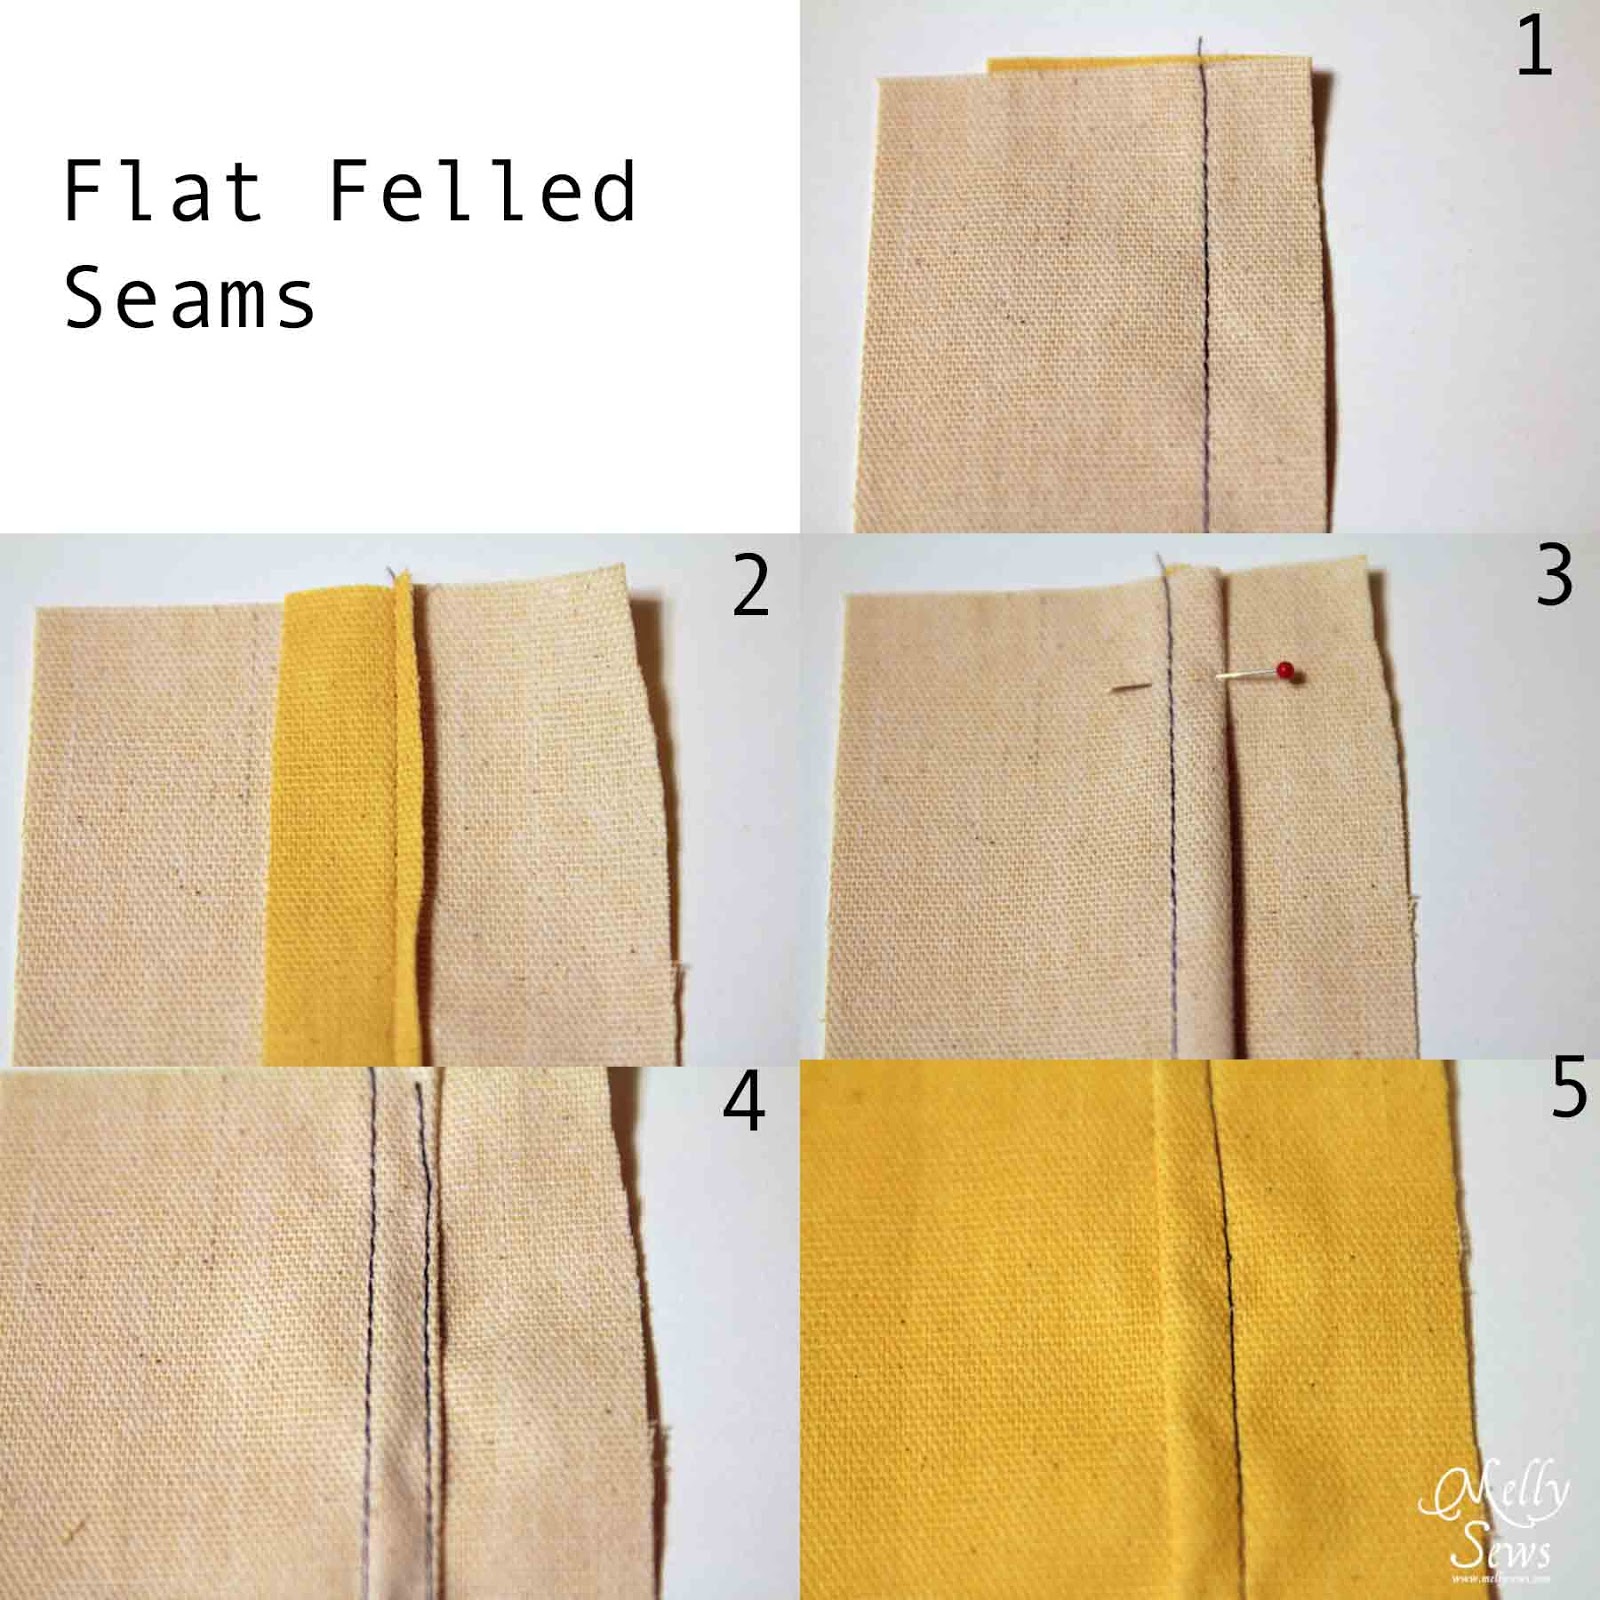
Illustrated Photo Guide to A Flat Felled Seam
If you prefer written instructions, here’s a written/photographed guide showing how to sew a flat felled seam. Note that in the video above, I start with the fabric wrong sides together. Below the fabric starts right sides together. It can be done either way, it just depends on which side of the project you’d like the raised bump of the seam to be on.
Time needed: 10 minutes
How to Sew a Flat Fell Seam
- Stitch
Stitch your pieces together with at least a 1/2″ seam allowance. If you want the double topstitched ridge on the right side (as seen on jeans), start with fabric pieces wrong sides together. Otherwise place pieces right sides together.
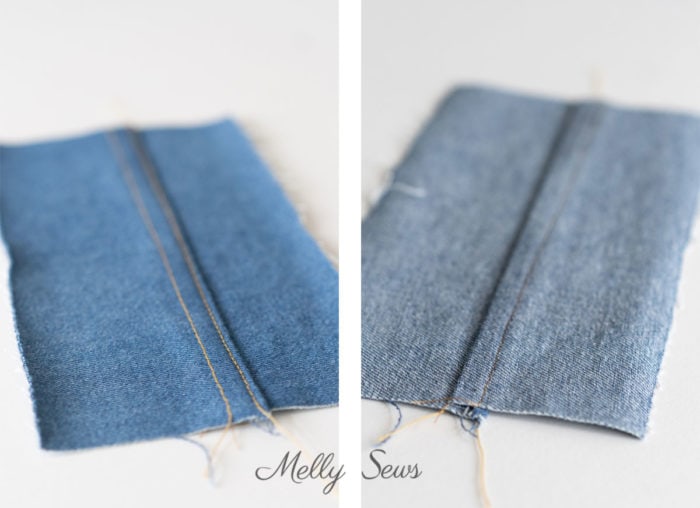
- Press and trim
Press the seam flat and carefully trim one seam allowance down to 1/4″. This will become the bottom seam allownance. Fold and press the other top seam allowance raw edge 1/4 inch toward the seam on the wrong side.
- Wrap
Wrap the folded seam allowance around the trimmed raw edge of the shorter seam allowance. Press away from the seam line. Pin if desired.
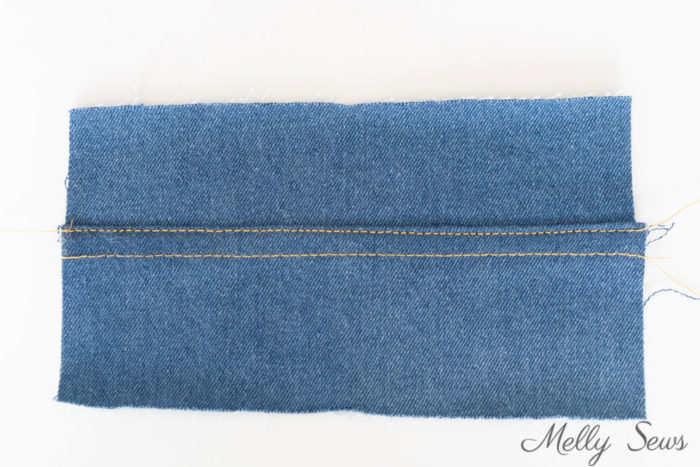
- Stitch again
Stitch down close to the wrapped/folded edge. This stitching will be visible on both sides of the finished seam, so make sure to choose your top thread and bobbin thread accordingly.
Tips for Success
For really nice flat felled seams, here are some tips:
- If you’re not confident you can sew a straight line just using the guide on your machine, consider marking the seam line before stitching it. Just make sure your fabric marking choice will wash out by testing on a scrap of your fabric. You can also use a topstitching or edge stitching foot with a guide to help keep your stitching straight.
- Consider pressing the seam open as shown above and using a rotary cutter for trimming instead of scissors. This ensures that you won’t accidentally cut anything besides the seam allowance you intend to trim.
- Starch can be helpful to press the fold into the other seam allowance.
- You might also want to use tape instead of pins to hold the edge of the fold in place as you stitch, this can help make sure there aren’t bumps in the edge where the pins were. Remove the tape after stitching. Or, you can use a washable glue stick to hold the edge down. (Yes, you really can use a glue stick in sewing. See more household tools you might not think to use for sewing here).
- Consider the direction you want to press the seam allowance. I detailed this more in the Making the Seam section above.
- Move your needle position (if your machine has that option) instead of your presser foot to line up the edge stitch for the second line.
- Use your iron and ironing board and press well. It’s nearly impossible to get a clean finish on your flat felled seams without pressing.
- Using contrast topstitching thread will make any mistakes more obvious. If that might bother you, keep your top stitching matched to your fabric.
Marti Morgan
Thank you for this tutorial. I have a denim skirt that needs to be “re-made” and I have been putting it off because of the seams. I do believe it will done now. Thanks again.
Jen Caputo
Thank you for such a easy to understand tutorial. I am a professional tailor, but it’s amazing the things you learn as you go… I’ve always folded the seam and topstitched all in one fell swoop (felling pun *somewhat intended😉)