

Tater is a kid that loves money. The worst punishment you can give him is to make him pay for something (say, the entire tube of toothpaste he squeezed into the sink) out of his allowance. He’s a saver, that kid. At 3 years old, he took his $3/week allowance and saved for 6 months to buy an expensive toy he wanted.
So I decided a while back he needed a wallet. But not an adult version. He has no need for spaces for credit cards or ID. He needs a place for bills and coins, that’s it. And this is what I came up with.
I had some leftover scraps after I made the Nowhere Man Pants in this post. So I used them to make the wallet. I traced Hubby’s wallet to get my basic size, then added 1 inch to one of the short ends for the velcro. I didn’t add seam allowances, because I didn’t want to make it too bulky, so I decided to finish the raw edges with bias tape, and I used Katy’s tutorial from No Big Dill to do it. Even though I was only working with 1/4 of a yard, I ended up with over 2 yards of bias tape and I only had to sew two seams. I’m doing tape this way from now on. Click the picture to go to her tutorial.
1. corduroy cut for outside
2. Two inside lining pieces, cut 1/2 shorter than corduroy on the long edge and 1 inch shorter on the short edge
3. Bias tape
4. two squares equal to 1/2 the wallet for the coin purse part
5. two strips of velcro (not shown)
6. One zipper

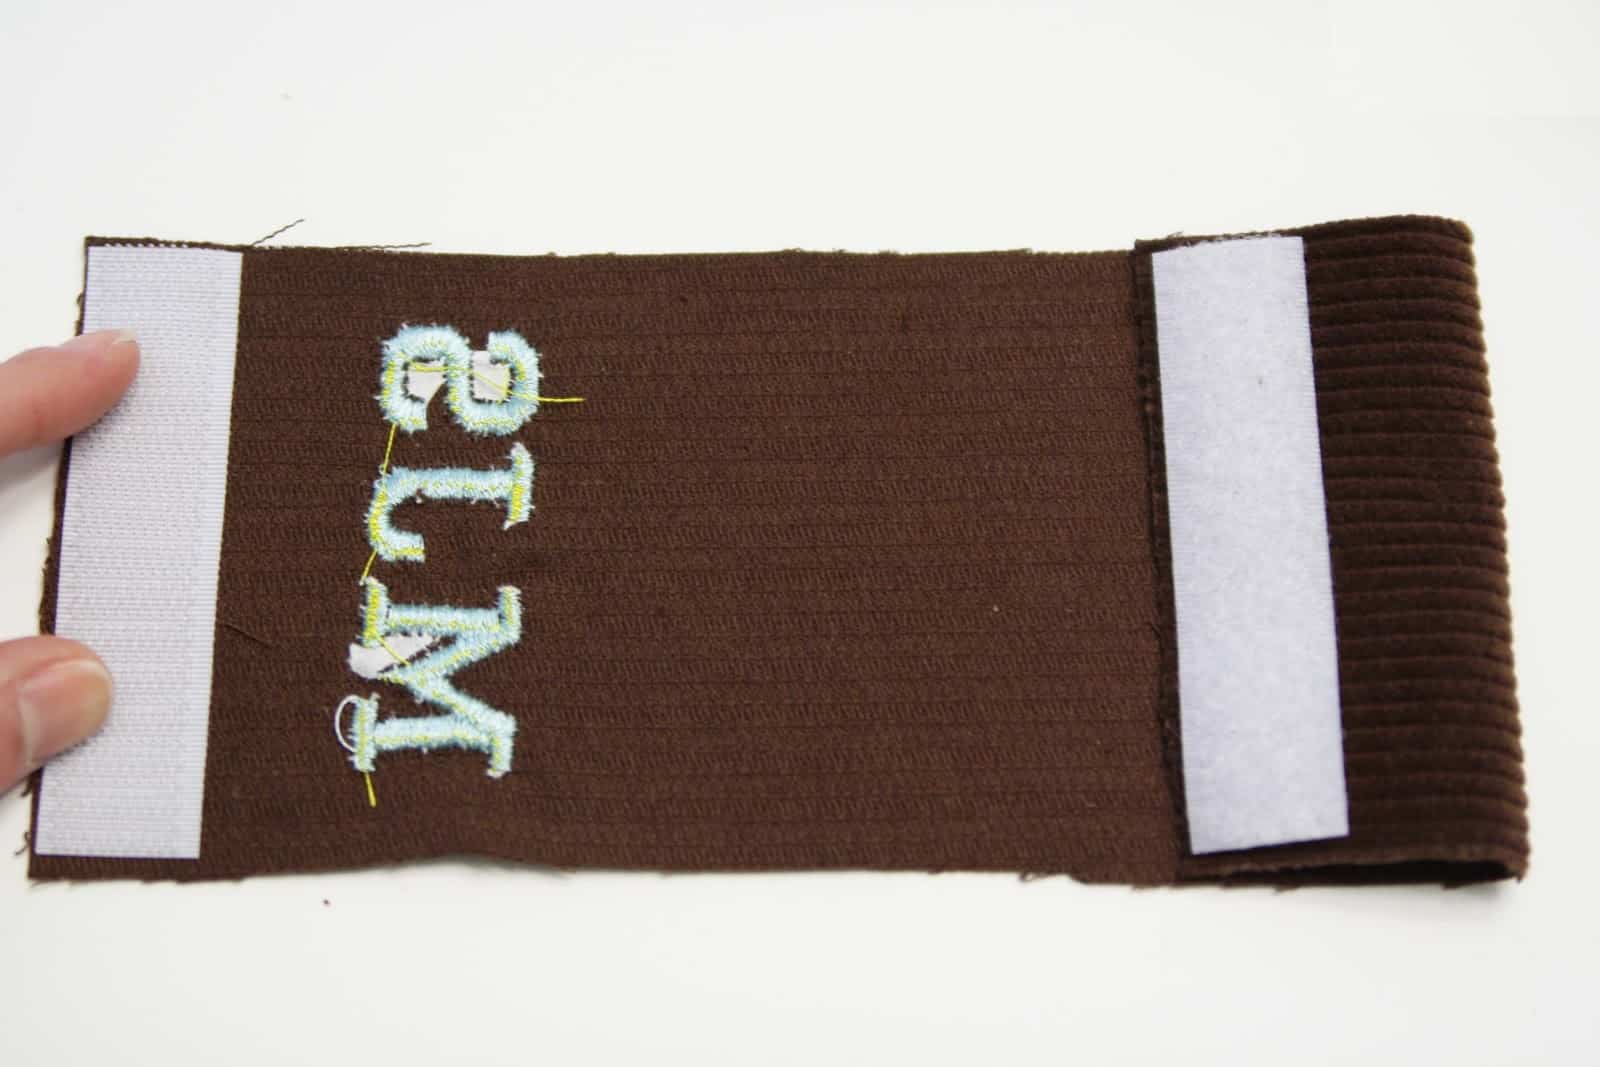
As you can see in the picture, I decided to embroider Tater’s initials on the corduroy before I started sewing the wallet together.
First, sew the velcro to the two ends of the outside piece like this
Next, decide which edge will be the top (open) edge of the wallet and finish it with bias tape like this

Now get the lining ready. With right sides together, sew around one long and one short edge, and clip the seams.
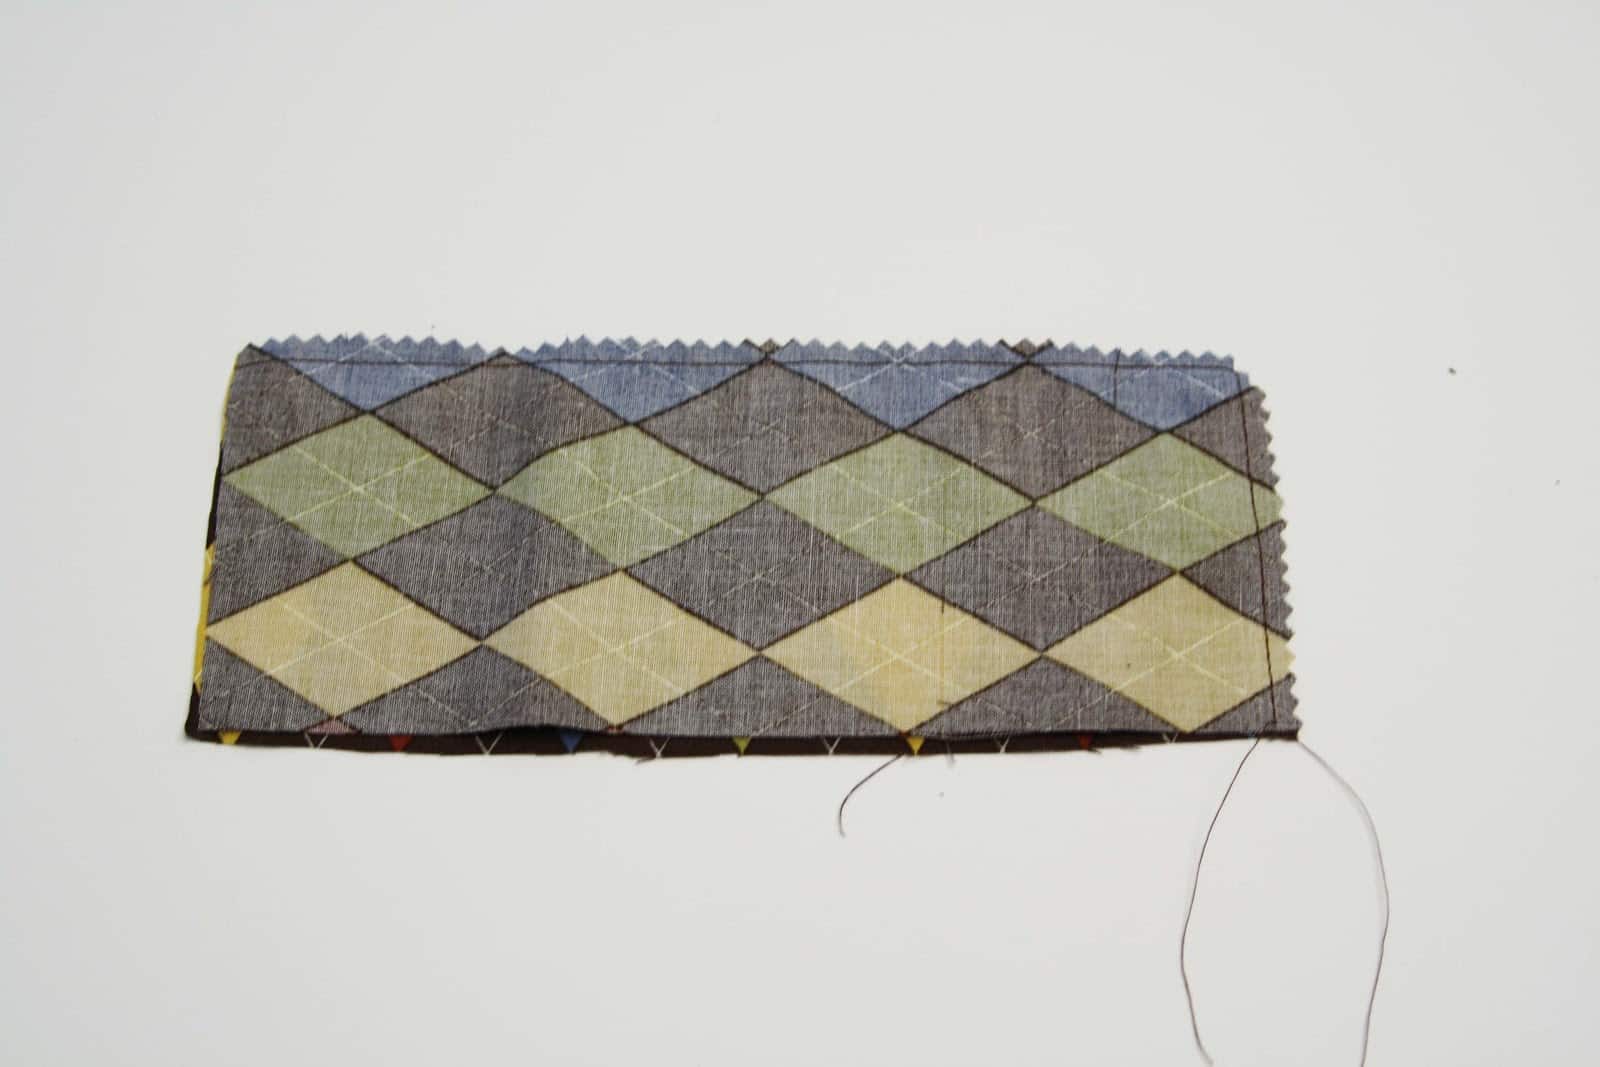
Turn right side out and press.
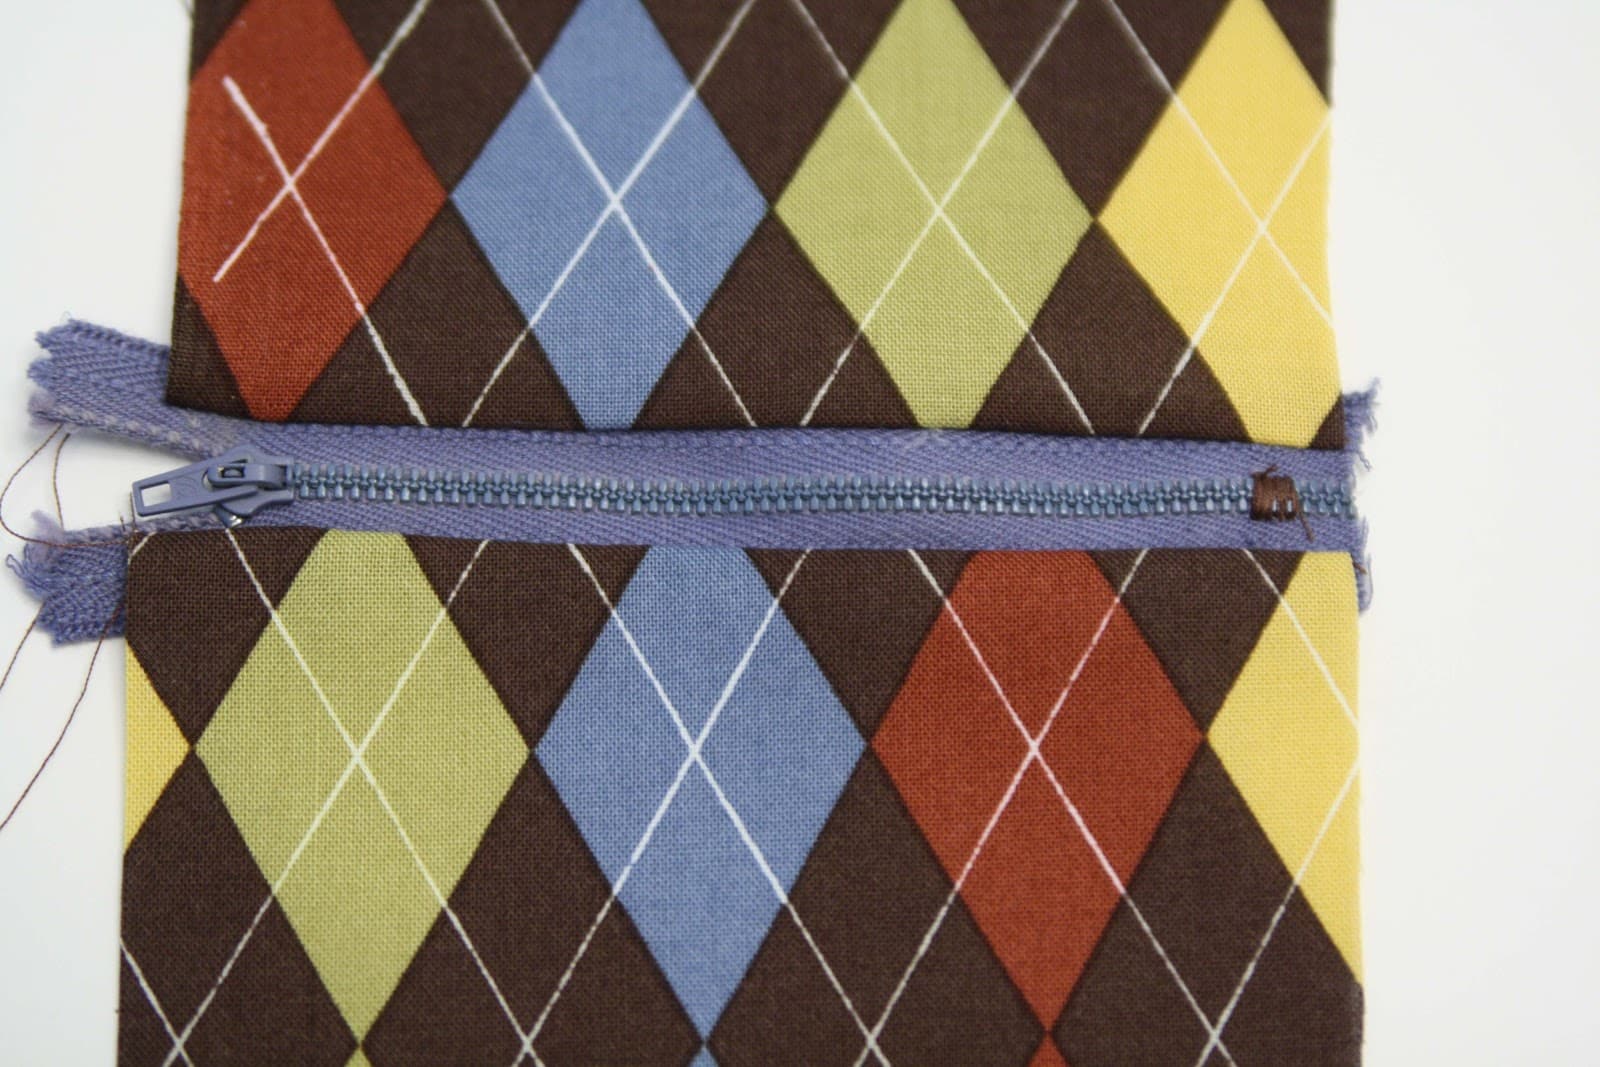
Now get the coin purse ready. Sew the zipper in like this
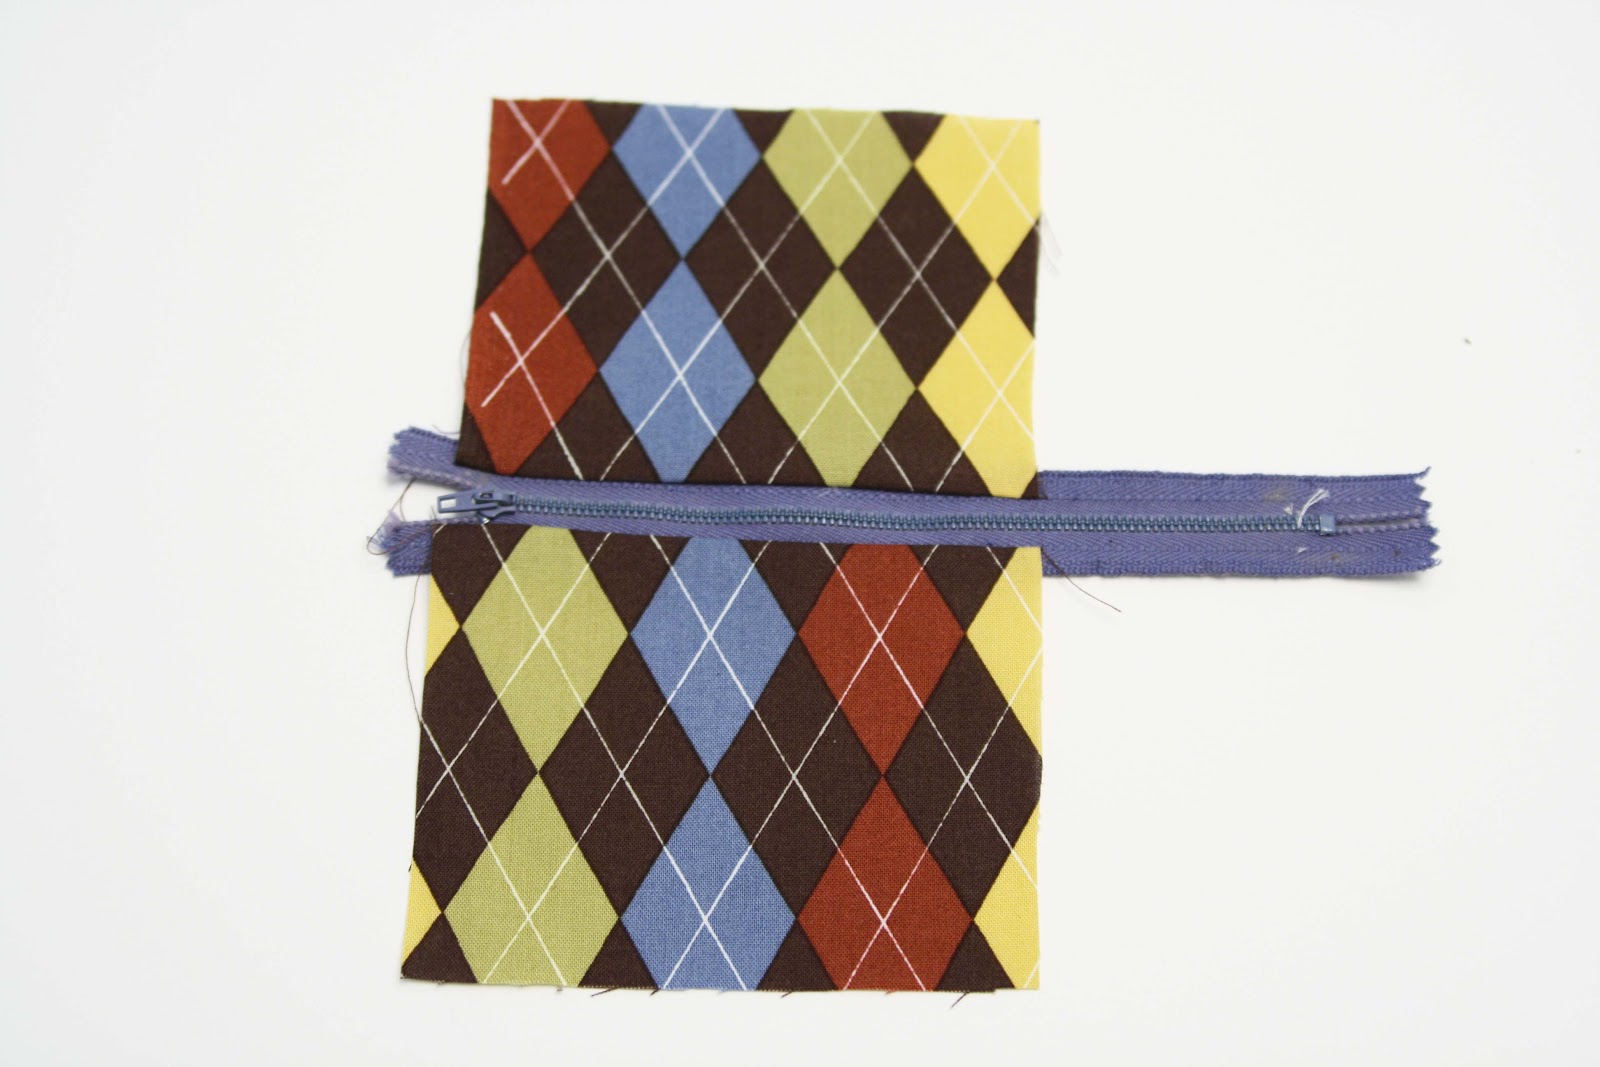
Next, zig-zag over the end several times to create a new stop and then cut off the extra zipper.
Fold the zipper pouch right sides together and sew down one edge.

Turn right side out and press.
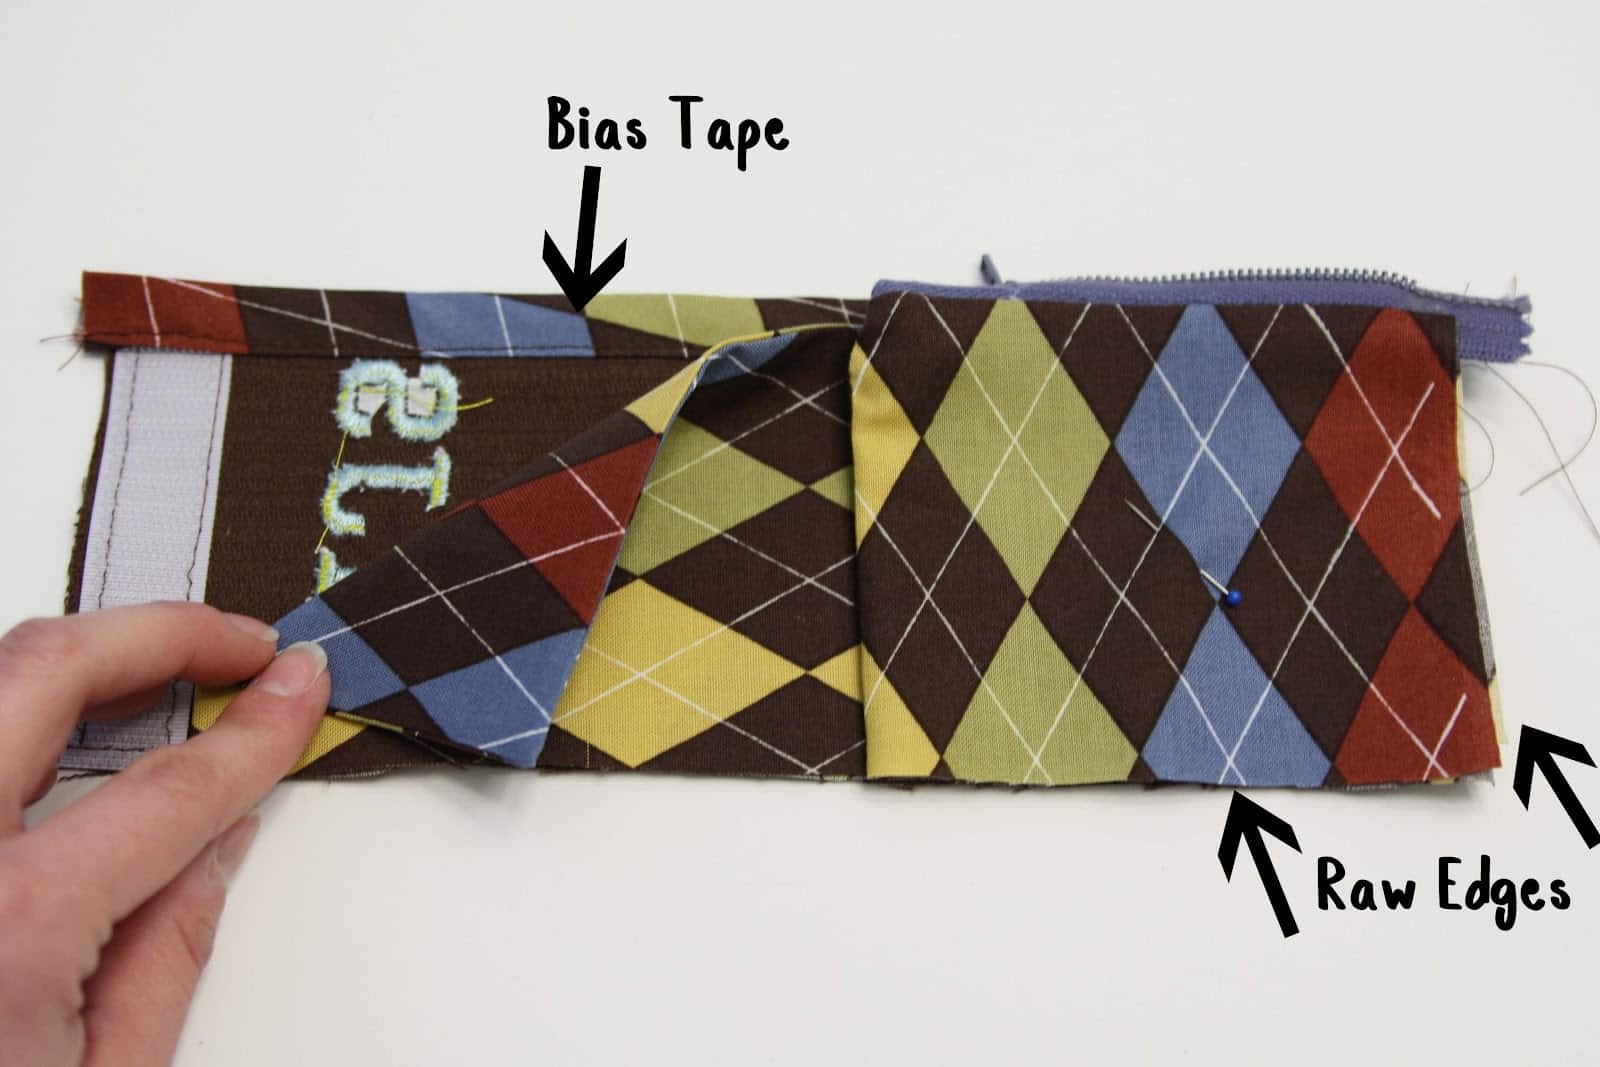
Lay your pieces like this:
1. Corduroy with wrong side up.
2. Lining piece
3. Coin pouch
Make sure all the raw edges line up on one side and across the bottom edge.
Pin the bias tape around the 3 raw edges. Make sure to fold the bias under a little bit on the top edges so you’re not leaving raw bias edges.
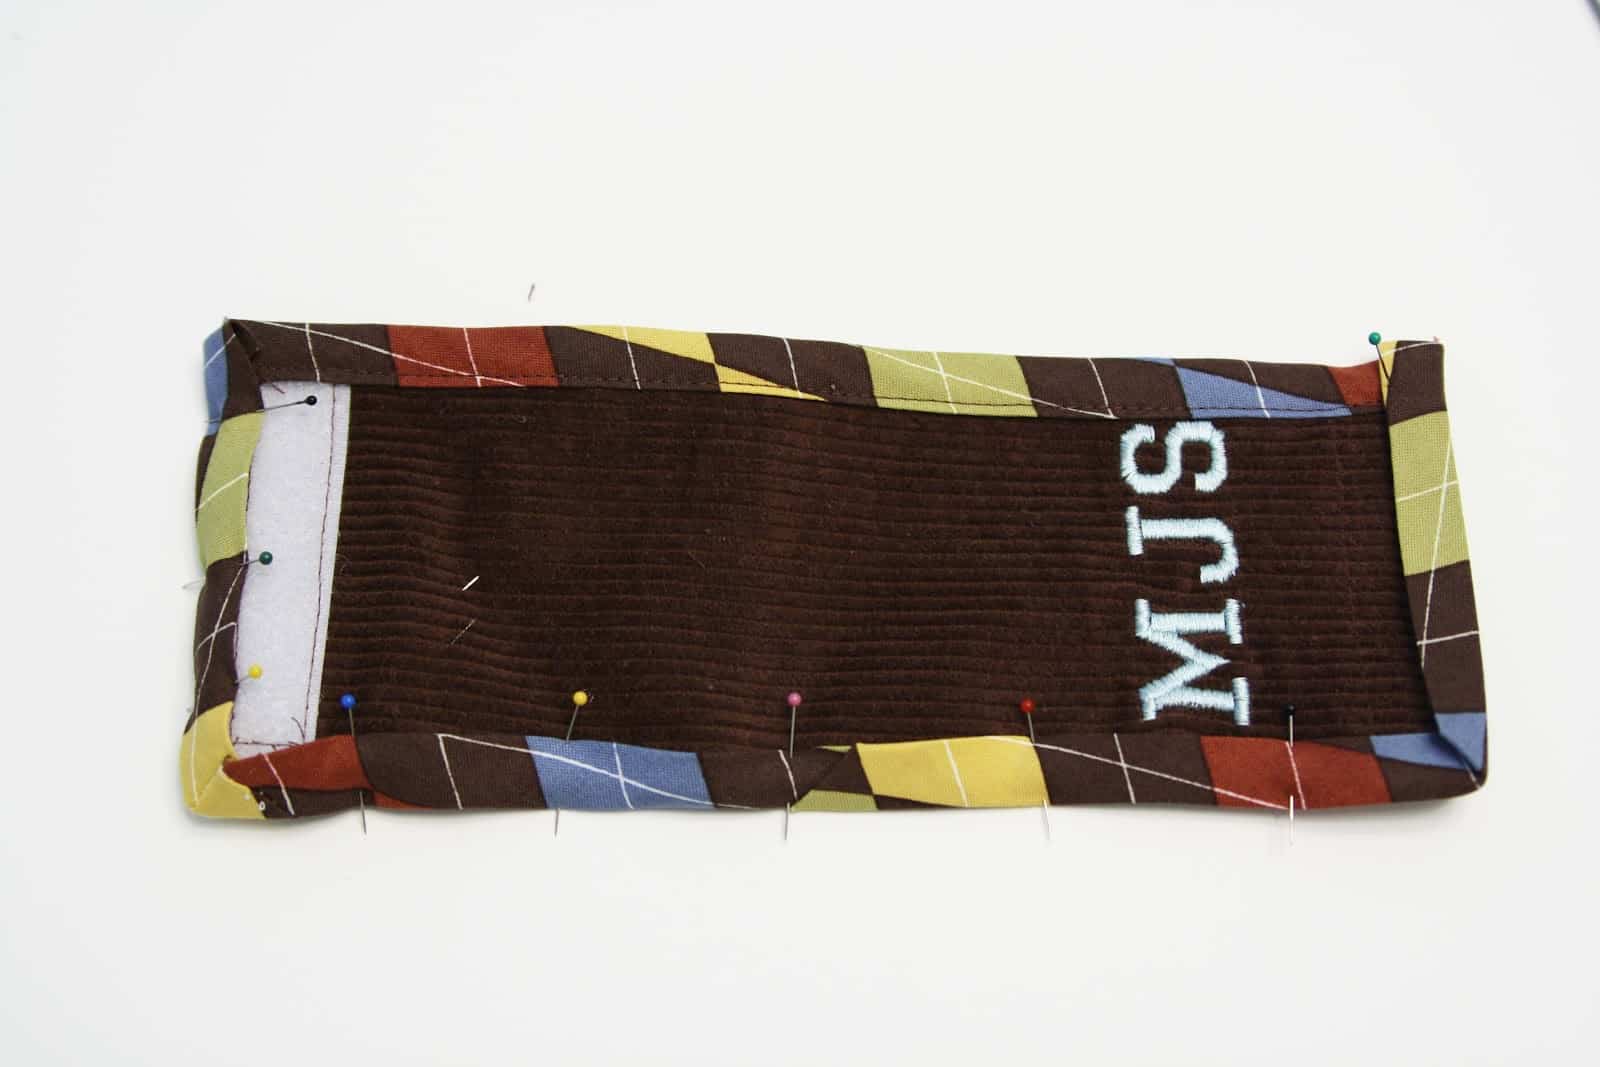
Sew the bias tape down.
Finally, tack down the edge of the lining closest to the velcro so this forms a pocket for the paper money.
Fold it up and give it to your money-loving kid.
 |
| Folded closed and velcroed shut |
Amber
Came over from the show and tell link party and am following you now. Got some great how to’s. Great that your kid is so into saving, that is a great habit to have!
http://ambiworld.blogspot.com/
MoneySavingEnthusiast
I love this! The letters are a nice touch. I hate to get rid of clothing that has special lettering on it. I’m going to save it and make something out of it. Thanks for the inspiration.
Paula
Oh my word! My little 18 month old loves wallets and zippers. I’m glad that I found this awesome project 🙂 I’d love to have you join us for a Kids Crafts Linky Party. Hope you’ll stop by!
Paula at Welcoming Spirit
http://bit.ly/xcnDwi
Alison @ Oopsey Daisy
This tutorial is fantastic! My little man loves carrying around one of my old wallets, but now I want to make him one!! Thanks for sharing at oopsey daisy!