
Sew a bias tape finish on necklines and other edges
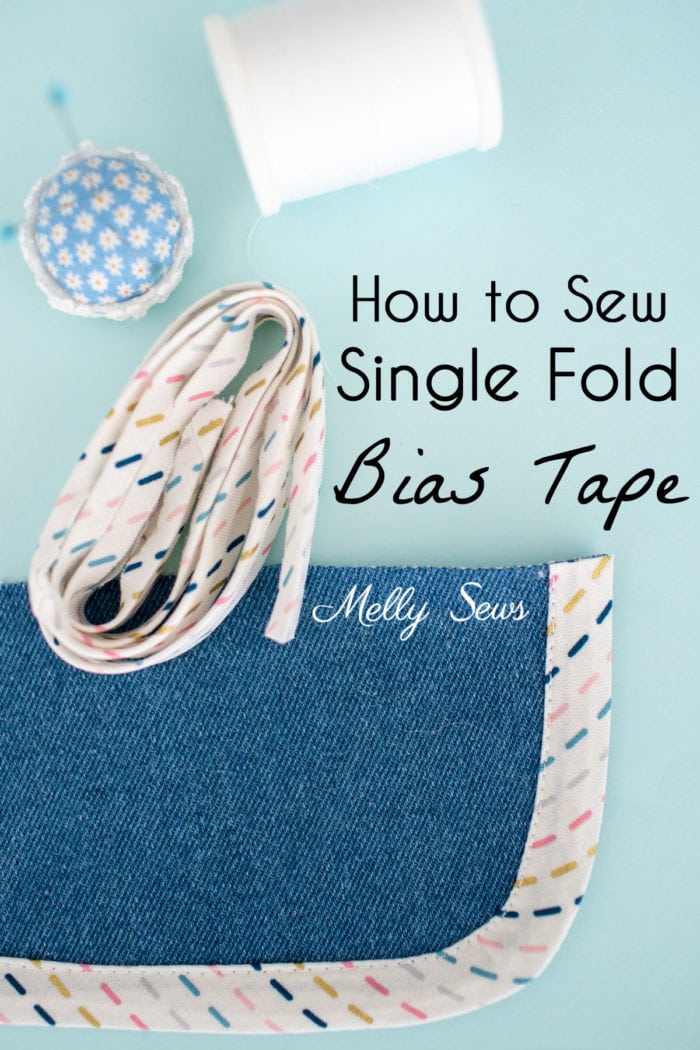
Hey y’all, today I’m going to show you how to finish raw edges using single fold bias tape. This finish is used on my two newest patterns, the Hathaway Tank and the Garnet Shorts.

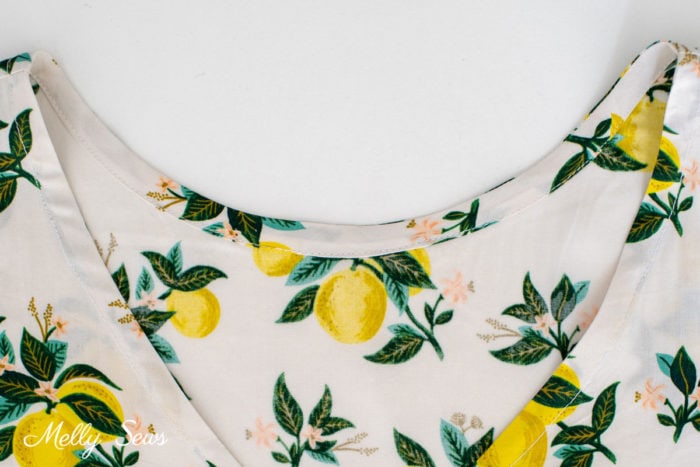
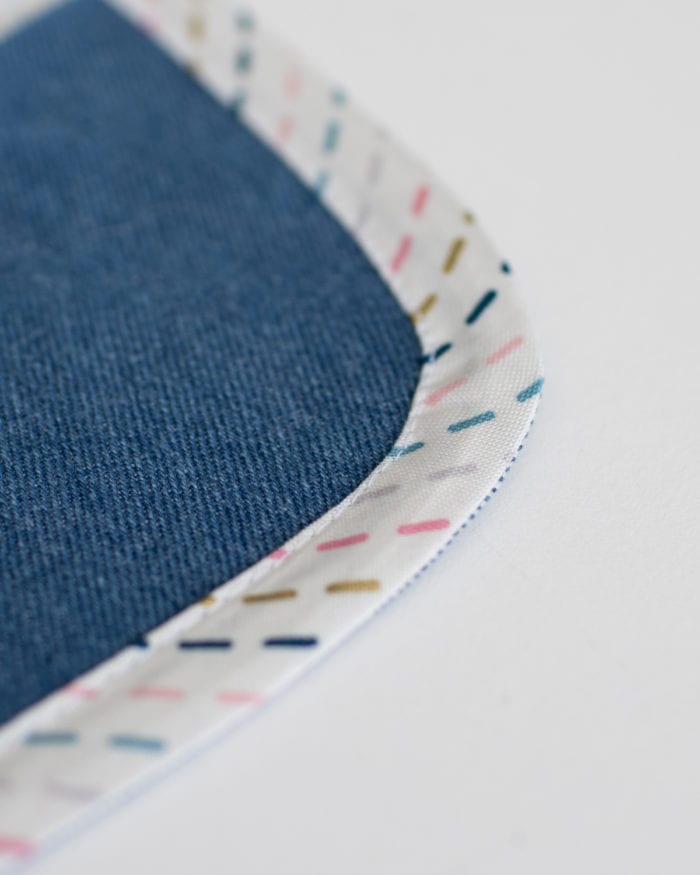
I love how you can do this type of finish with either the bias tape turned to the right side of the fabric, like I did on the Garnet Shorts above or to the wrong side as I did on the Hathaway Tank below.
I made a video to share my best tips for applying single fold bias tape, especially how to get it to lay flat around curves. You can watch below or on YouTube here if it won’t load for some reason.
If you don’t know how to make bias tape, I have a tutorial for that here. I love making custom bias tape because you can do prints and colors that you can’t get in the store. To do a single fold finish, first you want to decide which side you want your bias tape to end up on. Then start on the opposite side of the fabric. So here, where I wanted the bias tape to end up on the right side, I started on the wrong side of the fabric and used my iron and steam to shape the bias tape.
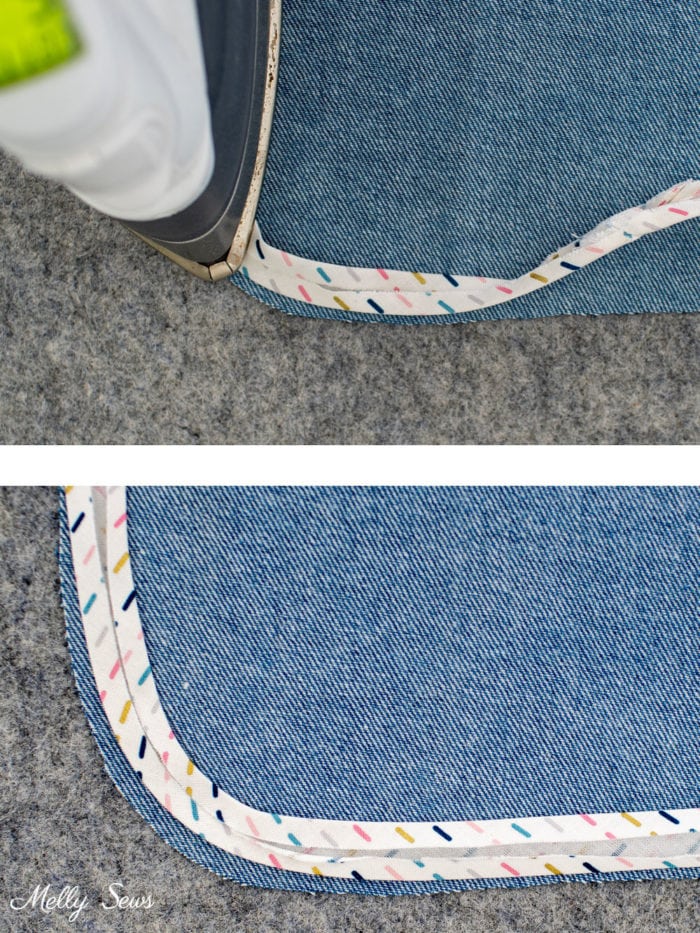
You can see that I shaped my bias tape 1/4″ away from the raw edge of the fabric. That way, when I unfold it to stitch, the raw edges will align. Stitch in the crease closest to the raw edge.
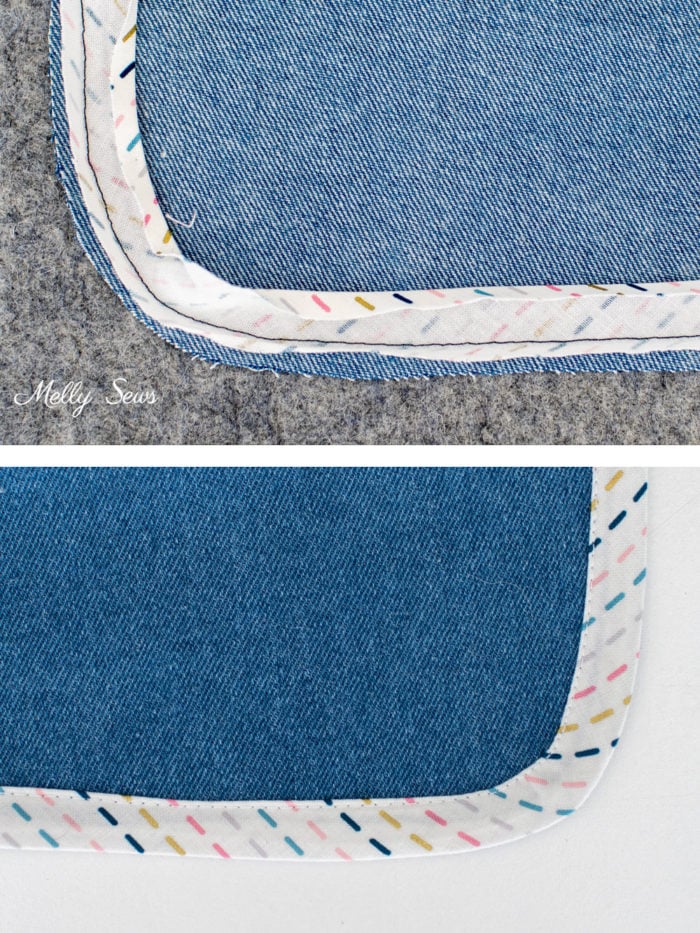
Then turn the bias tape to the other side of the fabric, in this case to the right side, and press again before stitching the inner edge in place. And admire your beautiful bias tape finish!
Gayle Wayne
Thank you so much for this video! I am ready to try bias finishes now! You have taught me so much! Hope you enjoy making these videos as much as I enjoy them
Gayle from Huntington Beach
Robin
I agree!
Barbara
Thank you, Melissa! As always, I learn so much from your videos! And I Especially like the ‘extra info’ you add as you explain the process shown. (Like: a wrinkle may appear in the curve of the bias tape after you press it in place. If so, stretch the bias tape fabric slightly, once again (along the curve of it), and then press that in place along the curve.) You are able to anticipate questions that may arise along the way, and I appreciate that you explain even the simplest of those matters, and you do so in a way that is so easy to understand! That helps to keep sewing fun! ThankYou!
Margaret Ryan
Thanks for this! I’ve been sewing for more than 50 years and never had to use single fold bias tape. It was a mystery to me until I watched your video!