
What is bias tape? It’s is a long narrow strip of fabric on the bias grain. See how to sew & use it in this post.
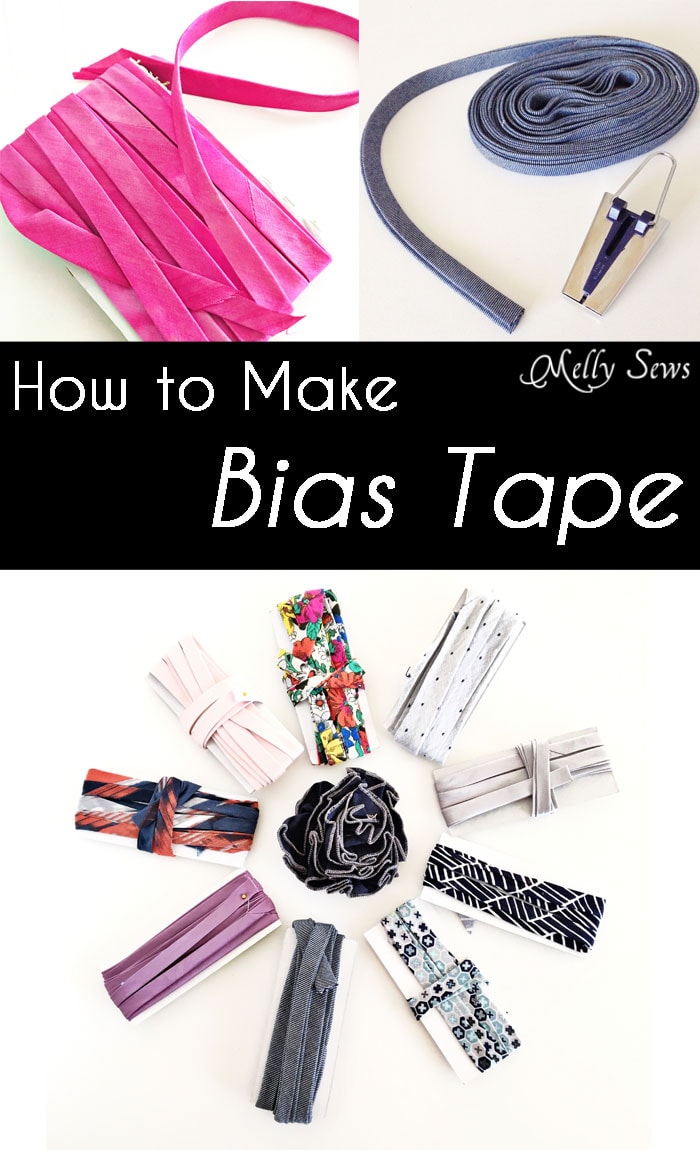
Hey y’all, for today’s Sewing Glossary post, we’re talking Bias Tape and I’ve got a continuous bias tape tutorial for you. This is a method to make bias tape and only have to sew two seams for yards of tape.
I’ve got a video tutorial for you below; this may be especially helpful to you if the written instructions about how to cut the tape confuse you. If for some reason the video doesn’t load, you can also watch how to sew bias tape here on YouTube.
This is much easier than it appears. I usually use a fat quarter of fabric, and from that I can get 4 yards of 1/2″ double fold tape or 8 yards of 1/2″ single fold.
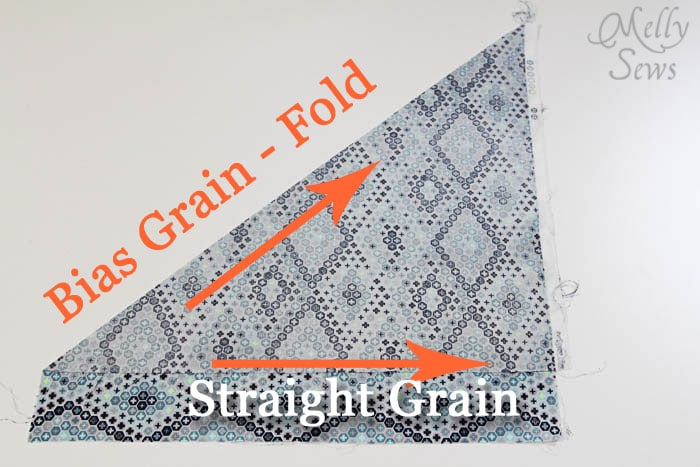
Start by folding your fabric on the bias – this is the same method I was taught to make a square out of a rectangular piece of paper. I always iron my fabric on the fold to mark it. Then, cut along the bias fold.
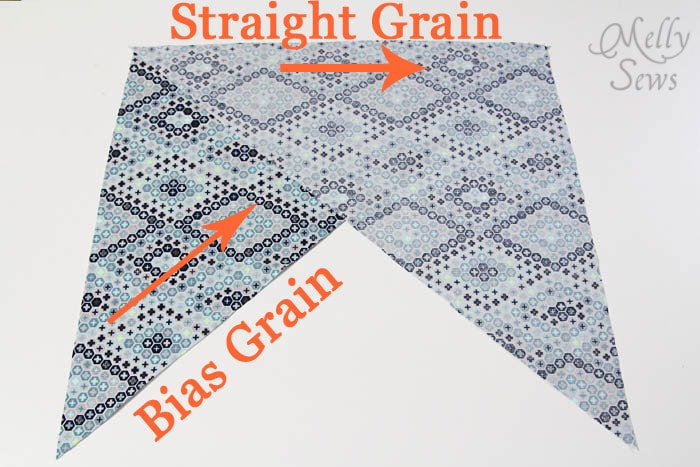
Match two straight grain edges right sides together like this and sew. I use a 1/4″ seam when I do this.
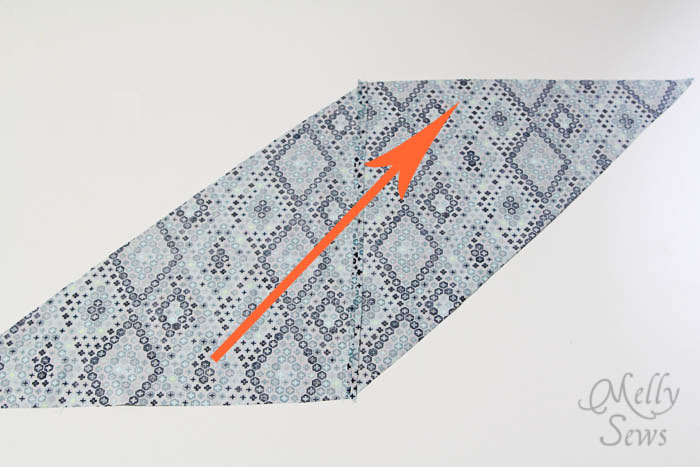
Press the seam open. Your piece will look like this now, with the seam in the middle and the arrow marking the bias grain.
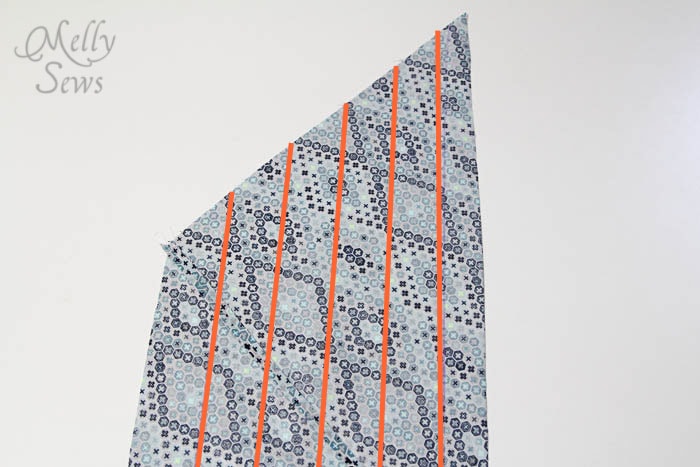
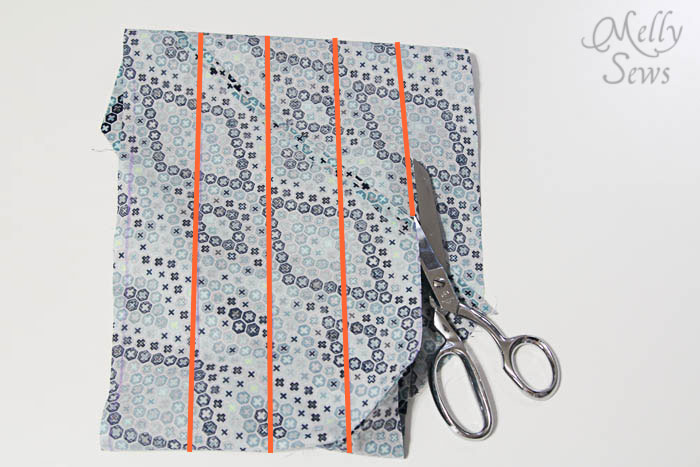
Using a ruler, mark lines on the bias grain of the fabric on the wrong side. If you are doing double fold tape, your lines should be 4 x the final width apart (ie if you want 1/2″ tape at the end, your lines need to be 1/2″ x 4 = 2″ apart). If you want single fold tape, your lines should be double the width of the final tape width apart (ie if you want 1/2″ single fold tape you do 1/2″ x 2 = 1″ apart).
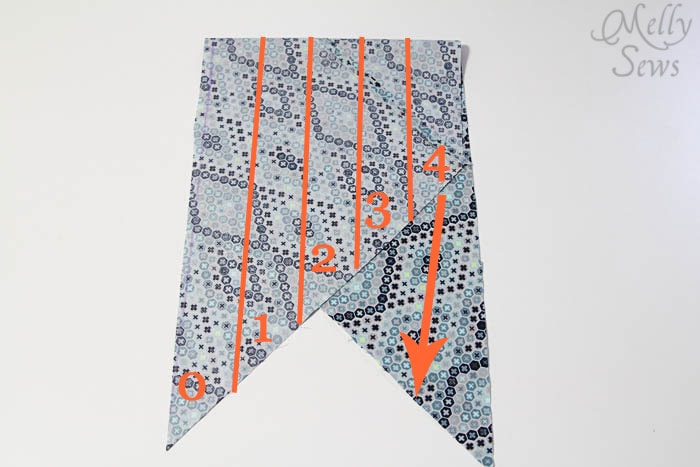
Fold your fabric, imagining that the spaces are numbered like this on one side. On the other side, imagine the numbers start with 1 instead of 0. You’ll match the edges, so you’re pinning the #1 space on one edge to the #1 space on the other side. The arrow shows where the #4’s would line up. Stitch this seam with a 1/4″ seam allowance, and press open.
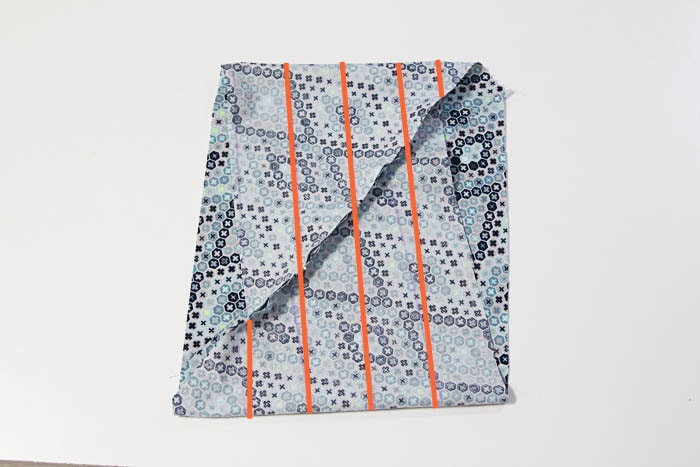
Your sewn tube will look like this – one each side is offset a little.
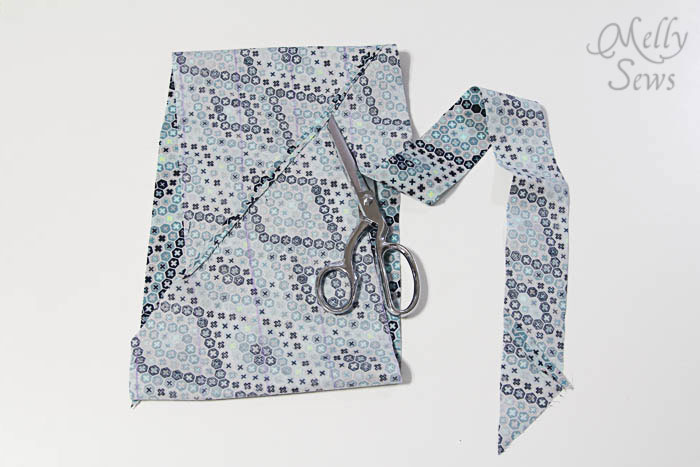
Now start cutting on your lines. I use scissors and go slowly. You could try a rotary cutter, just be careful not to cut through the bottom layer.
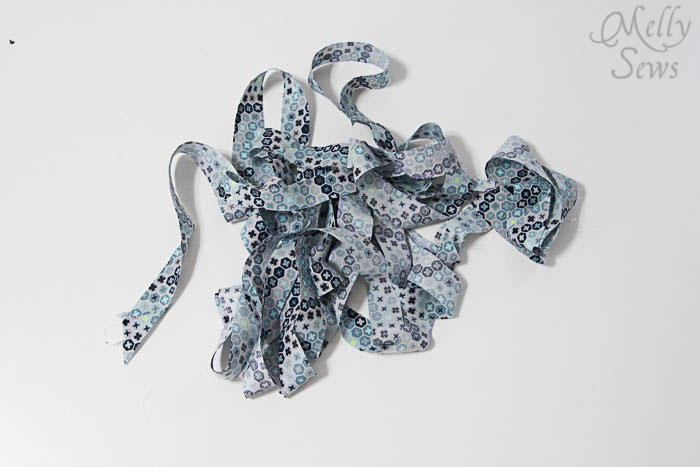
Continue cutting until you have a pile of unfolded bias tape.
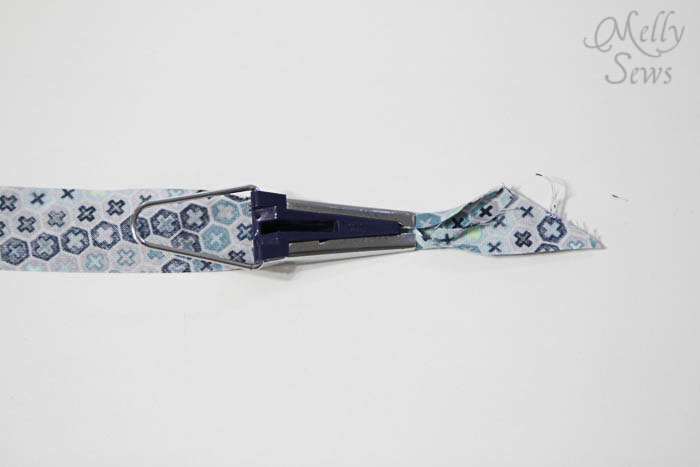
To iron the folds into the tape, I prefer to use these Clover Bias Tape Maker (affiliate link) tips. You feed the bias tape through and then iron as you pull the tip away from the iron.
When you’re done ironing (which goes by pretty fast) you get tape that looks like this (outside on top, wrong side on bottom).
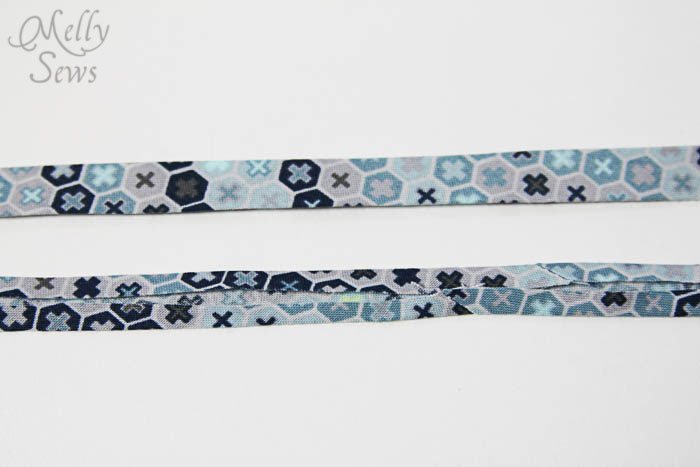
If you fold that tape in half again, you get double fold bias tape.
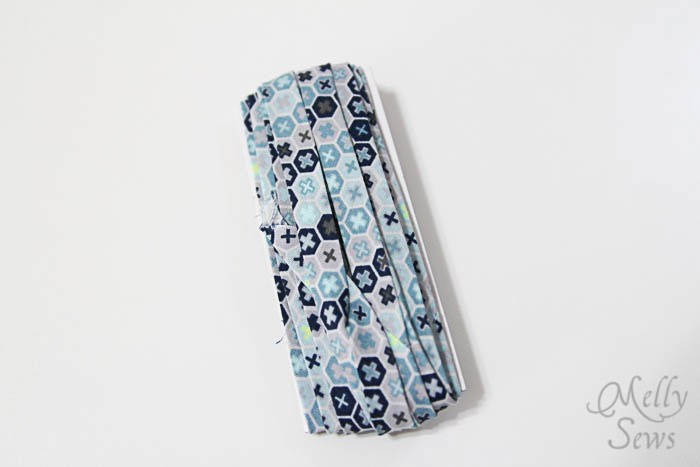
I save the little cardboards from my store bought bias tape and wrap the handmade tape on them.
Now, how to sew on bias tape. I’m going to show you how to use double fold bias tape, as this is the more commonly used kind to finish edges – think placemats or necklines. Also note – I sometimes prefer to wrap the tape around to the right side, and sometimes prefer to start on the right side and wrap to the wrong side. You really can do it either way.
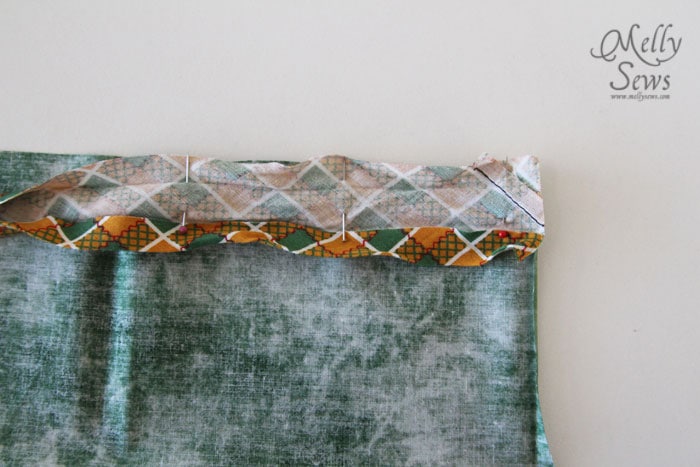
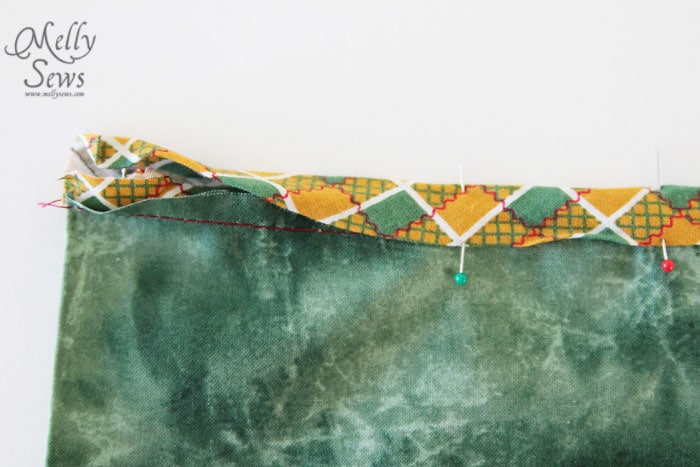
Start by unfolding the tape and pinning it to the wrong side of the fabric with the raw edges even.
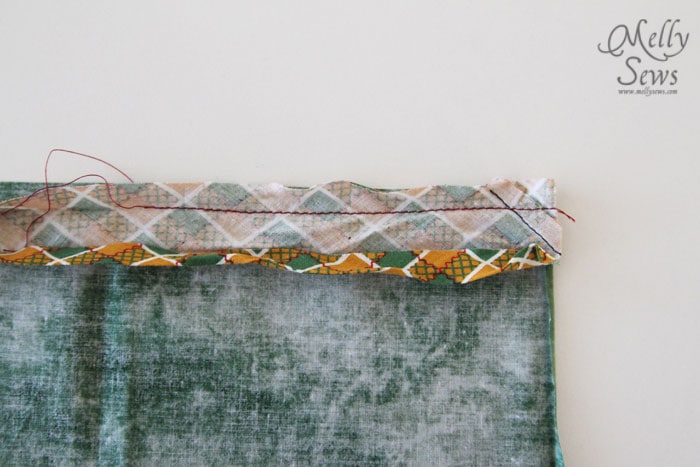
Sew right in the fold of the bias tape.
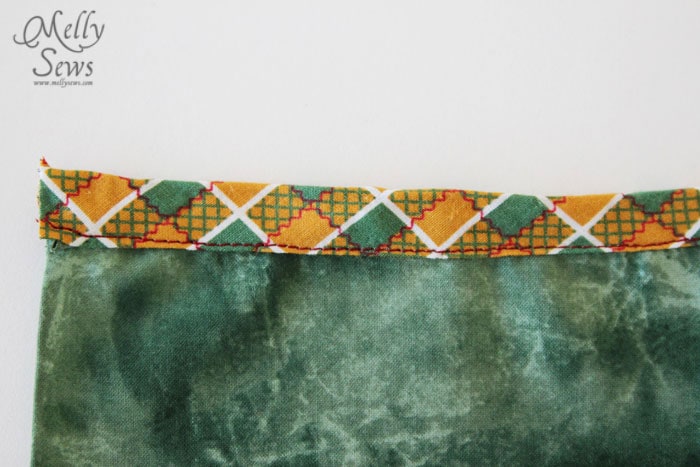
Wrap the tape to the right side of the fabric and pin, just covering the stitching line with the folded edge.
Stitch very close to the edge of the tape.
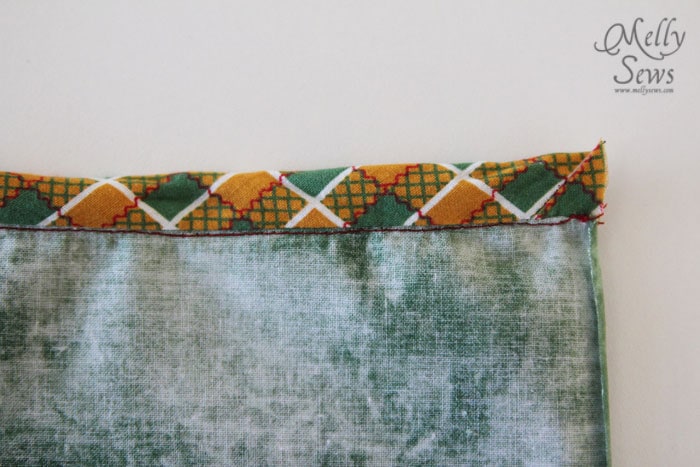
And on the back side it looks like this:
Because bias tape is cut on the diagonal, or bias, you can stretch it around curves. At corners, you’ll want to miter the corner – this is a good tutorial to show you how to do that.
Now have some fun making your own bias tape and using it to add a professional looking finish and a pop of color and pattern to your sewing! Until next time, happy sewing.
Rob
Thanks for this easy to follow tutorial.
Diane Tolomeo
Thank you! Excellent tutorial for something I’ve often made a mess of!
Leslie
Thanks for the tutorial! You have so many helpful things on your site, especially for a beginner like me. Can’t wait to watch more of your videos!
Alison Farngalo
Love, love , love the tube. Have been making my own bias for longer than I’d like to admit, but this is a fantastic tip to deal with all the times I’ve spent joining single strips. Thank you Melly xx
Christianne McCall
Can I use this technique for quilt binding?
Catherine
Wow, I spent so much time this summer cutting individual strips and then sewing them! Will definitely use this trick next time. Thanks for your always useful tips, great for beginners like myself.
Dori Moore
Excellent tutorial. Thank you.
Nancy Rachar
That looks simply adorable and we can make “custom” bias tapes for all our sewing ideas for that supreme look of crafting by a pro! I will be starting my next nightgown for America Girl Dolls with pink as the base color and a rose covered trim made into bias tape. I was stewing about how to make this look extra special for my niece last night and now I have it! Thanks a bunch yet again!
Michelle
This is like magic! I’ve been looking at a lot of sewing sites lately and this is the best!!!
Linda
I got interested in your idea and spent three days trying to come up with a predictive formula of the length
Here it is (does not count seam allowance)
H= square height before cut
P= stripe width
Length = h/p * square root (h*h + p*p)
The boring details, I use the equation for length of a helix bar with the surface area of the label side of a can to find r for the helix spiral equation
Thank you for your hard work, it’s such a great use of leftover fabric