
How to sew scrunchies or hair ties with a professional look
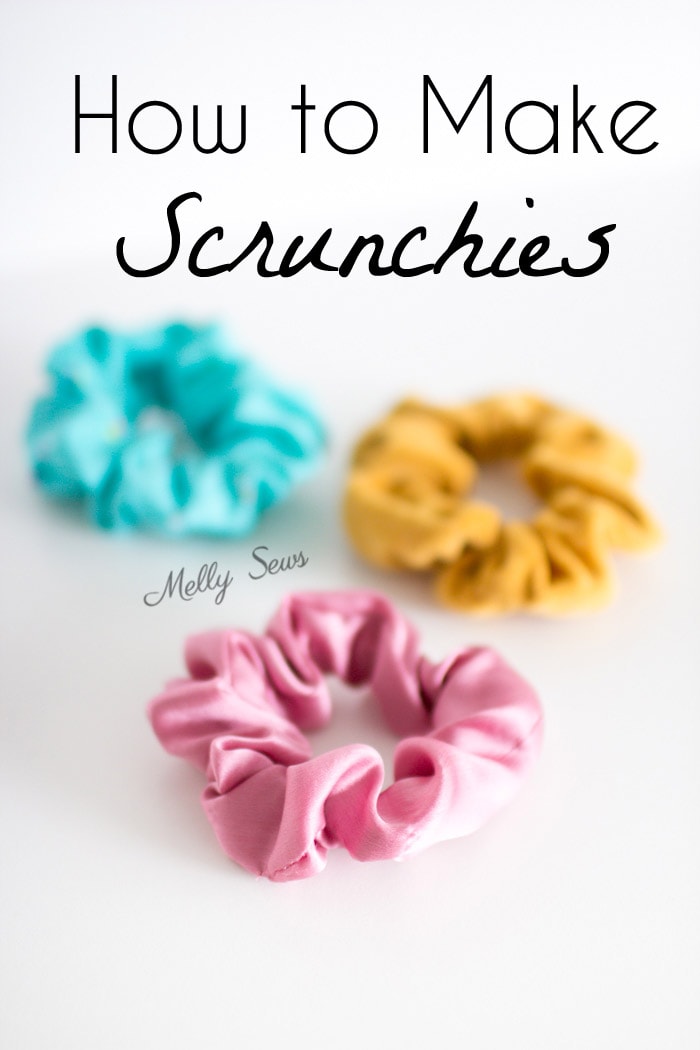
Hey y’all, today’s tutorial is a throwback to my childhood – how to sew a scrunchie. My mom always said that fashion was circular, and I’ve started to see the reappearance of things from my younger years, with a modern twist of course. Today’s scrunchies are in rich fabrics like velvet and silk, as well as old standbys like t-shirt knits. The DIY scrunchie method I’m sharing today may take a little more time, but it results in a more professional finish. No visible stitching on these!
I remember these as some of my first sewing projects too. Scrunchies are a great way to use scraps, and scrunchies are a great thing to sell at craft fairs, which means sewing scrunchies can be a side hustle!
And the best part of this scrunchies tutorial is that the method I use to make them also works to make headbands and infinity scarves! The only difference is that for scrunchies you add elastic, and of course for each project you cut the fabric to different sizes.
This post contains affiliate links. As an Amazon Associate I earn from qualifying purchases. All affiliate links are identified with (affiliate link) after the link or a commissions earned statement above the link(s).
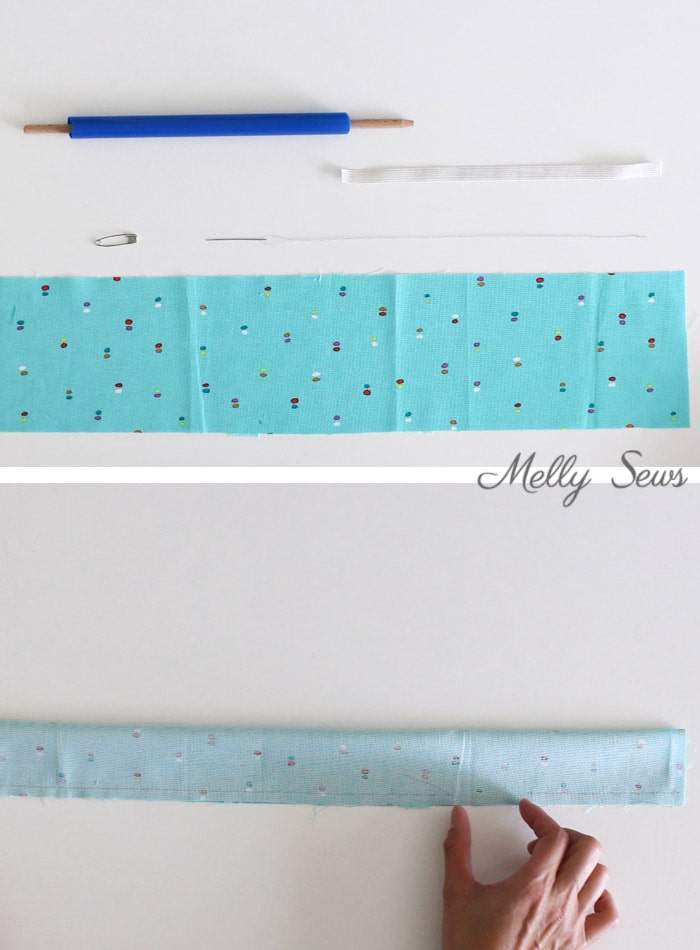
Supplies to sew a scrunchie:
- Fabric, 18 in x 4 inches. This bundle (affiliate link) is a good way to get a fun assortment of scrunchie fabric.
- 8 in of 1/4 inch wide elastic (affiliate link) – make this 9 if your hair is really thick
- Needle and thread
- Safety pin
- Optional – tube turner (affiliate link)
Here’s a little video on how to sew a scrunchie. You can also watch the scrunchie sewing tutorial on YouTube here, or you can scroll down for the written instructions.
How to sew scrunchies
- Fold fabric in half, stitch long edge, leaving gap
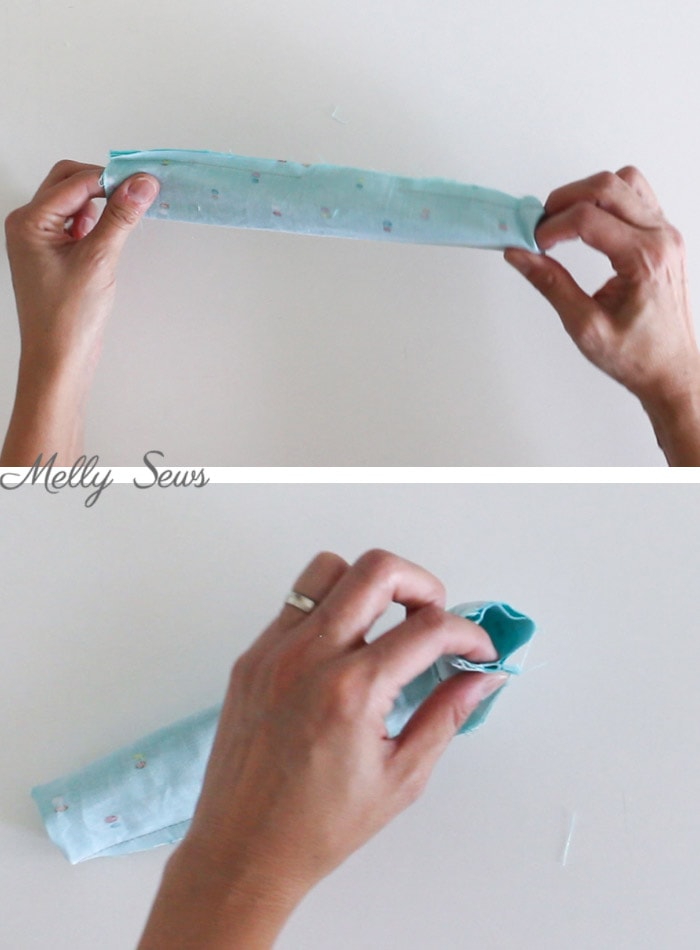
- Turn tube halfway to the right side, match short raw ends
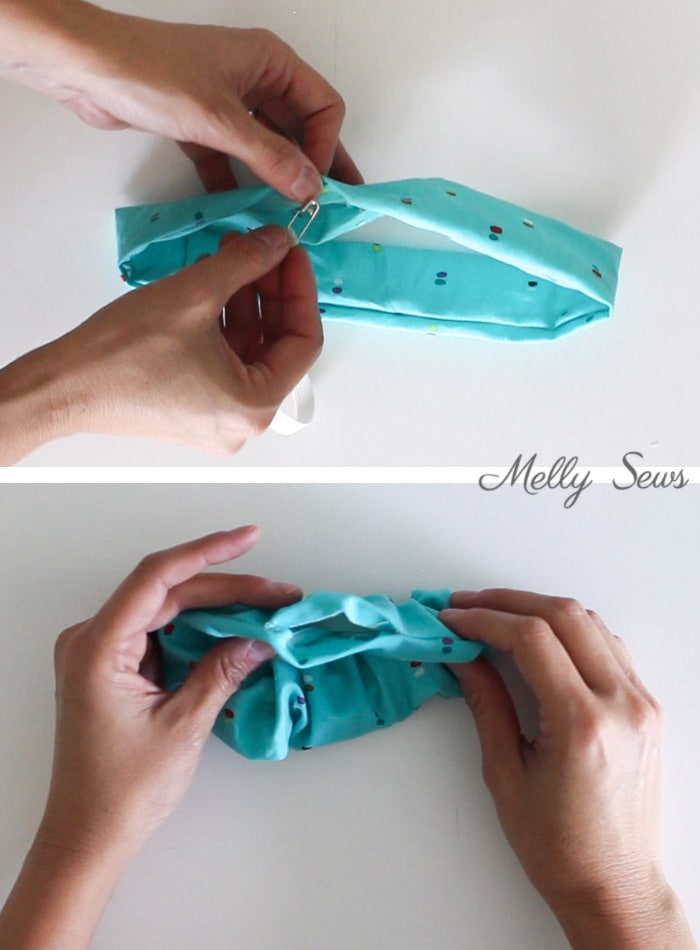
- Stitch around the short ends of the tube
- Turn right side out through seam gap
- Insert elastic
- Stitch seam gap closed
Time needed: 10 minutes
How to sew a scrunchie
- Fold fabric in half and sew the long edge, leaving a gap in the seam
Match the long edges, and make sure your gap is 1 inch or so and closer to one end
- Turn tube halfway to the right side, match short raw ends
Make sure to do this so that the gap in the stitching stays on the outside of the tube.
- Stitch around the short ends of the tube
Match the seams and the short raw edges. Stitch the raw edges together using the needle and thread; this tube is too small to fit around the sewing machine presser foot.
- Turn right side out through seam gap
After stitching the ends together, reach through the gap in the stitching from step 1 and turn the scrunchy right side out – you should have a ring.
- Insert elastic
Thread the safety pin or bodkin through one end of the elastic and feed the elastic through the ring/tube. Make sure not to lose the elastic end inside.
- Stitch seam gap closed
Overlap the ends of the elastic and stitch them together. Then blind stitch the gap closed and you’re done!
Lara Trottier
When I was a teenager these were wildly popular, you had to have at least one to match every outfit. I was just really learning how to sew and shorten pants (I’m 5’0″) so for every pair of pants I shortened it was enough to make 2 scrunchies, I had scrunchies like you wouldn’t believe. At that time I had to figure out how to make them myself. But I have to say it was awesome.
Deb
My granddaughter just asked me to make her some. Thanks for sharing.
Mecolina
Thanks for sharing. Excellent.
linda
I still match them to my outfits lol
Teresa Retman
I have made one scrunchie for myself, because of my thick hair and will make more…They are so easy to do..I plan on making more to sell at flea markets.. Thanks for the tutorial.
Christina
Thank you so much for this! They’ve turned out great and the elastic size is just perfect!
Honorine
I love the scrunchie. I will try to sew some for myself and my daughter.
Bethany
Thank you so much for sharing this scrunchie design! This is a great and neat way to sew it too!
Matthew
i’m just learning to alter clothes, and i always have so much fabric leftover! i’m so excited to give these bad boys a shot.
Dee
Thank you for sharing.
I have always wanted to
learn how to make scrunchies.
Anna
My granddaughter turns twelve next week and asked me to make her some scrunchies. Your directions were so simple, although I did stitch my ends on the sewing machine, as I avoid hand sewing as much as possible. HA! Thanks for your tutorial.
Bridy
best tutorial I have found. thank you! so many people were just sewing the ends together and it looked too messy for my liking especialy for gifts. Thank you!!
Brinley
The other night, i tried making scrunchies.they were either to loose or to tight. this makes it easier then what i was doing!
Bren
Thank you! I sent my daughter off to College with scrunchies made from scraps I kept from little dresses Iʻve made her since she was small! She remembered them, too, which was a wonderful bit of home to take with her.
Erica
Great tutorial! I’ve been searching for a good one because I wasn’t pleased with the shortcuts taken in other tutorials. This is perfect, very professional finishing with a blind hem. Thanks 🙂
Deanna G.
This and the video is the best scrunchie tutorial I’ve found yet. I make them not only for myself, but also for gifts, and I sell some on Ebay to help pay the bills at times. Sometimes I’ve found my efforts didn’t turn out as nice as I wanted and I couldn’t bare to give or sell them. I’m a bit fussy. 🙂 I want them to be as perfect as possible. However, this was using other methods I found elsewhere, but Melly’s method seldom if ever fails me, and the instructions are so very precise and clear. This tutorial is so easy to understand it’s wonderful! You’ve helped me to improve both my gifts and products. Thank you Melly!
Queen of Sewing
I love sewing and this was the first good instruction on Pinterest and have used it many times.
Ally
I love scrunchies! I am a VSCO, but not the annoying Tik Tok type. I made my scrunchie out of a light blue fabric. I didn’t have a sewing machine, so I created it with glue. Making scrunchies are so fun (and fashionable:)!!
Melisa
By far the best scrunchie tutorial I’ve encountered. They are so neat and look so “done”! Love this, thank you.
Maya
Thank you, your directions produce a much neater scrunchie, with no obvious seams, than other tutorials I found.
Kat
Melissa, do you think fold over elastic would be okay to use in scrunchies? I’ve got a ton of it from making masks at the beginning of covid 😛
Angie
I’m teaching my granddaughter to sew. This is perfect for her to start. She loves making her own scrunchies and I love spending time with her. Thank you for sharing.
Melissa
If you don’t want to hand sew the ends together in step 3, you can machine sew them if you use your quilting foot. It’s tiny so it fits in the opening no problem. I just made 2 of these and it worked great! Thanks for the tutorial.