
For Day 2 of the How to Sew a Blazer Sewalong, we’re going to be sewing up the front. If you missed yesterday’s post about patterning and cutting, you can find it here.
So, we have our front pieces cut out. If you’re sewing the women’s blazer, you’ll need to mark and sew darts. If you’re doing a Basic Blazer, skip this step and scroll down to the facings.
Marking darts – I used chalk on the back side of the blazer because of the velvet – tracing wheels can leave marks on it. A great way to mark darts like these is to actually cut the darted area out of the pattern, leaving a hole, and then trace the opening. And of course I didn’t take a picture of that part. Also I don’t think it works so well with tissue paper patterns, but it’s a great method with heavier paper.
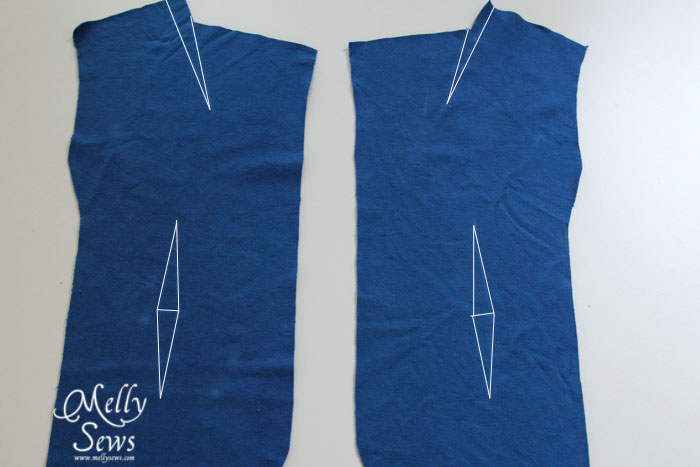
OK, so here are my fronts with darts marked (I traced over the dart lines with the computer so you can see them better; they weren’t this bright in real life).
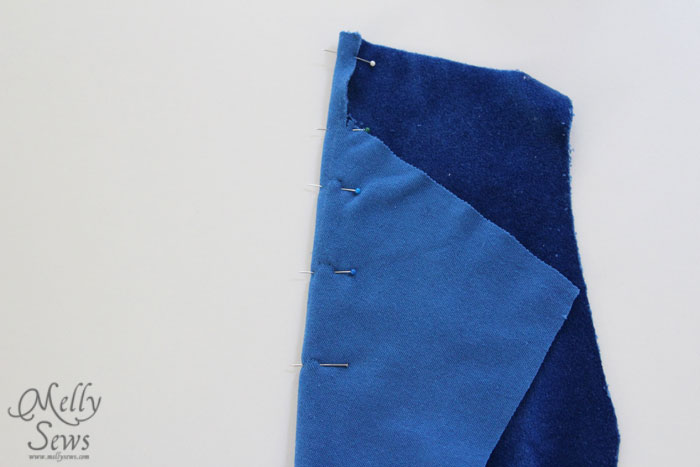
To pin the darts, I put 3 straight pins through while the dart is flat, making sure to enter and exit the pin right on the dart line.
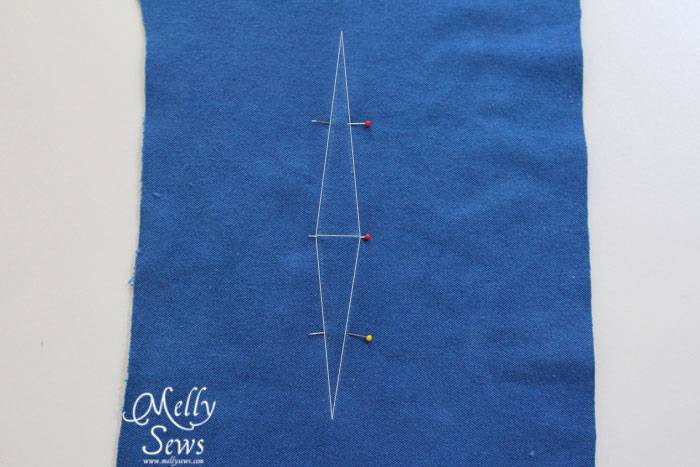
Then I pinch the dart, using the pins to keep it aligned, and adding more pins to keep it folded.
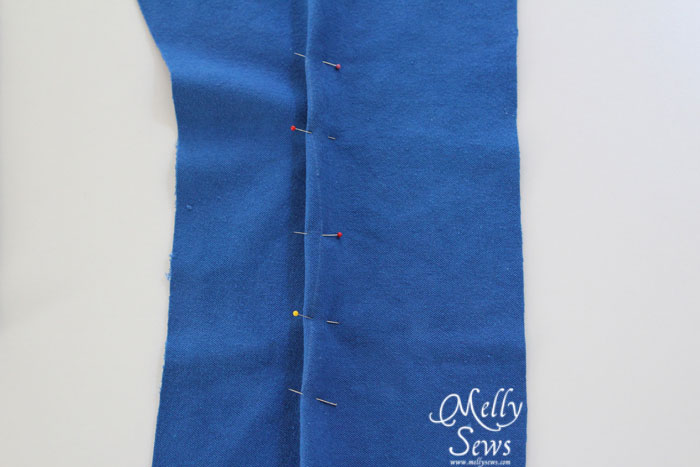
Stitch right along the dart marking and remove the pins. Technically, you should tie your threads at each end of the dart. But I never do. I always press my darts away from center.
For the shoulder dart, pin as above, and when you stitch your dart the stitching will go right next to the edge of the fabric on the upper portion.
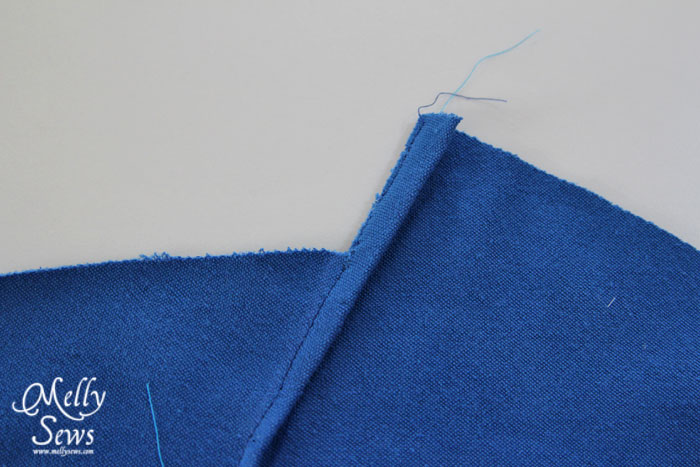
Press this dart towards the side so that the dart doesn’t hang over the edge of the piece.
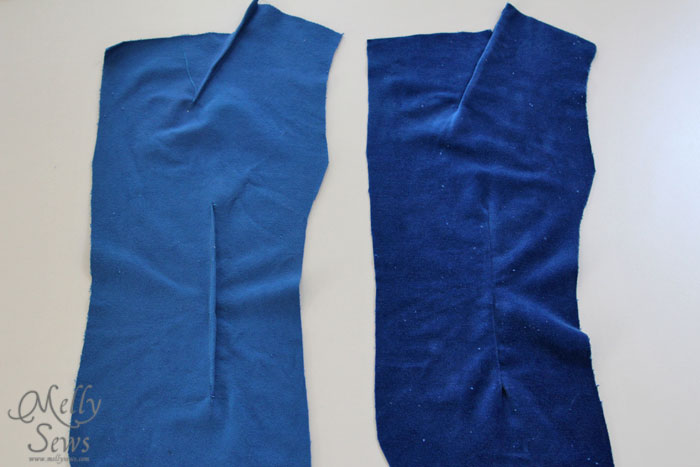
Below is what the fronts look like once the darts are sewn; on the left I’m showing the wrong side of the fabric, on the right is the fabric right side up.
Facing and lining
Since the front lapel is created by the blazer front folding over, we need to make this part out of the same fabric as the main jacket. But we don’t want to make the whole front inside out of velvet, as that would be bulky. So we pin the front facing and front lining together along the curved seam. I pin the two ends first, then pin around the curve, stretching the fabric slightly if necessary to get the two pieces to match up along the curve.
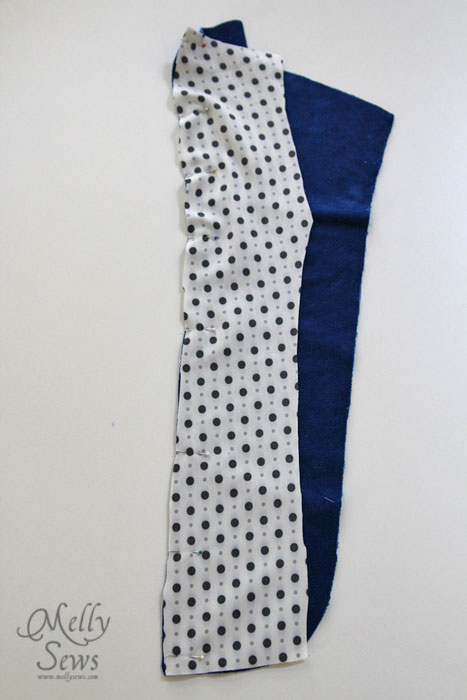
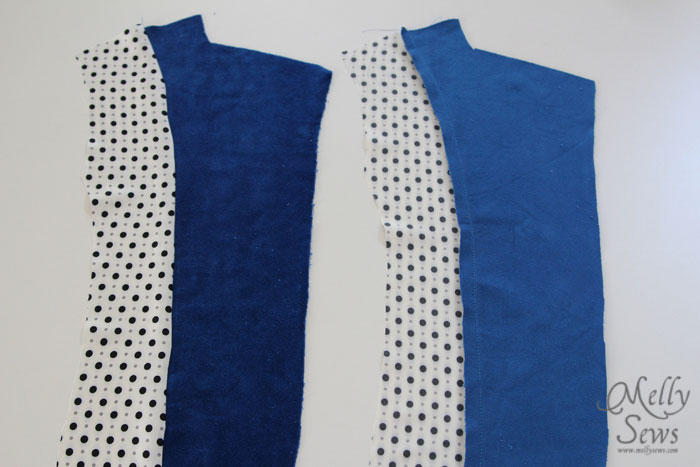
Once you sew the facing to the lining, your piece should match your blazer front piece. In the picture below the piece on the left is right side up, the piece on the right is wrong side up (confusing, I know). You can see I didn’t clip the curve, just pressed it toward the side seam. The lining fabric was thin enough that this didn’t cause puckering. You can also see that there are no darts in the facing/lining. This is because of the curve – it takes the place of the dart.
Go to Part 3 of the sew along here.
Leave a Reply