

Welcome to day 3 of how to sew a blazer! In case you missed it, on Monday we talked patternmaking, on Tuesday we covered darts and the front, and today we will look at constructing pockets, attaching the sides and back, and sew the shoulders.
Starting with pockets. If you’re working on a Basic Blazer and doing welt pockets, you’ll want to look at this tutorial, which has a few more pictures than the pattern does. But it’s nice that the pattern has the pieces measured out for you so you don’t have to guesstimate.
If you want to do welt pockets on the women’s blazer, you can also check out that tutorial. Just be aware that you need to sew on the sides before you do the welts.
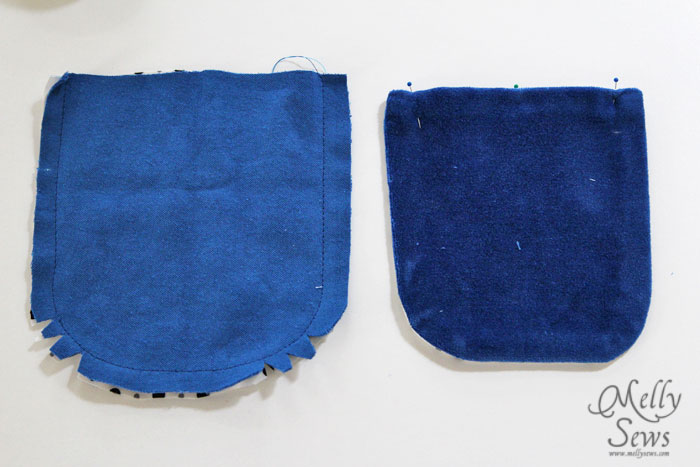
So in this post we’ll cover the last option, the rounded patch pockets, which are easier than welts. You need 4 pocket pieces cut out – 2 of lining and 2 of the main fabric.
Place one lining piece and one main piece right sides together and sew around the curved edge, leaving the top open for turning. Clip the curve to but not through the stitching, then turn right side out and press (use a press cloth if you’re working with velvet or similar). Turn the top edges in towards each other, turning the lining slightly further in than the main fabric so it won’t peak out. Now, you can do one of two things. The proper thing is to blindstitch the lining down on the inside. The fast way is to topstitch across the top of the pocket, securing the lining and closing in the raw edges.
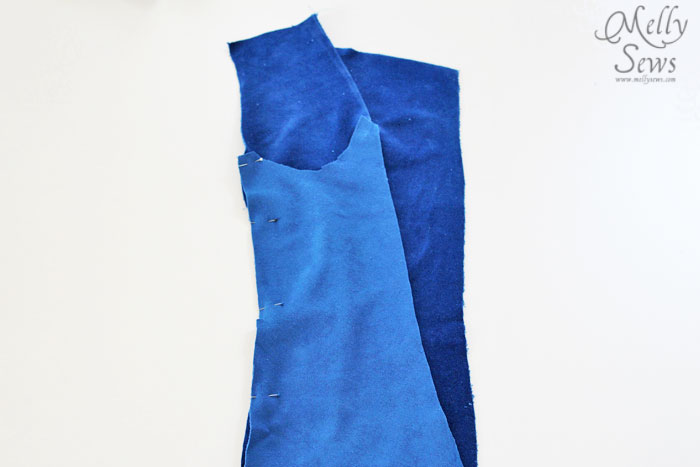
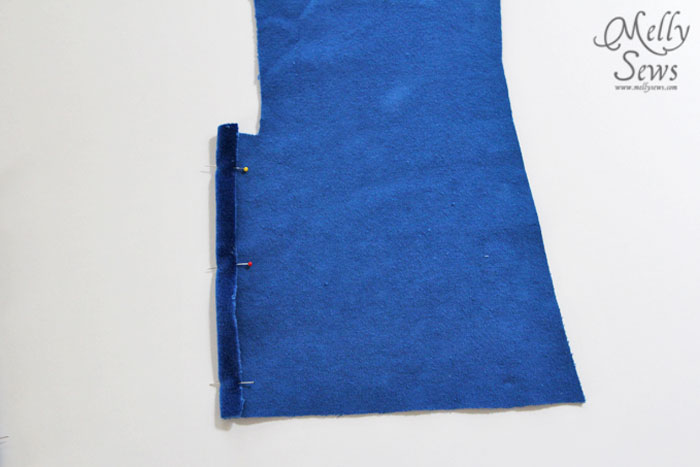
Now before you can sew the pockets on, you need to sew the side to the front. Pin the top and the bottom of the side to the front piece, then stretch the fabric slightly along the curve if needed so it will lie flat.
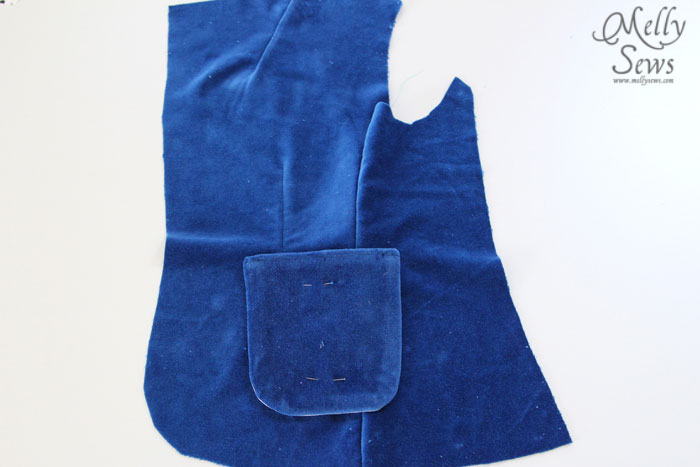
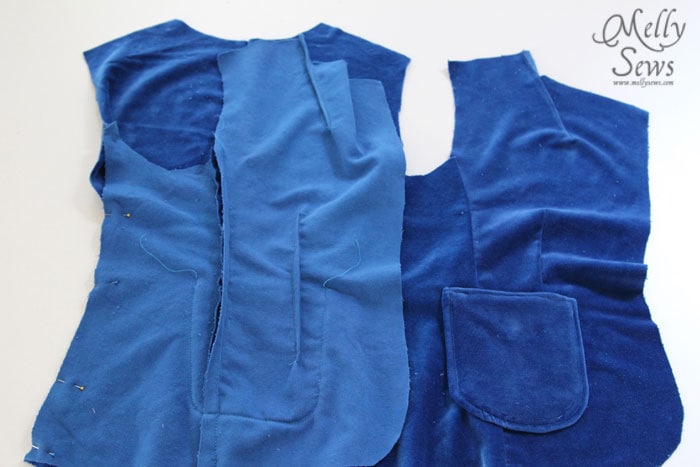
Once the side and the front are joined, then you can place the pocket. It will span across the dart and the side seam, as shown below. Topstitch into place, making sure to backstitch at the beginning and end of your stitching to keep the pocket secure.
Remember to stitch your lining side pieces to the front facing/lining pieces from yesterday at this point.
Next we prepare the back vent. If you’re doing the Basic Blazer, you can skip this step. Unless you want to add a vent, then (provided that you haven’t cut your back yet) read on and see how easy it will be.
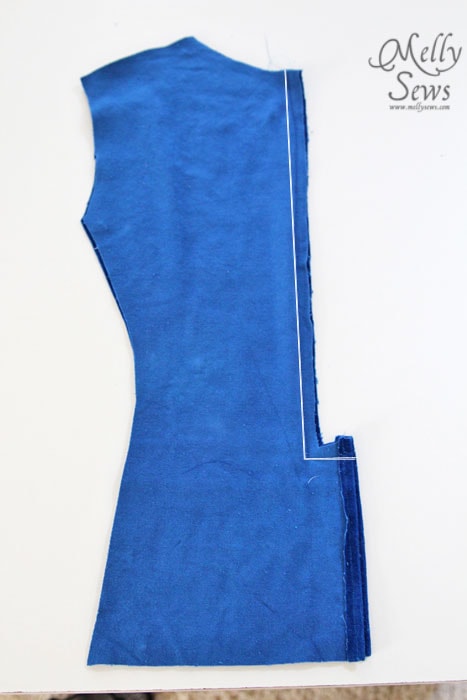
The back vent will be formed out of the part that of the back that sticks out. Before stitching the center back seam, you need to turn the long edge of the vent flap under and hem it with a 1/4″ hem. Neither of these stitching lines will show on the outside of the final blazer, so it’s ok to just straight stitch the hem.
After hemming, stitch down the center back seam, pivot at the corner, then stitch across the vent top. Stitching line below is computer enhanced so you can see it.
Now you’re ready to connect the sides to the back, and you have one long blazer piece, as shown below. Then you sew the shoulder seams.
Again, repeat these steps with the blazer lining.
At the end of today, you should have two blazer vests – one made of the main fabric, and one made out of the lining fabric.
kelly
Thanks for doing this series, my family is in the process of packing and moving (to Austin!) so I can’t sew along now, but I’ll definitely will be doing this once were done. (Although my sewing machine will NOT be packed up until the very last day!).