
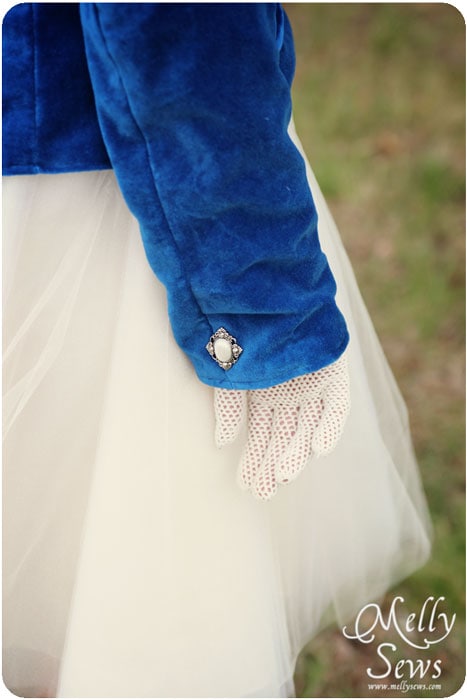
Hello again! Today in the how to sew a blazer sewalong we’re covering how to set in our blazer sleeves and how to make the collar and stand. In case you missed it, on Monday we talked patternmaking, on Tuesday we covered darts and the front, and on Wednesday we sewed the pockets, side seams and shoulders.
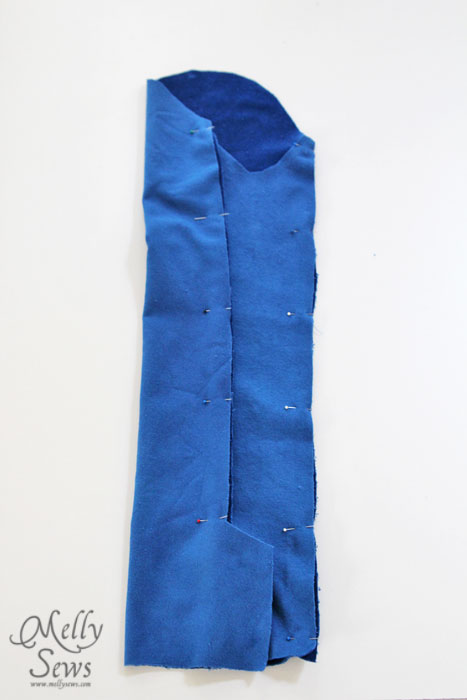
Let’s start with the sleeves. You’ll sew the under sleeve to the upper sleeve along both edges. (Please ignore the sleeve vents below; I cut them off after this picture and just did straight sleeves).
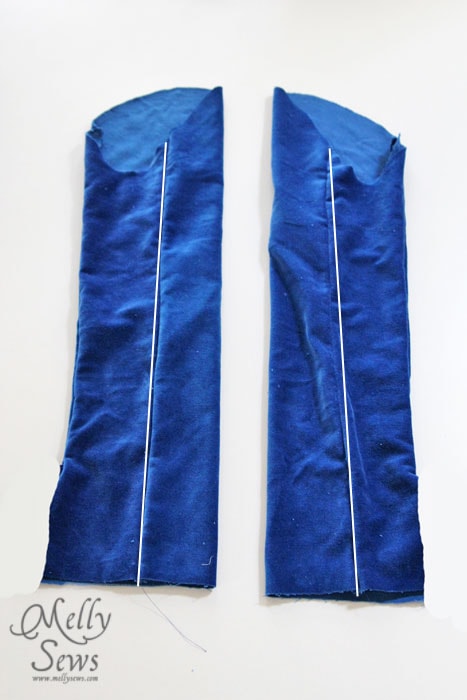
When you turn your sleeves right side out, and lay them side by side, you’ll see a difference in where the seams land. The sleeve on the left is the left sleeve, the sleeve on the right is the right sleeve. I can tell because of the side seam that is higher (or slightly longer) – that is the back edge of the sleeve.
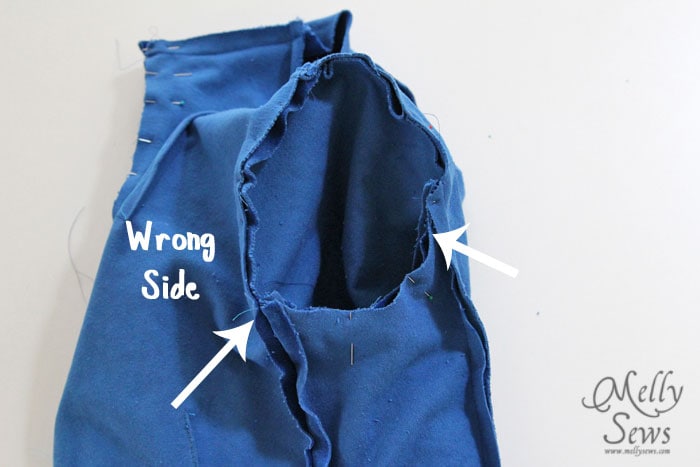
Now with your sleeves right side out and your blazer wrong side out, pin your sleeve to the blazer, matching the under sleeve seams with the side piece seams. Note: If you’re sewing the Basic Blazer, you’ll match the seam as indicated in the instructions since that pattern doesn’t have side pieces on the body.
To get the sleeve to lie really nicely, you can also clip to (but not through) the stitch line all around the sleeve.
Remember to sew the lining sleeves to the lining in the exact same way. I know it can be confusing if you start to think about how the lining is goign to end up worn inside out, so my advice is just don’t think about it. Pretend the lining is the main blazer, match up seams the same way, and all will still be well later, I promise.
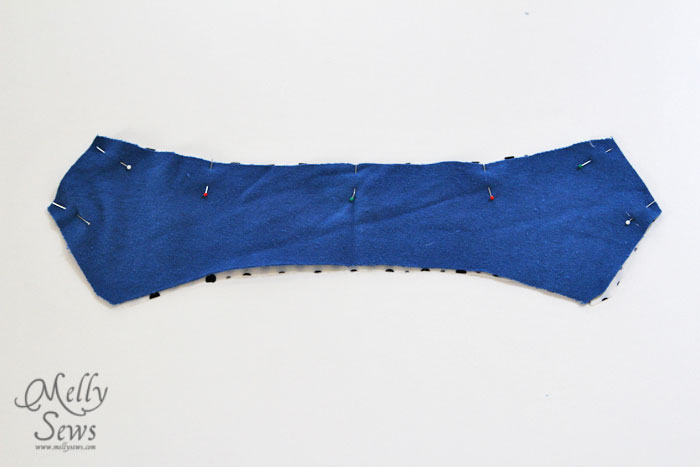
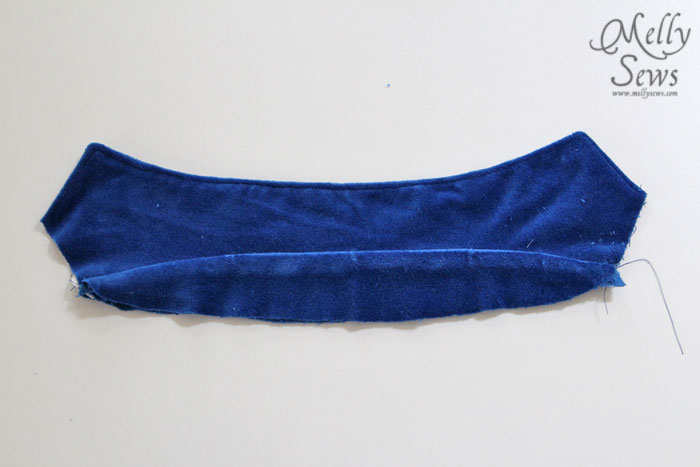
Now the collar. The blazer I copied had a two piece collar, so that is what I did. The Basic Blazer has a one piece collar, so it’s shaped a little differently. Either way you start by placing the two collar pieces right sides together and sewing around the edges that are going to be exposed (note stitching lines on this blazer in the second picture)
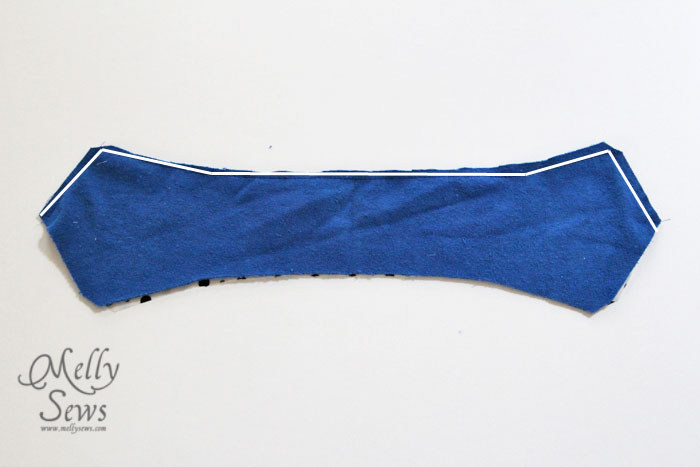
Clip the corners and trim the seam down to 1/4″ (6mm). This reduces bulk when you turn the collar right side out.
Turn collar right side out and press. Topstitch around the edges you just sewed.
If you’re sewing a Basic Blazer, skip down three pictures – you don’t have to worry about a stand.
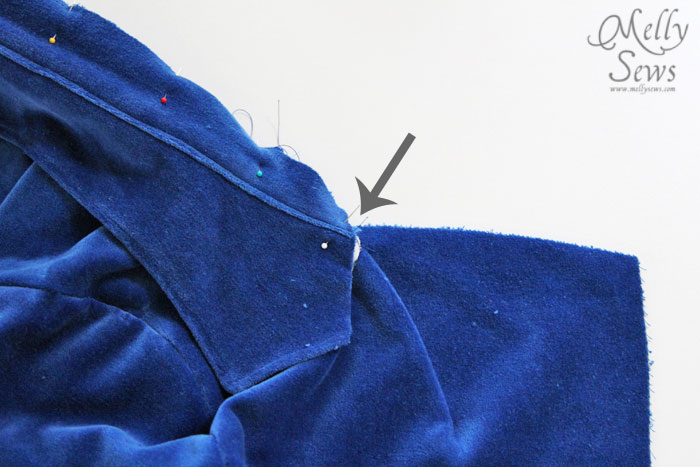
To sew on the stand, sandwich it over the collar, with one stand piece on each side.
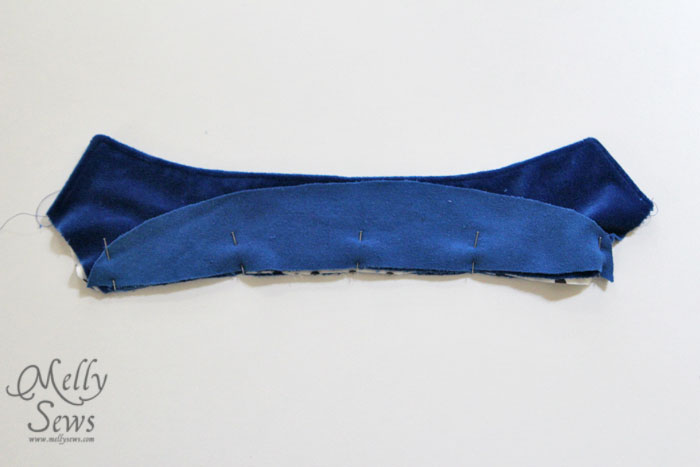

Stitch the straight edge (you’ll still have open edges on the side, we’ll get to those in a minute) and turn the collar stand down and press. Mark the center of the collar stand with a pin.
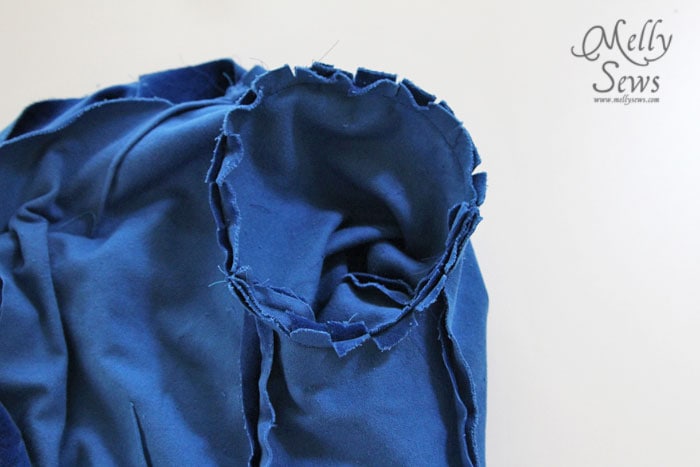
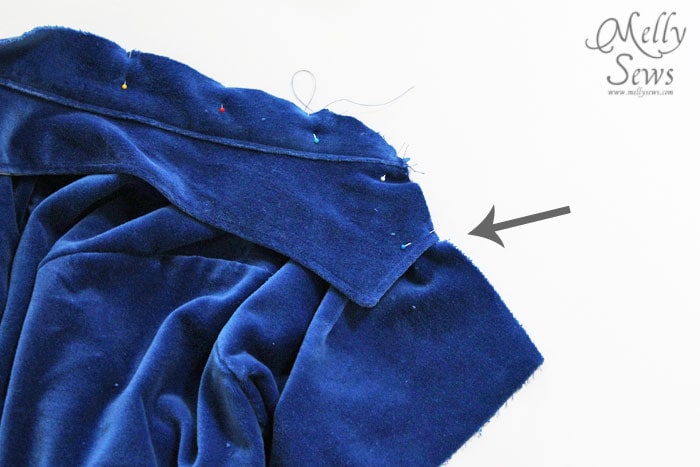
Starting from the center back, begin pinning the collar along the neck edge of the blazer. Pin to the edge of the collar stand, which should match up with the corner of the blazer neckline (arrow in the picture below).
Spread the neckline at the corner and continue pinning along the collar. Baste the collar in place. Tip: stop sewing when you reach the corner, leaving the needle down, and shift the excess fabric around the corner before continuing stitching – this will prevent puckering.
Now, if you’re doing a Basic Blazer, you have it easy – you don’t even have to turn corners or deal with a stand. But you’ll still baste the collar on.
Lechia Conrad
Thank you I had a hard time last night sewing in a collar from a Butterick pattern I took tailoring but I have not sewn in 7 years a blazer.