
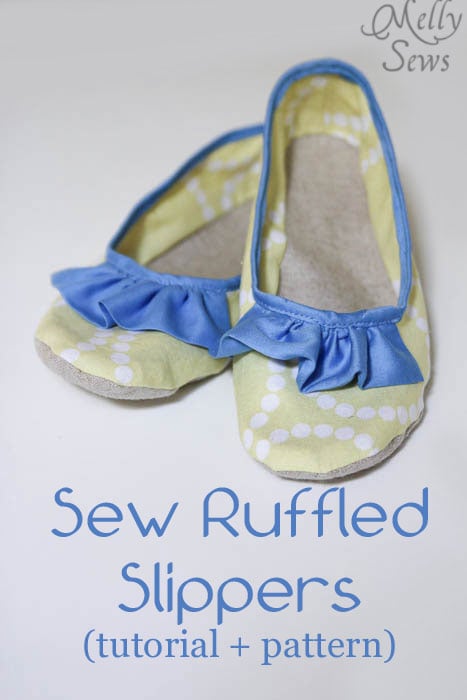
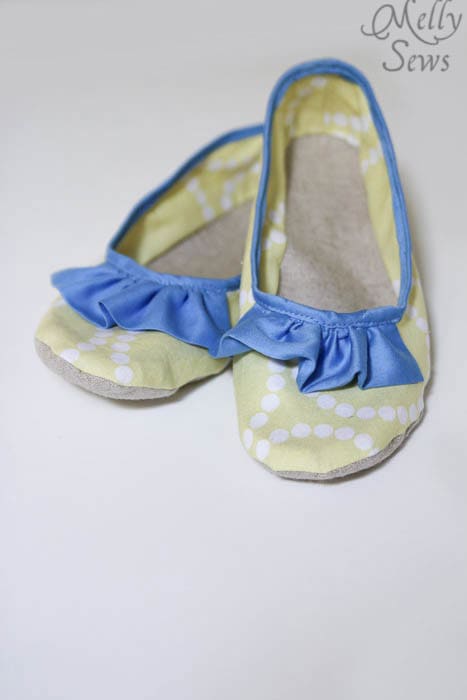
Today I’m going to share a pattern and tutorial to sew slippers with a ruffled accent as part of Ruffles 2013 on See Kate Sew.
This post is part of the mystery fabric challenge – Kate had Fashionable Fabrics send each of the 4 of us participating the same fabric in different colors. All the fabric is from the Lizzy House Pearl Bracelets collection for Andover Fabric. I got Citron and though I love the color I could not figure out what to make with it. Until I hit on the idea of stitching up some lightweight house slippers and I knew this would be perfect.
So, let’s talk about how to make these. You’ll need:
- Fabric. I think I used a little over a fat quarter to make and line mine, which are for my tiny size 5 feet.
- The pattern, or if you don’t have crazy miniature feet, a shoe to make a pattern from. I wear a women’s size 5.
- A sturdier fabric for the soles. I used home decor weight canvas for mine
- 1/4″ double fold bias tape. I made my own. Like this. You’ll need around a yard of it.
- Scraps to make ruffle details
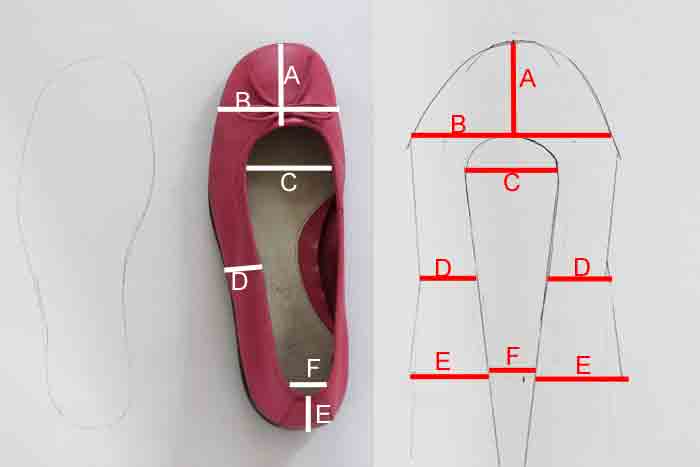
Let’s start with creating a pattern, since I’m pretty sure (based on the fact that many stores don’t even carry my size shoes) that most readers won’t be able to use mine. For your sole piece, trace around the sole of your shoe. To make your top piece, start by tracing the toe and heel of your shoe (you can see where I did this below). Mark a center point on the heel and the toe, and then you’ll measure the parts of your shoe as follows:
- A – from the sole of the shoe over the toe and to the foot cutout
- B – from the sole of the shoe across to the sole on the other side
- C – the width of the foot opening
- D – measure up from the sole to the top edge of the shoe
- E – measure up from the sole to the top edge of the shoe
- F – width of foot opening at heel
Start by marking out A and B on your paper, then create the toe curve. This is going to be wider than the sole of your shoe; that’s so it will have room to go up to accommodate your three dimensional foot.
Next, mark out the widths for C and F, and create the inner opening curve. Finally mark out the widths for D and E, and connect your lines.
Check your measuring – the length around your shoe from A to E should equal the same length on your pattern for A to E. It’s even possible that one side of your flat pattern will look longer than the other side and that’s OK, as long as the length from A to E is the same on the outside edge of the sole and the outside edge of the top, and the same for both inside edges.
Add seam allowances to the sole piece and to the outside edge only of the top piece. I used 3/8″ seams. You can trace with a compass or two pencils taped together to get the curved seam allowance.
When in doubt, you can stitch up your slipper in paper really quick to double check your pattern. You will use the same pattern piece for both shoes, just make sure to turn it face down for the other shoe. Once you have a pattern that works, cut out:
- 4 soles (2 right and 2 left)
- 4 top pieces (2 right and 2 left)
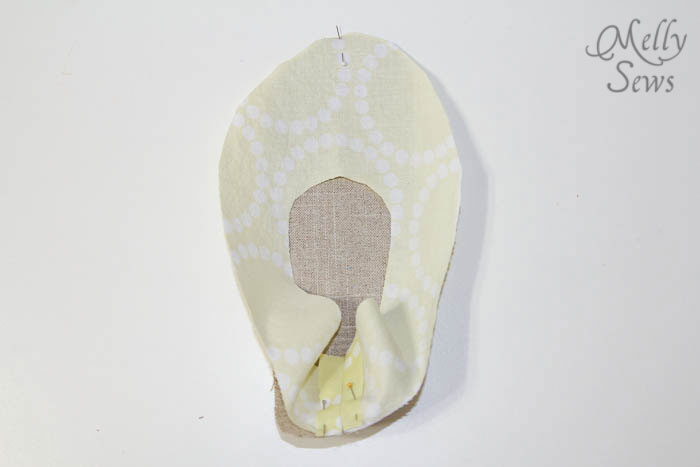
Start by folding your top piece in half so you can match the center back seam (E). Stitch center back seam (red line), then pin the top piece to the sole, right sides together. Stitch around the edges, then clip all around the seams to but not through the stitching line. Repeat with the other 3 tops and soles.
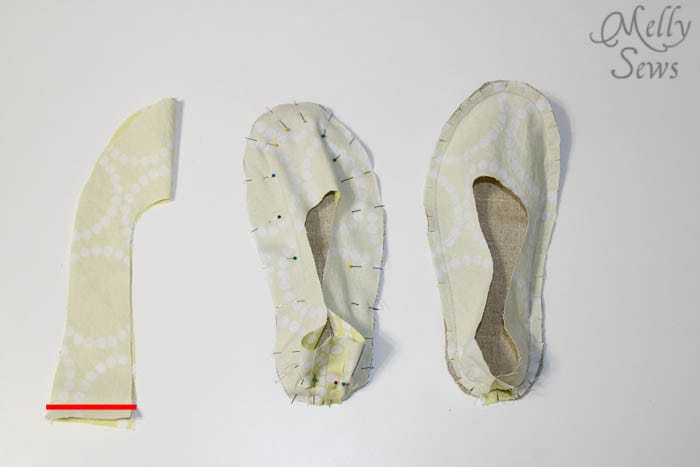
When you pin your top piece to your sole, it’s best to line up the toe and the center back seam first, then pin around the rest of the sole, easing the fabric around the curves.
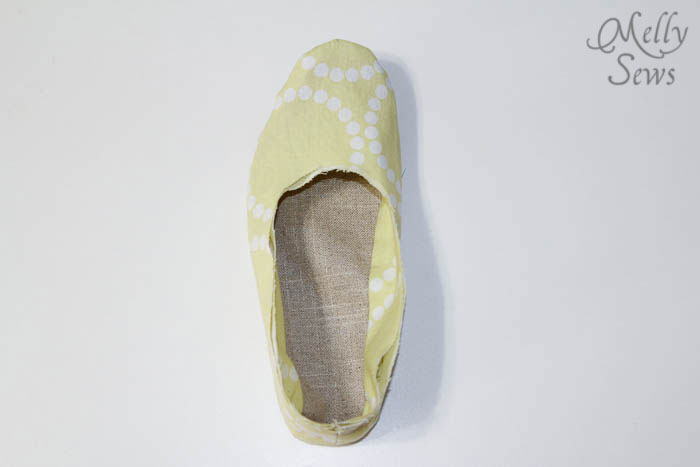
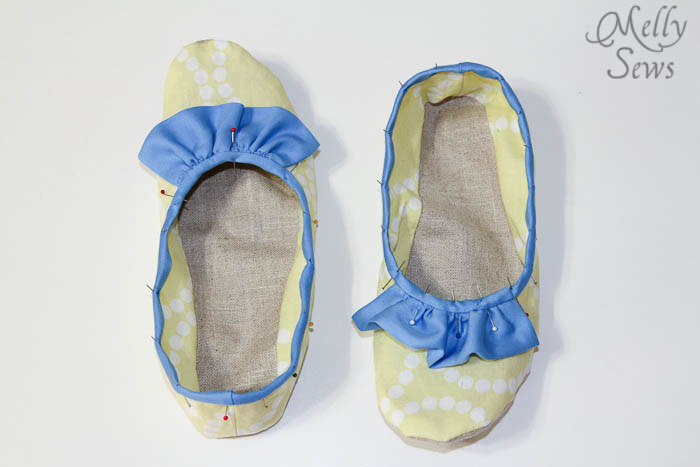
Once your slippers have the initial stitching, turn one right foot and one left foot right side out. Then place the two wrong side out slippers inside the right side out ones. Work them into place, making sure the raw edges of the foot opening are matched up.
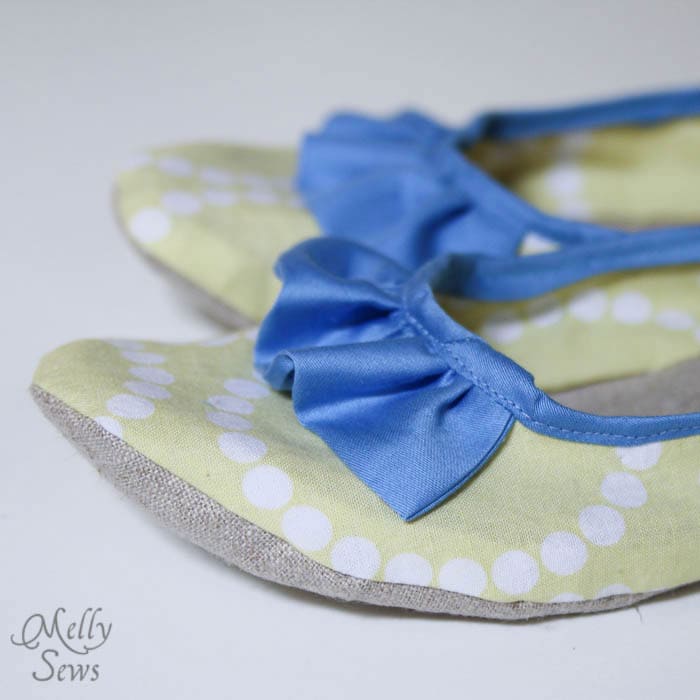
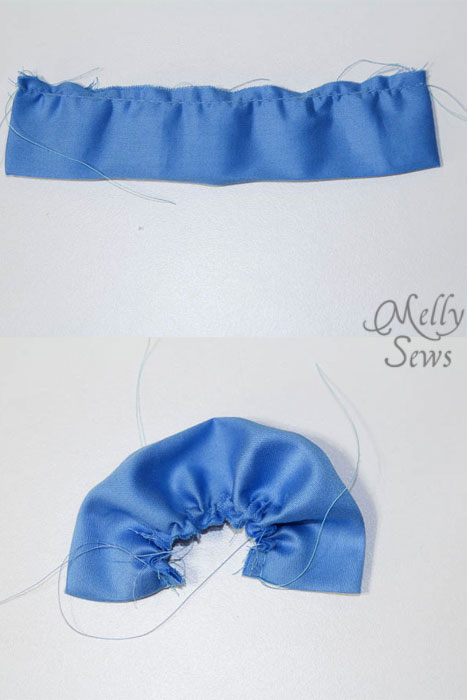
Now it’s time to sew the ruffle detail. Cut out two strips of fabric that are 3″ x 7″. Fold them right sides together, matching the long edges. Sew across the short edges. Turn right side out and press. Then run a basting stitch across the raw edge and use it to gather the fabric into a ruffle.
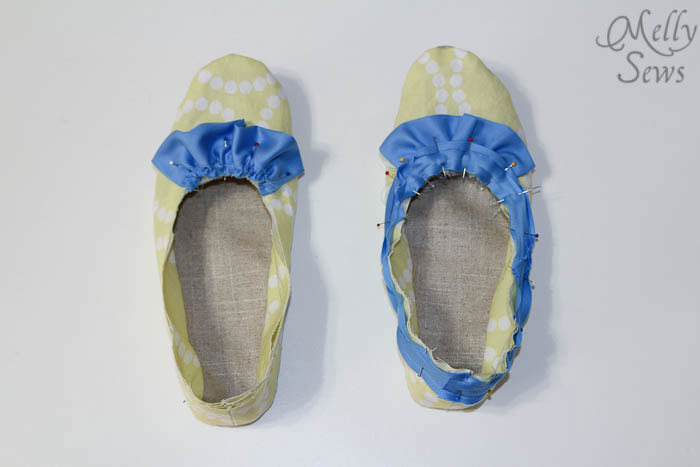
Pin the ruffle to the slipper, then pin unfolded bias tape over it and around the rest of the foot opening.
At the heel of the slipper, fold the raw edge of bias tape to the wrong side, matching the center back seam…
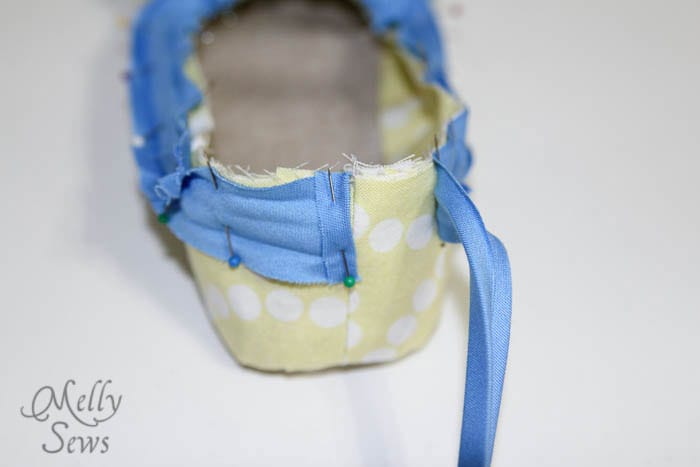
Then overlap the bias tape over the folded edge. Stitch along the fold line closest to the fabric edge.

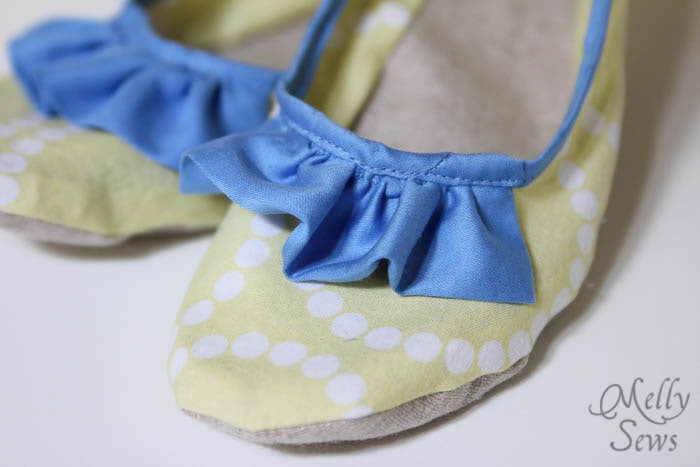
Fold the bias tape toward the inside of the shoe, hiding all raw edges and pin. Stitch in place from the outside of the shoe to secure in place.
You’re done! Now admire your cute slippers and put them on your feet.
Make sure to check out the other Pearl Bracelets projects:
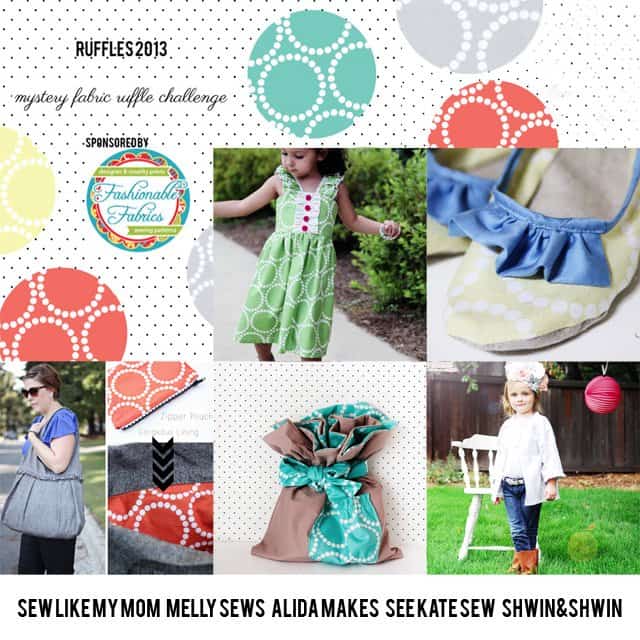
Ruffle Tuxedo Dress by Sew Like My Mom
Ruffle House Shoes by Melly Sews
Ruffle Purse and zipper pouch by Alida Makes
Ruffle Fabric Gift Bag Tutorial by see kate sew
The Ruffle Duster by Shwin & Shwin
And thanks to Fashionable Fabrics for supplying the fabric for this challenge.
kelly
I’m thinking these would be great Christmas gifts. Pretty!
Veronica
Really cute! These look super comfy!
Nicole
Super cute! And very original.
Nessa
Thank you very much for sharing the pattern and the cute outcome. 🙂 I made a mock-up using your measurements today. And it turns out your feet are less tiny than mine. 😉