
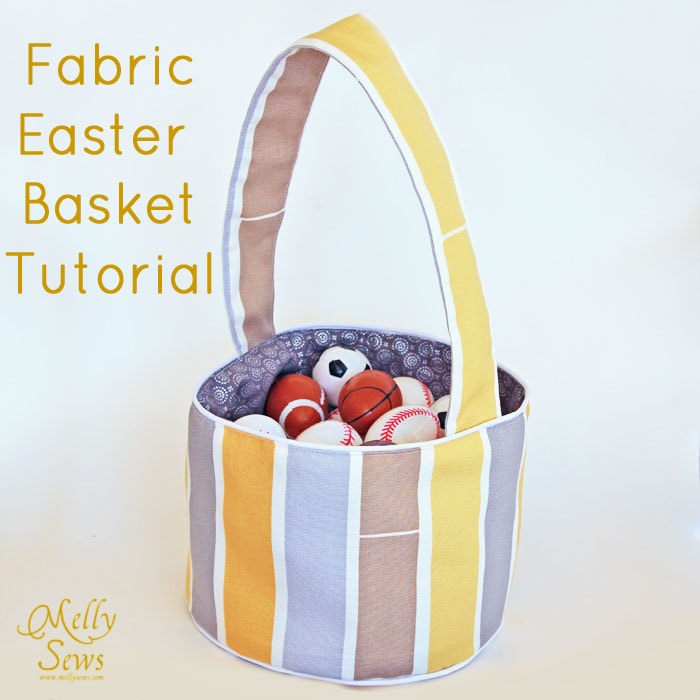
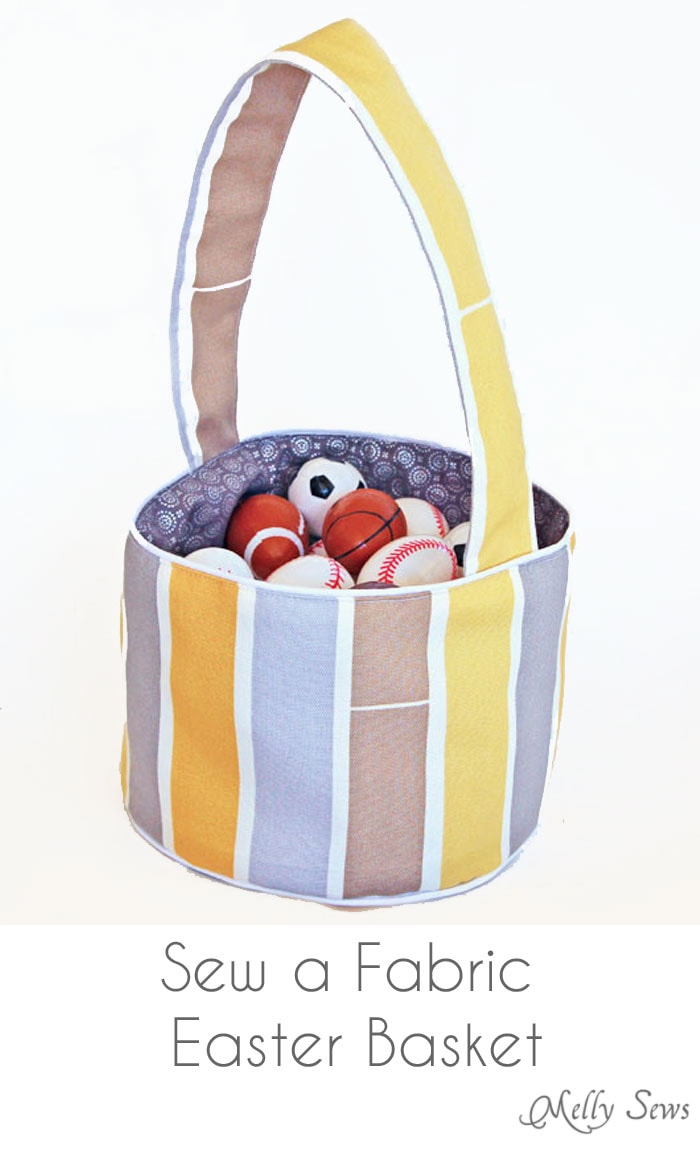
Today I’m going to share this super simple Easter basket tutorial. I’ll say right up front that I am not the kind of blogger who decorates my house for any holiday besides Christmas. While I love decorating I want to get it done and be done with it for a long time, not change it up seasonally. In addition, I pretty much hate clutter, and those seasonal trappings seem like a lot of clutter to me. Not knocking anyone who likes to do that kind of stuff – I think it’s adorable in other people’s houses. Just not mine. Says the mom who literally makes her kids pick up every.single.toy every.single.night. They will probably be super messy teenagers to get revenge on me.
Anyway, I digress. Easter baskets are kind of an unavoidable trapping of the holiday, what with small kids and egg hunts, etc. The last few years my kids have gotten practical baskets – like the sand buckets from last year, which were then relegated to their rightful places in the sandbox. (Did I mention that things that don’t have a place make me itchy? And then I will build places for them. As evidenced here).
So, fabric Easter baskets have the supreme advantage of being completely crushable. The better to store in the small space I have designated for required holiday trappings – like Halloween pillowcases. Bonus: I made these with leftover fabric from another project, so they helped me destash as well. And I love that they’re boyish without having silly commercial graphics on them. Hopefully we’ll be able to use these for a few years.
On to the tutorial! You’ll need:
- A round object, to trace for the bottom of the basket. I used a serving bowl
- Enough fabric to make the circle, sides (circumference of the circle x height you want – mine is 6 inches) and handle (length you want +1″ by (width you want x 2) +1″ . My handle piece was 18″ by 4.5″
- Lining fabric to cut out sides and circle
- Heavy duty interfacing to cut out sides, handle and circle
- Piping. Buy pre-packaged or make your own
Half inch (12mm) seam allowances allowed for in this tutorial.

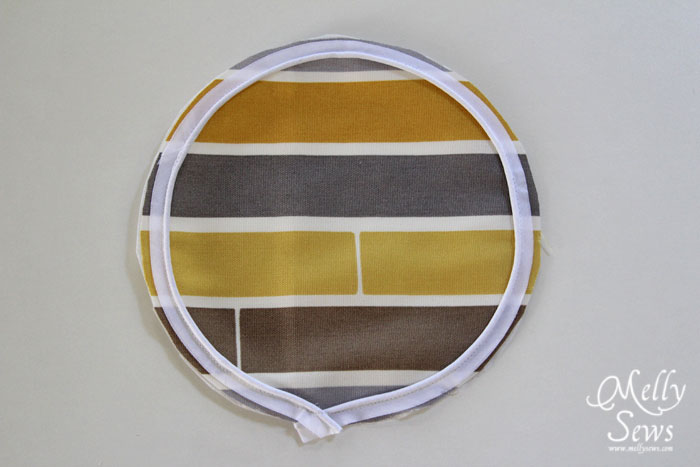
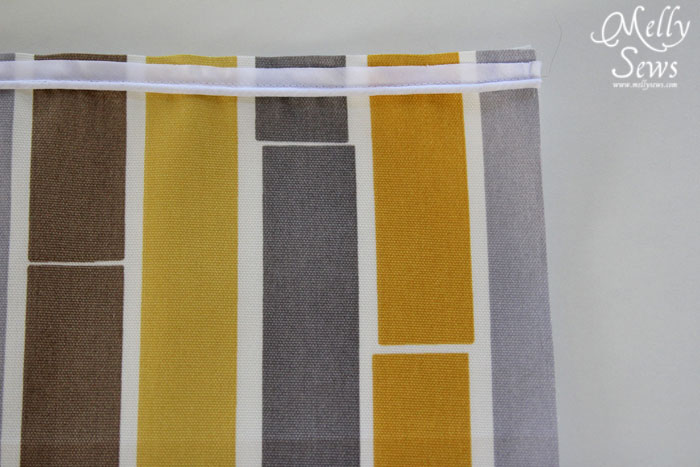
Iron or sew your interfacing to the back of your handle, side and circle of main fabric. Baste the piping in place around the circle on the right side, and along one long edge of the side piece. Overlap the piping as shown on the circle to finish it off.

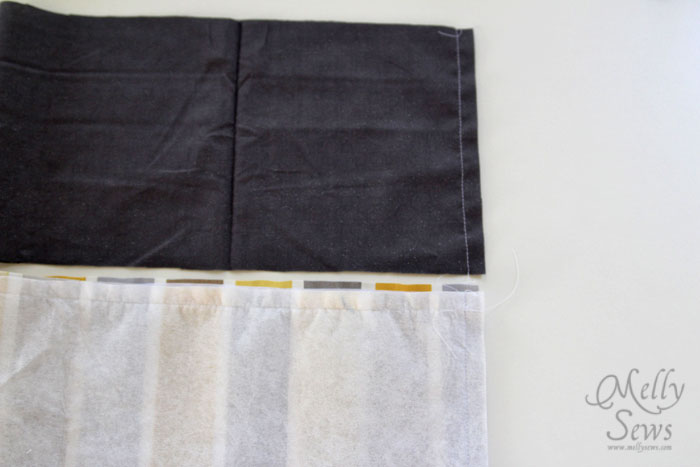
Fold the main and lining side pieces in half, right sides together, matching the short edges. Sew up the side seam. For best results, pull a little of the piping cord out of each end and cut off before seaming.

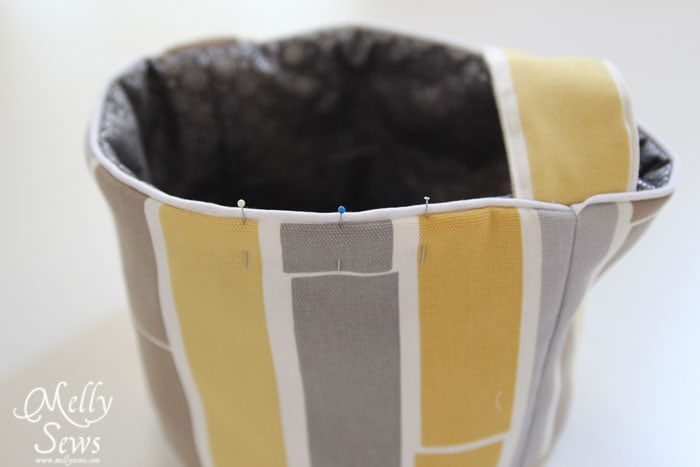
Mark the quarter circumference points on the circles and on the un-piped edges of the side pieces with pins. Match the un-piped edges of the sides to the circles, easing the fabric around the circle and pinning. Stitch the main fabric one, then repeat with the lining fabric.
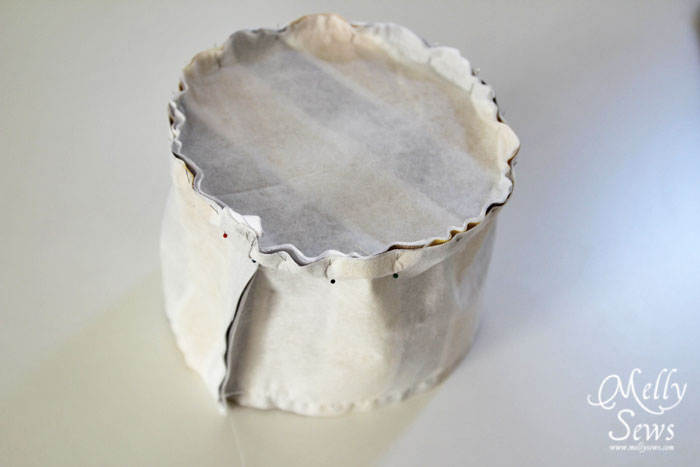
Turn the main fabric right side out. You may want to clip/grade the seam allowance before turning, but I didn’t find it necessary on mine.
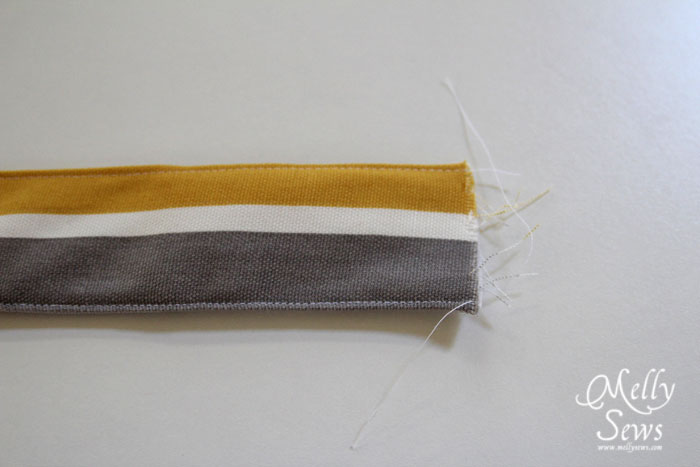
Fold the handle in half, right sides together, and stitch down the long edge, forming a tube.

Turn tube right side out. Press so seam is hidden along one edge, then topstitch down both long edges.
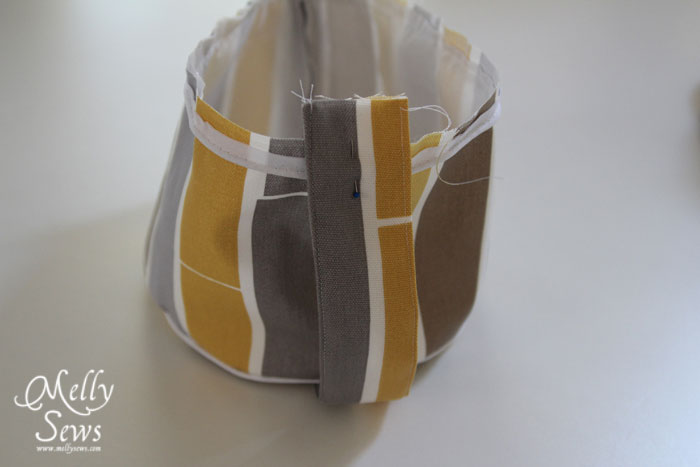
Pin the handle in place upside down, so the handle passes under the bottom of the main part of the basket. Trim ends if desired.
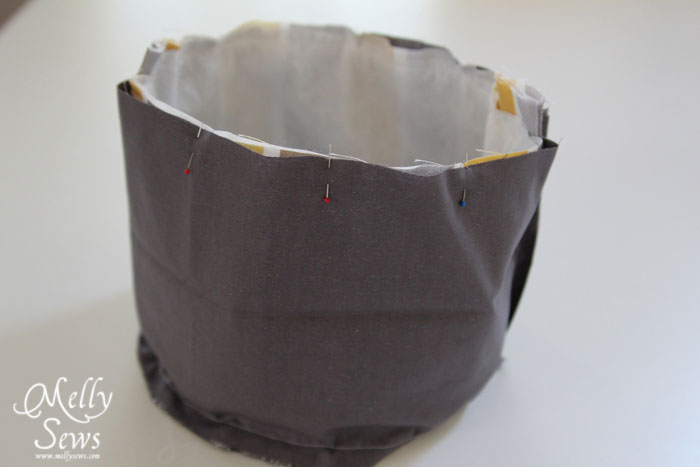
With the main fabric of the basket right side out, place it inside the lining, right sides together. Pin around the top edges. Stitch close to piping, leaving a 3″ portion unstitched to turn basket. Make sure your stitching catches both handles.
Turn basket right side out, pressing lining inside basket and pulling handle into place. Fold lining and main fabric in toward each other at the opening and pin. Topstitch around top edge of basket, closing the opening.
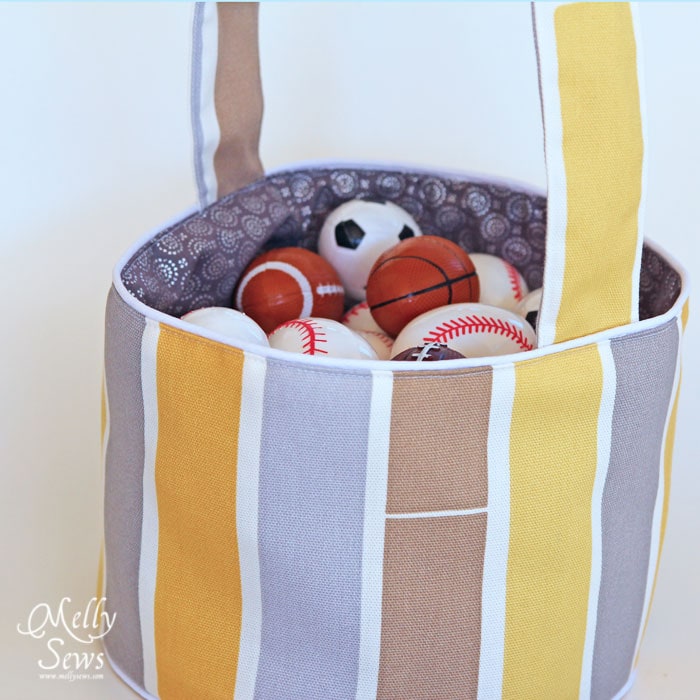
If you have boys, fill basket with requisite sports themed Easter eggs. Enjoy flattening basket to put away after Easter while children hop around like monkeys while on a sugar high from Easter candy.
Ann
Good one! I like that this doesn’t just read “Easter.” And it reminds me that I have a little fabric bucket-y thing that I cart around the house with knitting/hand-sewing/other supplies which is probably the most useful thing I’ve ever made and I really need to make more.
Ajaire
This reminds me I still need to make one for my Bean! Easter is so soon this year. Thanks for the tute. I think I’ll use this vs reinventing the wheel 🙂
louise
I’ve been thinking about doing this this year too. Love the piping!
Sharon
Thanks for Posting!!
Erin
Thanks for the tutorial, I made on today for my son. I still have to make another 2 for my daughters. Very straight though & easy to understand. I skipped on the piping because I’m time deprived but it still looked great anyway 🙂
Jennifer S
Cute! May I ask where you got the sports Easter eggs?
Lou & lette
Thanks for this great tuto. I made some for the kids and they loved them !!
Here are my baskets : https://louandlette.wordpress.com/2016/03/28/joyeuses-paques-happy-easter/