
You can make your own pet bed at home and it’s not as hard as you think. Use this video tutorial to sew a dog bed in any size.
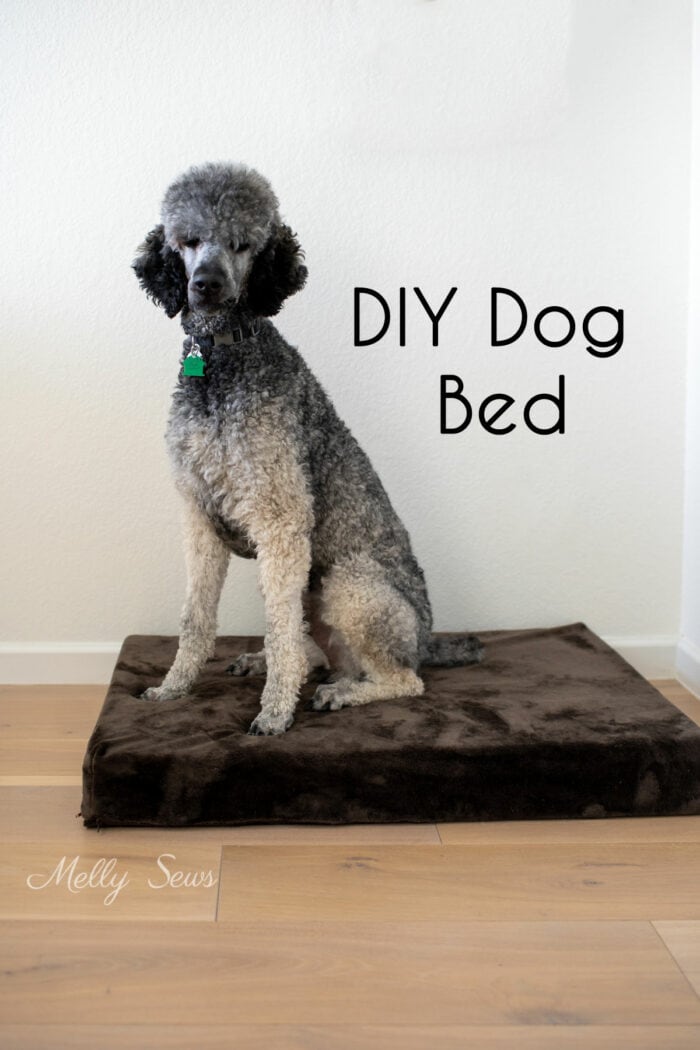
Hey y’all, for today’s project I’m going to show you how to sew a dog bed. Those of you who have followed me for a while know that we lost our dog Mulligan over the summer. And he was the type of pup who preferred the floor, so I never got around to making him a bed.
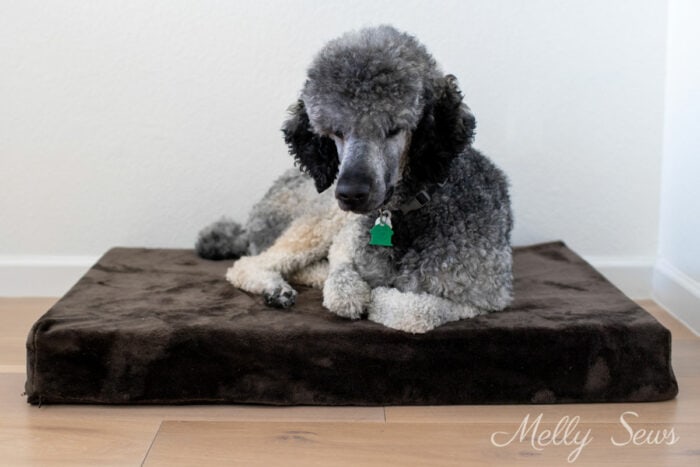
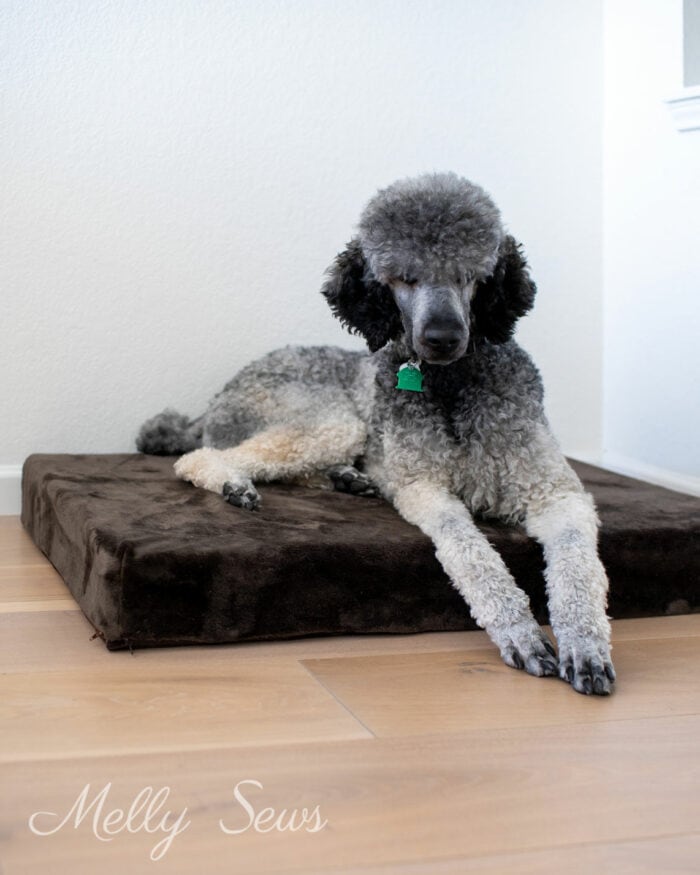
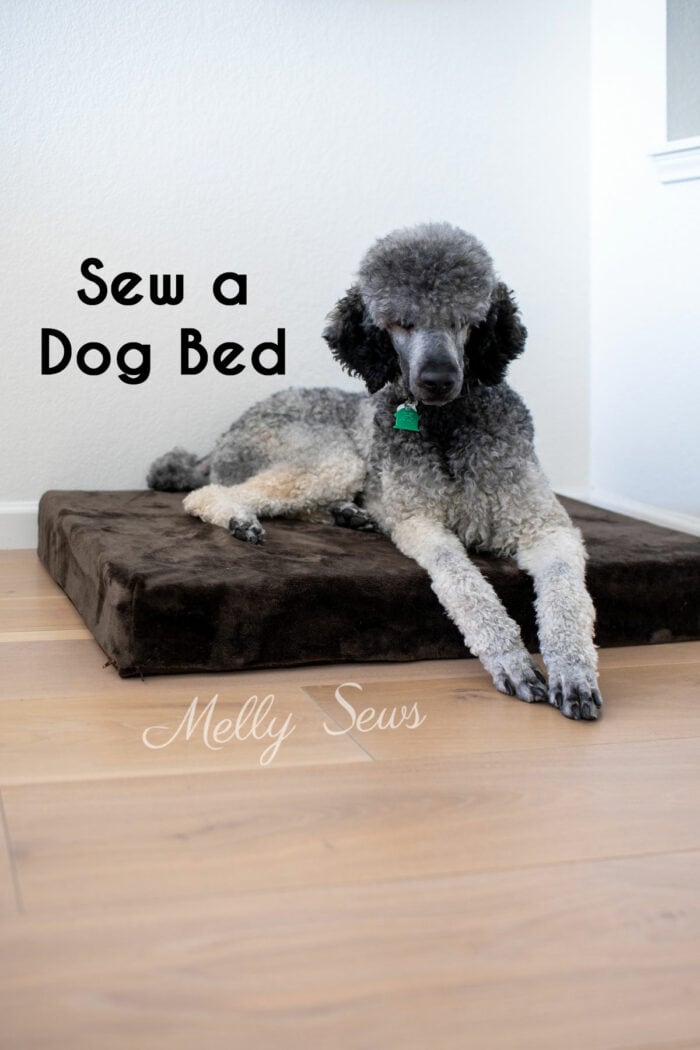
The furry friend in this post is Bear, who was being re-homed and is now part of our family. Bear loves beds, so I made him a bed. For the fabric I used a blanket he brought from his first owners’ to our home. The fleece blanket is fuzzy on one side, so I sewed it fuzzy side out. Bear couldn’t wait to inspect and use this bed when I set it on the floor for him the first time.
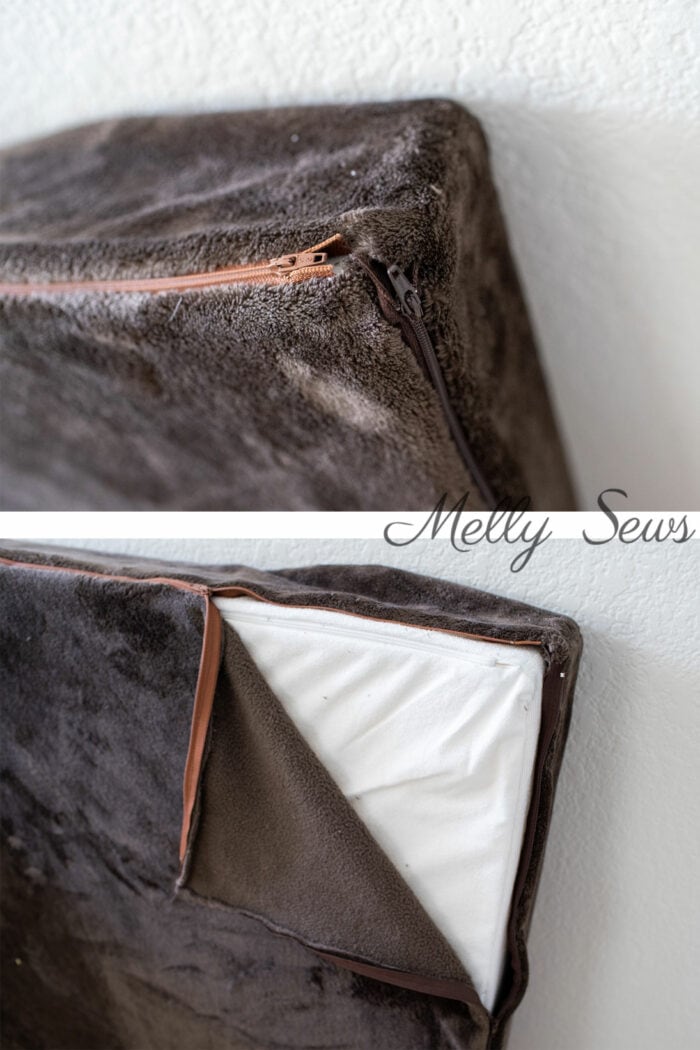
This DIY dog bed is basically a huge pillow that can be made in any size. So if you need a bed for a big dog or a little one to fit in perfectly in a crate, you can sew it yourself. It could be a gift for any pet lovers you know. I also made a water proof cover for the cushion I used as stuffing. That way, if there’s a doggie bed mess, I’ll be able to wash the cover and the insides won’t have to be thrown away. And the doggy bed cover zips on and off easily as I’ll show you in the tutorial.
This post contains affiliate links. As an Amazon Associate I earn from qualifying purchases. All affiliate links are identified with (affiliate link) after the link or a commissions earned statement above the link(s).
Materials to Make a Pet Bed
If you’d like to sew your own pet bed, you’ll need these materials:
- Cushion. I used upholstery foam (affiliate link) I had left over from our recliner project. Mine measured 36 x 24 x 3 inches. You could also use a bed pillow, foam topper for a mattress, a piece of memory foam, even a crib mattress if you have a large dog.
- Two zippers. One zipper should match the length of the short side of your cushion. The other should be at least half that length. I grabbed zippers from my stash, so mine didn’t match perfectly, but Bear doesn’t seem to care.
- Soft fabric for the cover. Fleece, canvas, a towel and even quilting cotton are all good choices. You know your pooch and what they like best, and you can also coordinate with your home decor. That’s the advantage to diy projects! Also keep in mind that fabrics like fleece and canvas will hold up better to heavy dogs and their nails, while quilting cotton is easier for a dog to rip. The amount of fabric you’ll need depends on the size of the bed you’re making, so again measure that cushion and then calculate whether you need just a yard of fabric or (as in my case) two or more. In some cases, buying a large fleece blanket (affiliate link) like I used might be the most inexpensive way to go.
- If you want an inner waterproof cover, you need water proof fabric and more zippers. For mine, I bought a twin size mattress protector (affiliate link) and cut it up. That size was just barely enough fabric for my inner cover.
- Sewing machine, thread, needles, etc
Sew a DIY Pet Bed
To sew your puppy bed, watch the video below or on YouTube here. I also have more detailed pattern drafting instructions and order of construction below the video so you can refer back to those if you’d like. For more help dealing with furry fabric, check this post.
How to Make a Dog Bed Pattern
You need to know the length, width, and height of the cushion you’re going to use to make your pattern. For the top piece of fabric, start with a rectangle the same length and width as your cushion. Then add boxes to each side that match the height of the cushion. So for example, with my 36 inch long by 24 inch wide by 3 inch tall foam, I’d start with a 36 inch by 24 inch rectangle and add 3 inch rectangles to each side (first figure below).
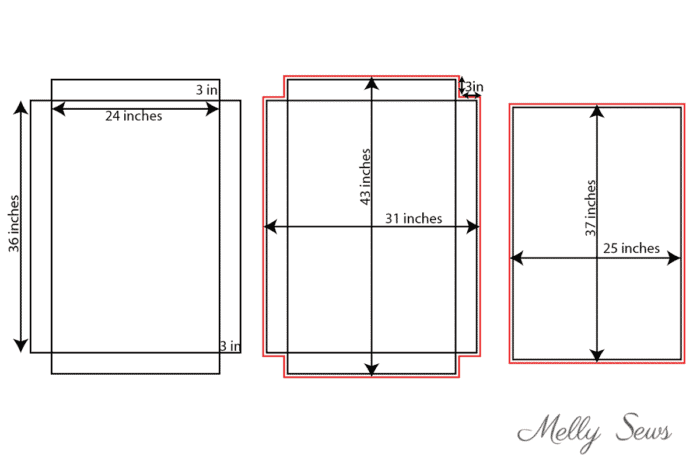
Then you need to add seam allowances all around. This makes your top pattern (second figure above). For the bottom piece you start with the same rectangle and just add seam allowances to the sides (third figure above). You use the same pattern and sewing method to sew both the waterproof cover and the outer cover if you’re making both.
Sew Dog Bed Step by Step Instruction
Time needed: 2 hours
How to Sew a Dog Bed
- Cut out your pieces of fabric.
You’ll need one top piece and one bottom piece.
- Stitch the long zipper to the short end.
Align your longer zipper with the short edge of the top fabric and stitch in place. Repeat with the bottom fabric and the other side of the zipper, making sure fabrics end up right sides together.
- Sew the short zipper to the adjacent side.
Align the short zipper so the pull will meet in the corner with the pull of the long zipper. Stitch, as before, to the top piece and then bottom piece of fabric.
- Sew the boxed corners
Pin, mark and stitch the boxed corners of the top of the cover.
- Sew the bottom to the top.
Unzip one of the zippers at least halfway. Mark the center of each side of the top and the bottom. Align centers and corners and stitch the top to the bottom fabric.
- Turn right side out.
Using the unzipped side, turn the cover right side out. Unzip both zippers.
- Insert cushion.
Insert the cushion, then close both zippers.
And then give the bed to your awesome dog and watch them enjoy it!
Sheryl
This is timely as I’ve finally kicked the dogs out of the bedroom and they like to sleep on cushyness. New beds. I have an old foam topper not being used! I like the fleece blanket, it’s incredible how expensive fabric can be. I also like to poke around my value village to repurpose/recycle fabric. Dogs winter coats out of an coat. So I’ll be ckecking out the blanket section next.
Betsy Holland
I used this tutorial to make a bench cushion. I was a bit intimidated but the directions were clear and easy to follow. I always avoid zippers, and yet I was able to sew two of them into this project. I am so happy with my final product! Thank you!!!
Joan M Hoesterey
I made an overlapping flap on the long side and sewed on velcro instead of the zipper.
Kristie
Totally had a thought of cheap foam. If I had been on it when we had a dog many years ago, she would have had something like this. But Home Depot sells a $20 foam pad for camping or whatever. It would be a cheap and affordable solution to a dog bed. Thanks so much for sharing this pattern. Sending it to people I know who have dogs!