
Sew a quick DIY gift with this headband to keep your ears warm
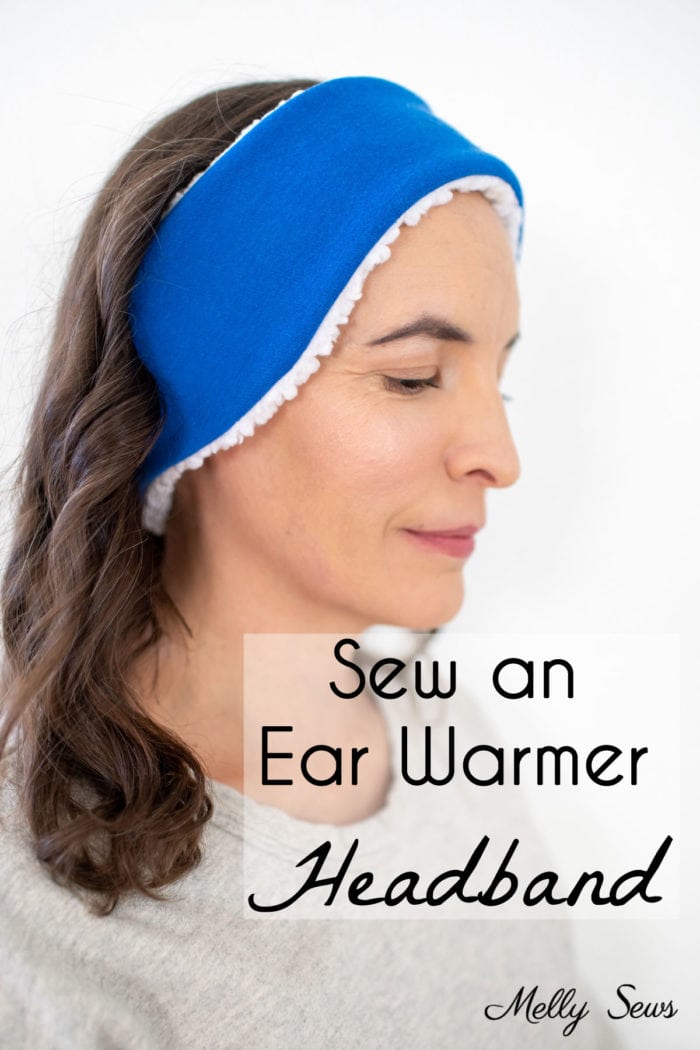
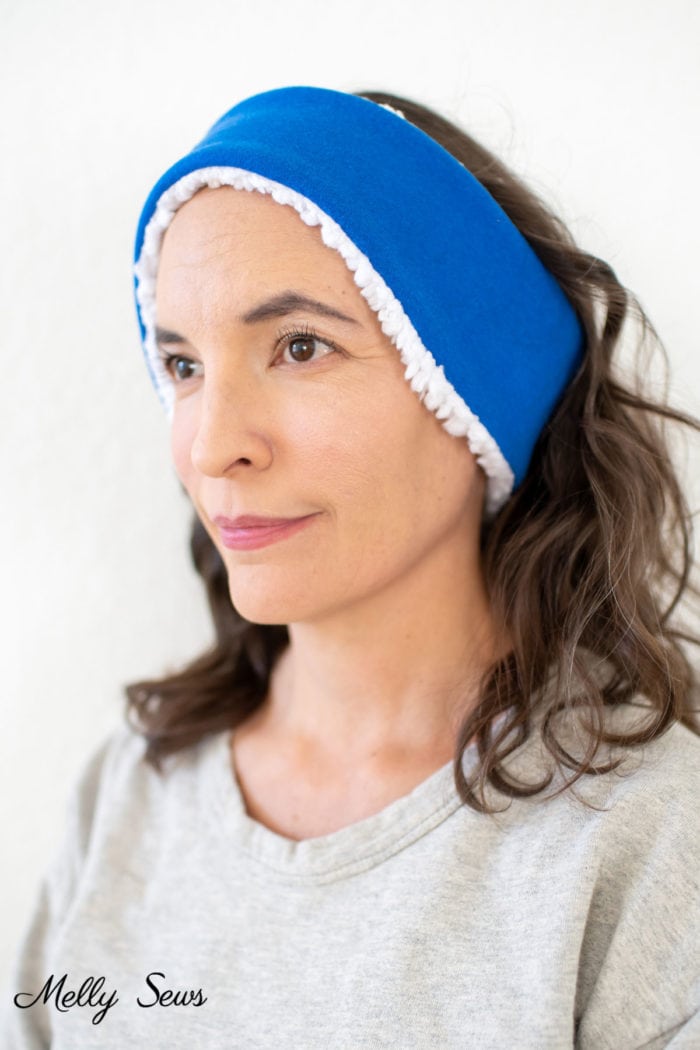
Hey y’all, today I’m going to show you how to sew an ear warmer headband, including how to get a free pattern you can use to make this. Sometimes you just don’t want to wear a whole hat, but your ears still need help, and when that happens this is a perfect thing to wear. It is also easy to sew and makes a quick gift to sew for women (or men, this is totally unisex and I know some male runners that prefer something like this to a hat).
Materials to Sew an Ear Warmer
Want to make your own ear warmer headband? You’ll need:
- The pattern (see below for details)
- About 1/8 yard of inner fabric and outer fabric that stretch – stretch fleece, sweatshirt fleece, French terry and stretch plush or stretch faux fur are all good choices.
- a hand sewing needle and sewing machine
How to Get the Free Ear Warmer Pattern
The free pattern is one size, for a head circumference of 21-23 inches.
To get this pattern, you must either be a free newsletter subscriber or have purchased a gallery access pass. Then click your preferred option from the buttons below. Existing newsletter subscribers should look at the bottom of the most recent Friday newsletter for the current free pattern gallery password. If you purchased the all access pass you’ll log in to your shop account to download the pattern. Note that the free version of the pattern does not have printable instructions so you’ll need to refer to this post for instructions.
 |  |  |
How to Sew the Ear Warmer Headband
Once you have the pattern, watch the video below or on YouTube here to see how to construct the headband. There is also a written instruction summary below the video.
Time needed: 15 minutes
How to Sew an Ear Warmer Headband
- Print the pattern
Print the ear warmer pattern on a home printer. Remember to add the extension piece to the back of the piece. You can find printing instructions here.
- Cut your fabric
Cut one piece on the fold of the outer fabric and one on the fold of the inner fabric. Pay attention to the stretch direction.
- Sew long edges
Place inner and outer fabrics right sides together and stitch long edges with a stretch stitch on a sewing machine (serger is not recommended). Use a 1/2 inch seam allowance and leave 1 inch on each end unstitched.
- Trim seam allowances.
Trim the seam allowances to 1/4 inch. Don’t trim the ends where you didn’t stitch.
- Turn
Turn the headband right side out
- Stitch ends
Stitch the outer fabric short ends right sides together, then the inner fabric short ends right sides together. Video above demonstrates this step.
- Finish gaps
Use a ladder stitch and the hand sewing needle to close the gaps left.
Leave a Reply