
You can sew this DIY handmade blanket as a gift in any size. Get the step by step instructions for a self binding blanket here.
Hey y’all, today I’m going to show you how to make a self binding blanket with fleece and quilting cotton. This is a teeny bit more difficult than these easy baby blanket tutorials. However, it’s also a little warmer and more substantial feeling, especially with the faux sherpa fabric I used for the front.
A self binding baby blanket with mitered corners doesn’t take too much longer than this doll sized one to to sew. I’ve also made one with flannel backing instead of quilting cotton.
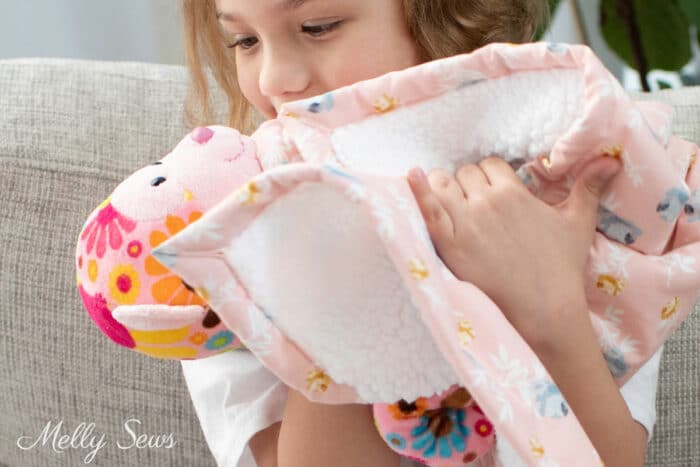
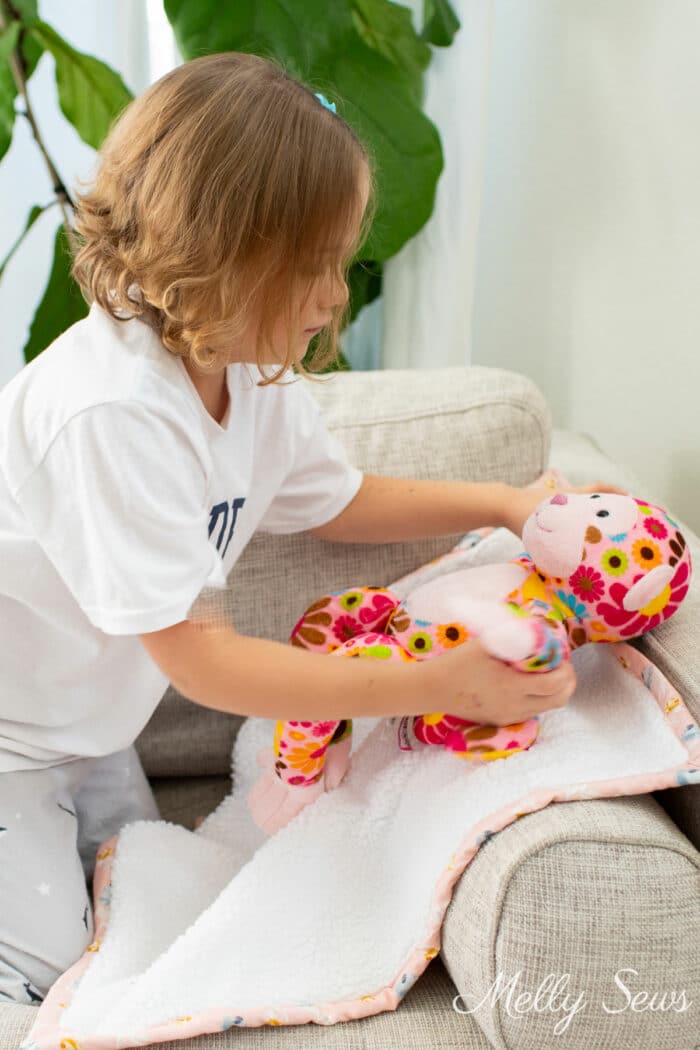
While I made a doll blanket sized one for this post, it is very easy to make these in any size you want. You just need fabric big enough for the finished size you want, or you need to piece fabric together to that size. As you can see, my niece immediately wrapped her stuffed monkey in this to play.
Materials for a Self Bound Blanket
This post contains affiliate links. As an Amazon Associate I earn from qualifying purchases. All affiliate links are identified with (affiliate link) after the link or a commissions earned statement above the link(s).
Want to make your own blanket? Here’s what you’ll need:
- Front fabric. I used faux sherpa (affiliate link) minkie fabric and cuddle fabric as well as regular fleeces are also good choices.
- Backing and binding fabric. I used quilting cotton fabric from my Blooms and Bobbins line.
- Sewing machine and basic notions (scissors, thread, needles, etc)
- Note: I like these pins (affiliate link) in particular because of their length, and they are what I’m using in these pictures and the video.
Video Tutorial for a DIY Blanket (Doll Size)
I’ve got video below showing how I sewed this blanket, and it’s much easier to see how to fold the binding in the video. You can watch it below or on my YouTube channel here.
How to Measure Your Fabric
When measuring your fabric for this project you need to determine the finished size you want. Then cut the front fabric to that size. Some suggested sizes are listed below, but you can make this as big as a king size quilt or as small as a little blanket for lovies.
- Doll blanket 24 inches by 24 inches
- Baby blanket 36 inches square to 44 inches square
- Crib or toddler bed quilt size 36 inches by 52 inches
- Throw blanket 50 to 60 inches wide by 60 to 80 inches long
Whatever size you choose, that is the size you need to cut your top fabric to. Then you need to decide how much of the backing fabric you want showing on the front side. For the examples in this post, I used 3/4 inches, or 0.75 inches. Next we need to do a little math.
You need to double the binding amount to add to each side of your backing. In other words, if you want 0.75 binding showing, you need to add 1.5 inches (0.75 x 2) to each side of your backing, or 3 inches (1.5 x 2) to the width and the length. So for a 24 inches by 24 inches doll blanket, my backing fabric was 27 inches by 27 inches.
I recommend using a ruler, rotary cutter and cutting mat to cut your fabric if it is small enough. For larger sizes scissors work, and I often fold on the bias grain to check that my corners are square.
How to Sew Self Binding
To start sewing a diy self-binding baby blanket or lap blanket or whatever size you choose, first place your pieces of fabric wrong sides together. Start with your back piece wrong side up and then center your top fabric right side up on the backing.
- Center fabric on the backing
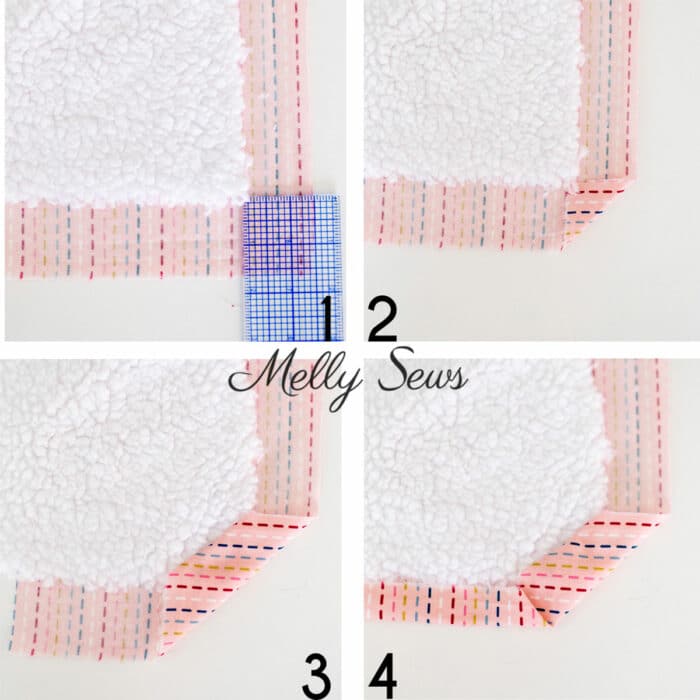
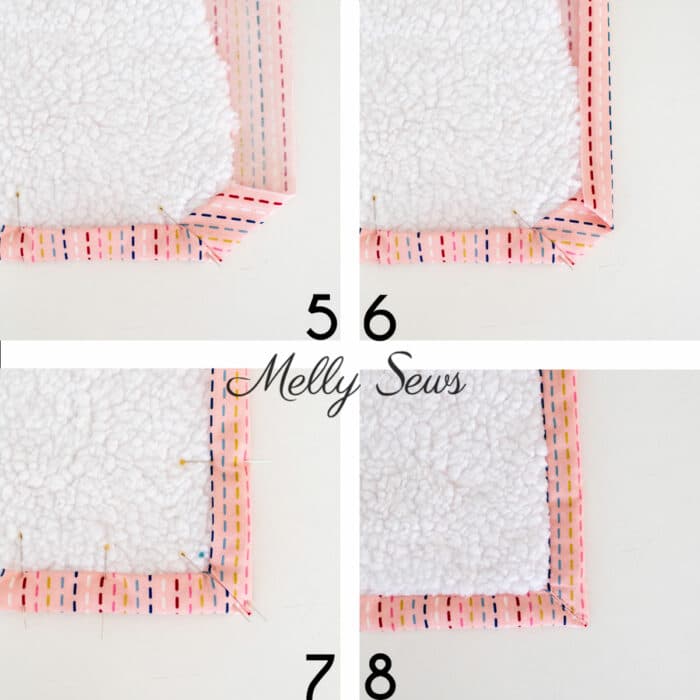
- Fold the corner so that the tip of the backing fabric touches the corner of the front fabric.
- Fold the corner again at a 45 degree angle onto the top of the top fabric.
- Fold one side of the backing fabric so that the raw edge touches the raw edge of the top fabric.
- Fold the same side of the backing fabric again onto the top fabric. Pin. Pin the corner at a 45 degree angle.
- Fold the next side of the backing fabric so that the raw edge touches the raw edge of the top fabric.
- Fold that side of the backing fabric again onto the top fabric. Pin. Pin the corner at a 45 degree angle to meet the other corner. Adjust the folds at the corner as necessary. Continue folding around the edges of the blanket and each corner, adding more pins as you go.
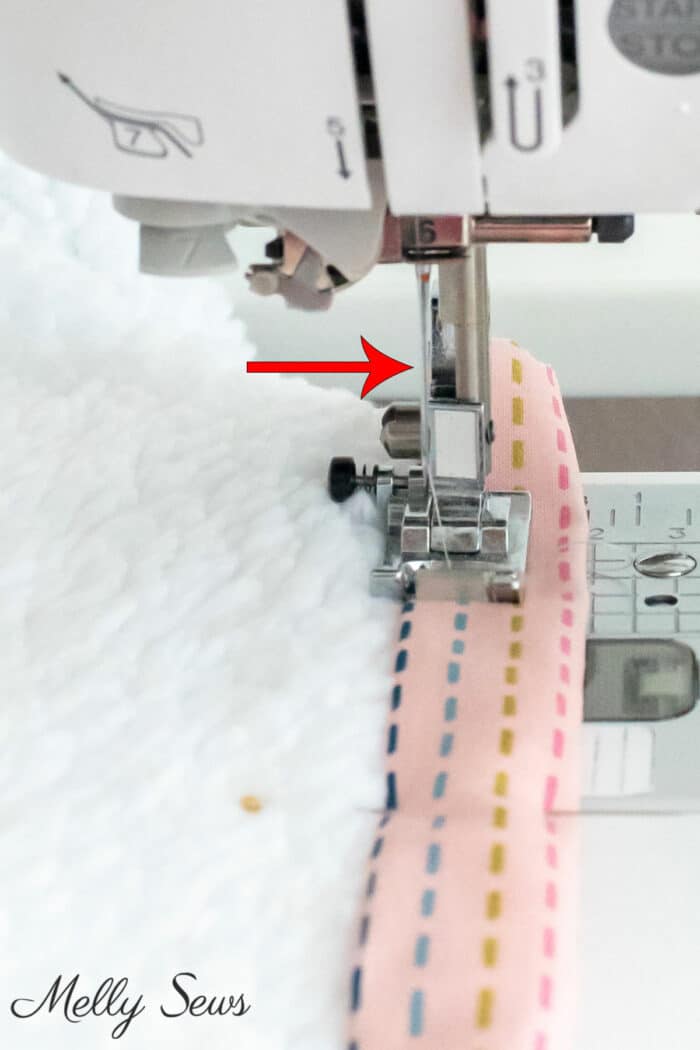
- Stitch with a straight stitch around the edge of the blanket, close to the inner folded edge of the binding. I like to stitch at an angle onto each fold at the corners. This is what the corners look like when finished.
Another tip for stitching the binding – set your needle on your sewing machine to the furthest left position. This lets you get close to the folded edge of the binding while still having plenty of fabric on the feed dogs for better feeding.
Michelle H
Love the blanket edging tip.