
An easy to follow video tutorial that will teach you how to sew a drawstring makeup bag using a free pattern.
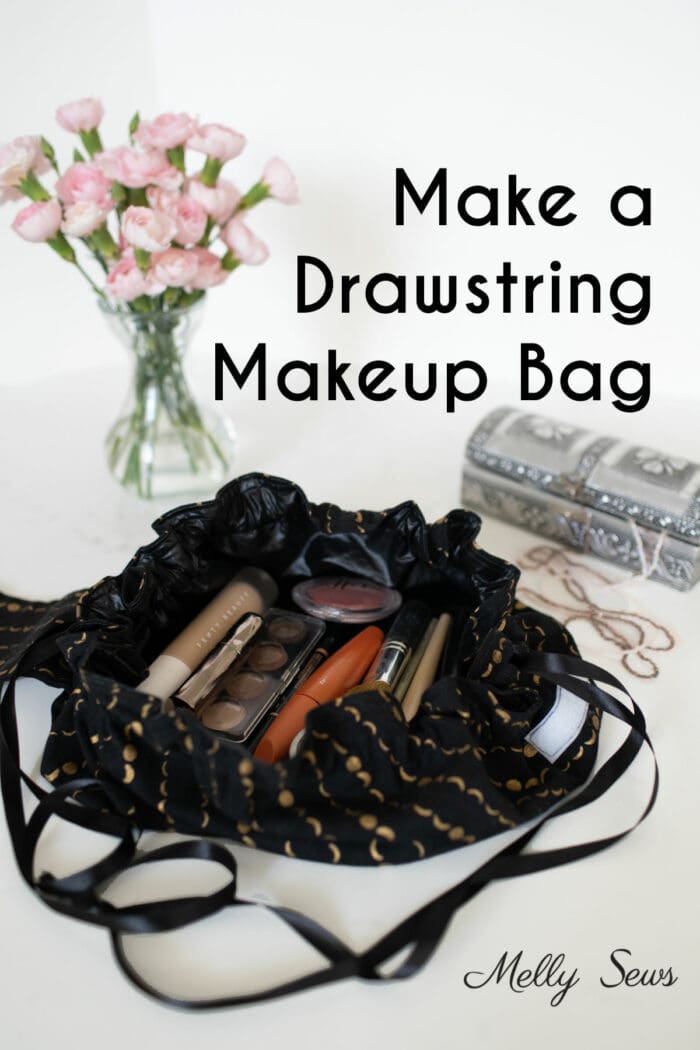
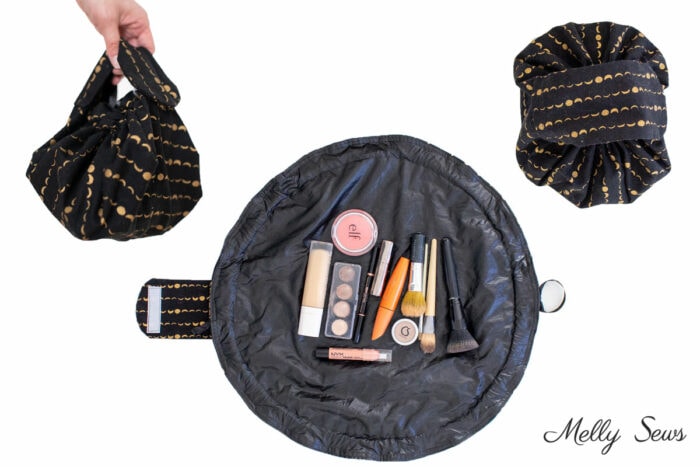
Hey y’all, today I’m sharing how to sew this drawstring makeup bag pattern. This cosmetics bag has a free pattern you can use. It’s nice because it opens up flat to act as a makeup mat to protect your surfaces. And then you just pull the drawstrings and all the makeup and brushes you have laid out on it get enclosed inside to take on the go.
I had been wanting to sew one of these for my daughter for a while. It’s kind of a family joke that she tends to get makeup all over her vanity, so a flat mat seemed like a great idea to help with that. And then last winter she was traveling with show makeup a lot for competition, so I really meant to get something like this done then, but we were too busy going to watch her competitions. So I’m glad this is finally done!
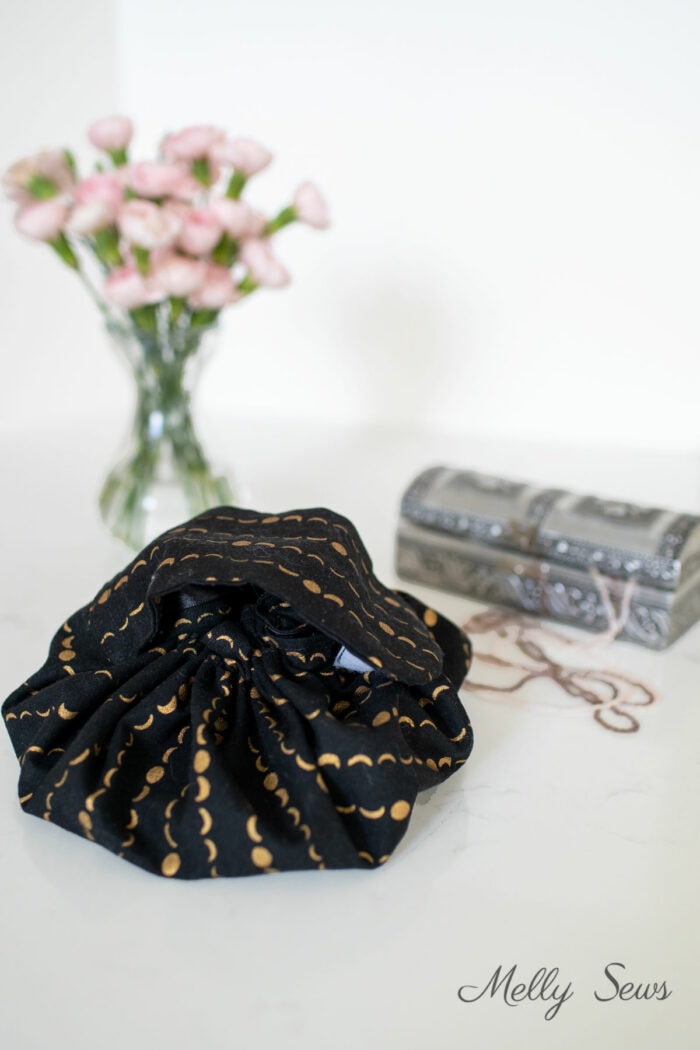
There is a Velcro flap to cover the drawstring opening so this cute little round makeup bag doesn’t spill. And this is an easy pattern to sew, especially with the step by step tutorial in this post. It could make a great Christmas or birthday gift to sew for someone. It could also be a good project for someone starting to learn to sew. There are no buttonholes or fasteners to sew in this project, and it’s good practice for sewing curves and precise corners.

Choosing Your Fabrics
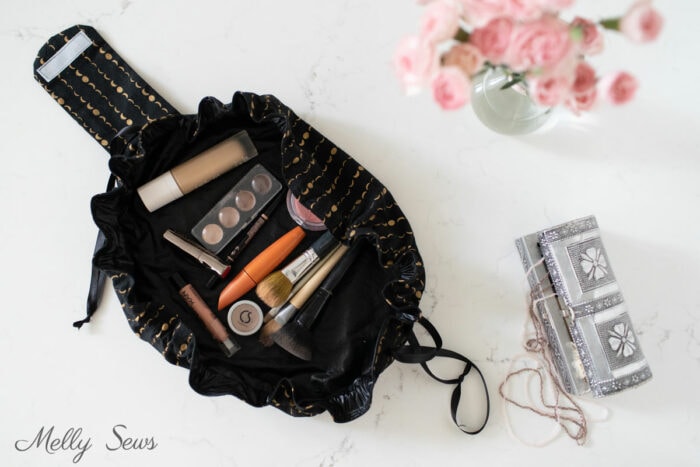
I used a lightweight canvas for the outer fabric and a waterproof nylon for the inner fabric. I chose the nylon in order to protect the outer fabric from spills and because it seemed easy to wipe. Unfortunately the store I bought it from has gone out of business, so I can’t link it. You could also use quilting cotton. Heavy weight fabrics won’t work well because they will bunch up too much and then you won’t be able to close the opening of the bag.
I chose black fabrics because she likes the color and also because it is less likely to show makeup stains. And the drawstring pouch holds a surprisingly big amount of makeup; I could easily add some hair accessories in here and they would still fit.

Supplies You’ll Need
This post contains affiliate links. As an Amazon Associate I earn from qualifying purchases. All affiliate links are identified with (affiliate link) after the link or a commissions earned statement above the link(s).
To make your own drawstring makeup bag, you’ll need:
- 2/3 yard of outer fabric
- 2/3 yard of lining fabric
- 4 yards of ribbon, cut into two 2 yard pieces
- 2-inch piece of sew on Velcro (affiliate link)
- Optional: a bodkin (affiliate link) to thread the drawstrings
- Sewing machine, needle, thread, scissors, etc
- The pattern (see how to get it below).
- Sewing pins or clips (affiliate links)
How To Get the Free Sewing Pattern
To get this pattern, you must either be a free newsletter subscriber or have purchased a gallery access pass. Then click your preferred option from the buttons below. Existing newsletter subscribers should look at the bottom of the most recent Friday newsletter for the current free pattern gallery password. If you purchased the all access pass you’ll log in to your shop account to download the pattern. Note that the free version of the pattern does not have printable instructions so you’ll need to refer to this post for instructions.
 |  |  |
Video Tutorial to Make a Makeup Bag and Mat
To sew your own makeup mat and bag, watch the video below or on YouTube here. There is also a written summary of the instructions below the video.
Sewing Instructions for the Drawstring Makeup Bag Pattern
Time needed: 1 hour
How to Make a DIY Makeup Bag with a Drawstring
- Cut out your pattern pieces
Cut one circle out of the outer fabric and one out of the lining. Transfer the welt markings to the outer fabric on the right side at twelve and 6 o’clock. Cut 2 buttonhole welts out of the outer fabric and mark the stitching line on the wrong side of each. Cut 2 of the flap piece out of the outer fabric.
- Stitch the buttonholes
Place the welts right sides together with the round outside piece, aligning at the markings. Stitch on the welt stitching lines. Clip through both layers of fabric and into the corners of the welt stitching. Take care not to cut through the stitching. Turn the welts through the hole you cut to the wrong side of the outer layer and press. Stitch around each welt opening to reinforce.
- Stitch the flap
Stitch one side of the velcro strip to the right side of one flap piece. Place two flap pieces right sides together and stitch around edges, leaving a gap in the center bottom for turning. Clip corners and curves, then turn right side out. Press, making sure to press the raw edges of the gap into the flap.
- Sew the flap to the bag
Fold the circle so that the two buttonholes are centered. Place the flap centered over them (see video). Pin the bottom edge of the flap in place and pin the other side of the velcro in place. Stitch the other side of the velcro to the outer fabric, then stitch a box around the bottom of the flap to close the gap and secure it to the outer fabric.
- Sew lining to bag
Place the lining and outer fabric right sides together and then stitch around the edges using a 1/4 inch seam allowance and leaving a gap someone for turning. Turn right side out and press edges, making sure to turn raw edges of the gap in toward each other.
- Sew casing
Topstitch around the edge of the circles in order to close the gap and form the top line of stitching. Then sew around again just below the buttonhole welts to form the other line of casing.
- Thread drawstrings
Using the bodkin or a safety pin, thread one ribbon into a buttonhole, around the bag and back out the same buttonhole. Knot the ends together. Then repeat with the other buttonhole welt and the other piece of ribbon.
And you’re done! Pull the drawstrings up and enjoy your new cosmetics bag.

Leave a Reply