
Use this diy satin lined beanie pattern and video tutorial to make a winter hat that doesn’t snag your hair.
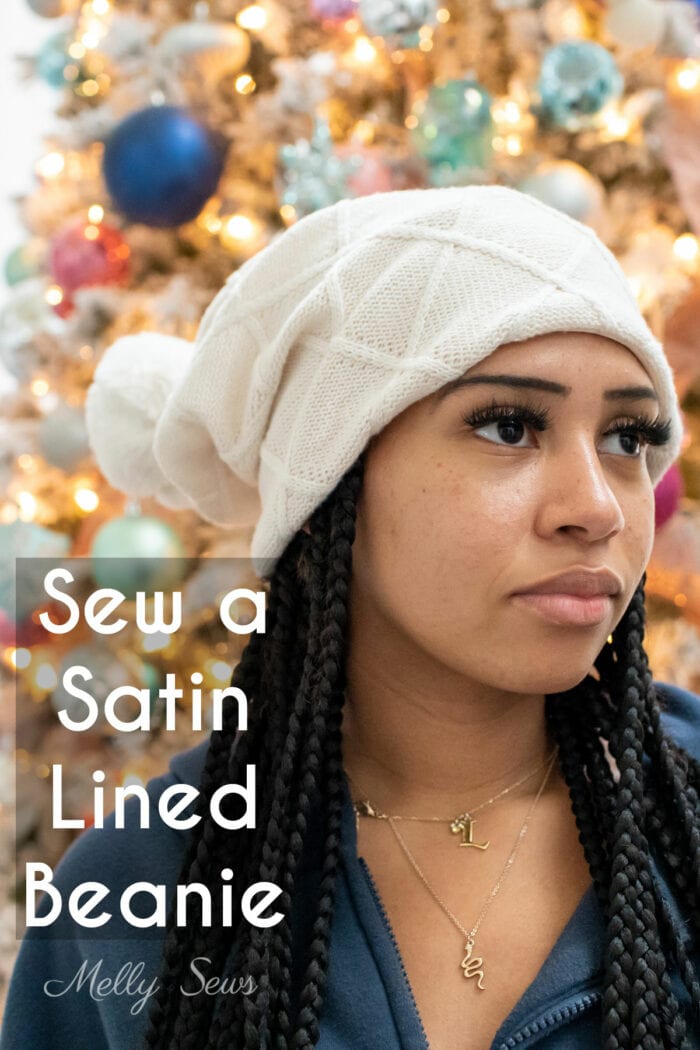
Hey y’all, today I’m showing you how to sew a satin lined beanie. This is a useful tutorial if you want to make my classic beanie pattern reversible. I used satin lining for this beanie at the request of my daughter, but the same principles in this tutorial apply to the two-toned beanies my son has been sewing as birthday gifts.
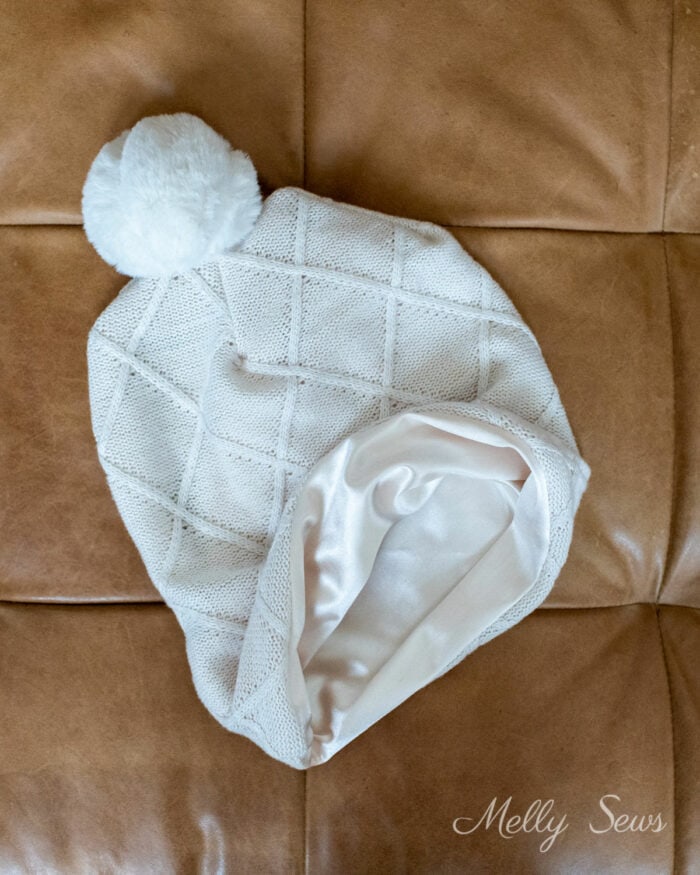
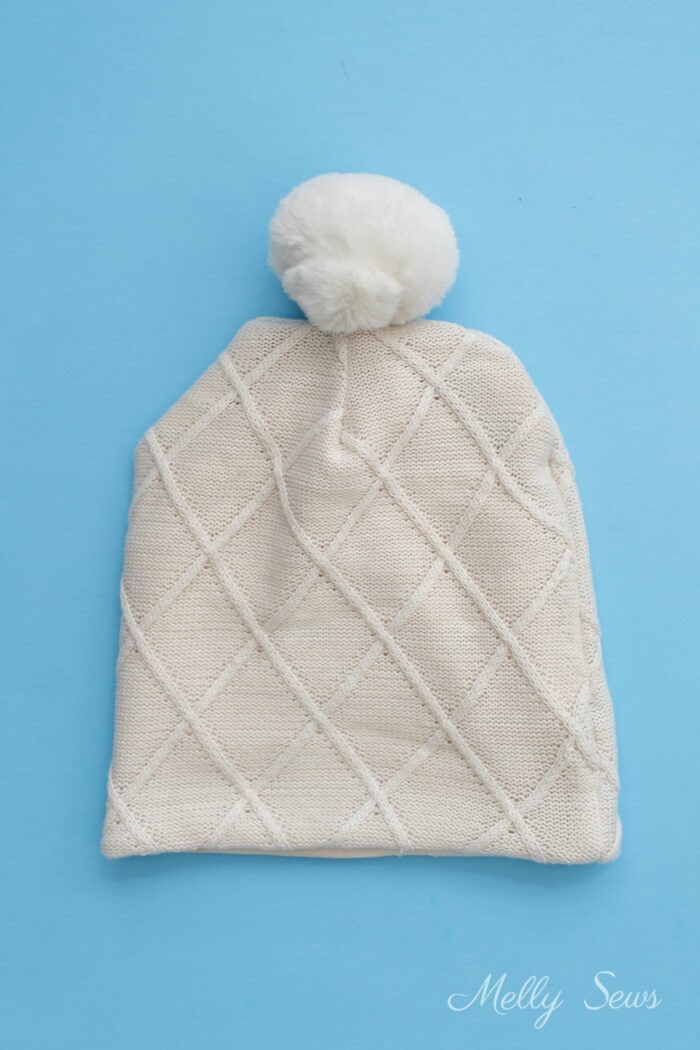
As you can see above, there’s a stretch satin fabric inside the hat. This helps keep frizz down and makes the hat easier to slide on and off without breakage. Another fun touch on this hat is the fur pom pom at the top. These are super simple to make and I have a little mini tutorial for those in this post as well.

Draft or Buy a Beanie Pattern
I have two options for the pattern to make this beanie hat – you can either draft your own pattern with the very specific directions below, or you can buy the PDF pattern from my shop. The digital sewing pattern includes all the sizes preemie – men as well as the printable sewing pattern instructions. To buy it, you can use the button below or visit my shop here.
 |
Drafting Instructions
To make your pattern, first divide the head circumference for the size you need by 4. Then draw a rectangle that is equal to 1/4 the head circumference wide by the height listed below for the size you need. Note that if you don’t want your hat to be as slouchy as the one pictured in this post, you can reduce the height.
Head Circumferences
NB = 14 inches, Baby = 16 inches, Toddler = 17 inches, Child = 19 inches, Tween = 20 inches, Teens/Women = 21 inches, Men = 23 inches
Hat height
NB/Baby = 8 inches, Toddler = 9 inches, Child = 10 inches, Tween = 11 inches, Teens/Women/Men – 12 inches
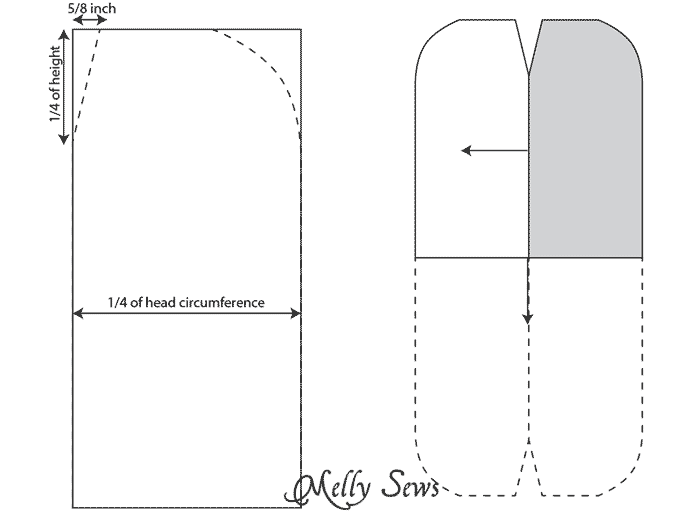
After you draw your rectangle, round off the top right corner, then draw a dart that extends down 1/4 of the hat height and 5/8 inch in from the top left corner (left diagram above). Then use that piece as a template; flip it along the vertical dart edge and trace again. Since we are using two different fabrics for this beanie, you can stop pattern drafting here after you add a 1/2 inch seam allowance to the bottom edge of the hat. The dashed lines at the bottom of the diagram on the right above will be the part cut out of the other fabric.

What You’ll Need to Sew a Satin Lined Cap
To make your own satin lined beanie, you’ll need:
- 1/2 yard of sweater knit fabric for the main fabric. The one I used is cotton knit, but as long as your sweater knit is at least as stretchy as your satin you can use any fiber.
- 1/2 yard of stretch satin for the inside of the beanie. This is the exact fabric I bought (affiliate link) and it comes in many colors
- A 6 inch diameter circle of faux fur for the pom pom
- A small handful of polyester fiberfill for the pom pom (optional)
- A small piece (3-4 inches) of twill tape or ribbon for the pom pom
- Sewing machine, needle, thread, scissors, pins, etc.
How to Make a Fur Pom Pom
The pom pom on top of this hat is optional, but it’s also a fun touch. It’s very easy to sew following the video below or on YouTube here.
Sew Your Beanie
Once you’ve made your pom pom, you can follow the instructions in the video below or on YouTube here to sew the beanie itself.
If you’d like a written tutorial with pictures to sew this beanie, check out this post. Just note that you have to sew the two fabrics together along the straight edge before you can follow the rest of those images. A summary of the written instructions is below.
Time needed: 20 minutes
Sew a Silk Lined Beanie
- Sew the darts
Sew the darts on the pattern using 1/4 inch seam allowance. Clip into the angled end of each dart so you can press them open flat.
- Sew the two halves together
Place the two pieces right sides together and match the long straight edges. Stitch, using a stretch stitch.
- Sew the side seams
Fold the hat in half, right sides together, matching the darts and the seam between the two fabrics. Each fabric should be folded against itself. Sew around the open edges, leaving an opening on the long side for turning. Turn the hat right side out through the opening.
- Stitch the gap closed
Use a ladder stitch to close the gap in your hat, then push the lining into the hat and you’re done!
Leave a Reply