
This DIY tutorial from an expert sewing teacher is an easy step-by-step guide to take in a dress and make it fit better.

Have you ever ordered a dress online and when it arrives it’s too big for you? Today I’m going to show you how to make a dress smaller, the solution to your problem of a dress that fits large. This is a fairly easy alteration to tailor your clothes to fit you better. I’ve been doing these kinds of alterations since I used to be as small as my daughter is now. This post will explain what I’ve learned over those decades of experience.
The example frock in this post is an off the shoulder one we ordered for my daughter to wear to a wedding recently. She and I shopped all over in person without finding something she liked, so we decided to order a few options. This one came the closest to what she was looking for, but it was too big through the body. Rather than starting from scratch, we decided to keep the dress and sew alterations to make it fit her. So this post will show exactly how we determined how much fabric to take in, how we checked the fit before sewing the final seams, how we measured and marked the hem, and how beautiful the final look turned out.

Key Skills You’ll Practice/Learn in this Project
To take in your dress, you’ll use the following skills:
- Pinning
- Measuring and simple math to distribute amounts evenly
- Seam ripping
- Fabric marking
- Basting seams
- Sewing seams and possibly darts
- Marking, cutting and sewing a hem
Before You Get Started
While this process isn’t super hard, you do need some basic sewing skills to undertake it. You need a sewing machine to fix your dress unless you are very, very experienced at hand sewing. Most hand stitching of seams just will not be of the same quality as machine stitching because this is no longer a skill many people spend years learning like they did in times before the sewing machine. If you have never used a sewing machine before or if you don’t own a sewing machine, you’ll probably be happier either getting a professional tailor to help or returning your too big dress and buying something else.
If you do go to a professional, remember that the cost of the dress is not a guideline for the cost of the alterations needed. You are paying the professional for their experience, skills, and tools. This was a $30 dress, but I likely would have paid at least $100 for the alterations I did on it. You might want to keep that in mind if you decided to shop for a new dress as well – if you can find a $130 dress that needs no alterations, that might be worth it.

Materials to Take in a Too Big Dress
This post contains affiliate links. As an Amazon Associate I earn from qualifying purchases. All affiliate links are identified with (affiliate link) after the link or a commissions earned statement above the link(s).
Here are the supplies you’ll need to take in your dress. Note that the links included are to my personal favorite versions of each of these tools.
- Straight pins (affiliate link) or safety pins
- Ruler (affiliate link) or measuring tape
- Chalk marking tool (affiliate link) or other marking tool
- Seam ripper (affiliate link)
- Sewing machine and basic sewing notions – thread, scissors, needles, etc
How to Make a Dress Smaller
I’ve got a short video below, which you can also view on YouTube here, that shows a quick version of the easy steps to take in a large dress.
Step 1: Pinning in the Alterations
The first step to fit your garment to your body is to put it on inside out. This allows you to pin out the excess at the seams and darts and mark your changes on the wrong side of the fabric. You can see below how much I started taking in on one side of the dress at the hips and waist. Continue to do this all the way down each side, following the curves of the body.
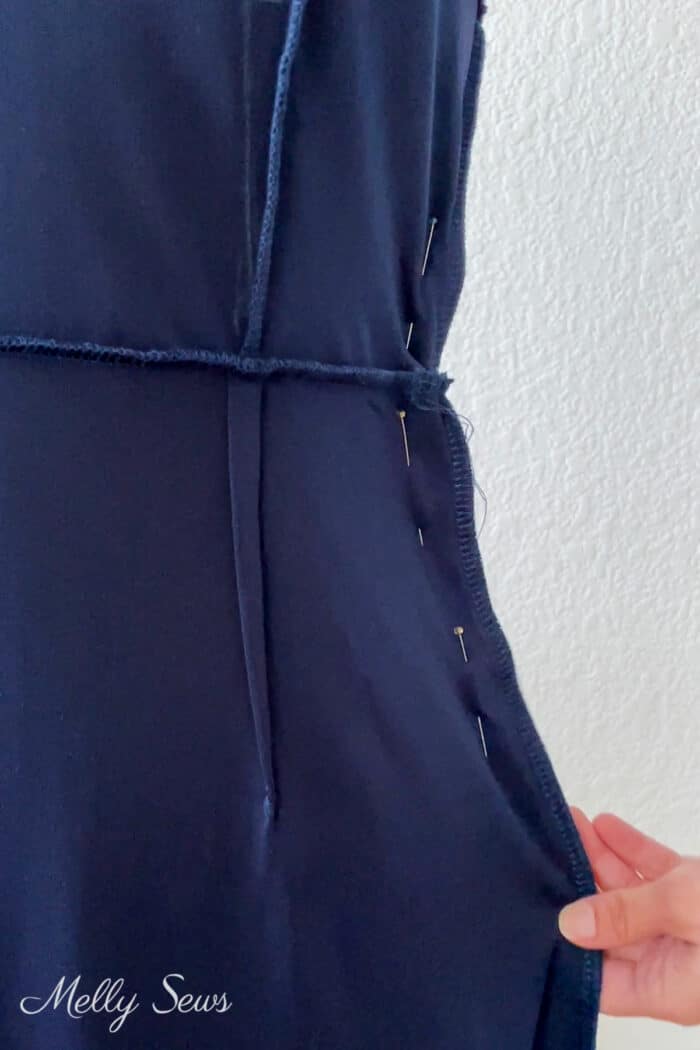
Pro Tip: if the dress pulls on, like this stretch velvet dress does, you might want use safety pins instead of straight pins to make sure they stay in when the wearer is taking the garment back off. This isn’t as big a deal if the garment has a zipper.
Step 2: Marking and Seam Ripping
After you get the garment off, lay it out flat. I used chalk to mark where my pins were. If chalk doesn’t work on your particular fabric, you can see other marking tool options here.
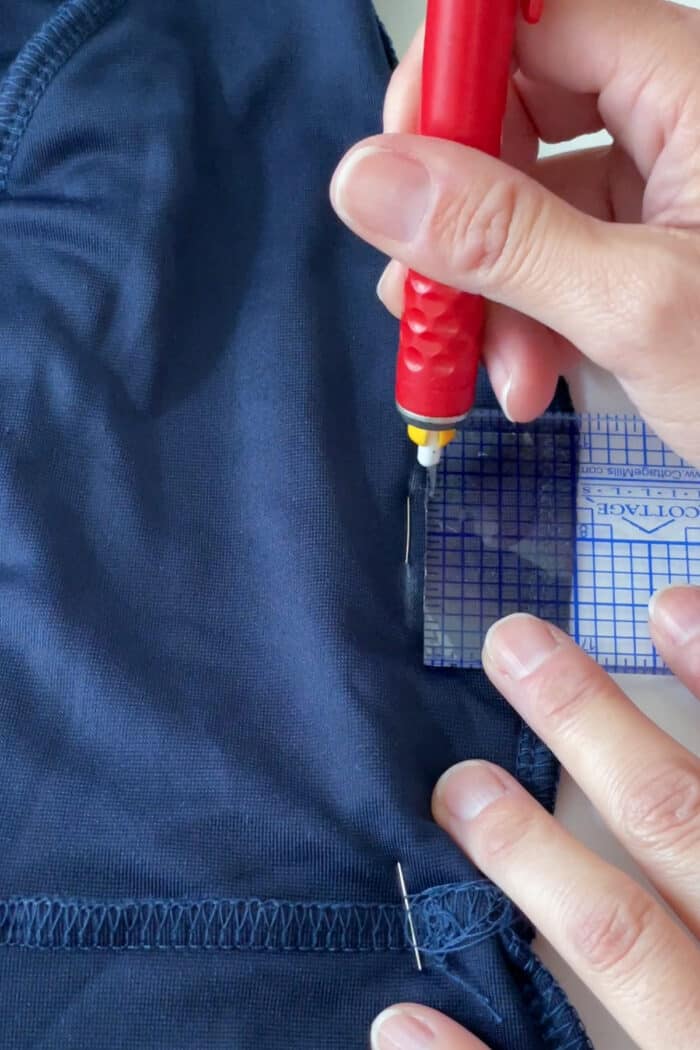
Once you have your marks, you’ll want to measure them to make sure you’re taking the same amount off of each side. So if you pinned out 1 inch on one side seam and 2 inches on the other, you’d add those two amounts so you’d have 3 inches. Then you’d divide that amount by 2 so you’d take 1.5 inches off each side. Do the same to check your darts if you’re taking those in.
If you’re taking in from the bust to under the arm all the way to the hem like I did, make sure you check your measurements at several points along the seam. For example, check at the arm hole at the top of the side seam, at the waistline, at 6-8 inches below the waistline, and at the hem. Once you’ve marked these points evenly on each side, then you can just connect the dots. This may seem like a fussy step, but it will be worth it so you don’t spend the time wearing your dress and tugging it because it wants to twist on you.
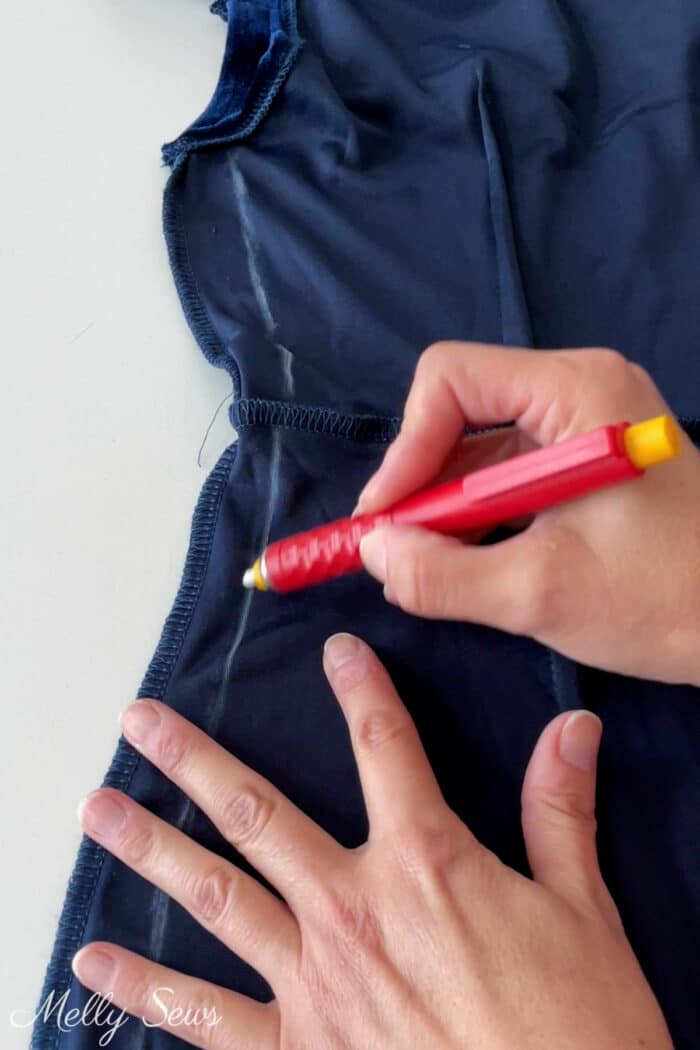
Since I was going to take in the front and back darts as well, the next step I took was to seam rip the waist seam. Then I marked the new darts. I made sure the skirt width matched the bodice when I reattached them at the waistline.
Step 3: Baste and Check the Dress Fits
Next, baste along your new seam line. Don’t know how to baste? See this post for more on basting, but basically it’s a longer stitch that is only meant to hold temporarily.
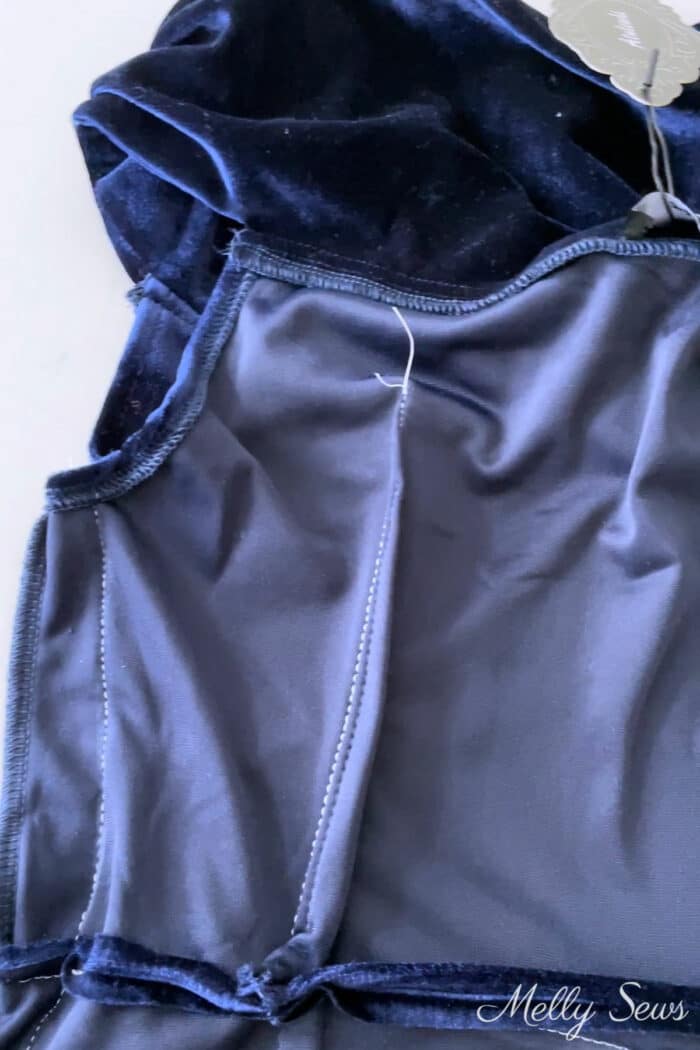
Pro tip: use a contrasting thread to baste so you can see the stitching since you’re going to remove it. In the image above you can see that I used a light gray on this dress to baste.
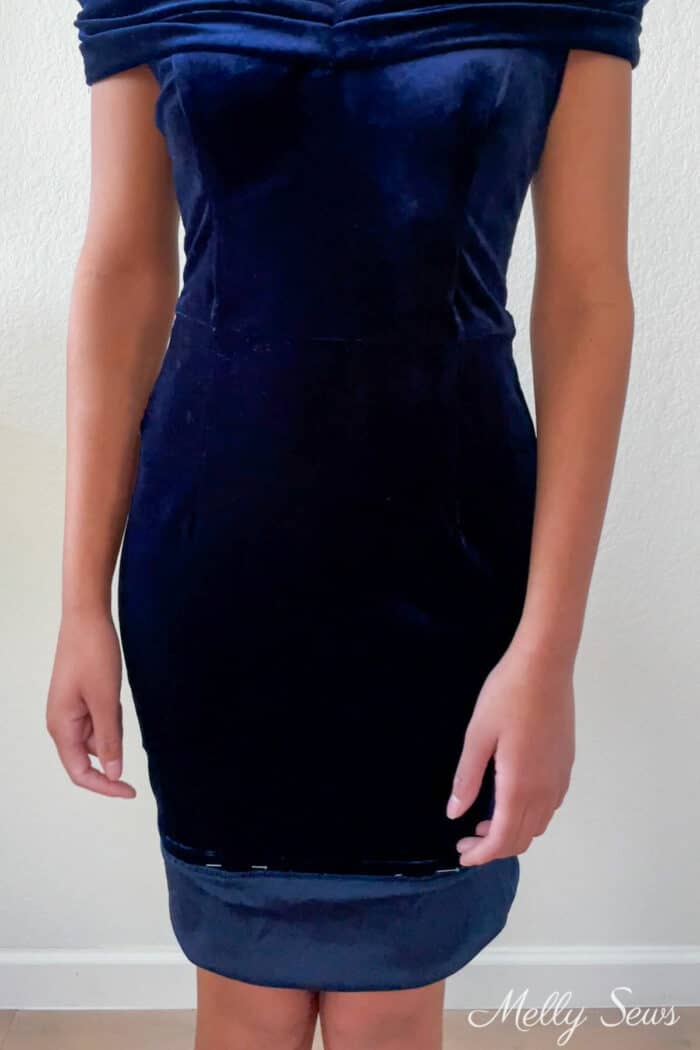
Once you’ve basted the dress together, try it on to check your alterations. As you can see in the image below, the fit was much improved but I still needed to take the waist in a smidge and we needed to take several inches off the hem.
So I removed the basting stitches, making sure I still had the chalk marks to guide my stitching. I detached the skirt from the bodice and took the darts in a little more.
Step 4: Stitch the Alterations
Once you’re satisfied with the alterations as basted, then you’ll actually stitch the seams and cut off the excess fabric. I used my serger to do this since an overlock stitch is stretchy and I was working with stretch fabric. However, you don’t need a serger. If your machine can do a zig zag stitch you can sew stretch fabrics.
Pro Tip: check out all the different kinds of stretch stitches a regular sewing machine can do here.
Finally I moved on to the hem.
Hem the Dress
Not all dresses that are too big will also be too long, so I’ve separated out this step. When I checked the baste fit I also pinned the hem while my daughter was wearing the dress. Then I marked a line 3/4 inch above the hem fold I made. This way I had extra fabric for the hem.
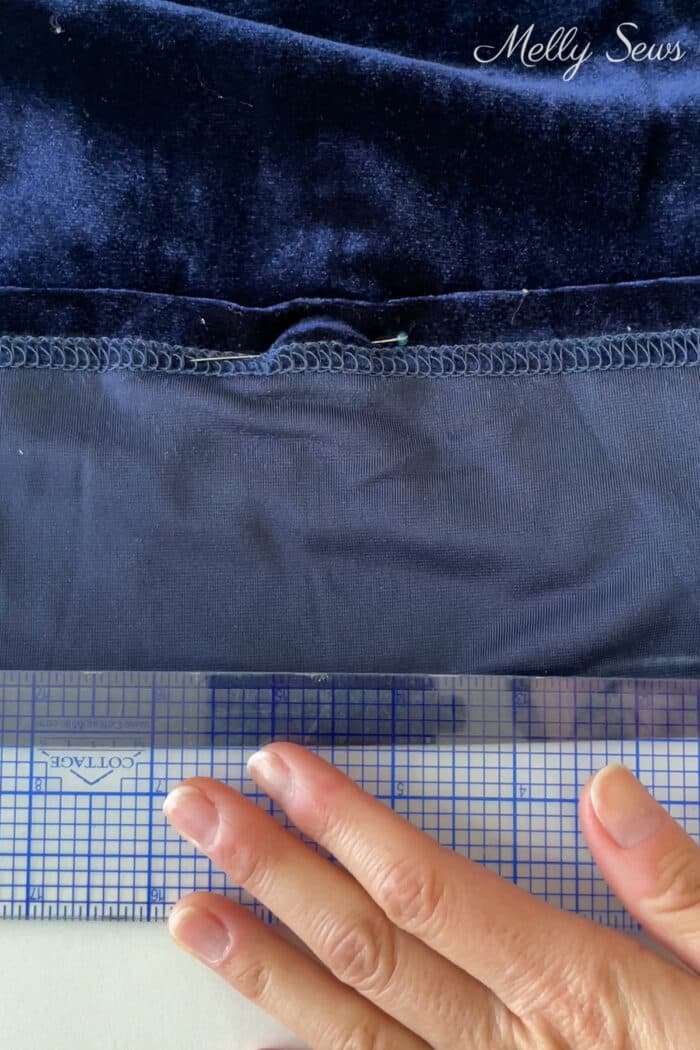
Once I had that marked all the way around I cut off the extra fabric on my line.

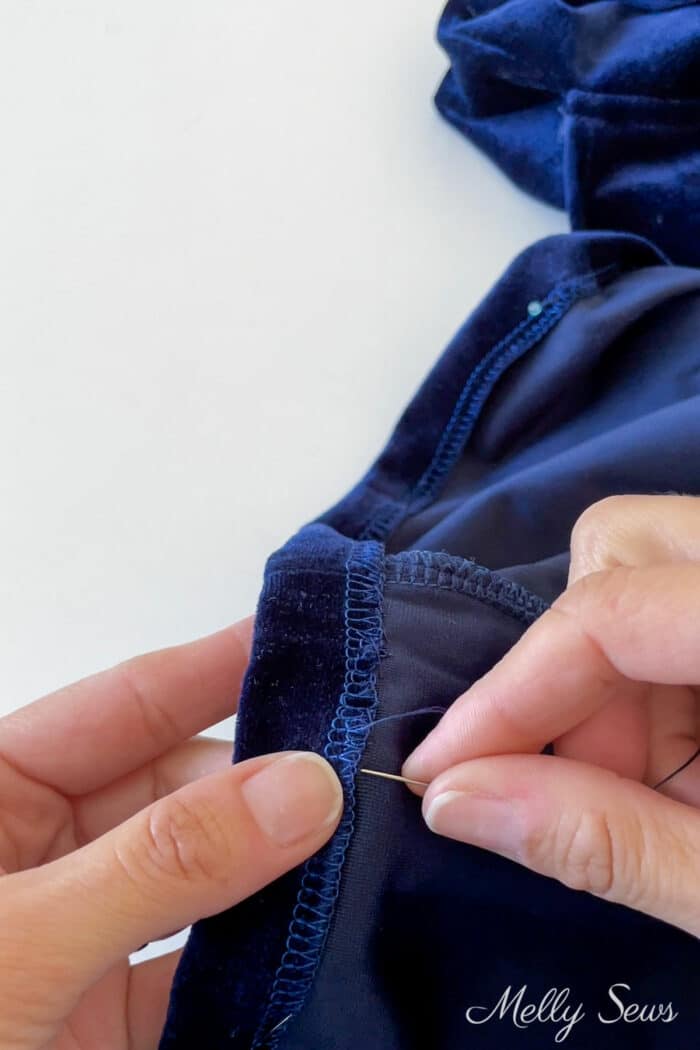
Stretch velvet doesn’t fray, but it does shed the little fuzzies that make up the pile for a bit after you cut it. So I overlocked the cut edge of the dress with my serger. You can also do a faux overlock with your regular sewing machine if you’d like. Then I hand stitched the hem so it would be invisible. You can blind stitch with your sewing machine, but I prefer to do it by hand when I’m working with velvet.
After that, it was done! It’s amazing how much better it fit her with just a couple hours of work.

Dara
Great Job Mellly and she is a doll.
Faviola M Martinez
Wow, what a fabulous improvement. Great sewing and a beautiful young lady! How fun that you two get to be together creating something great, reminds me of the many things I made and altered for my daughter!