

The number 1 tutorial I wrote this year probably isn’t a surprise. It has an almost permanent place in my popular posts listings. So you’ve probably seen it before, but I bet you haven’t seen it styled for winter (I’ve added a picture just for this post). It’s the…

I have been obsessed with pickup skirts lately. From the Mountain Laurel Dress

to the skirt with the His & Hers Henleys

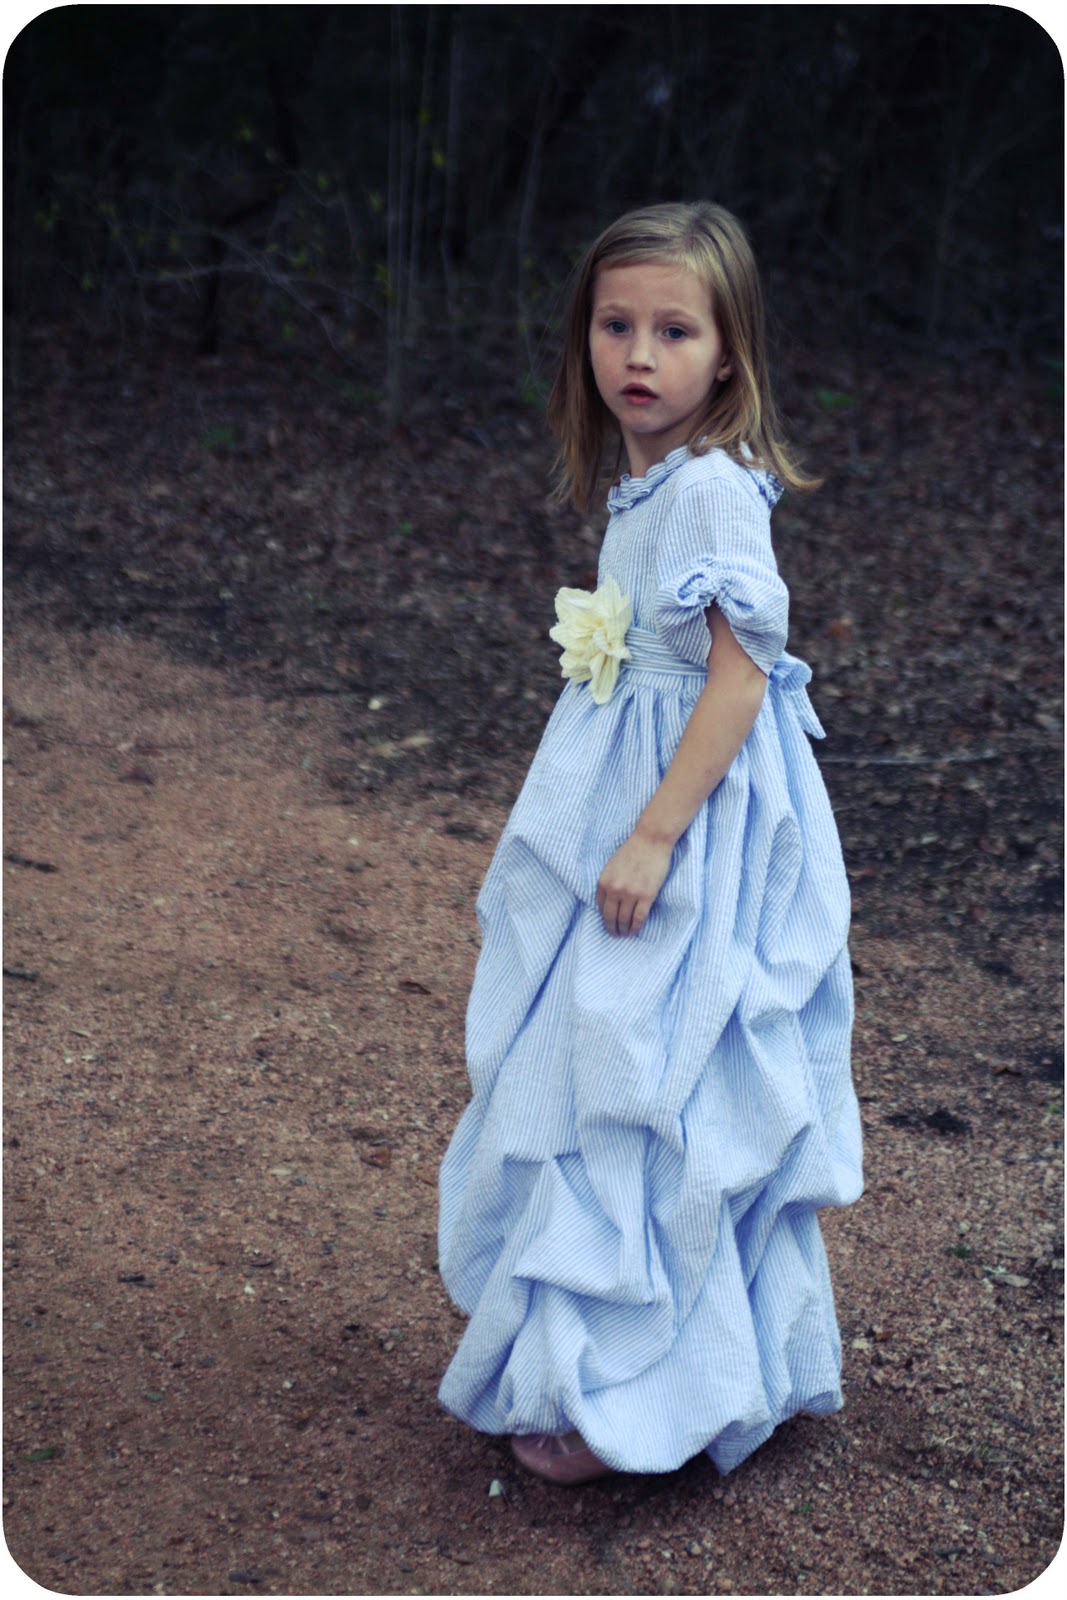
to the Fairytale Seersucker Dress,
to pins from my Clothing Inspiration board on Pinterest.

I’m all about the pickup skirt. Besides the fact that they are so pretty, they are also surprisingly easy to make. Want to learn how? Read on.
My apologies that you’re going to see photos from both the His & Hers Henley Skirt and the Mountain Laurel dress. Don’t let it confuse you.
First, you need both your skirt and your lining. Your lining should be the length you want your finished skirt to be (plus seam allowances). Your skirt needs to be both wider than and longer than your lining. For the Henley Skirt, I did a circle skirt that was the same width as the lining at the waist, but obviously much, much wider around the bottom to get that bubble shape. For the Fairytale Seersucker dress my skirt was about 11 inches longer and for the Mountain Laurel dress my skirt was about 9 inches longer than the lining. For both dresses my skirt was twice as wide as the lining.
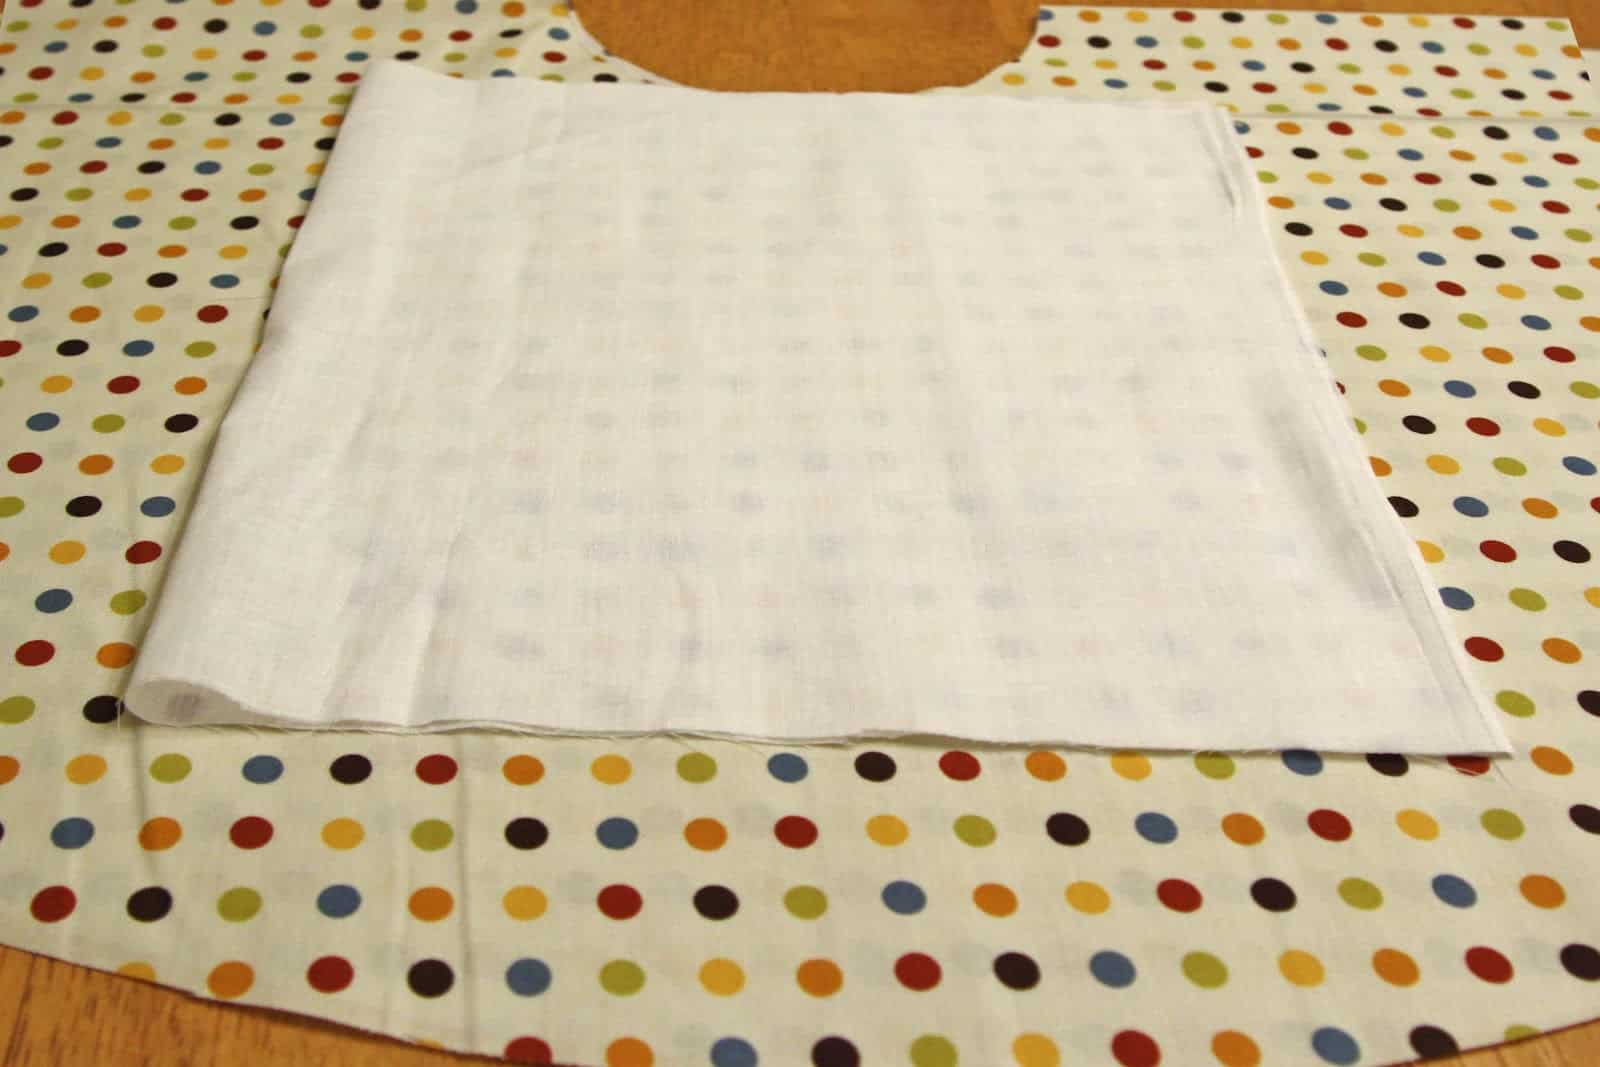
I know the lining looks kind of like a straight skirt in the pic above, but it was actually flared. You do want room to be able to walk.
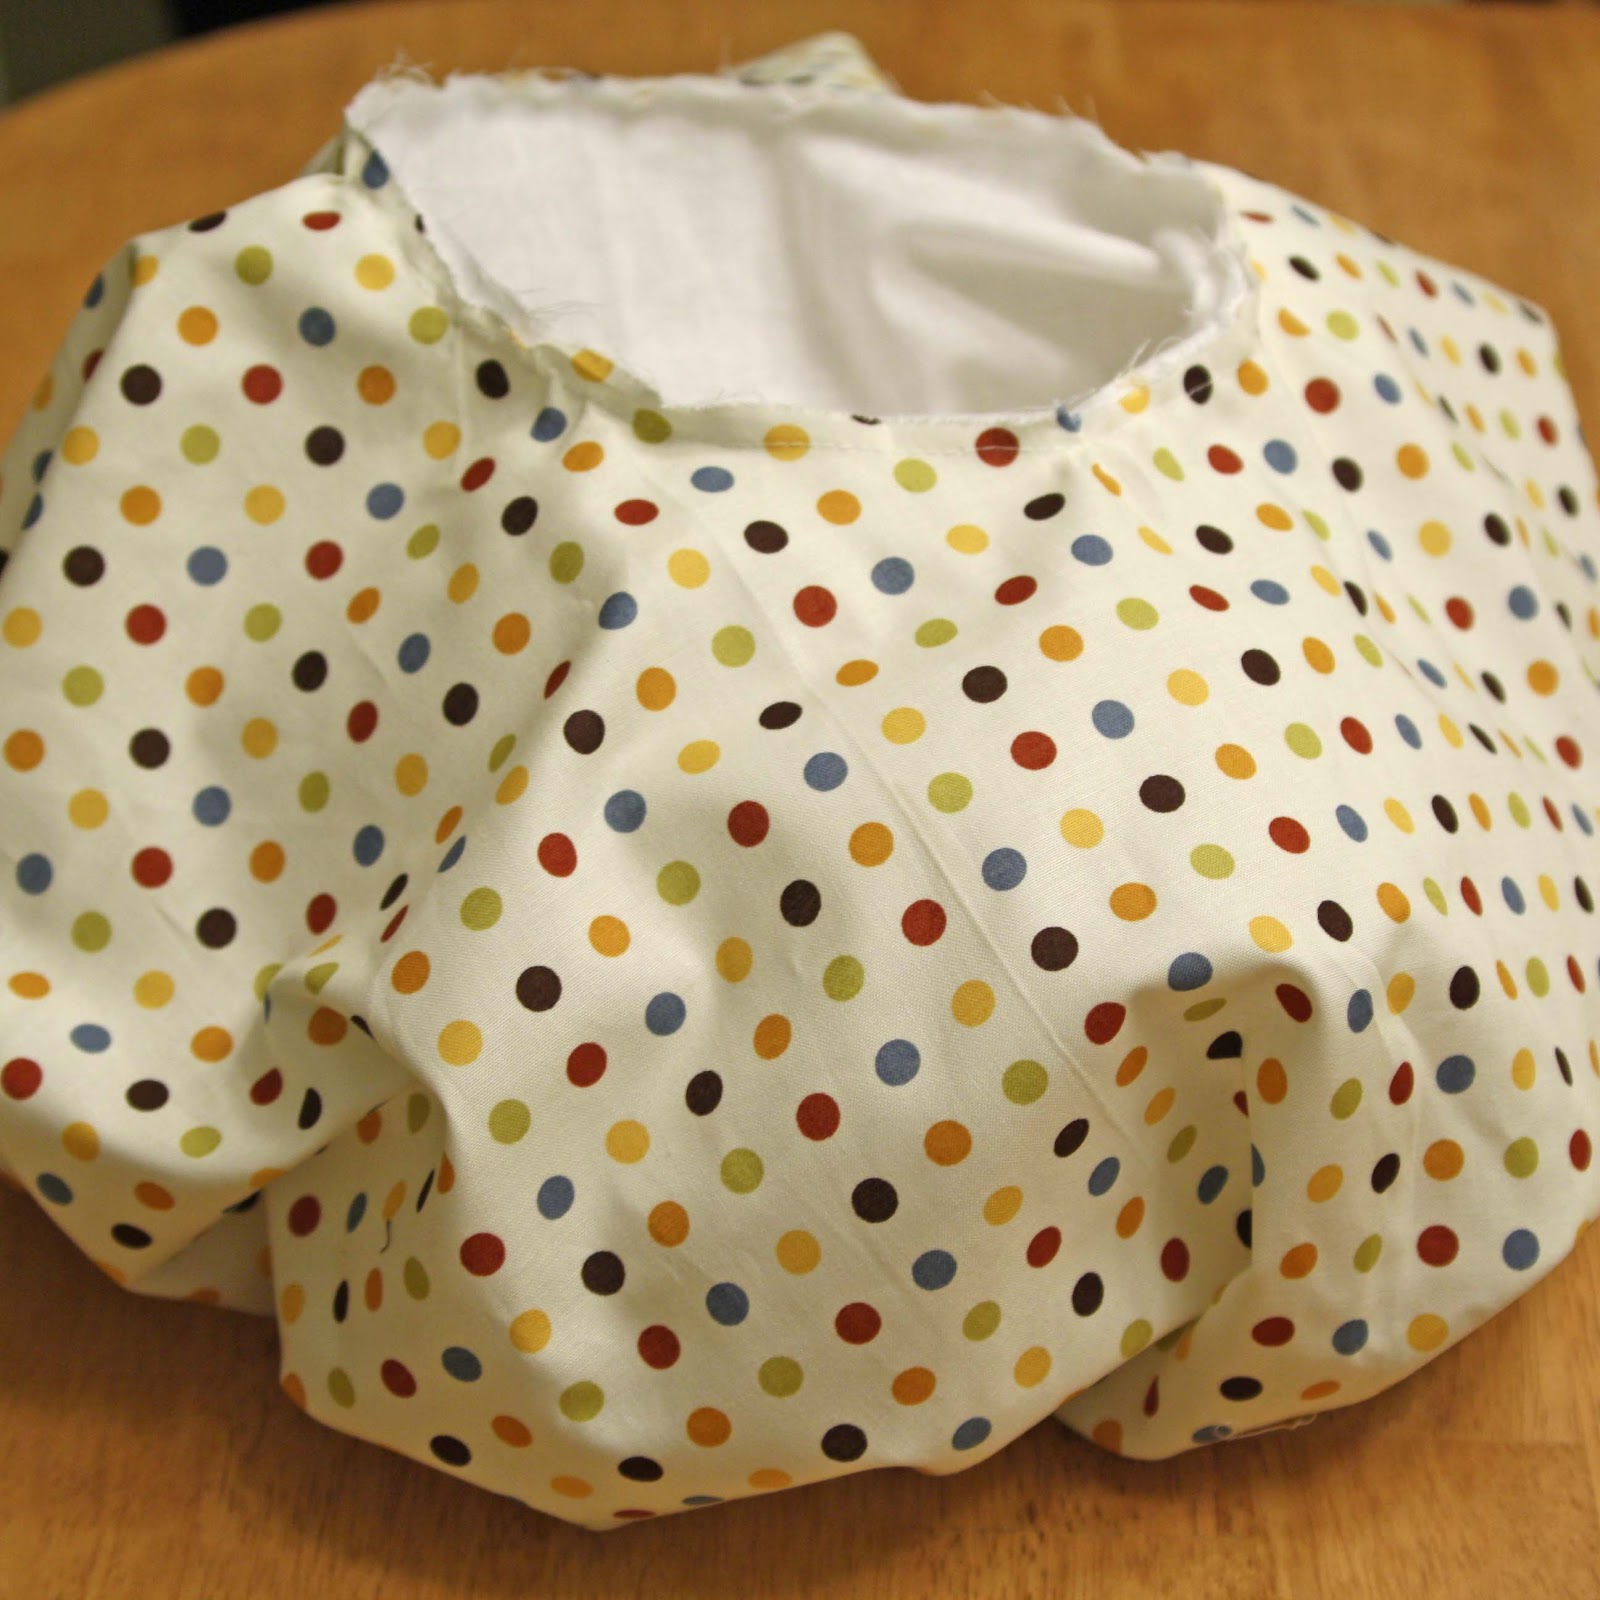
Next, sew a gathering stitch around the bottom of the skirt. Gather it to fit the bottom of the lining. With the skirt right side out, and the lining wrong side out, put the skirt inside the lining and pin the bottoms together.

Sew around the bottom. Remove the pin and flip the lining to the inside of the skirt.
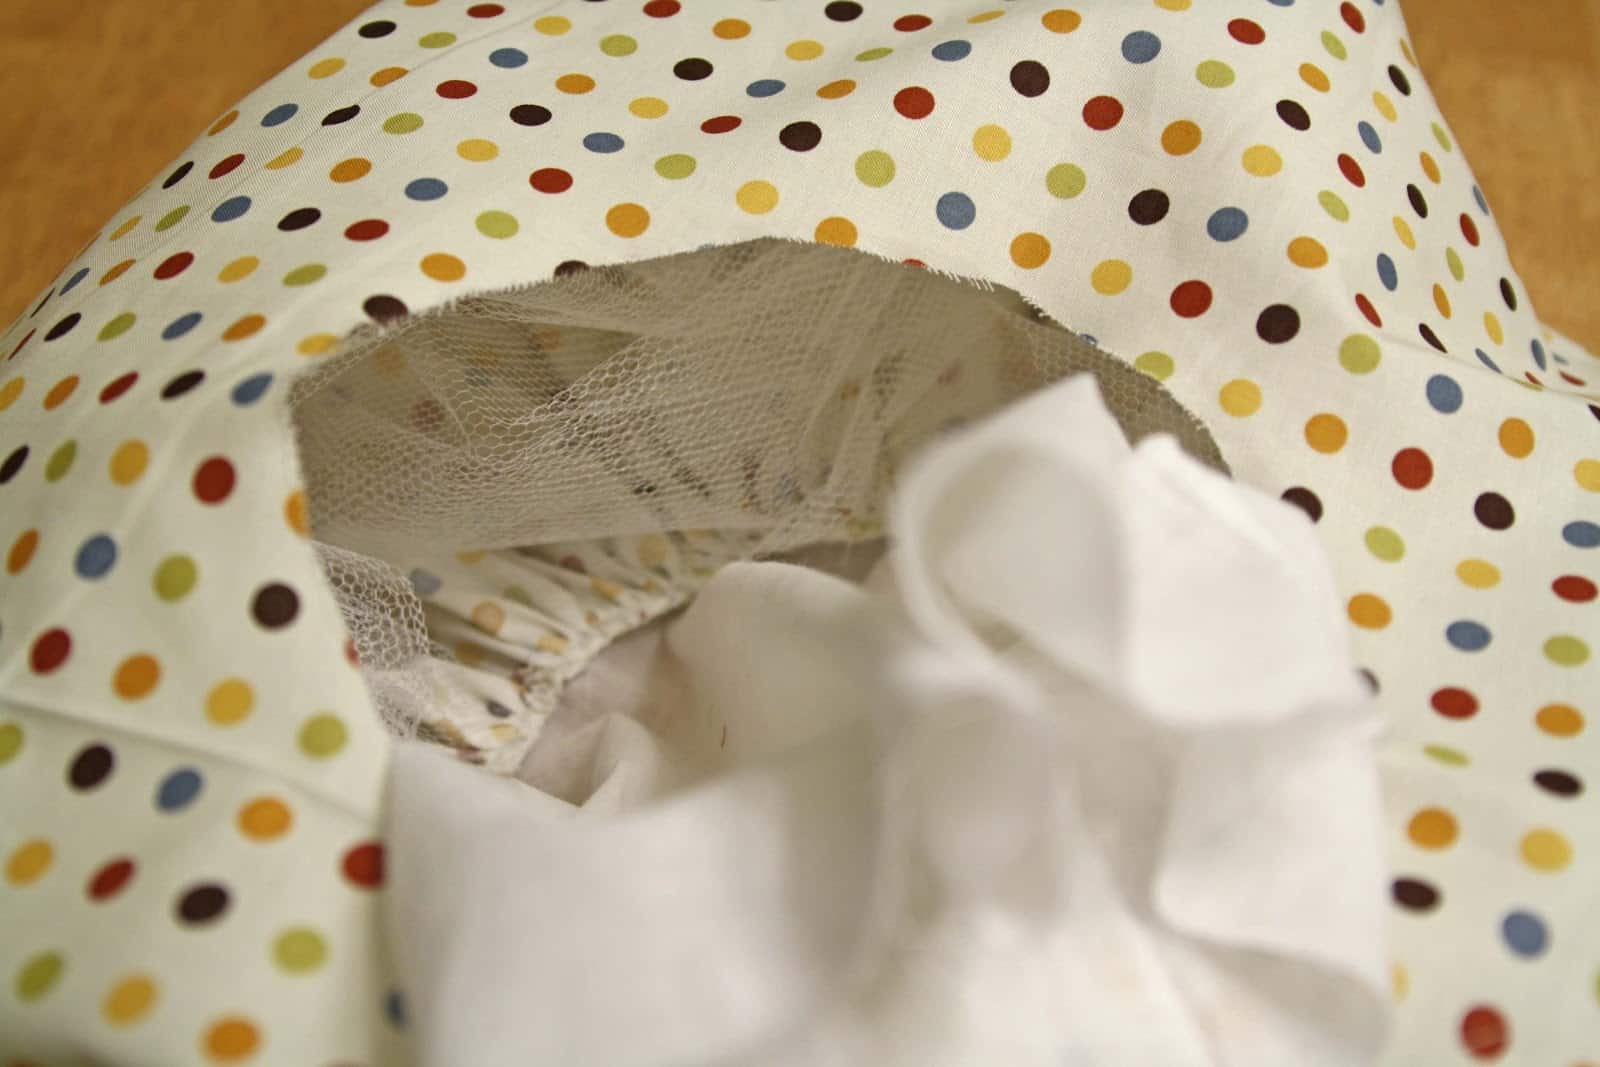
For a poufier skirt, like the Henley Skirt, add some netting between the layers. I used netting, not tulle – it’s in the same area of the fabric store but has bigger holes and is stiffer.
Now gather the top edge of the skirt to match the top edge of the lining. Baste the two together.
If this is part of a dress, tie to sew the skirt to the dress. If it’s a skirt, sew the waistband on.
Now, put the dress/skirt on a dress form or hanger. It’s best to be able to see the drape as you do the pickups. Thread a hand-sewing needle, grab your pins, and pull up a chair.
To make a pick up, you literally pick up the skirt, moving it up and pinning it to the lining. You want the lining to hang straight, but the topskirt to be picked up and secured to it. Place a pin, then let the upper part of the skirt hang over it.
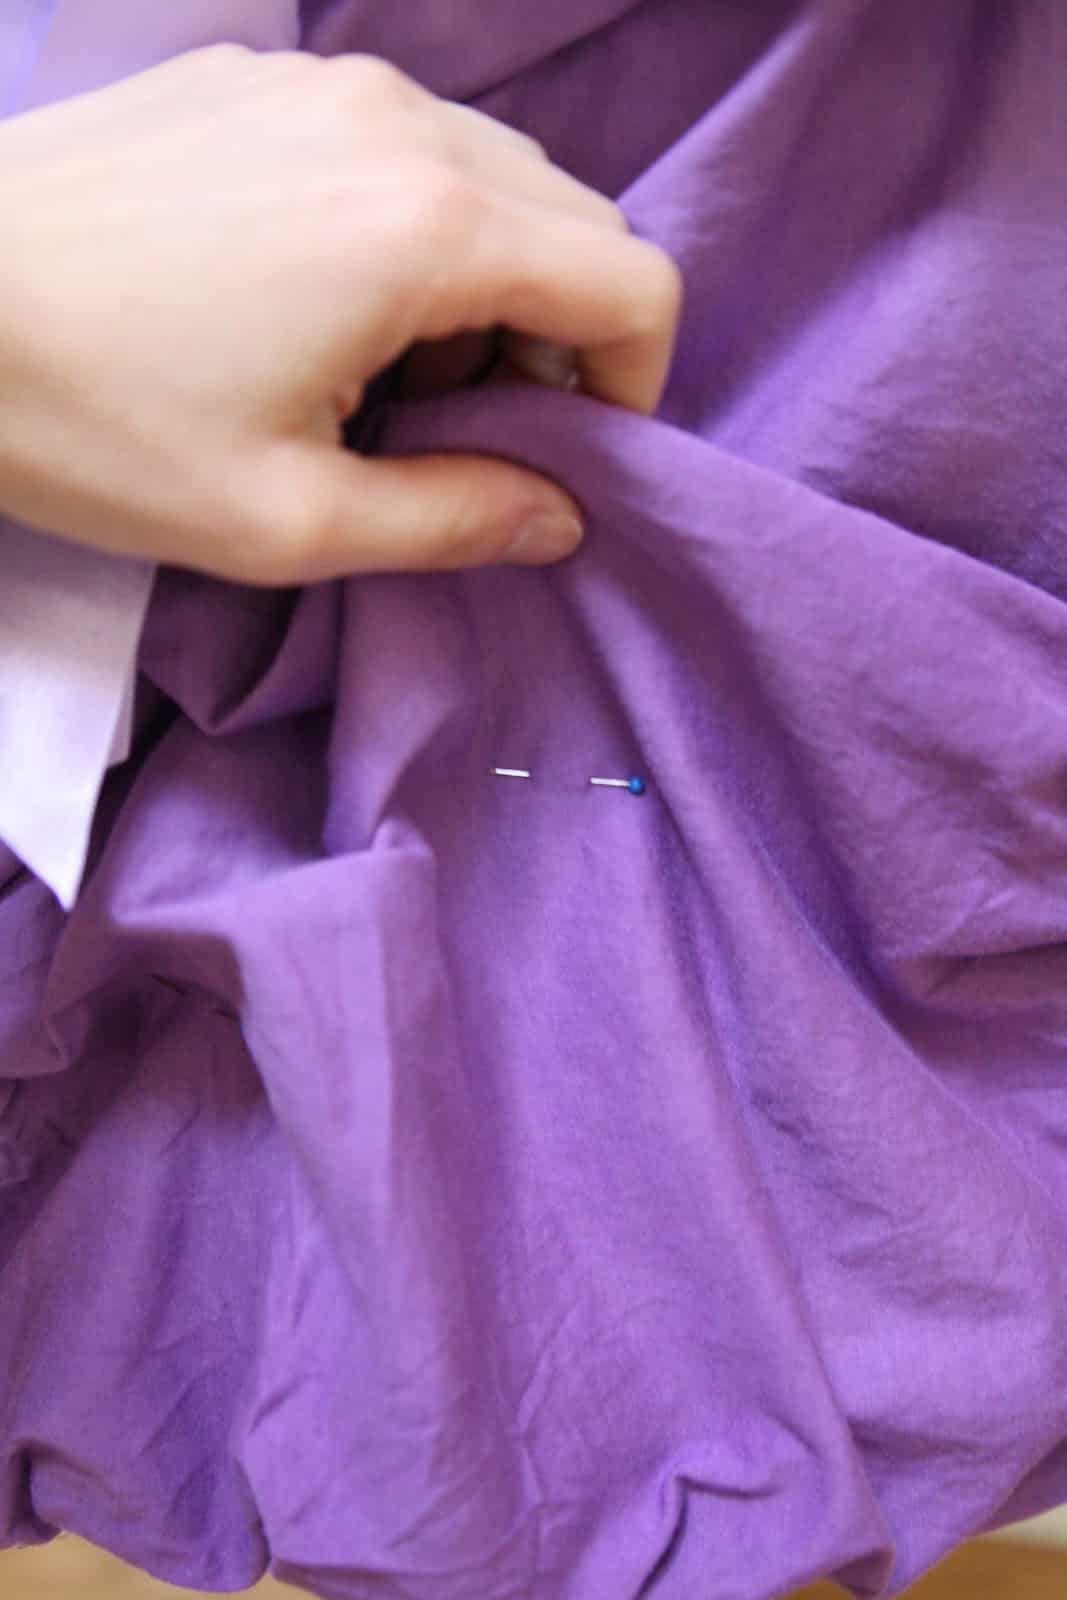
Continue picking up and placing pins, rotating the dress/skirt. You can make as many or as few poufs as you want, and as big or small as your skirt length will let you (for bigger drapes, you need a longer skirt). I just kind of go about this organically, placing and moving pins until the skirt looks right to me.
Now take your threaded needle, and sew a few stitches in place of every pin. Make sure your stitches go through the lining (possibly even the netting if you added some) and and that you knot them well before cutting.
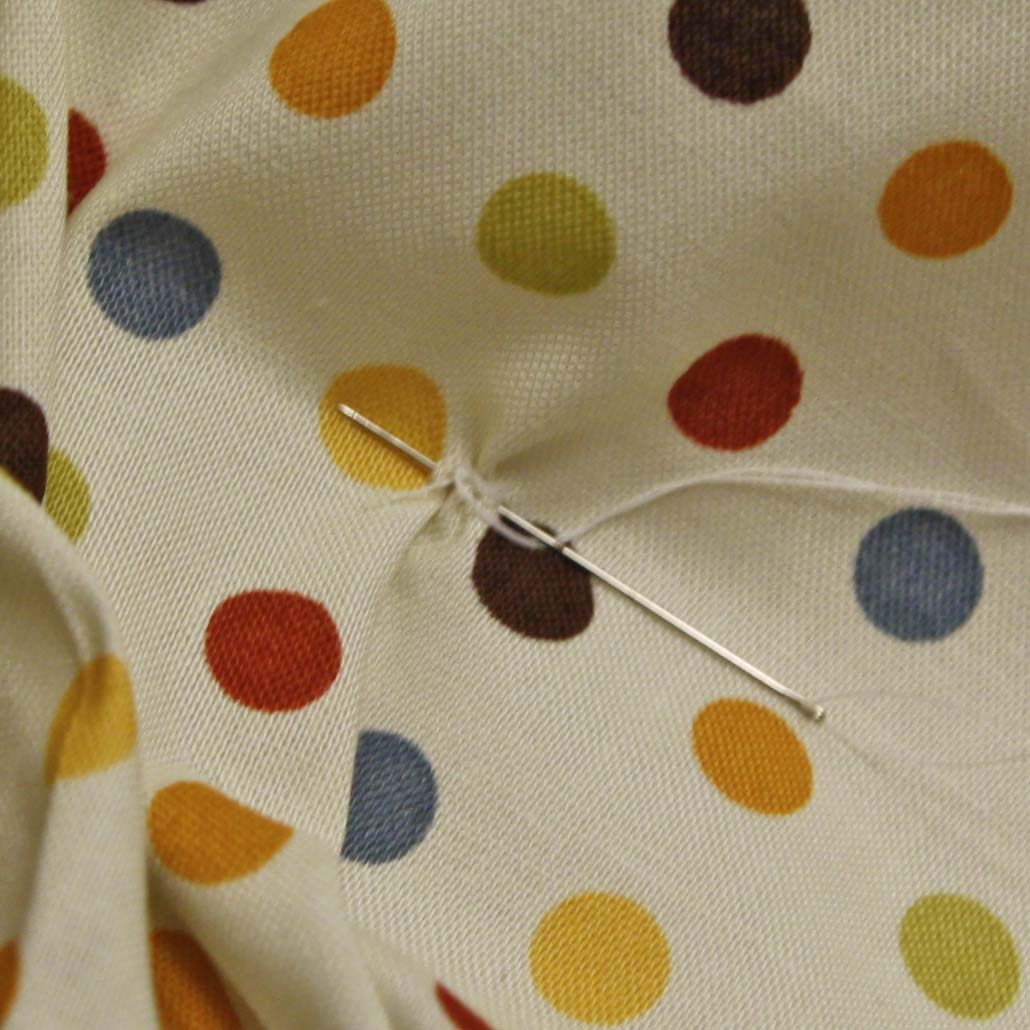
Check for pins by looking inside the skirt lining, and when you’ve replaced all the pins with stitches, you’re done!

I put my dress form on the stairs for this dress so I could sit lower and not have to be on my knees while stitching.
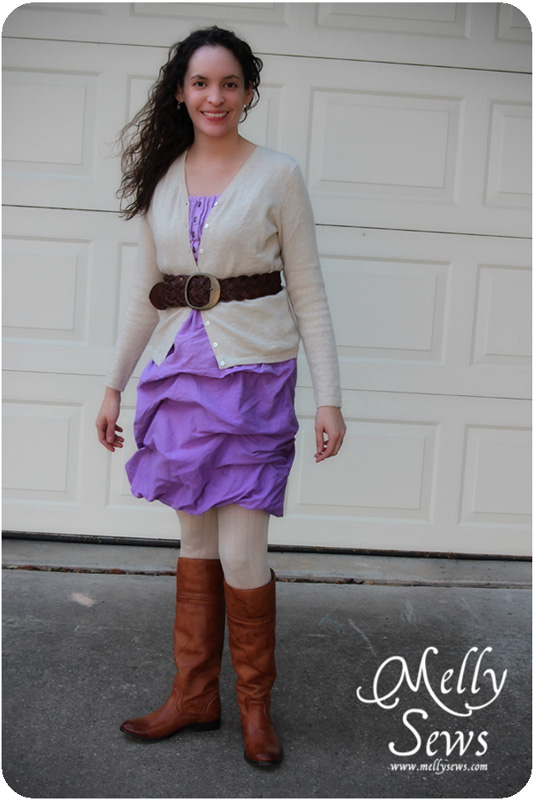
Recently I styled this dress for winter – with tights, a belted sweater and boots.
Leave a Reply