
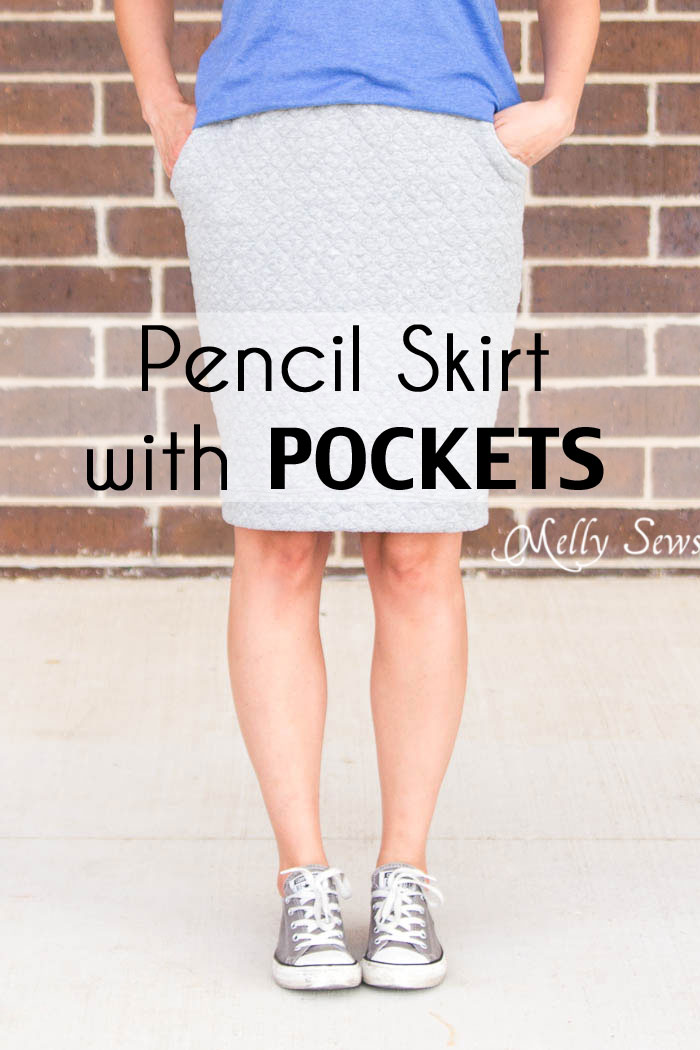
Hey y’all – today I’m sharing this pencil skirt tutorial as part of Simple Simon & Co’s annual Skirting the Issue event. Skirting the Issue is both a blog series and a charitable event, so make sure that you check their post for more details (and there are also prizes!). As for me, I got a comfy wardrobe staple skirt out of this, so I’m happy!

It gets HOT in Texas. Hence my love of sundresses. And shorts. But sometimes for some events, shorts are too short/casual feeling, and dresses feel too dressy or I don’t have the right bra or I was already wearing a t-shirt and shorts that were too casual and I just want to swap my shorts for something a little dressier. This is where skirts come in for me. As cool and comfortable as shorts (sometimes more so!) and yet they automatically take your outfit up a notch.
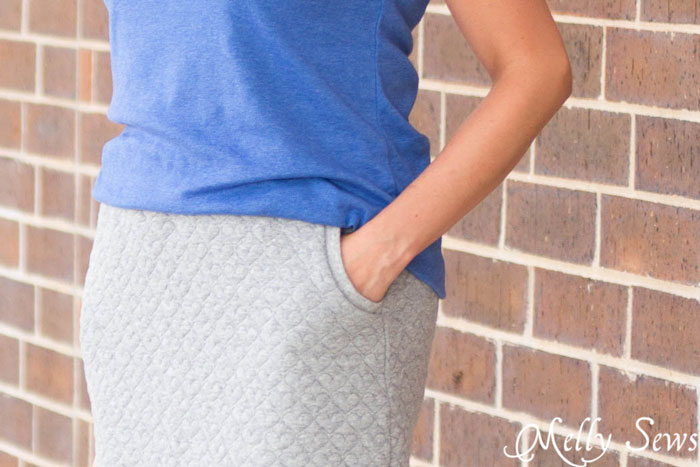
And of course, I included pockets because lack of pockets is a serious drawback in many skirts in my opinion.
When you have a skirt is a basic gray, it’s just as easy to throw on as sweatpants are in the winter. This fabric is quilted knit from Joann that I also used for a very warm Denver Tunic and I had just enough left to make this skirt. I was worried it would be too hot, but it’s not bad thanks to the airflow from it being a skirt. And with our arctic air conditioning around here, it also feels a little more substantial than a breezy voile number when I venture into, say, the grocery store. In the winter, over leggings, it will still be a staple – win!

I paired this one with a Blanc T-shirt (another summer staple here) and I’m good to go and comfy to boot. Though I still want to make a gray non-quilted version that’s a little lighter in weight.
Want to make your own? You’ll need:
- About a yard of knit fabric with at least 30% stretch.
- Optional – coordinating rib knit fabric for waistband and pocket trim, 1/4 yard. You could use self fabric if you prefer
- If you’re using thick fabric like I did, you may want a thinner knit for the pocket facings
- 1-2 yards of 2 inch wide elastic, depending on your waist measurement
Start with this post about drafting a skirt. BUT – stop after you draw in the curve from the hip to the waist. Don’t add side seam allowances (this is where the fabric stretch comes in) and don’t proceed to pin in darts. Just use that pattern as it is at that point.
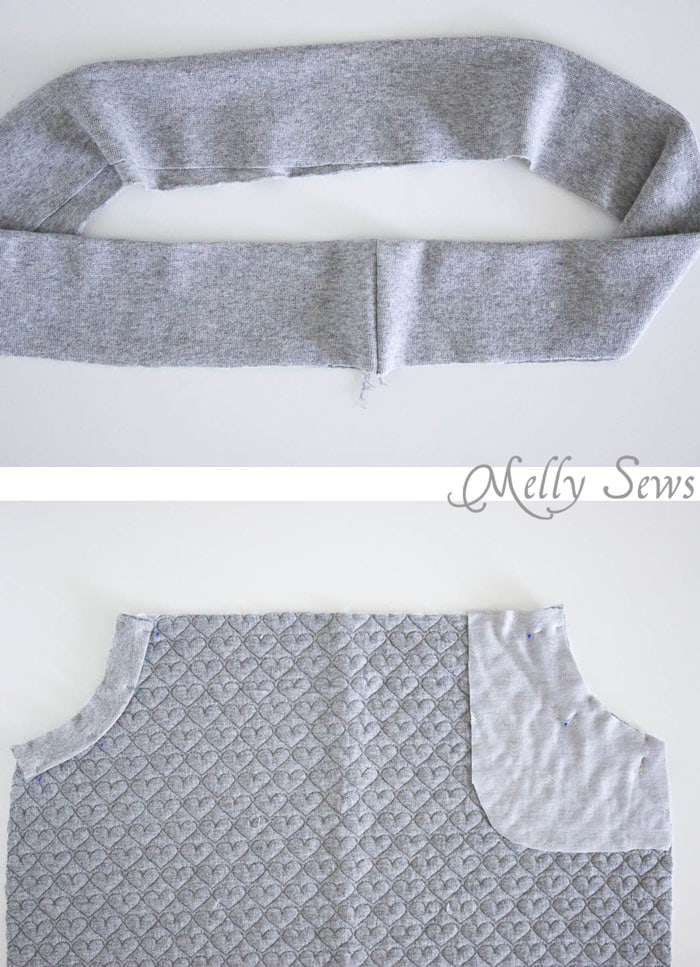
Cut 1 1/2 inches from the top of your skirt – this is because we’re going to add a waistband. Then cut a skirt front and a skirt back on the fold.
Next, cut out two pocket shapes (mirrored) out of your main fabric and your pocket facing fabric as shown below. I just freehand this; the important thing is that the top edge match the waistline and one side match the side seam of the skirt. Make it about 7-9 inches deep, and about 5-6 inches wide.
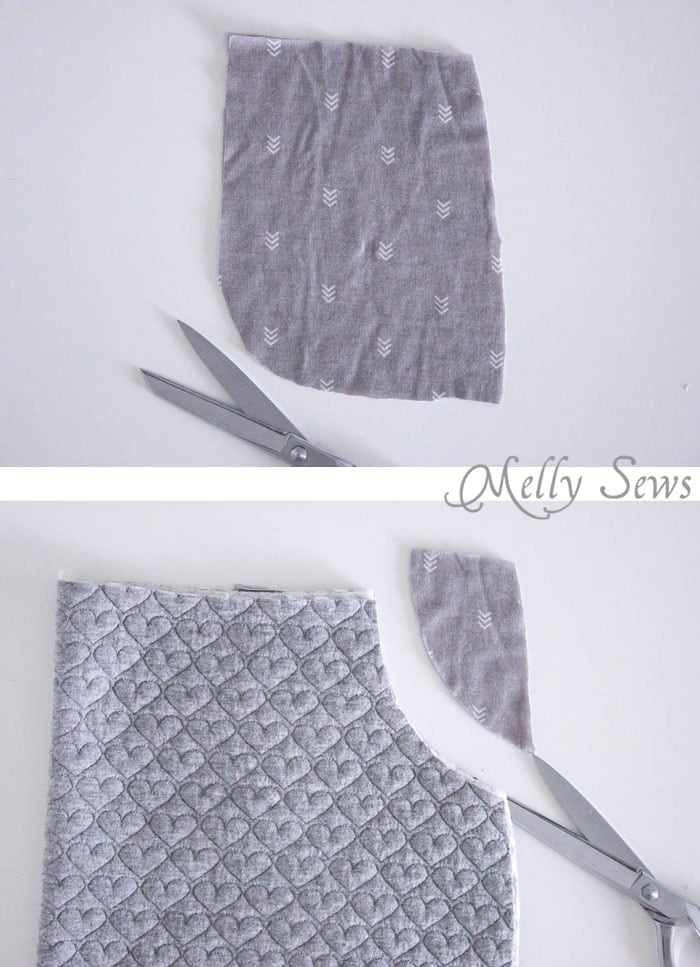
Lay your pocket facings lined up with the folded skirt front, and cut a curve for the pocket opening through all layers. Again, I free handed this, but it should be about 3 inches wide and about 4-5 inches long.
Measure the curve you cut, and cut two strips of pocket trim that are 2 inches tall and 90% of that length. If you’re using self fabric and you have room, these will curve nicer if cut on the bias to the stretch direction of the knit. I used rib knit for this.
Also cut a waistband that is your waist measurement for the waistband and 5 inches tall.
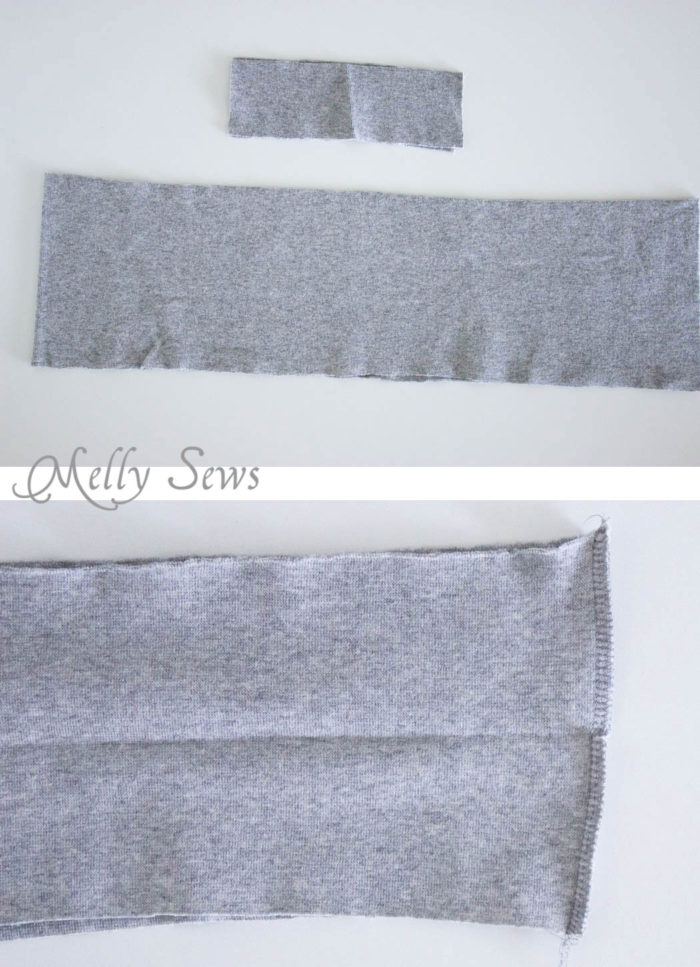
Fold your waistband wrong sides together, matching the long edges, and press to crease. Then open it back up. Sew your waistband by folding it right sides together and matching the short ends. Stitch, using a stretch stitch. (Need tips for sewing knits? Look here.) You should use a stretch stitch and a 3/8 inch seam allowance throughout this project.
Fold the waistband back on the creaseline. Set aside.
Fold your pocket trim wrong sides together, matching the long edges, and press to crease. Place the pocket trim along the pocket curve on the skirt front, matching the raw edges and stretching it slightly to match. You can baste this, or you can just pin the pocket facing over it like I did. Pin the pocket facing right sides together with the skirt front, and stitch the curve.
Press the pocket facings so they are wrong sides together with the skirt front. Then place the pockets right sides together with the pocket facings, and stitch along the curved inner edge.
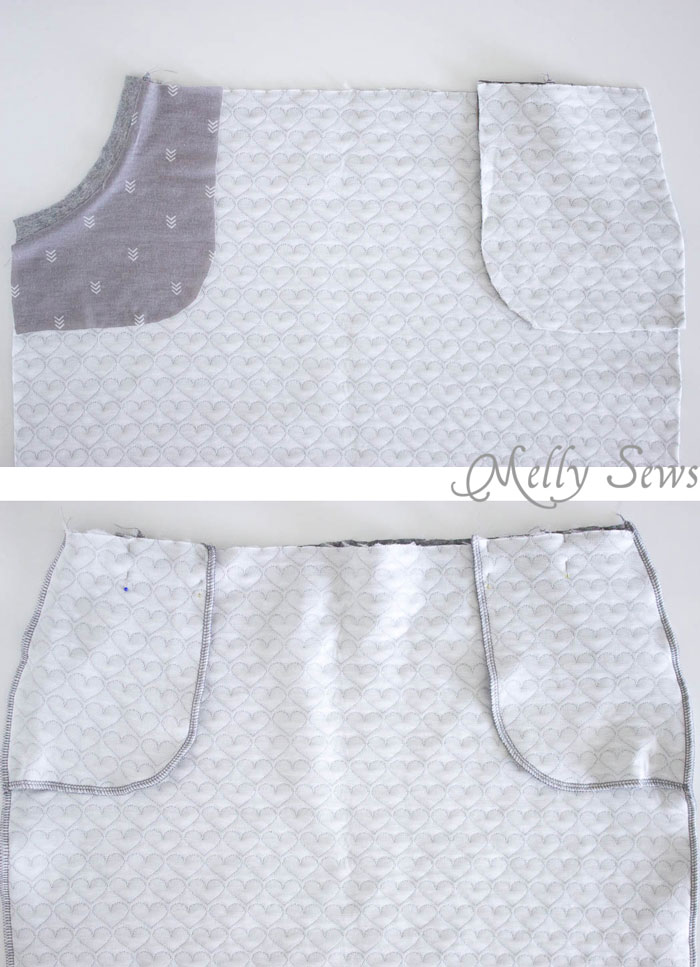
Pin or baste the side and top edges of the pockets to hold them flat against the skirt front. Then place the skirt front right sides together with the skirt back and stitch the side seams.
Turn the skirt right side out. Pin the waistband to the skirt, right sides together. Stitch around the waistband.
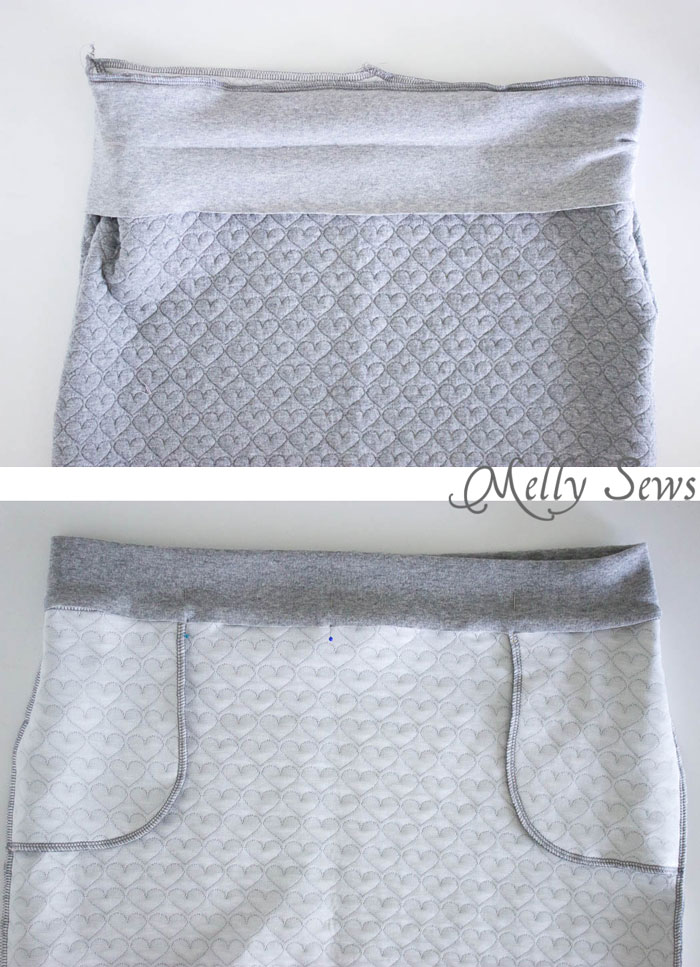
Fold the waistband to the inside of the skirt to cover the seam from the previous step. Stitch around the waistband to form a casing for the elastic, leaving a gap to insert the elastic. Measure elastic about 1 inch less than where you want the skirt to sit on your waist, and insert elastic, using a safety pin or bodkin to pull it through. Overlap the ends of the elastic and stitch them together, then sew the gap in the waistband closed.

Now wear your skirt!
Anne
Always gotta have pockets!!! I’ve got a Craft Gossip post scheduled for later today that features your tutorial: http://sewing.craftgossip.com/?p=89005 –Anne
Amber Evans
Hi Melly. I’m so happy to find your blog and this project on Pinterest. Just want to personally thank you and let you know that I featured this project on my blog in my “Best Pencil Skirt For Beginners” post.
Here it is, http://sewingmadesimple.net/best-pencil-skirts-beginners/
Please let me know if I missed something or if you want to change and add information about your blog and project.
Xoxo,
Amber
Alice
Great idea!This skirt looks gorgeous,I am gonna make one for myself,thanks for sharing!