
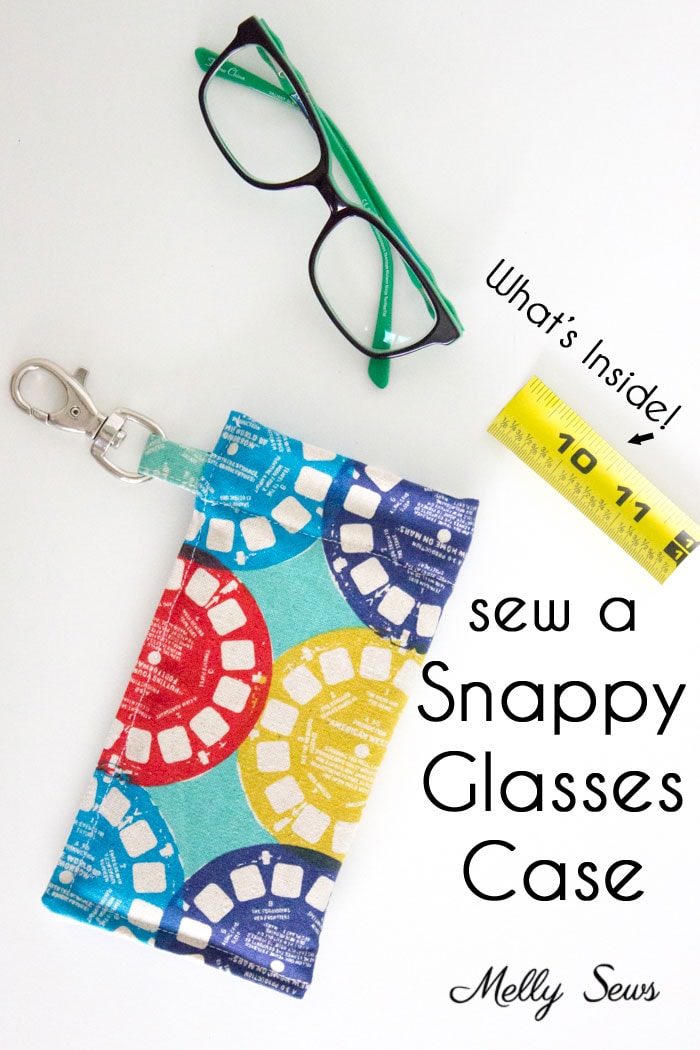
Hey y’all – today I’m going to show you something so cool – how to make a snappy pouch using metal measuring tape for the closure. The first time I saw someone use this trick I knew I would eventually want to include it in a project. And when this post came along, it occurred to me that it would be the perfect fit. Read on for the snappy case tutorial – and note that you can modify the dimensions to make this in pretty much any size.
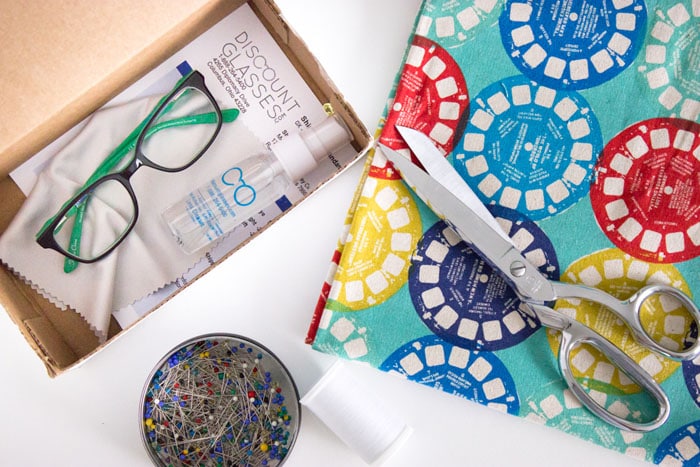
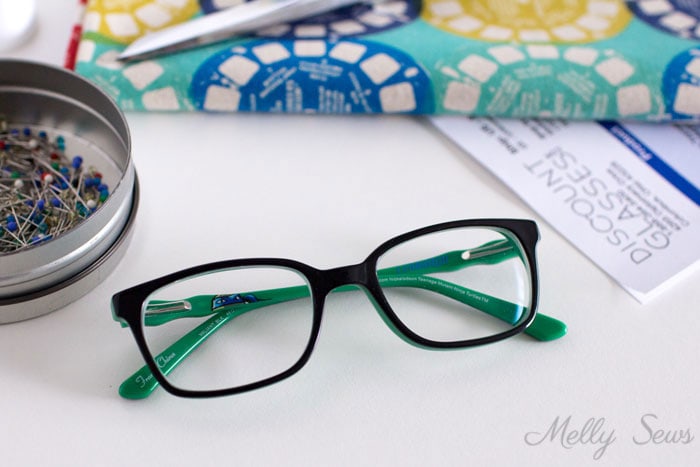
I’m working with DiscountGlasses.com today to bring you this post. When they contacted me to review their services, I immediately thought about my glasses-wearing nephew, an active and growing boy who has to replace his glasses often. So in short order, he picked out a new pair and I promised him a cool case for them.
The glasses shipped quickly and I got to work on the case for him. The snappy closure came to mind because that way he can’t forget to close his glasses in the case – it closes itself!
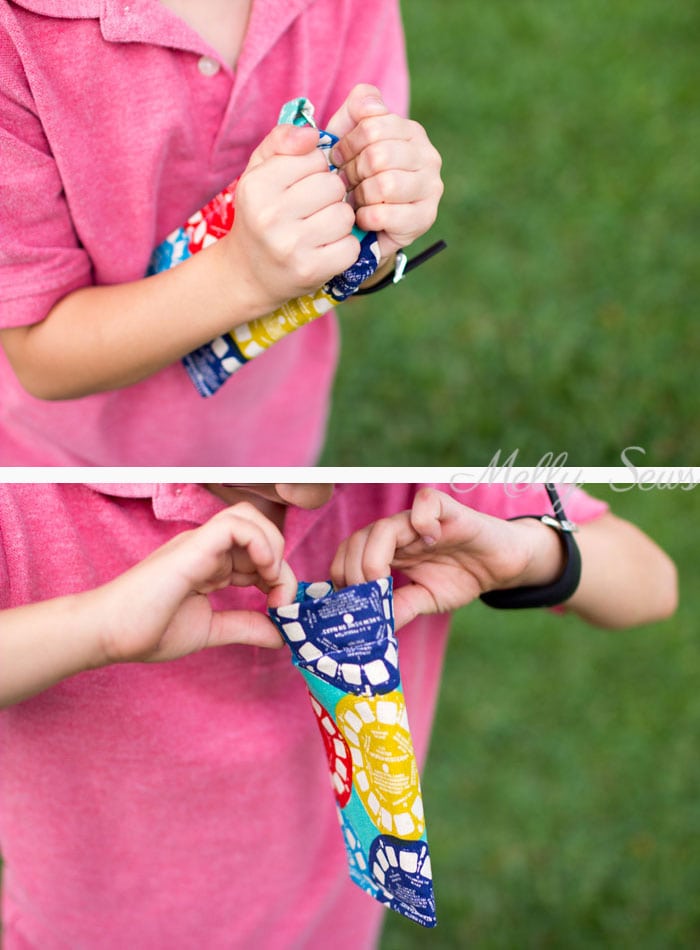
I didn’t tell him how it worked at first, so he had fun figuring it out and then opening it several times to watch it snap itself closed.
And his glasses look pretty good on him too. He chose these frames and couldn’t wait to wear them.

So here’s the nitty gritty of how to make the case. First, you need a metal measuring tape that you don’t mind cutting up. You want the kind with the 1 inch wide tape, thinner than that and it may not have enough snap to close.
The tape I bought had screws on the back side, which I removed. Once I could take the casing apart, you can see the roll of tape below right. Inside the center of that roll is more metal tape that works like the spring to make the tape roll back up. You have to pull the roll up and cut that metal tape in the center to free the roll. Be careful, the cut metal tape has sharp edges.
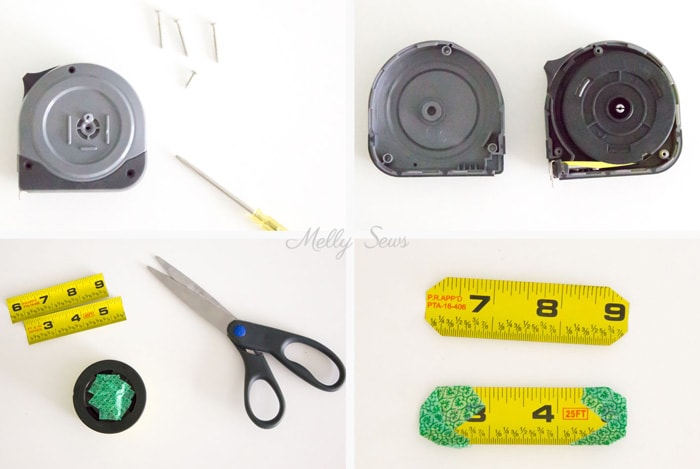
Regular scissors worked fine for me to cut the tape, but obviously don’t use your good scissors. I trimmed off two 3 inch long pieces to use for my closure. As I said, the tape edges are sharp, so I also cut the corners at an angle and wrapped them with tape. I applied several layers of tape to the center of the roll where I cut the metal tape too, to protect from the sharp edges. And now I have an easy to store roll for next time I want to make one of these type of pouches.
My finished case is 3 1/4 inches by 6 inches, and I’ve listed materials for a case that size, which holds child sized glasses. For adult sized glasses cut your fabric and flex foam 1 1/2 inches taller and 1 inch wider, and cut your tape pieces one inch wider as well. Materials you’ll need:
- Outer and lining fabrics cut to 9 1/2 inches tall by 8 inches wide
- One side fusible Flex Foam cut to 6 inches tall by 6 1/2 inches wide
- One tab from the outer fabric that is 2 inches wide by 2 3/4 inches tall. If your fabric is thin (my outer fabric is canvas) you’ll want to interface this piece.
- One swivel clip
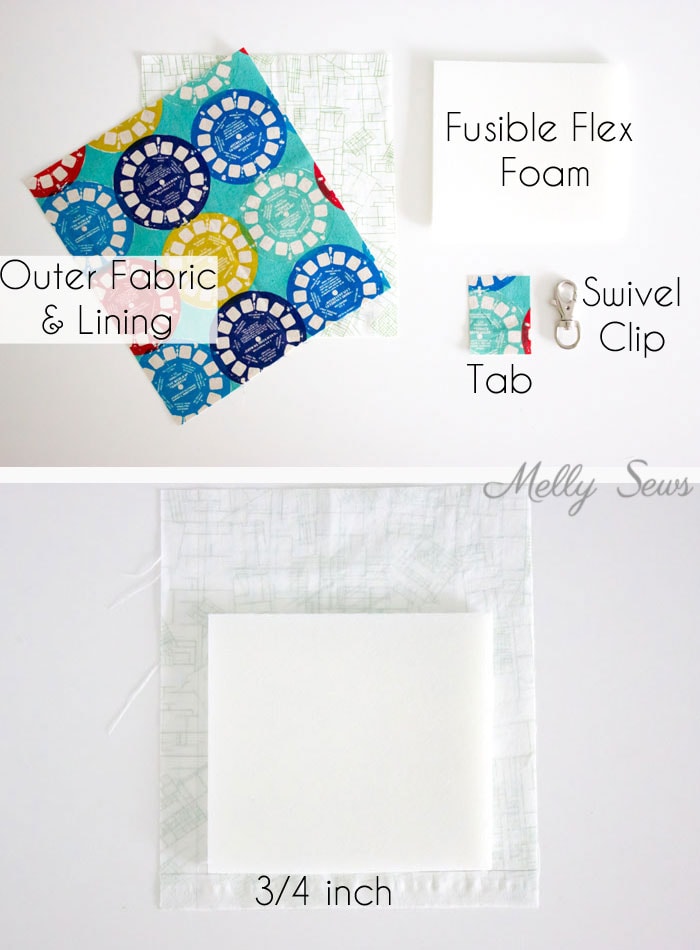
Start by fusing the Flex Foam to the lining fabric as shown above, 3/4 inch from the bottom edge and centered on the fabric.
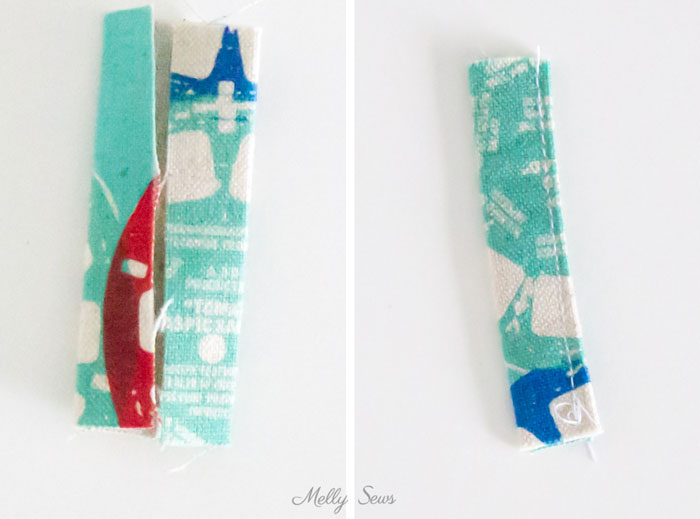
Next, fold the tab’s longer raw edges toward each other to meet at center and press. Then fold the whole tab in half and stitch the open edge closed. The short ends can be left raw.
Loop the tab through the swivel clip, then pin it to the outer fabric, 2 1/2 inches down and 1/4 inch in from the corner.
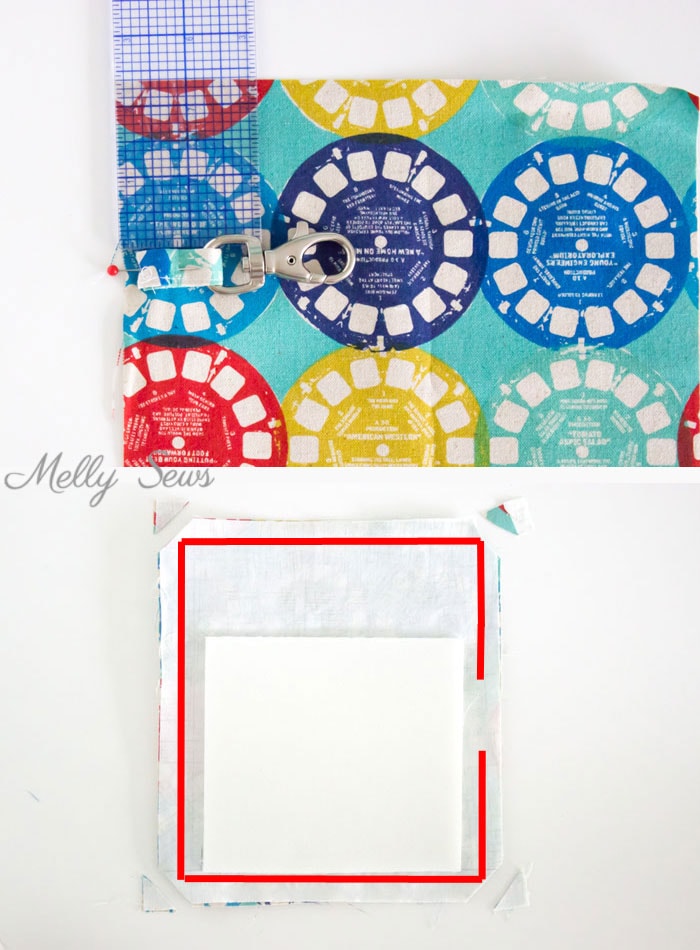
Place the lining and outer fabric right sides together, with the tab/clip combo sandwiched inside. Make sure the foam is at the bottom of the pouch and the tab is at the top. Stitch around the edges, using a 1/2 inch seam, and leaving an opening to turn right side out as shown above. Clip the corners.
Turn the pouch right side out and press the edges.
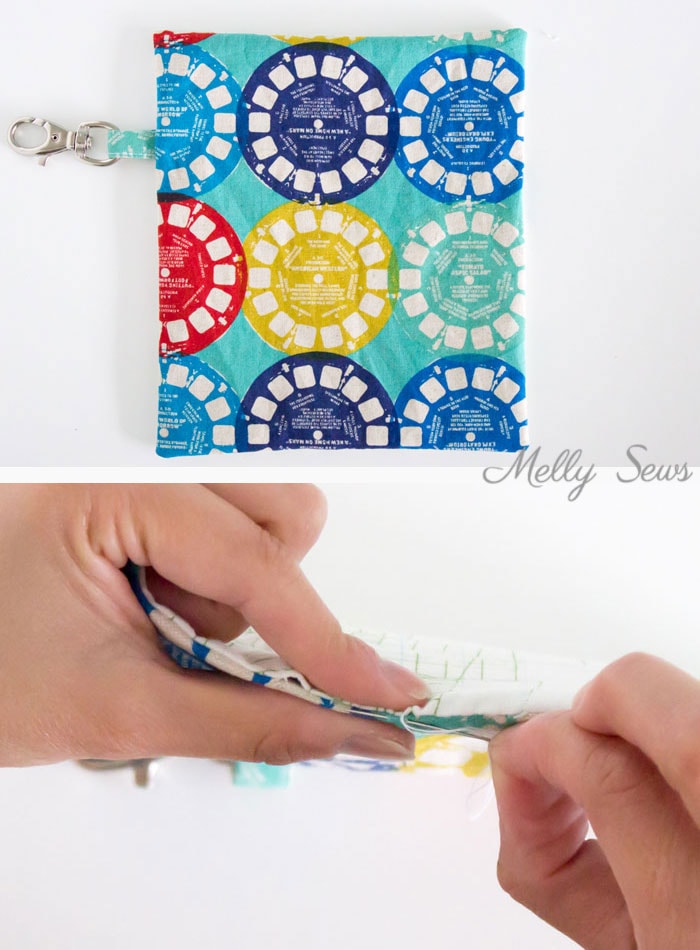
Press the raw edges of the opening in toward each other and then stitch the opening closed using a blind stitch.
Fold the top edge of the pouch toward the lining, creating a casing for the measuring tape as shown below. Stitch straight across the edge of the casing.
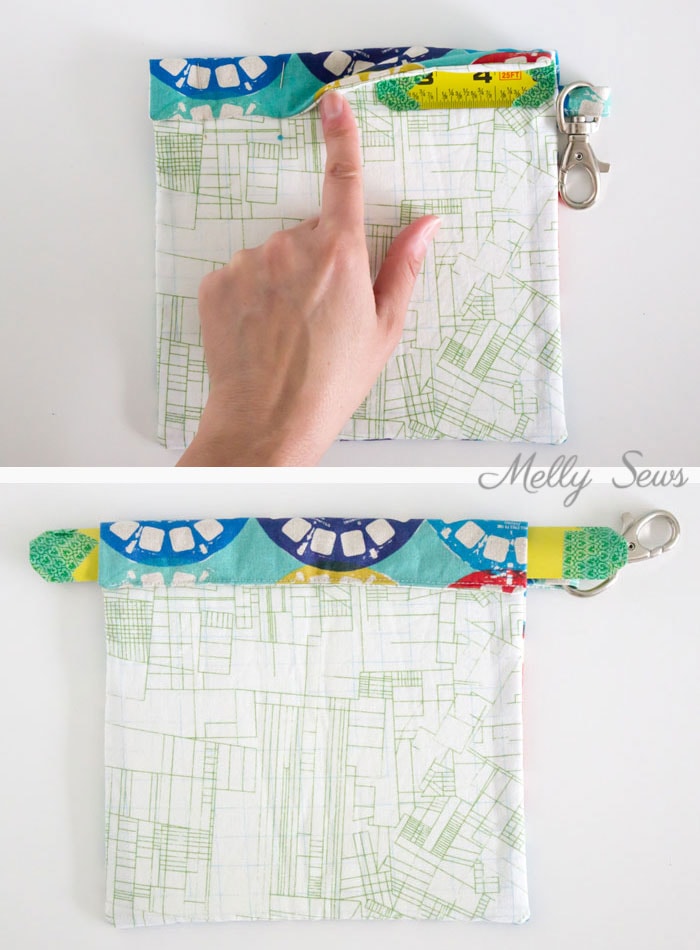
Push the two pieces of measuring tape into the casing as shown above, making sure the number side of the tape is facing the same way as the outer fabric.
Fold the case in half, pushing the measuring tape pieces as far away from the open edge as you can. I use wonder clips to hold the case closed.
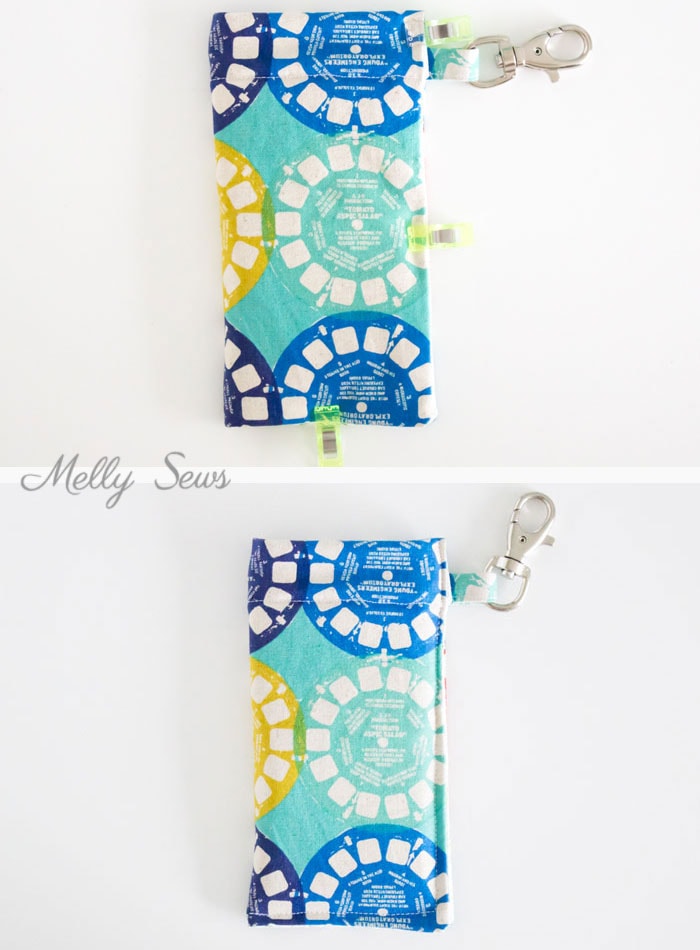
Then stitch around the open edges, 1/4 inch from the edge, which should also be right against the foam. Be careful and go slowly near the measuring tape to make sure you don’t hit it and break the needle. Backstitch over this area before continuing, then backstitch again at the end.
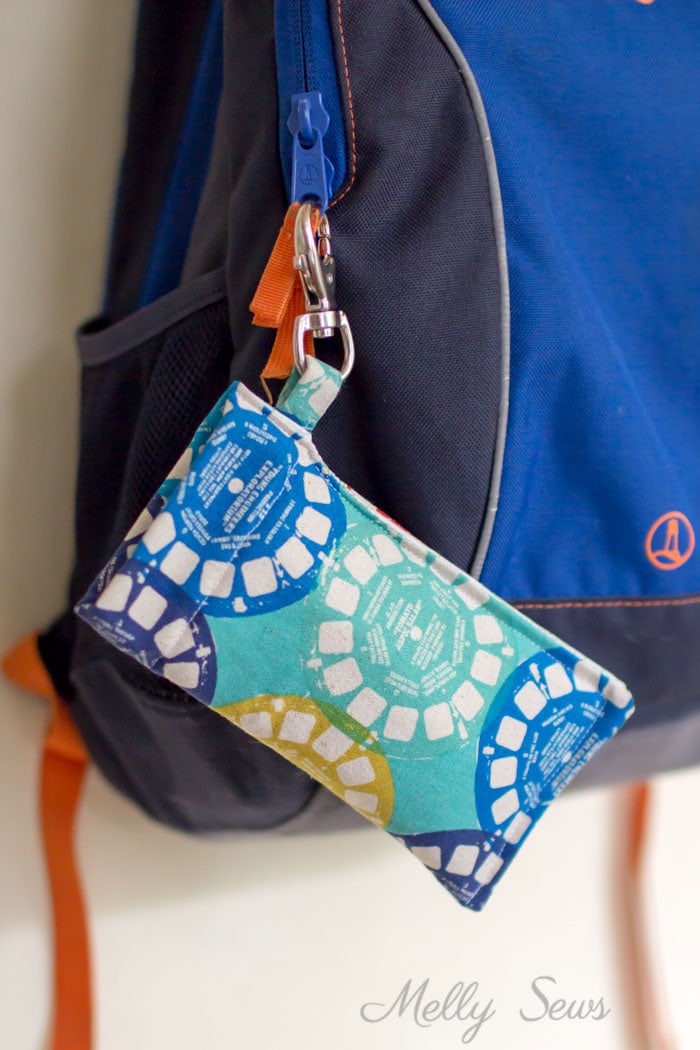
And you’re done – to open the case, stick a finger between the top edges and push out the curve of the tape, then hold it open by pushing the edges into a circle. When you let go, the two pieces of tape will straighten and snap back toward each other.

And the clip is handy for hanging on backpacks or purses so glasses don’t get forgotten at home.
Alice
What a fun idea! I’m going to look for a way to use this snappy idea!
marissa | rae gun ramblings
Ohhhhhh I’ve been wondering if that measuring tape trick works. I can’t wait to try it! Those glasses look so cute I’ve just been thinking that it’s about time I treated myself to new ones.
Judy
I made one of these in a class a few years back; they work amazingly well! In my class, we put tabs on either side of the “snap” area. It really helps to be able to quickly pull the tabs apart. Thanks for the reminder, I’ve been meaning to make one to carry cash.
Helen Jackson
What a great idea
Jean
Brilliant! I shall give that a try for a small cross body bag. Can’t wait! You ROCK!???? Thank you. >^.^<
Pepper
This is a great tutorial! What is the name of that fabric and where did you buy? Love it
gregory anderson
I have a 30′ stanley tape measure that broke its end. This is a perfect way to enhance my gift sewing as well for our personal use. I need one for glasses, one for my android phone. Woo Hoo! Thanks so much for all your creative design sharing.