
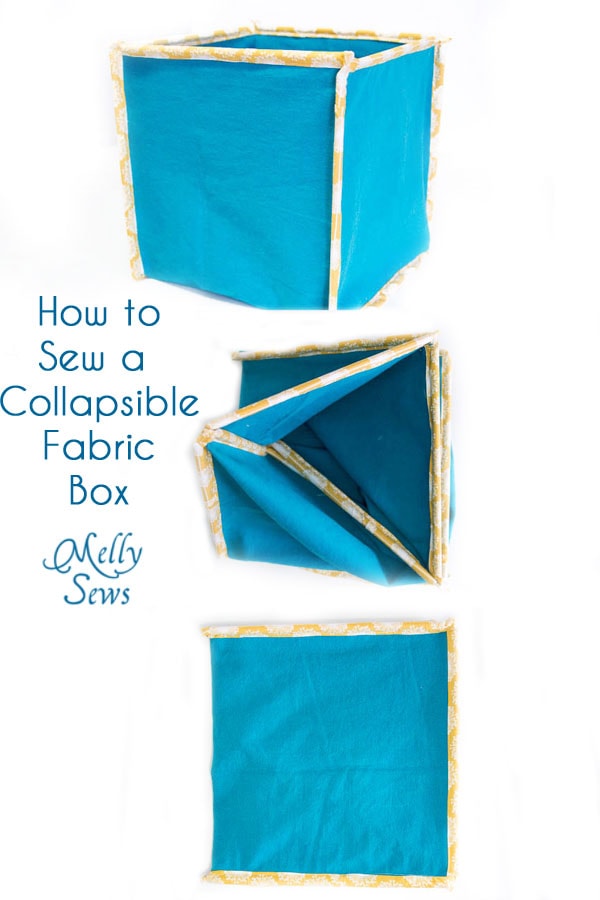
It’s the last sewing tutorial for our month of organization here on the blog! Today I’m going to show you how to sew a collapsible box. Because we all need more ways to hide our stashes, right? These are modeled after the fabric bins I have in my studio that I bought. After examining their construction, they’re actually pretty easy to make.
All the fabric I used in this project is from The Ribbon Retreat. I used Moda Denim in Teal and Riley Blake Andrea Victoria in Gold Wish. Here’s what you’ll need for each box:
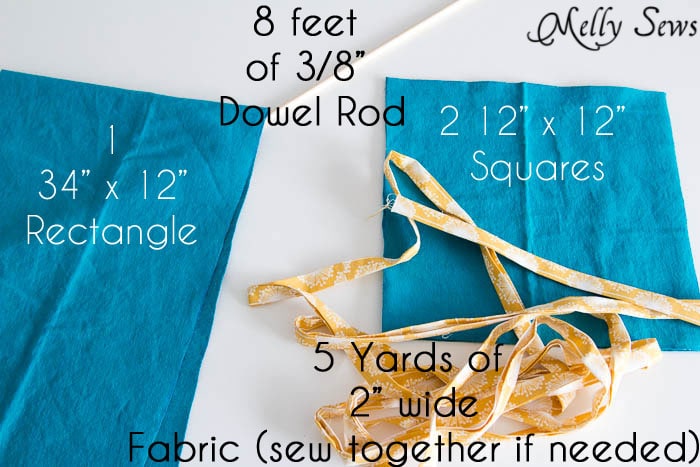
Cut your dowel rods into 8 11″ long pieces. Tip: pruning shears can usually cut through this small width of dowel without having to get out the saw.
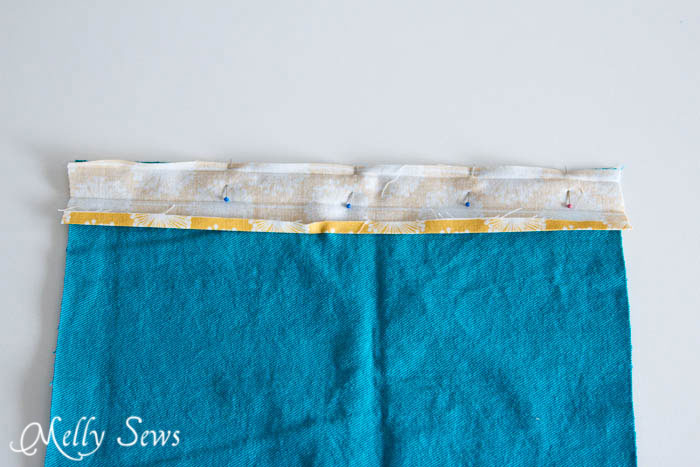
Start by creating your binding. This does not have to be cut on the bias. You need approximately 5 yards worth of 2 inch wide strip. If you have to, you can sew shorter strips end to end to get your final length. You’re going to create double fold bias tape with this. First press one long edge in 3/8″, repeat on other long edge. Then fold the binding in half, wrong sides together, matching long edges, and press one last time. Your final tape should be 3/4″ wide.
Pin a piece of tape to one right side edge of each 12″x12″ square and each short edge of the long rectangle. Stitch in fold line closest to the edge.
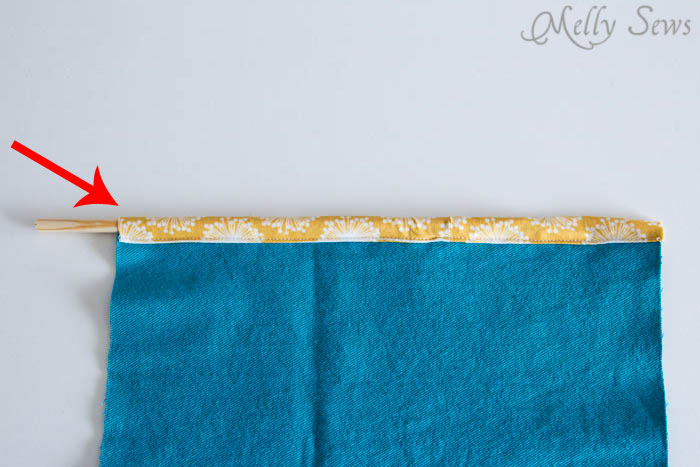
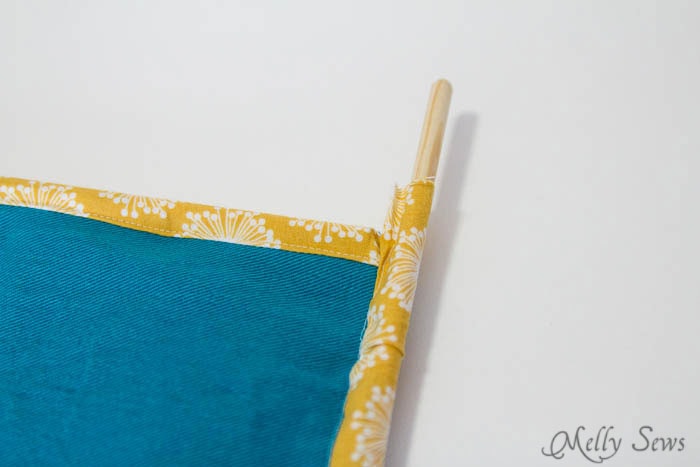
Fold the tape over the edge and stitch on binding edge to secure the binding in place and simultaneously create a pocket for the dowel rod.

Insert 11″ of dowel in the pocket created by the binding.
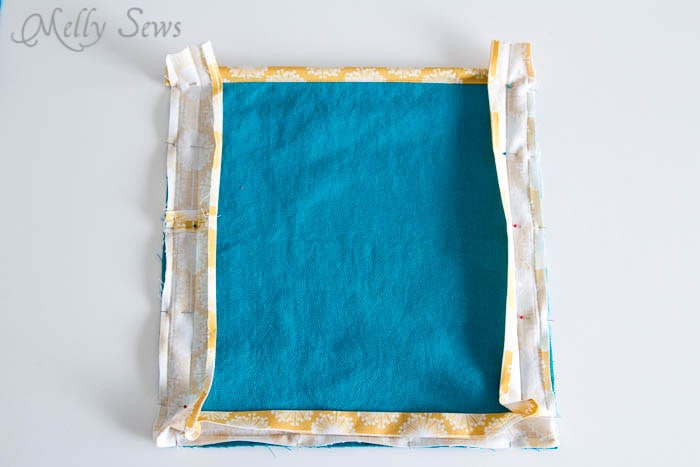
Pin unfolded binding around the other 3 edges of the two 12″x12″ squares. Leave about 1 inch of binding sticking beyond the top edge (edge with the dowel rod) of each square, and stretch binding across corners.. Stitch in fold closest to edge USING A ZIPPER FOOT so you can stitch next to the dowel rod pockets and seal them.
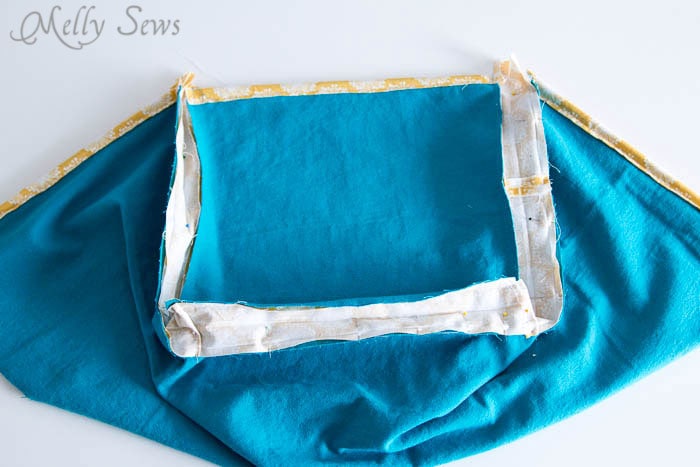
Pin the other edge of the binding to the long rectangle – start by aligning the top edge and pinning down one side. Repeat with other side, then pin the bottom, stretching the binding across the corners. Stitch in fold closest to the edge of the fabric. You’ll need to stop with your needle down to turn at each corner. Repeat with other side to form the box.
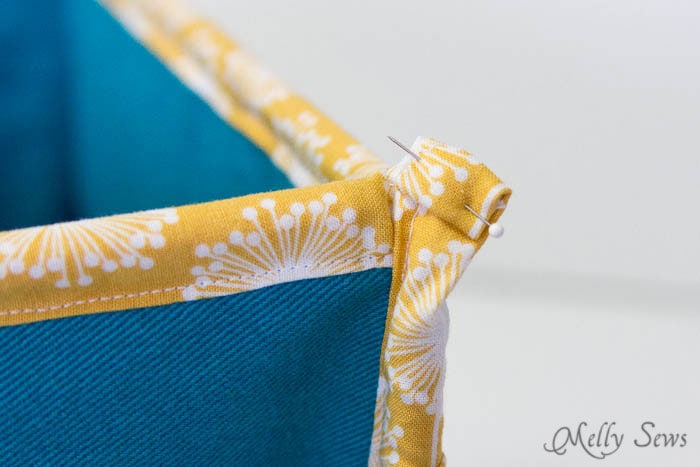
Turn your box right side out. Pin the binding together at the corners, encasing the raw edges of the fabric inside.
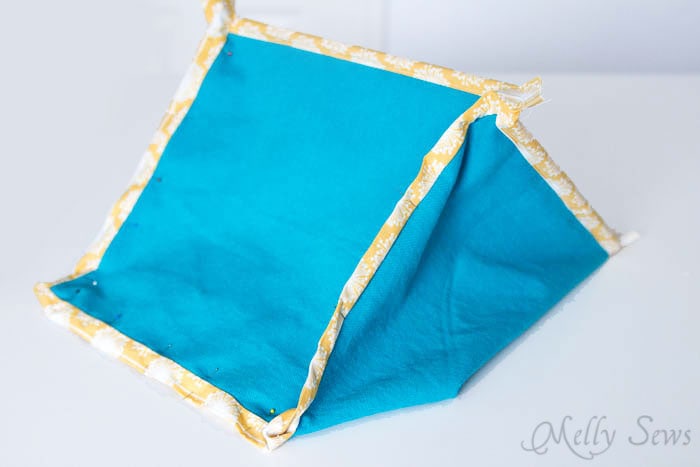
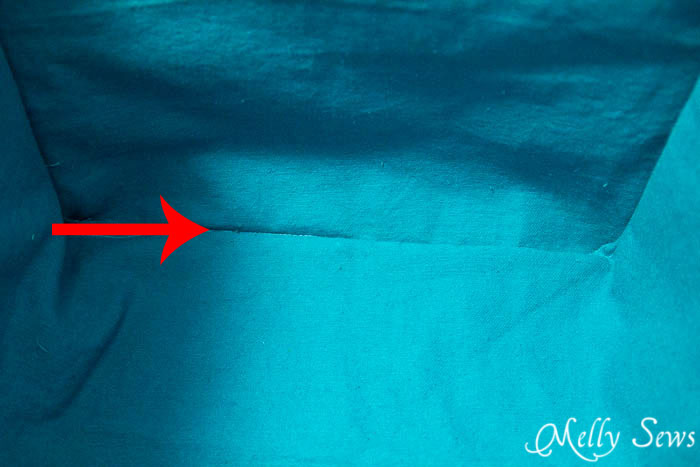
Stitch around binding, close to the sewn edge of it. This will form pockets for the dowel rods at the corners.
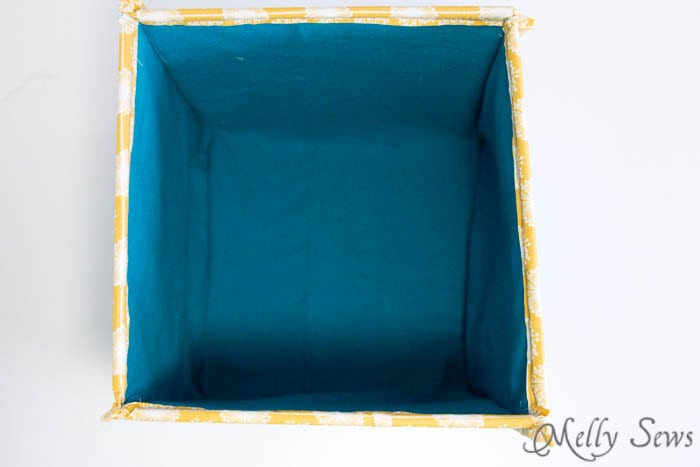
At the same time you can see this neatly finishes your box inside – so no raw edges are sticking out.
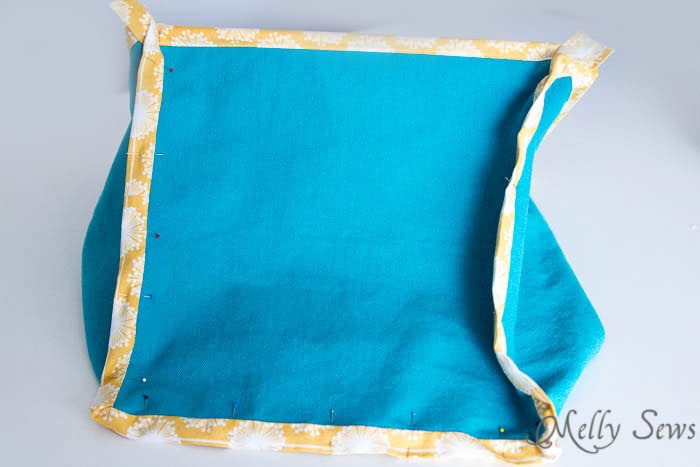
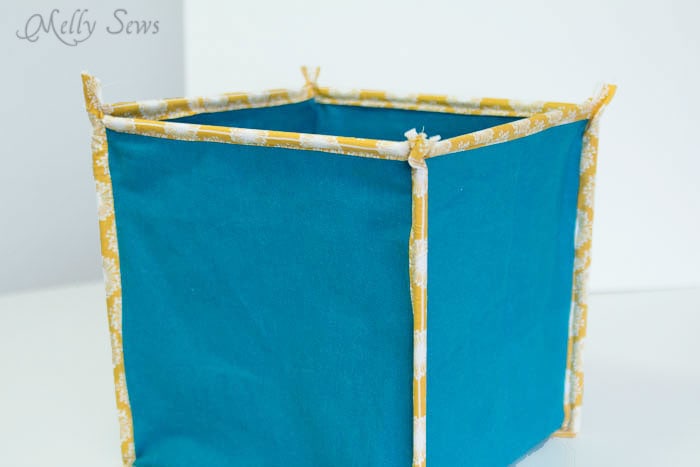
This is what your box looks like with the binding sewn together.
Insert a piece of dowel rod at each corner.
Fold and pin the ends you left hanging over to close the dowel rods in. Stitch, backstitching for stability.
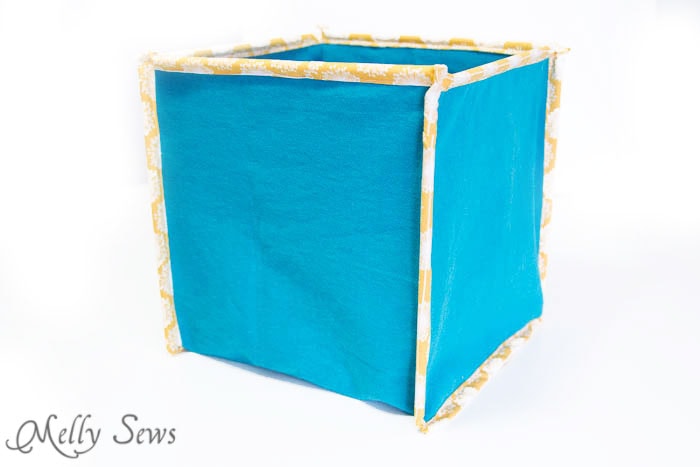
And here’s your finished box. I realized after sewing this that my original boxes have handles. Oh well. If you want some you should stitch those on before adding any of the binding steps. You can see what the handles look like if you study the pictures in this post – they’re just fabric tubes pressed flat and sewn on. For another variation you could take some sewing with vinyl tips and sew on vinyl pockets to label your boxes.
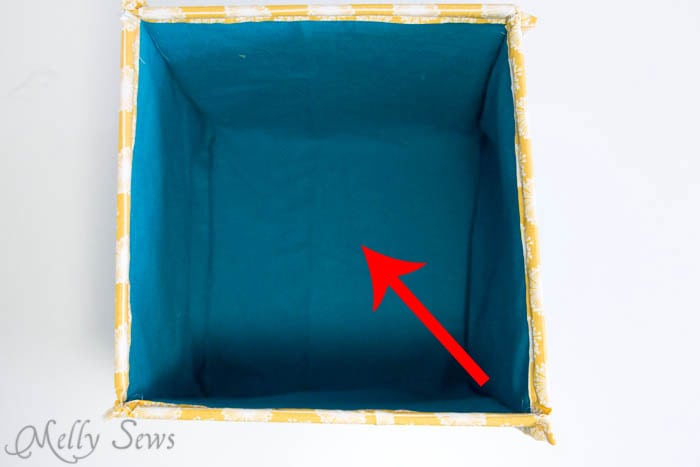
And this is what they look like inside.
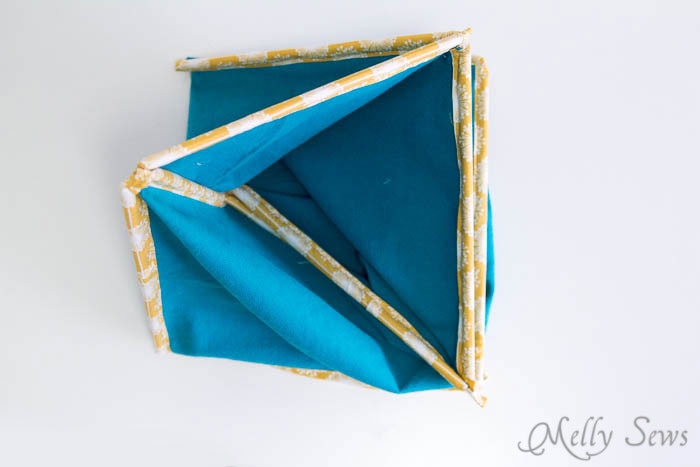
To fold, follow these steps.
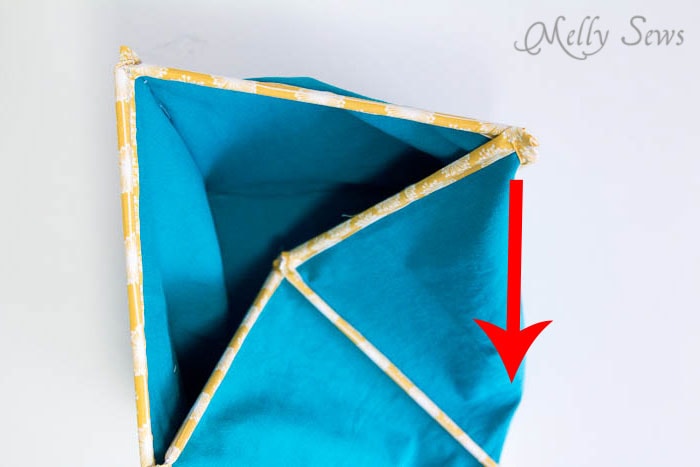
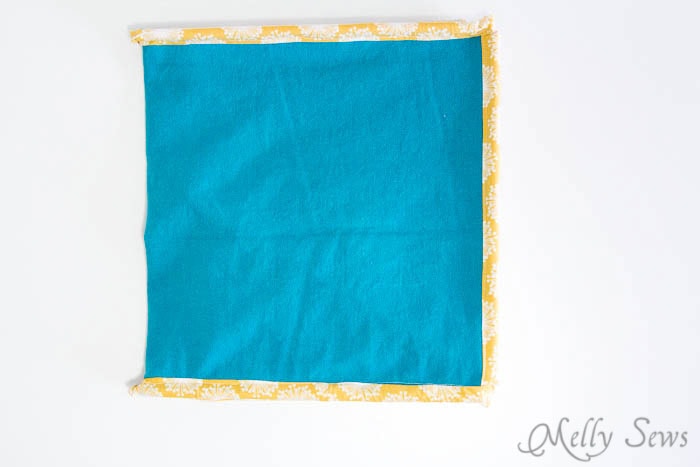
You can make a bunch of these and store them flat until they’re needed to hid things on your shelf.
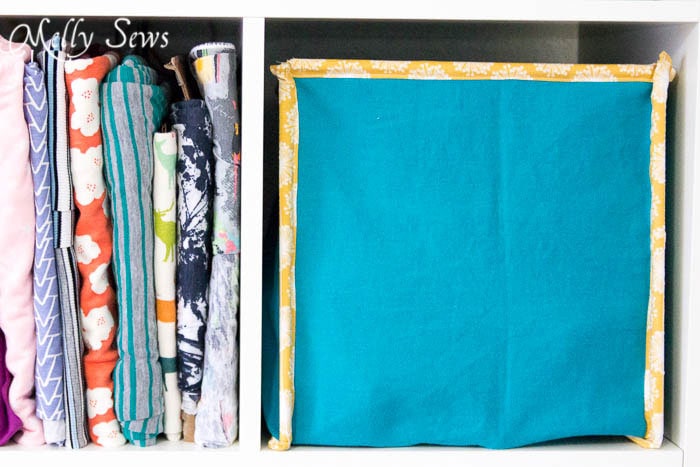
What would you put in yours? Mine are used for yarn, roving, scraps, and patterns.
Anne
These are so awesome! I love that they collapse for when they’re not being used. I’ve linked to your tutorial over at Craft Gossip:
http://sewing.craftgossip.com/tutorial-collapsible-fabric-storage-boxes/2014/01/28/
–Anne
EmSewCrazy
Great tutorial! Thanks for showing how the folding works too! Sometimes collapsing those things is the hardest job. 🙂
Patti
I definitely want to do some of these for my craft room, but I’m thinking “car”! With 6 cars at our house I’d love to make these (and fill them with necessities) for my kids! Awesome project! Thanks!
Milafee
Ton idée est très astucieuse, bravo!
tweety
superbe idée, très bon tuto et merci d’ avoir préciser le pliage !
Une adaptation parfaite pour toutes les décos de maison !
Ca c’ est sûr, maintenant, je vais le faire plutôt que de les acheter .
Merci beaucoup et bravo !
cathou
toujours de bonne idées bravo là je prends car ma fille a repeind ses meubles et tapisser sa chambre il lui faut des caisses en tissus merci du partage
vanji
Thank u and God bless u for the wonderfull crafts i have learn from u.
LiEr
I love this, Melly!
hasangi
Made it. Love it!