
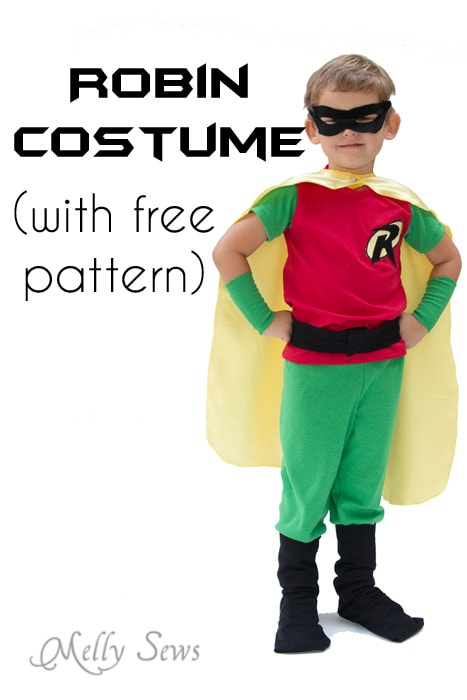
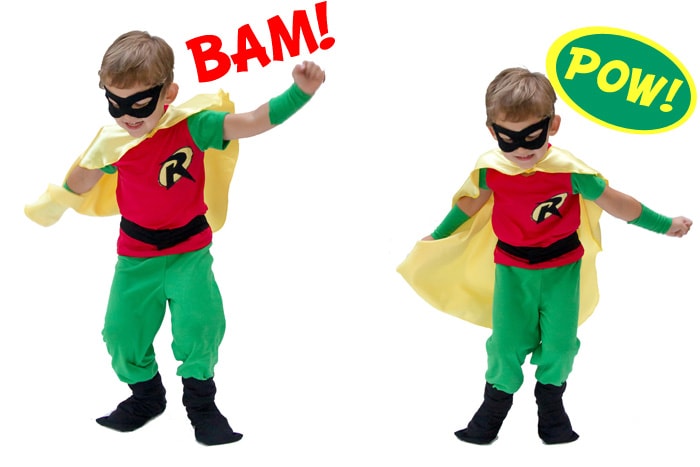
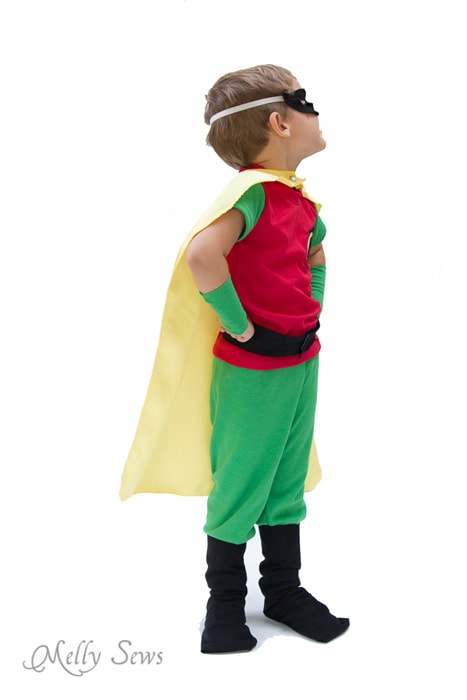
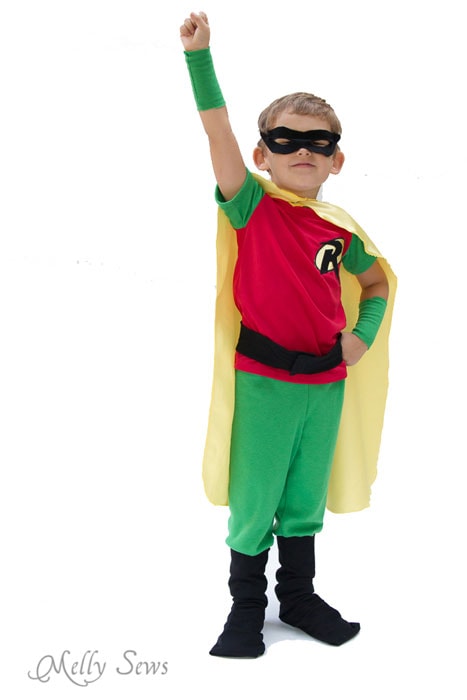
Y’ALL! I am D.O.N.E. with Halloween costumes two weeks before Halloween – this never happens! Today I’m sharing Bean’s costume (and I bet you can guess what Tater’s is from these pictures) a Robin Costume DIY, with a free pattern for the pants.
One of the reasons I’m actually done is that these were super easy to sew.
The costume breakdown:
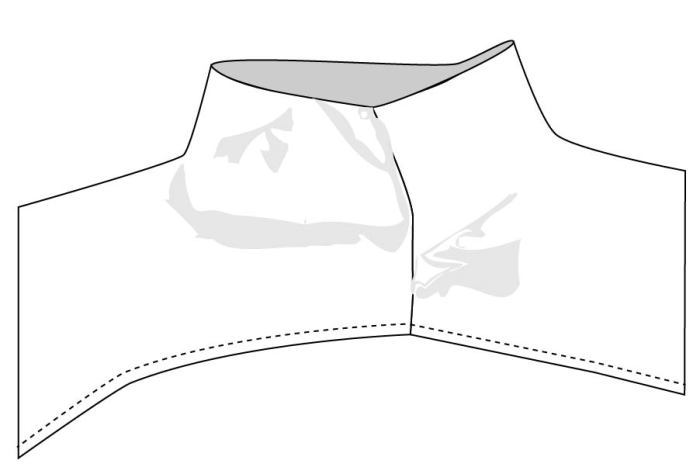
- Mask, from this tutorial.
- Cape, same as this cape I made, just in yellow and without the embroidery.
- Top – Tee x 3 pattern with red body and green sleeves
- Applique on T-shirt made from this image
- Pants – see tutorial below
- Belt – a strip of felt with velcro tabs sewn on to close it.
- Boot covers, same as the ones I made last year with this tutorial
- Wrist cuffs – two rectangles of knit fabric sewn together at the last second when Bean insisted, “Robin wears these green things on his arms.” Me, “No, he doesn’t.” Bean, “Yes, it’s in ALL the books!” Then proceeded to bring me a library book as evidence. Good thing I had scraps from his pants.
To make the pants, you’ll need:
- 1 yard of knit fabric
- 24 inches or so of 1″ wide elastic
- The pattern, see below
How to Get the Pattern
This free pattern is in a kids size 5. If you need to make the pattern bigger or smaller, check out this post. Or, to grade the easy way, just adjust the amount of elastic you use in the waist and lengthen or shorten the inseam (current finished inseam is 17 1/2″). To get this pattern, click your preferred option from the buttons below as a newsletter subscriber or gallery access pass purchaser. Note that the free version of the pattern does not have printable instructions.
 |  |  |
Please note that all my free patterns are licensed for personal use only (no selling items made from this) and by downloading you are agreeing to this license.
To sew, place the two pants pieces right sides together. Sew the curved crotch seams.

Fold the pants the other way, matching the seams and the raw edges of the inseam. Stitch in one long seam.
Fold the waistband right sides together, matching short ends. Sew across short end.
Pin waistband to pants top, right sides together. Stitch.
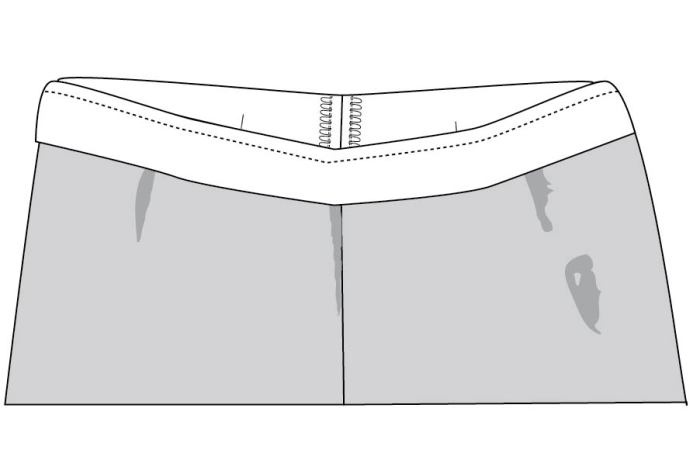
Fold waistband, covering seam from previous step. Pin and stitch, leaving an opening to insert elastic.
Cut elastic to 1″ shorter than your child’s waist measurement. (Not sure how to measure your kid? Watch this.) Using a safety pin, insert elastic in waistband. Stitch ends together, then stitch opening in waistband closed.
Turn bottom edge of pants up 1/2″ to the wrong side and stitch to hem. Or don’t – since you’re using knit, you can skip hemming.
Next week I’ll show you how I made Robin’s sidekick’s costume – again using this pants pattern.
Anne
That’s awesome!! And yay for getting your costumes done early! If all goes well, mine will only require spray paint, drinking straws, and hot glue. Crossing my fingers…
I’ve got a Craft Gossip post scheduled for tomorrow that links to your tutorial:
http://sewing.craftgossip.com/free-pattern-kids-batman-and-robin-halloween-costumes/2014/10/15/
–Anne
Emily
so cute!! my boys would love these!! Thanks for the free pattern!!
Lynn
Thanks for these! Where were you when my kids were this young!? It really is fun to do this and the kids never forget! I made all costumes for 5 and now do so for all my grands. Thanks a million. These are adorable! 🙂