
A while back, I lost my sewjo. I was doing a lot of sewing that was WORK, and I never had time anymore for sewing something just because I like sewing. And even if sewing is my job, I should still get to sew just because occasionally, right? Well, that’s how today’s tutorial on sewing shorts from pants patterns came to be.

During my sewing doldrums, I bought the Hudson Pants pattern from True Bias, and sewed up a pair of sweatpants. And I loved them so much that I made a floral pair. And I haven’t blogged either pair because I told myself I don’t have to (though I probably will when the weather cools down again, and I did show one of the pairs on Instagram) and THAT, my friends, helped restore my sewjo. So much so that just before our beach getaway, I also spent the day sewing and decided to use the Hudson Pants to make shorts.
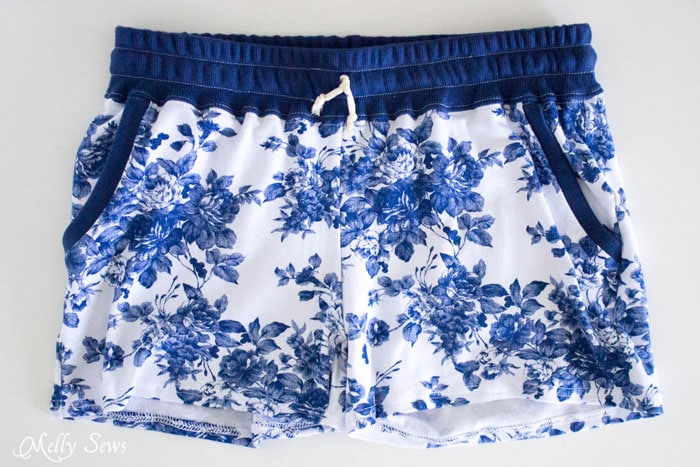
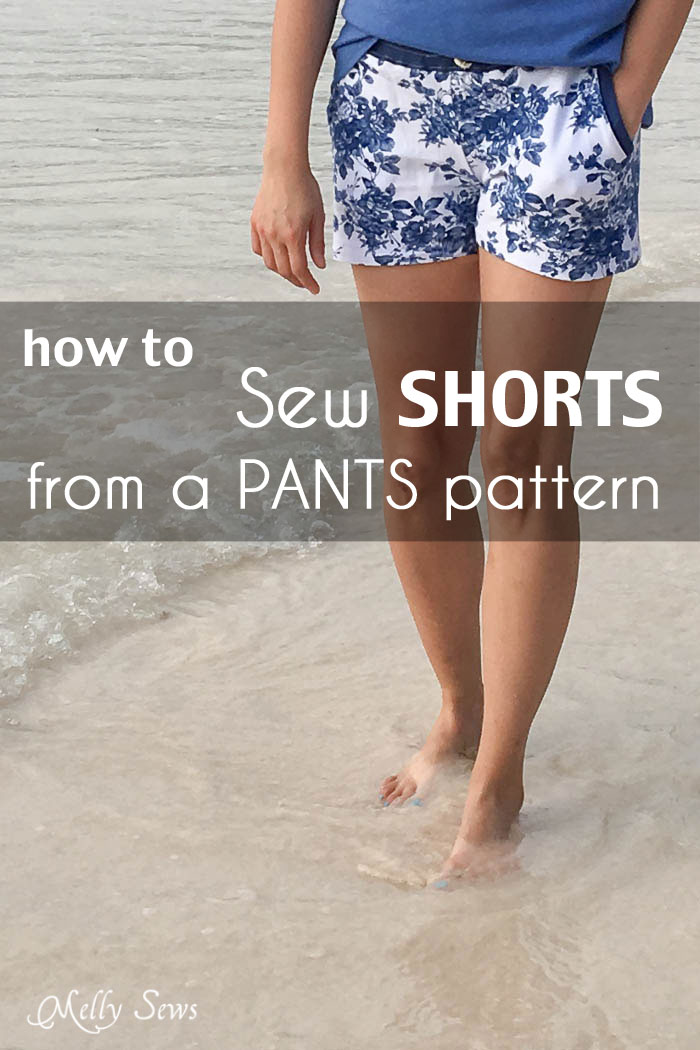
Don’t you just love them? I know I do. Anyway, while doing that, it occurred to me that making shorts from a pants pattern isn’t so easy for everyone – like how do you figure out where to cut, etc? Also, it seemed like a good idea for a post, because I swear I get a better fit in shorts when I start with a pants pattern or an actual pair of pants, like these. There are a couple mysteries of the ready to wear clothing world that I just can’t solve – like why can I find undies that fit but not swimsuits? Or why does my butt look good in pants but most store bought shorts completely flatten it?
Well, the shorts mystery I can solve, anyway. A typical flat pattern for ready to wear shorts widens the back thigh and drops the back crotch, and neither of those things help my particular figure. Instead, I prefer to start with a pants sloper or pants pattern that fits me and just modify the length.
So, the diagram below is from my Forsythe Trousers, which are also on my list to turn into shorts for myself. First you want to line your pants pattern up with a horizontal line at crotch point, with the grainline 90 degrees from that horizontal line. Then you just measure down from the horizontal crotch line to mark off where your shorts hem should be.
For short shorts (think Daisy Dukes), the inseam should be 1 1/2 to 2 inches below the crotch line, and the outseam should be at about 1 inch above the crotch line (blue line in picture below). If you typically have issues with shorts riding up in your inner thighs, you may want to keep this angle even at longer shorts lengths.
The best way to determine your preferred inseam length is to check a pair of shorts that you like and try that inseam length. For the shorts I’m wearing here, I did a 3 1/2 inch inseam. For non knit shorts, I typically like an inseam of 5-12 inches on myself. That’s the beauty of sewing – you can do whatever you prefer!
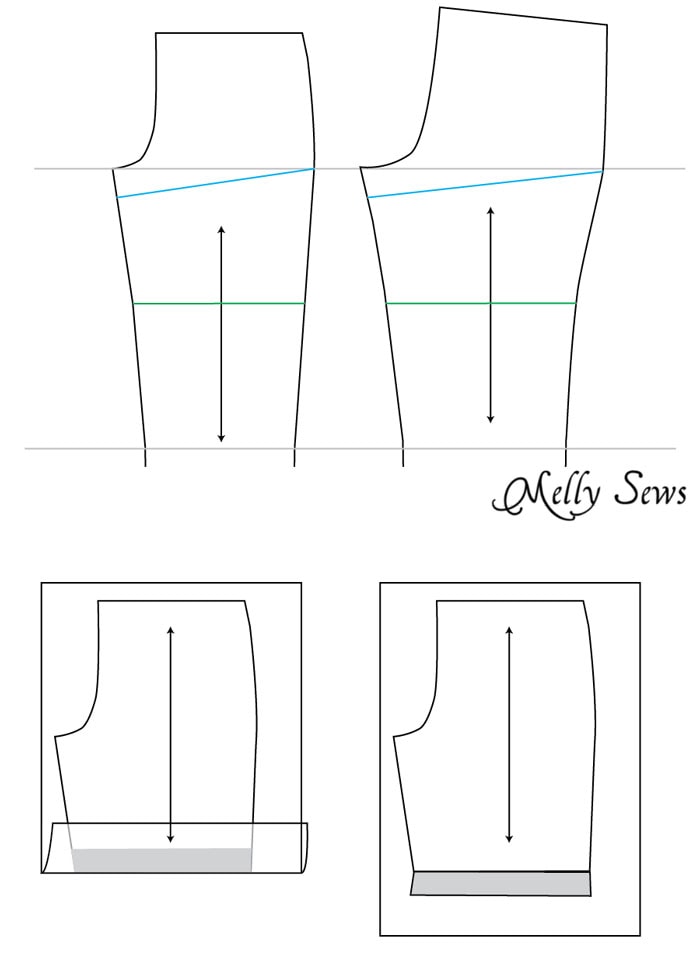
After you mark off your inseam, trace the pattern piece onto a new sheet of paper and leave extra at the hem. Then fold the paper up at the hem line you marked as shown on the left above and trace the bottom of the shorts leg to add a hem. You want at least 1-2 inches traced, depending on how deep you want the final hem. When you unfold the paper (as shown at right) you’ll see that the inseam angle changes for the hem. That’s what you want – if you don’t do this, and instead just continue the lines of the inseam and outseam, you’ll have issues hemming because the hem circumference will be smaller than your shorts.
Finally, cut out your shorts and sew following the pants directions. I hemmed these with my cover stitch machine, but a zig zag or twin needle hem would also work.

Sigh. I really wish I could just move to the beach…

Poppysews
I do love these shorts…the fabric and the style….
Barbara
thank you!! I hope to try this someday! most of the time I don’t like shorts since I think they just don’t flatter me, but maybe I should give it a go, when I see this!
Anne
Great tutorial!! I’ve got a Craft Gossip post scheduled for this evening that features your tutorial: http://sewing.craftgossip.com/?p=88786 –Anne
Andrea
Thanks for your tutorial. Your shorts look great (and you too of course). I hope you enjoyed your time wearing them. (It looks like that.)
Ophelia Chang
Brilliant. At first, it seemed pretty intuitive, but your instructions have helped me avoid the first several mistakes that I’d have encountered, and for that, I’m so grateful!
Dalia
This is fantastic. I simply cut off my favourite pants-pattern, and the result looked wonky and the seam was very assymetrical when worn. Now I know why and will try this trick.
Emily
Thanks for the tutorial! I just made the hudson pants and they are a perfect fit on me! I never would have thought to make a pair of shorts out of them!
JoAnn
Great idea, Love the look of the shorts and the fabric.
Thanks
JoAnn