
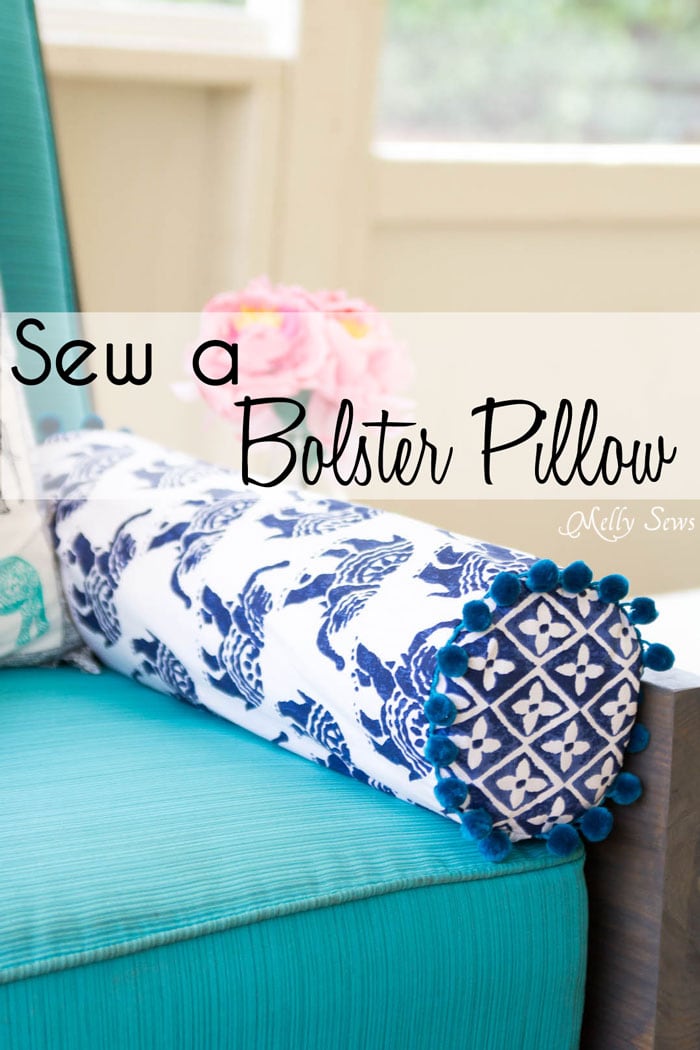
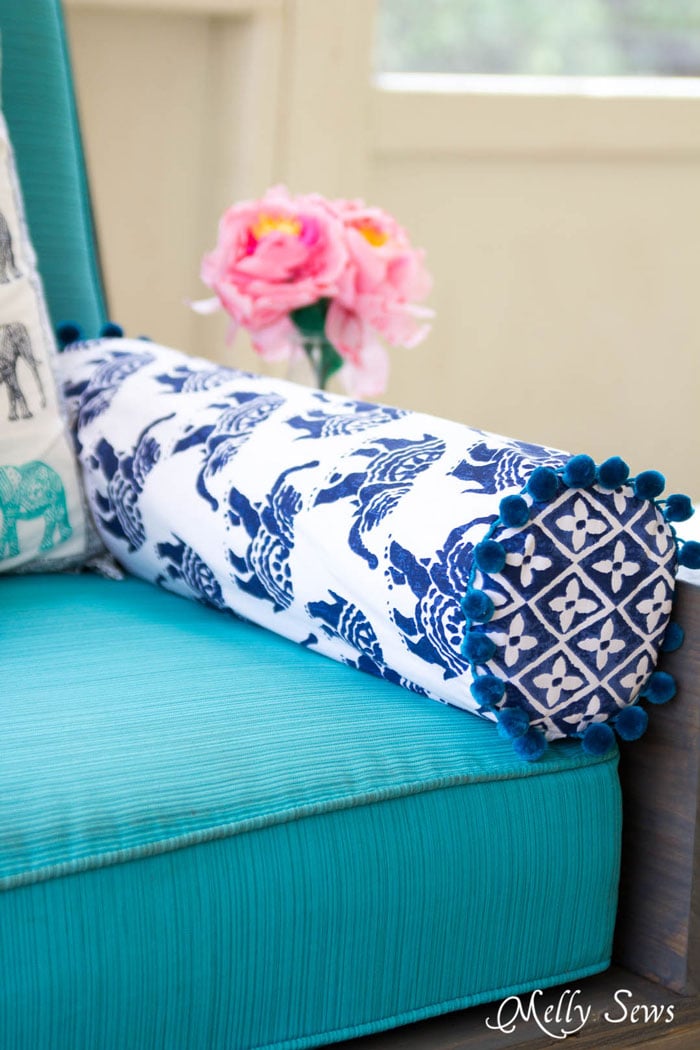
Hey y’all – welcome to August on the blog! Today I’m sharing how to sew a bolster pillow, because I just made these for our outdoor sofa. In fact, this month on the blog is going to be all about outdoor living, though I admit, in August in Texas I want to do just about anything but go outdoors (unless I’m in a swimming pool, that is). So part of focusing on this topic this month is wishful thinking on my part – just waiting until we can be out on the patio more often!
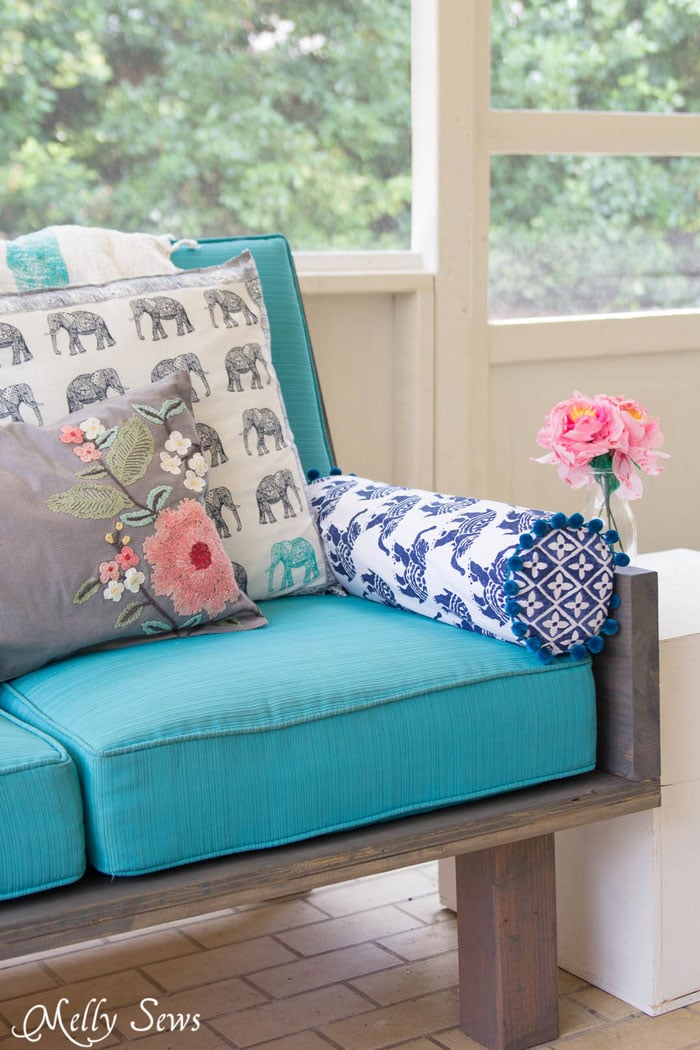
This project got started back in May, because I am one of those people that get bitten by mosquitos constantly. And I just wanted to be able to go enjoy the outside air without getting eaten alive. So we screened in the patio we’ve had out back since we bought this house. have you ever read the book When You Give a Mouse a Cookie? Well, that’s what happened here. When you have a screened patio, you need furniture, and when you have furniture you need pillows and accessories, and well, one thing led to another (including an outdoor TV!) and that meant that this project took all summer.
The good news about the patio taking all summer though is that now I have a ton of projects to share, and late September through November are still lovely times to hang out on a screened patio here.
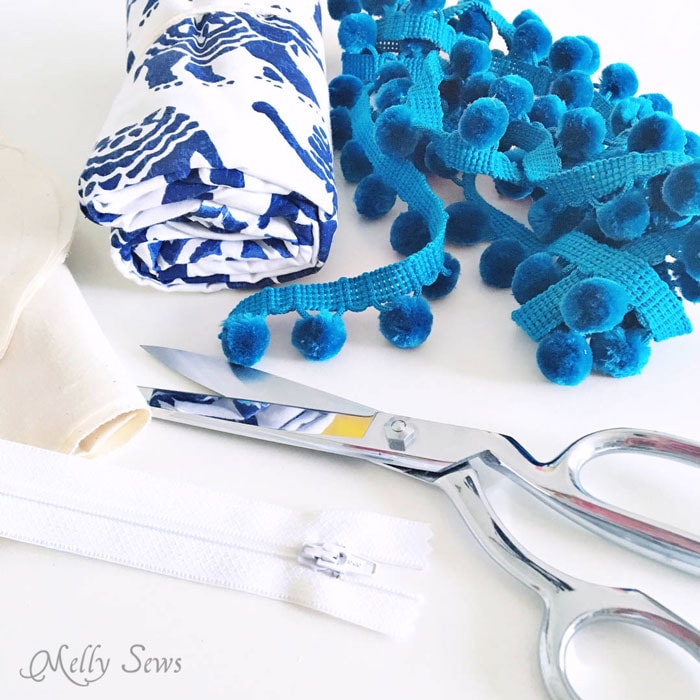
But I digress – today is about the bolster pillows. So, want to make your own? First, determine your dimensions. Common bolster dimensions are 6, 10 or 12 inches in diameter and 20-30 inches long or even longer if you want a big one for a king size bed. For mine, I did 8 inches in diameter by 24 inches long. That means that for each of these pillows, you need half a yard of fabric, 1 1/3 yards of pom pom trim, and a 22 inch zipper. In addition, I made pillow inserts for these, so I can pull the covers off and wash them as need be. For the inserts, you just need muslin and polyfill. Follow the directions below to make the inserts as well, but skip the zipper and pom pom trim and sew them shut after stuffing.
Start by cutting out your circles – you’ll need 2 per bolster. For an 8 inch diameter pillow, you’ll need circles 9 inches in diameter (so you’ll have a 1/2 inch seam allowance). Once these are cut out, measure around your circles on the seam allowance or use a circle calculator to determine how wide your fabric pieces need to be. Add 1 inch to that number (for seam allowances again). Cut 1 piece this amount wide and 25 inches long.
Next, fold the circles in quarters and press so you have quarter circle marks as reference.
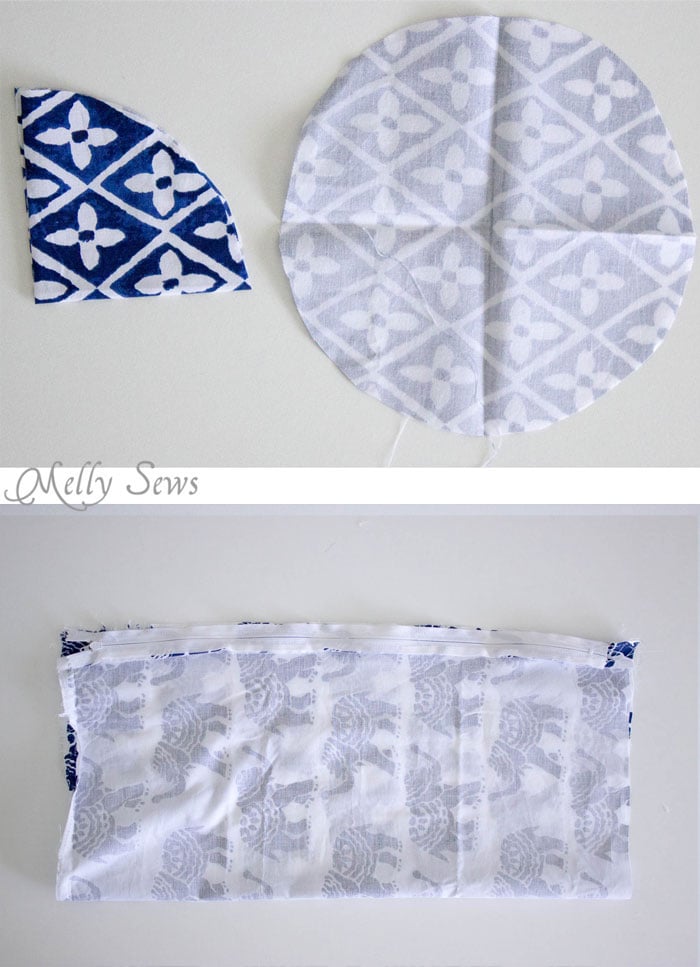
Sew the zipper to the 25 inch edges – centering the zipper. Need help with zipper installation? See this post.
Baste the pom pom trim to the top and bottom edges. On the top, you’ll be able to unzip the zipper and lay the pillowcase flat, but on the bottom you’ll have to sew in the round.
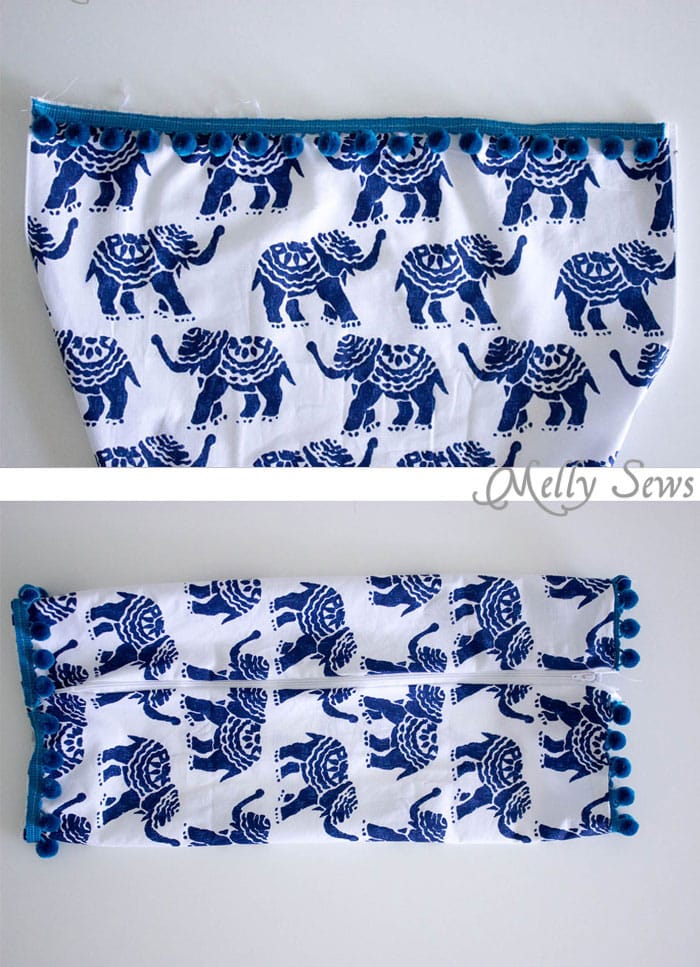
Sew the seam beyond the zipper edges closed, so the rectangle is not a tube that can’t be unzipped. For an insert, this is where you start, sewing a seam where the zipper would be and leaving a gap for turning in the middle.
Mark quarter marks on the tube – one is the zipper, one is directly opposite the zipper, and the other two are halfway in between those first two marks.
Pin the circles to the tube, right sides together, and matching quarter marks. Unzip the zipper halfway before pinning on the second circle. Stitch the circles in place.
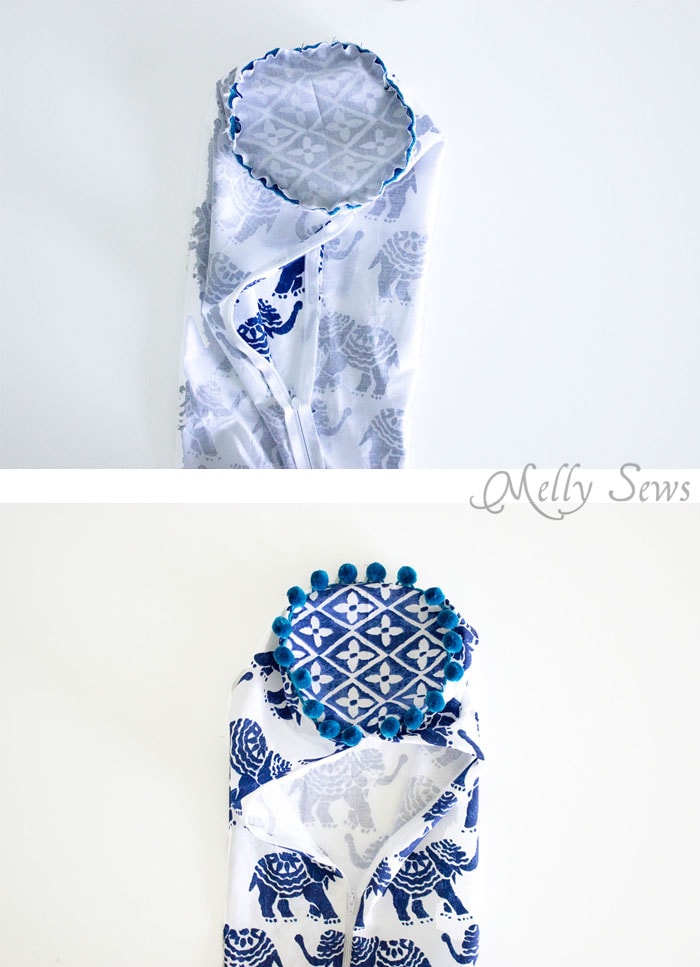
Turn the tube right side out and stuff with an insert.
Watch for more patio projects this month, including how I easily sewed the rest of the pillows and details on how we built this couch.

Anne
Screened in porch, I’m so jealous!! I can’t sit outside for 30 seconds without getting covered in bites. I love the bolster! I’ve got a Craft Gossip post scheduled for later today that features your tutorial: http://sewing.craftgossip.com/?p=89110 –Anne
Tricia
These bolsters also look good with just the ends of the tube pulled in with a gathering thread and a decorative button sewn over the centre of each end ?
Bonnie C Westrom
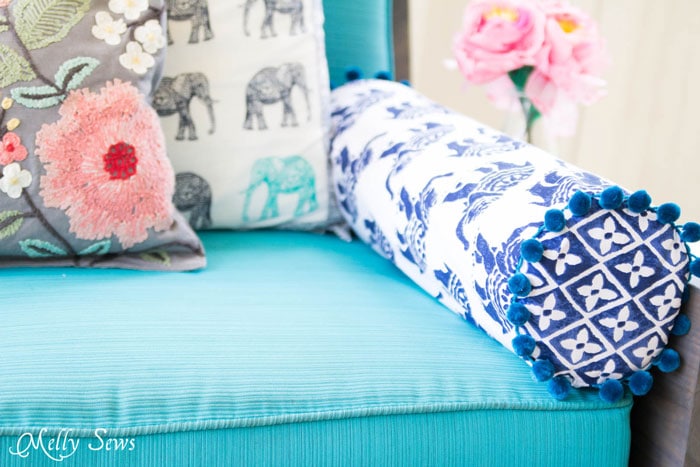
Melly, you have a love for pom-poms and elephants . I love elephant material too!
Kay
Where did that adorable elephant fabric come from?
Melissa Mora
It was pillowcases from World Market that I cut up.
Jacy
I love that you used coordinated fabrics!!
Hinane
Very nice
JessH
Thanks, I too love the fabrics chosen, and that gorgeous simple wooden sofa too! While reading Tricia’s comment about gathering the ends with a button, I realised you could also make a much longer tube with no zip, turn in a huge hem at each end, push bolster in endwise, then gather/tie up the deep hemmed ends (no ‘wrong side fabric’ showing), with fancy cord, like a sweetie wrapper? 🙂
JessH
I’ve now made the bolster cover as a giant sweetie, with deep 8 inch hem each end, tied up with pale blue cord in bows (untie to wash) and no zip, out of a pretty pink and white floral curtain, that no longer fits any of my windows, it looks gorgeous, I’m thrilled, thanks Mel and Tricha for inspiring me!
Dee Ford
Thank you so much for this clear, easy to understand tutorial. I’m going to make one today!