
Make your own espadrilles!
Hey y’all, I MADE SHOES! I can see this is going to be a hole I happily continue down, and I’ll just count Melissa of A Happy Stitch who sent me one of her kits as my enabler. She has kits with or without fabric that you can buy; go to her site and look for the Espadrilles Kit option in her menu.
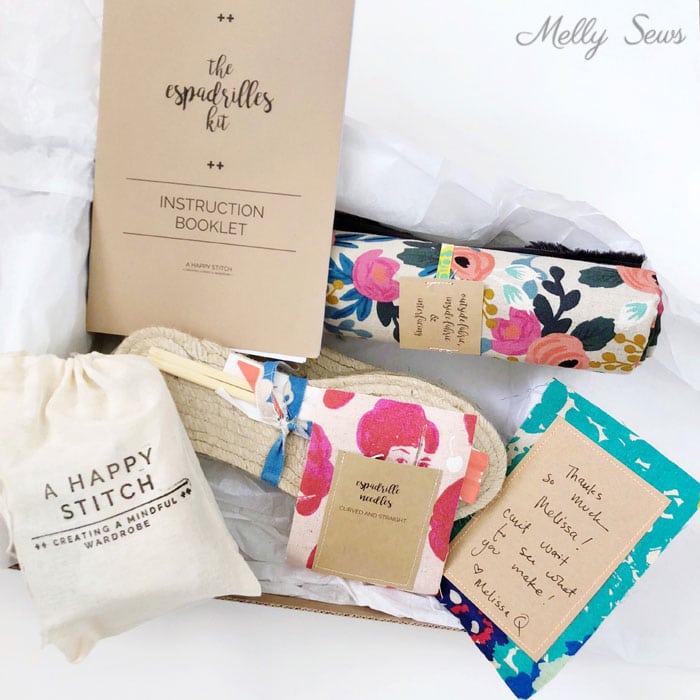
I love that the kit came with a detailed instruction book and everything I needed to make a pair of espadrilles, from fabric to needles and thread.
A thing you may not know about me is that I have tiny feet. Like I can (and often do) shop in the children’s department for my shoes. And I had to wait until Melissa started carrying tween size espadrille kits to even look at buying one. But when I emailed her for advice on which size to get, she invited me on this tour, so the kit here was provided for me. All rave opinions are strictly mine though.
I got two pairs of soles because of the aforementioned tiny feet, and also because I knew that Melissa had done a variation on her espadrille kit for Bust Magazine. And I wanted a pair of each kind.
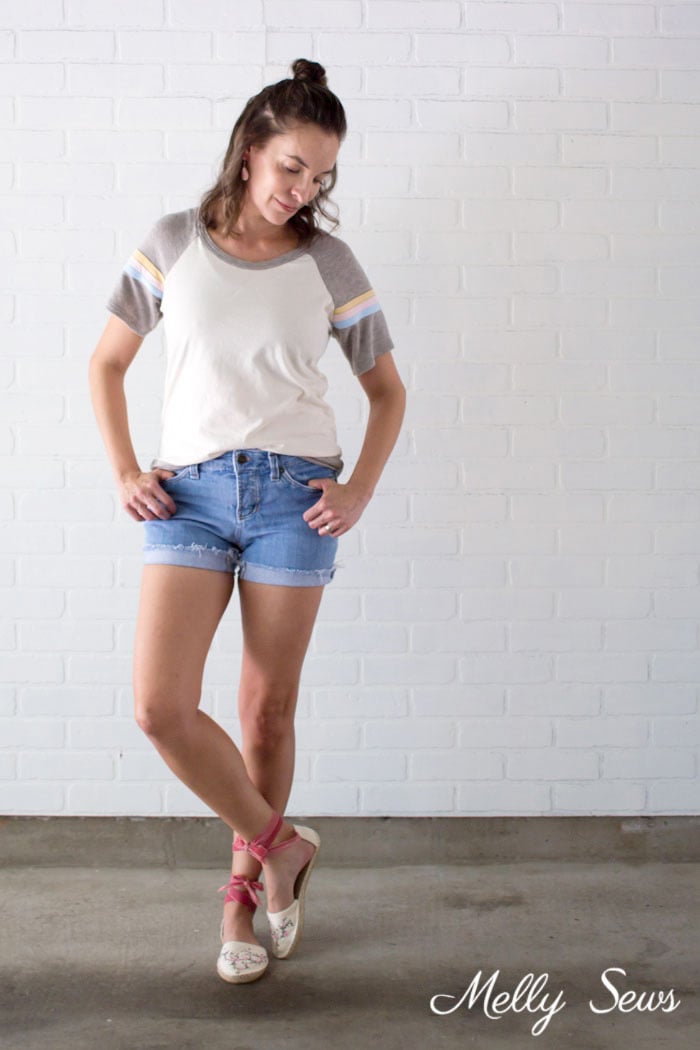
Outfit details: Rivage Raglan, Ginger Jeans turned cut-offs, and espadrilles.
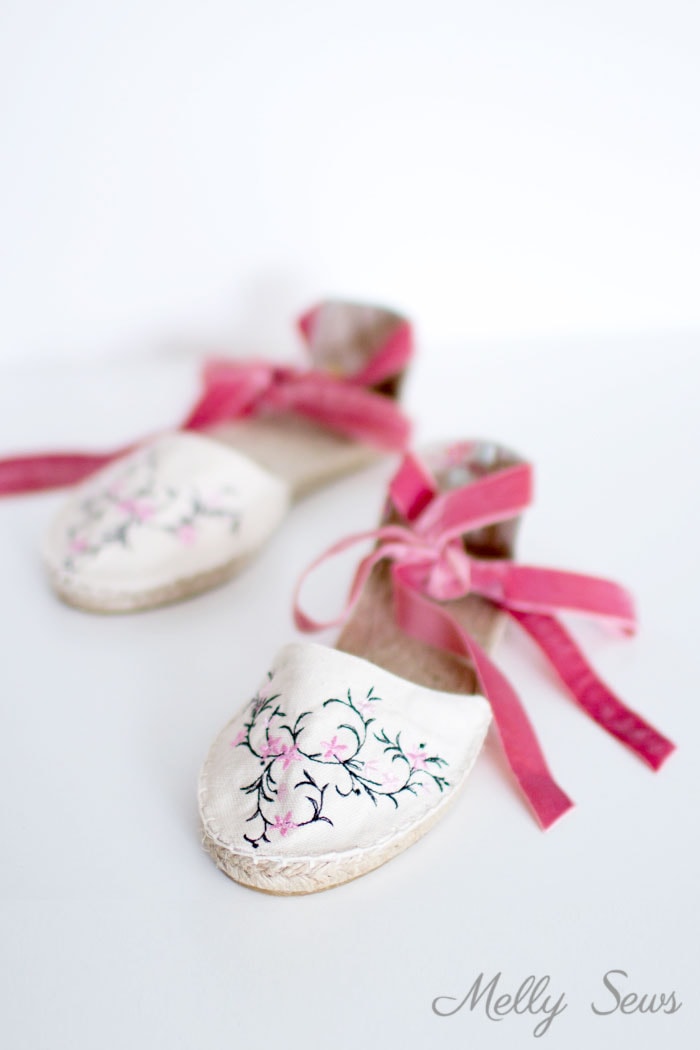
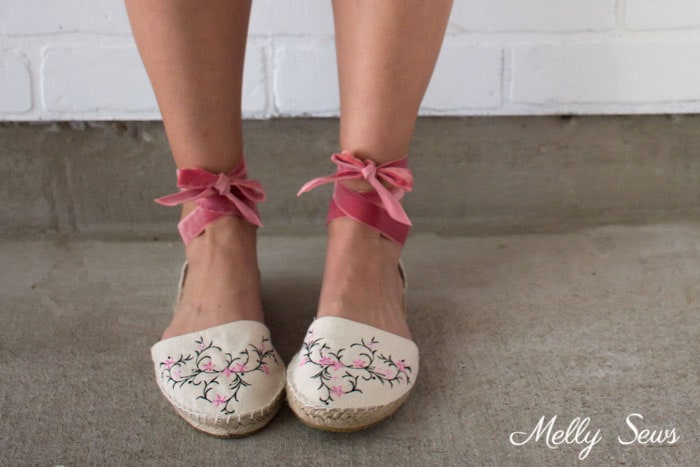
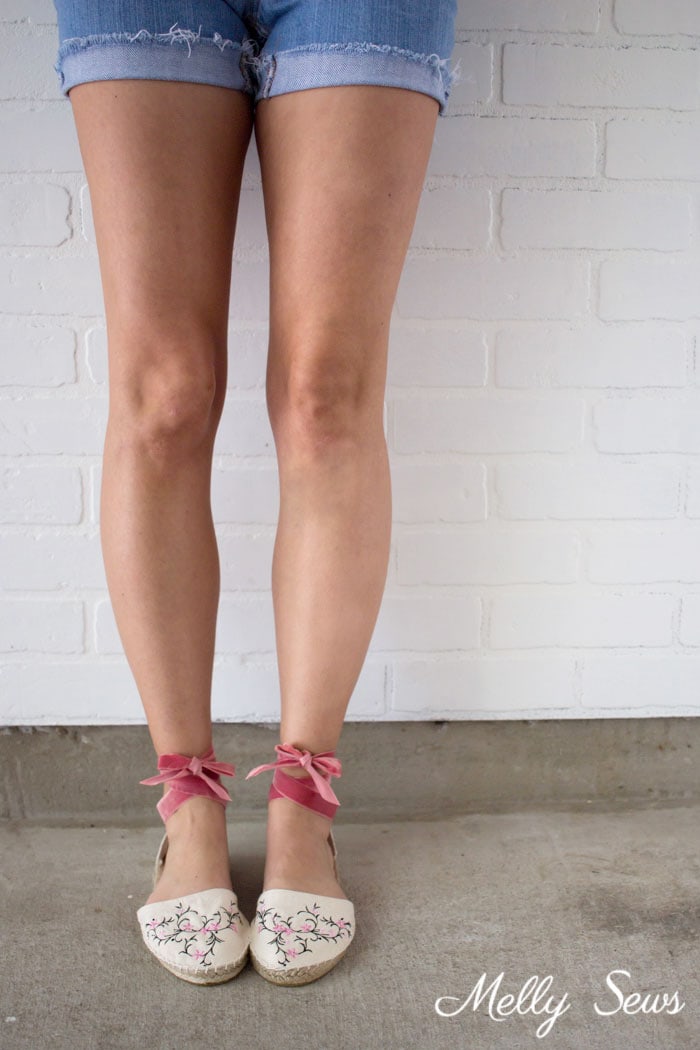
The ankle strap pair of espadrilles was inspired by some embroidered Converse I saw and never got around to ordering. I love how they add a feminine touch to an otherwise not so girly outfit.
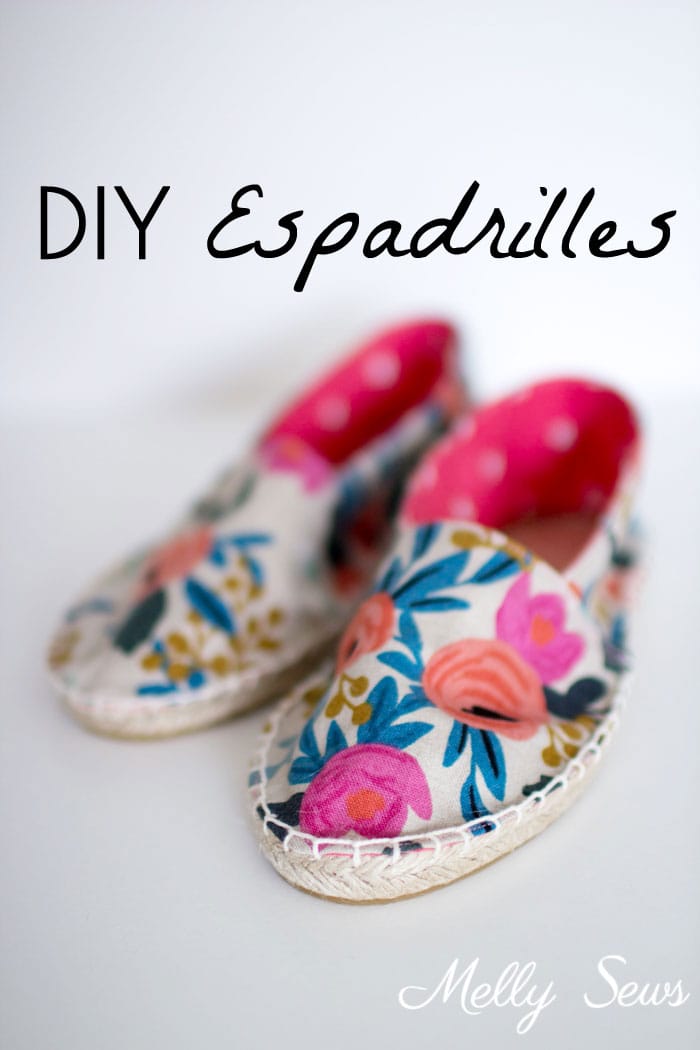
The other pair of shoes is a more traditional pair, and this is the set I made with the materials in the kit. When Melissa asked what fabric I’d like in my kit, I told her to surprise me and I was delighted to find this Rifle Paper Co. print inside the box.
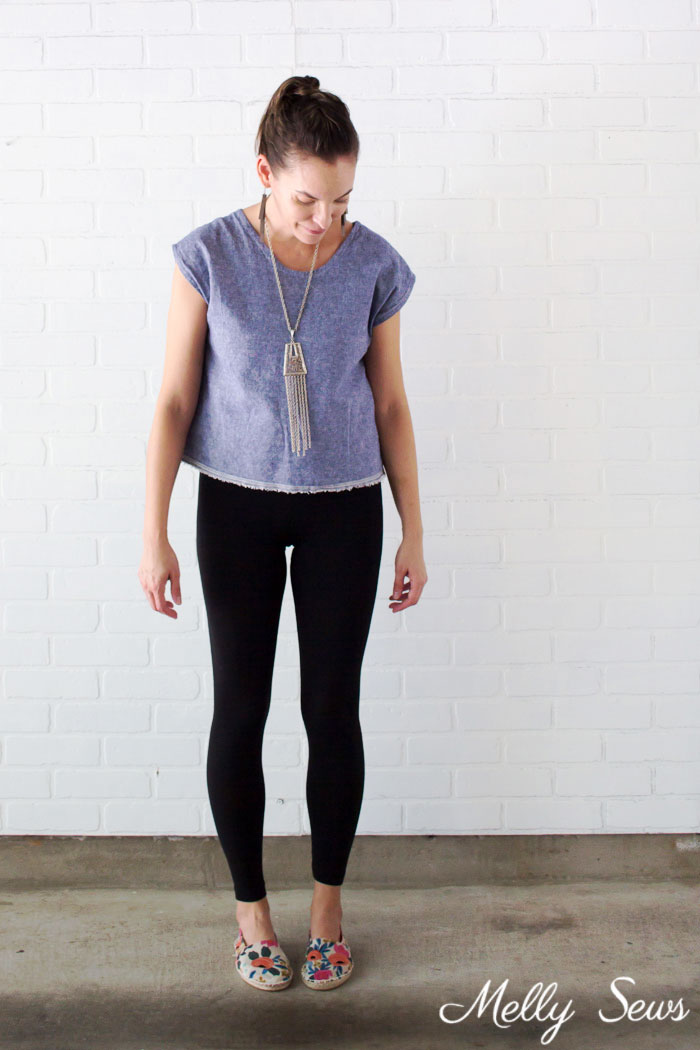
I mean, I don’t think she could have picked a better fabric for me, could she? I had trouble picking what to wear with them for these photos because there were so many options.
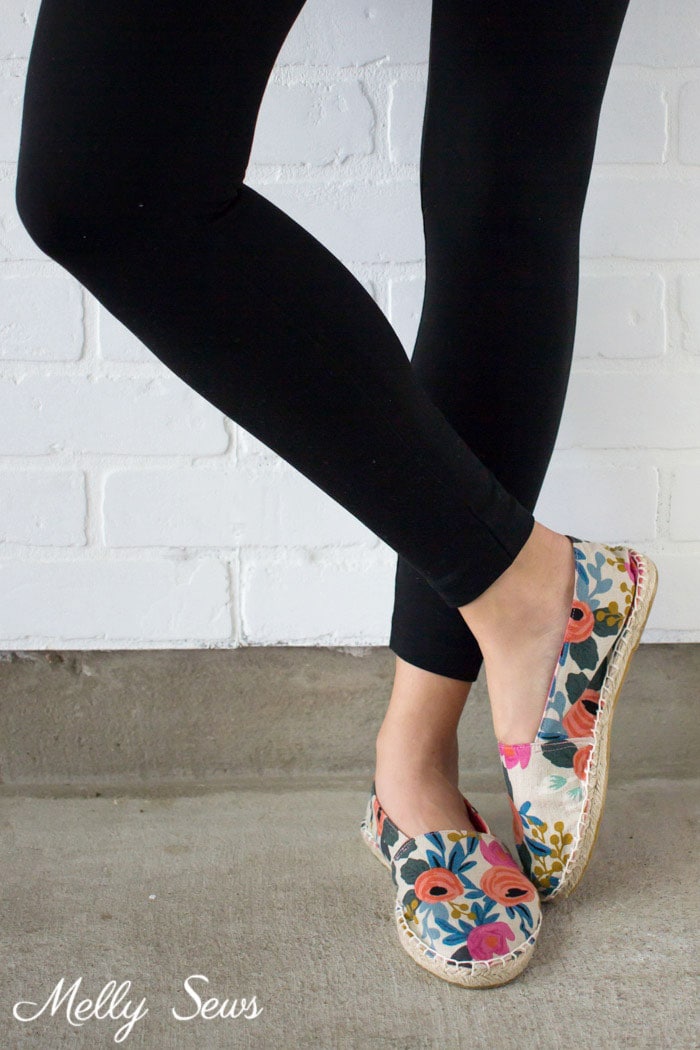
The color and whimsy they add to an otherwise basic outfit is just perfect.
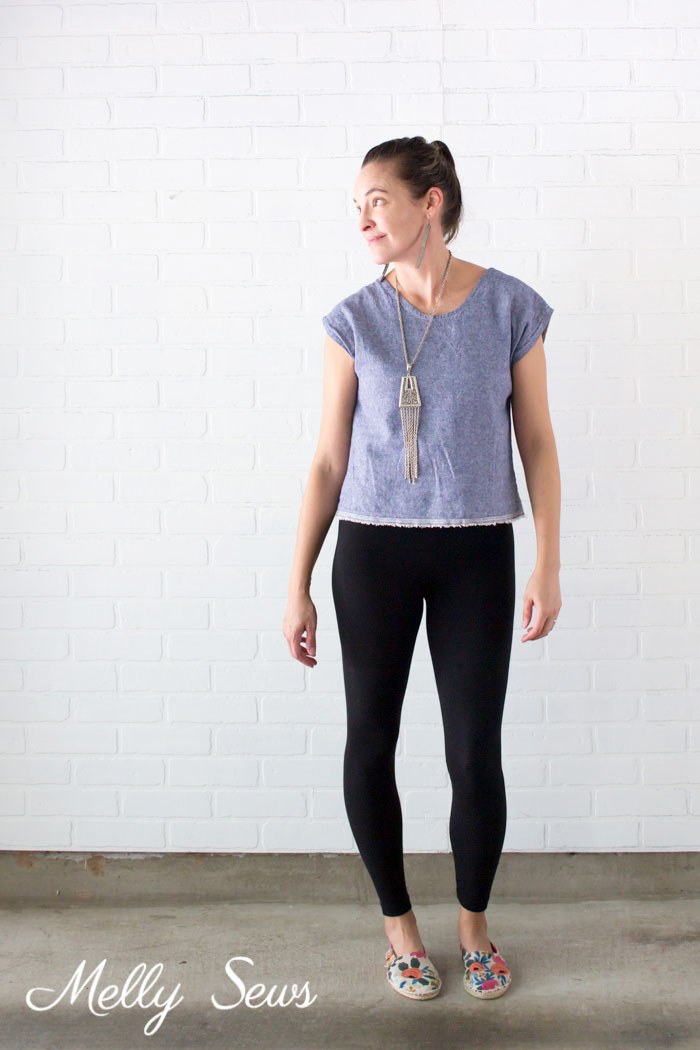
Outfit details: Woven and cropped Blanc T-shirt, Danskin leggings, espadrilles
Another thing I love about making your own shoes (just like making your own clothes) is that you can add details that are mostly for your own eyes, like the linings I chose for both pairs.

The embroidery design is one that came with my embroidery machine, but now that I’ve done this on one pair I am shopping for more designs because I want to do it again. I used plain canvas scraps that I had from this project. I stitched out a test design and then used a washable marker to trace the outline onto the hoop grid so I could figure out where to to baste the toe piece onto my stabilizer fabric.
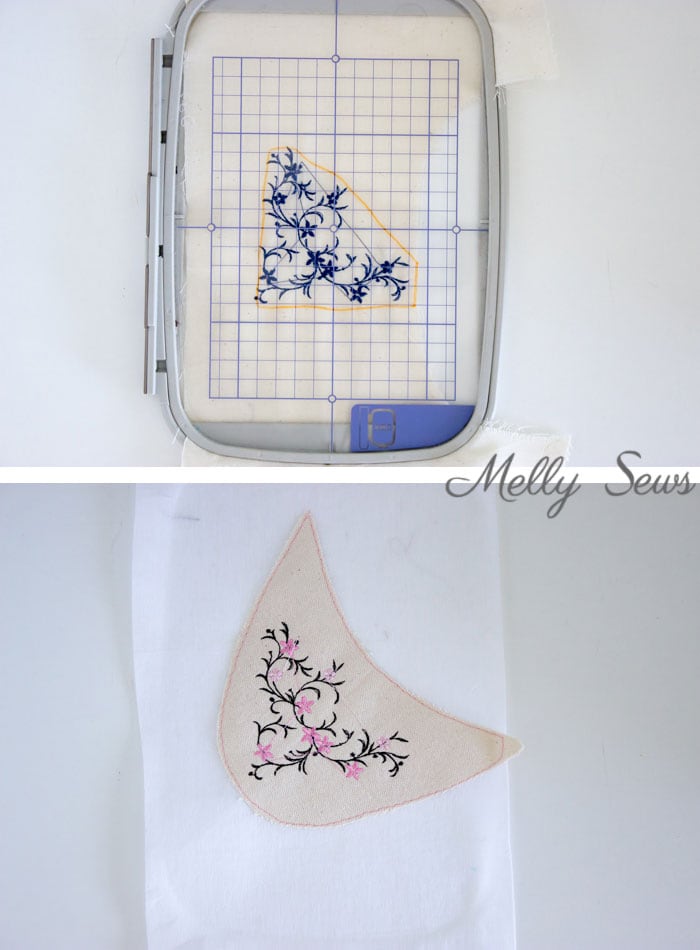
Because I used embroidery stabilizer on these toes, I did not interface them like the instructions said to. I just basted the toe onto the stabilizer and then hooped it and stitched the design.
The canvas + stabilizer combo did make this fabric a little thicker and harder to turn right sides out, but it all worked out in the end.
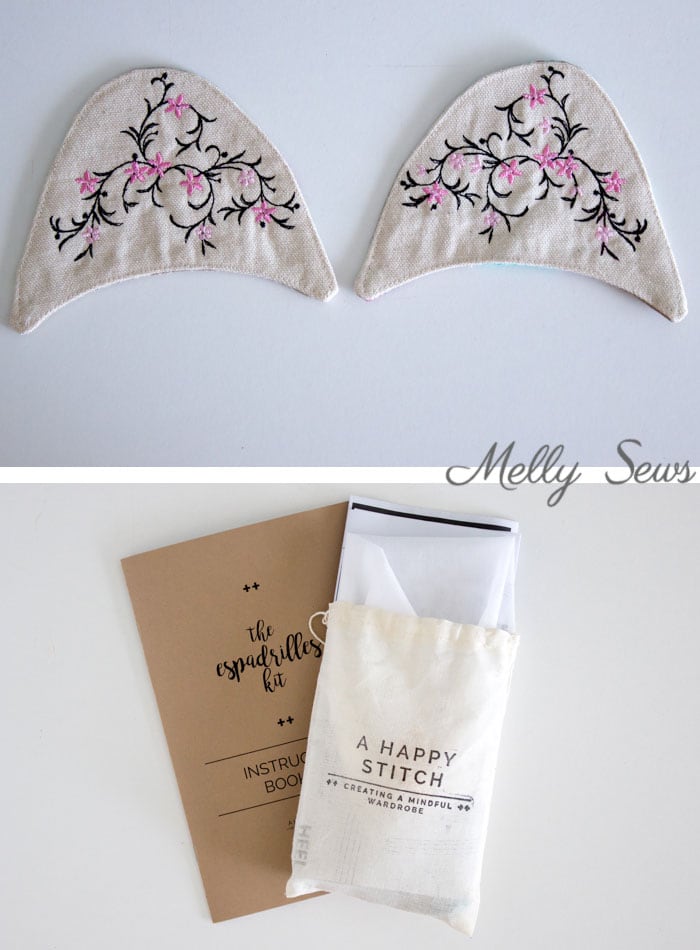
I also love that when I was done, all the tools fit back into the included drawstring bag for me to keep them together for my next pair. Perfect!

Beverly
I’m dying! I can’t wait to make some. Going to check out her site now!
carla weitzel
How adorable are those? Checking this out right NOW
Einy
Aaah! I love this! Never thought of sewing my own pair of shoes! Would love to try this soon, thanks Melissa!
Lisa Miller-Mecham
What?! This is Soooooo awesome! I’m ordering some for me and my daughters. They are going to love this!
Ingrid
I am imoressed will be looking forward to making my own.