
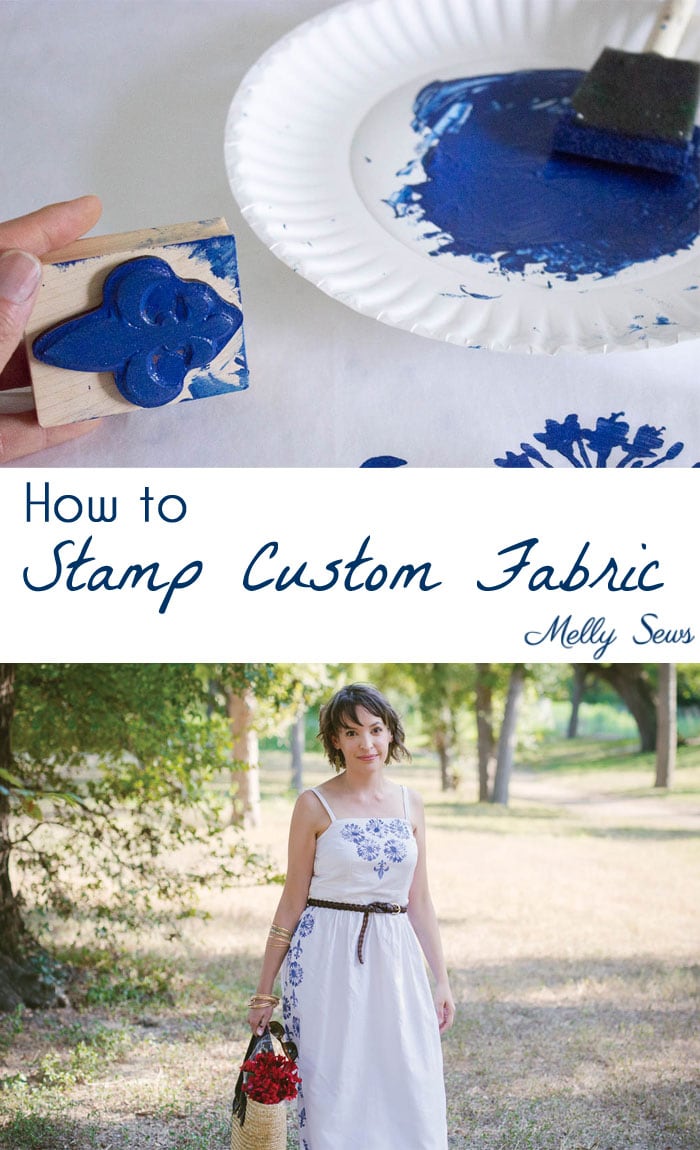
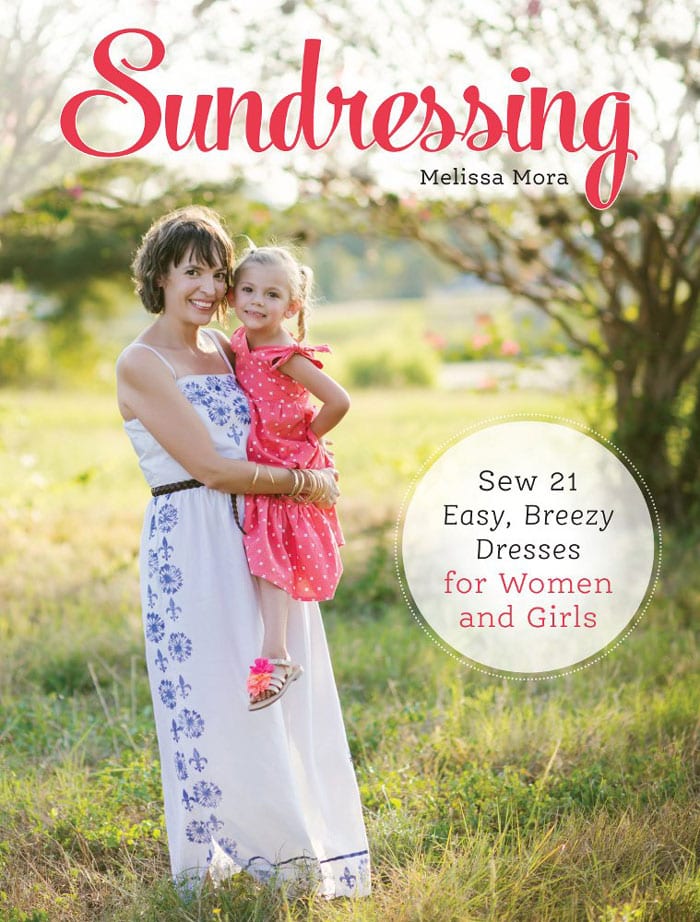
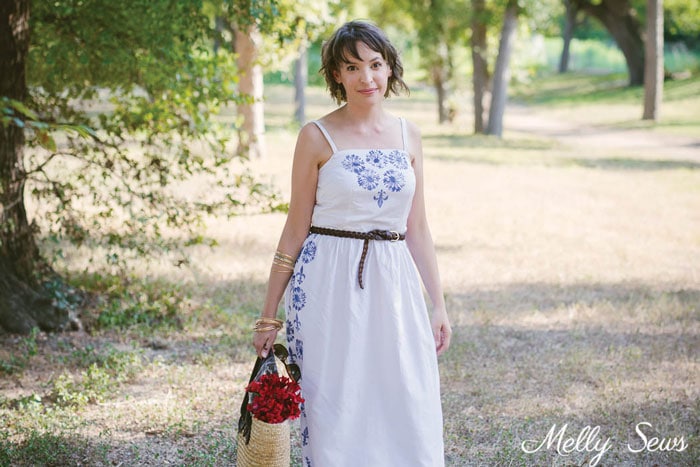
Hey y’all, today I’m going to talk about making your own prints; specifically using fabric stamps to create a print. This is how I created the custom fabric used in the dress on the cover of my book, Sundressing.
Years ago, I took a class from the super sweet and talented Miriam about how to carve stamps for block printing, but that’s not my favorite thing to so, so my first step when I want to create a print is to head to the store to look for stamps. This large scale dandelion-ish flower and fleur-de-lis stamp both jumped out at me because of their size and how they looked together. I knew I could combine them different ways to create the border print I was envisioning.
I don’t know about you, but I started sewing because I would get ideas in my head of EXACTLY what I wanted to wear and I wouldn’t be able to find those things in stores. And as I started sewing, the same thing happened with fabric – I’d get an idea for EXACTLY what I wanted and then I wouldn’t be able to find it. But just like having clothing design opinions led me to sewing, having opinions on fabric has led me both to fabric designing and to all kinds of fun techniques to create the fabric that I want.
To create your own stamped fabric, you’ll need:
- Your fabric. Fabrics from natural fibers (cotton, silk, linen, etc) tend to take fabric paint better than synthetic (polyester, nylon, spandex, etc) textiles.
- Fabric paint. There are three basic options here: you can get fabric paint (like t-shirt paint), fabric ink stamp pads, or you can add fabric medium (also called textile medium) to acrylic paint to make it softer for fabric. The stamp fabric ink is the softest option, followed by some types of fabric paint and finally acrylic with textile medium. And if you can’t find the color you want, you can mix fabric paints to make the exact color you want to use, just make sure to mix extra if you’re doing that because it’s really hard to mix a second batch to match if you run out.
- A plate to spread the fabric paint on for the stamp or
- A brush to brush the paint onto the stamp (I actually use both)
- Paper towels for paint blotting
- Paper or cardboard to protect the surface you’re stamping on. Craft paper works well – I don’t like to use newspaper because the text easily smudges onto fabric.
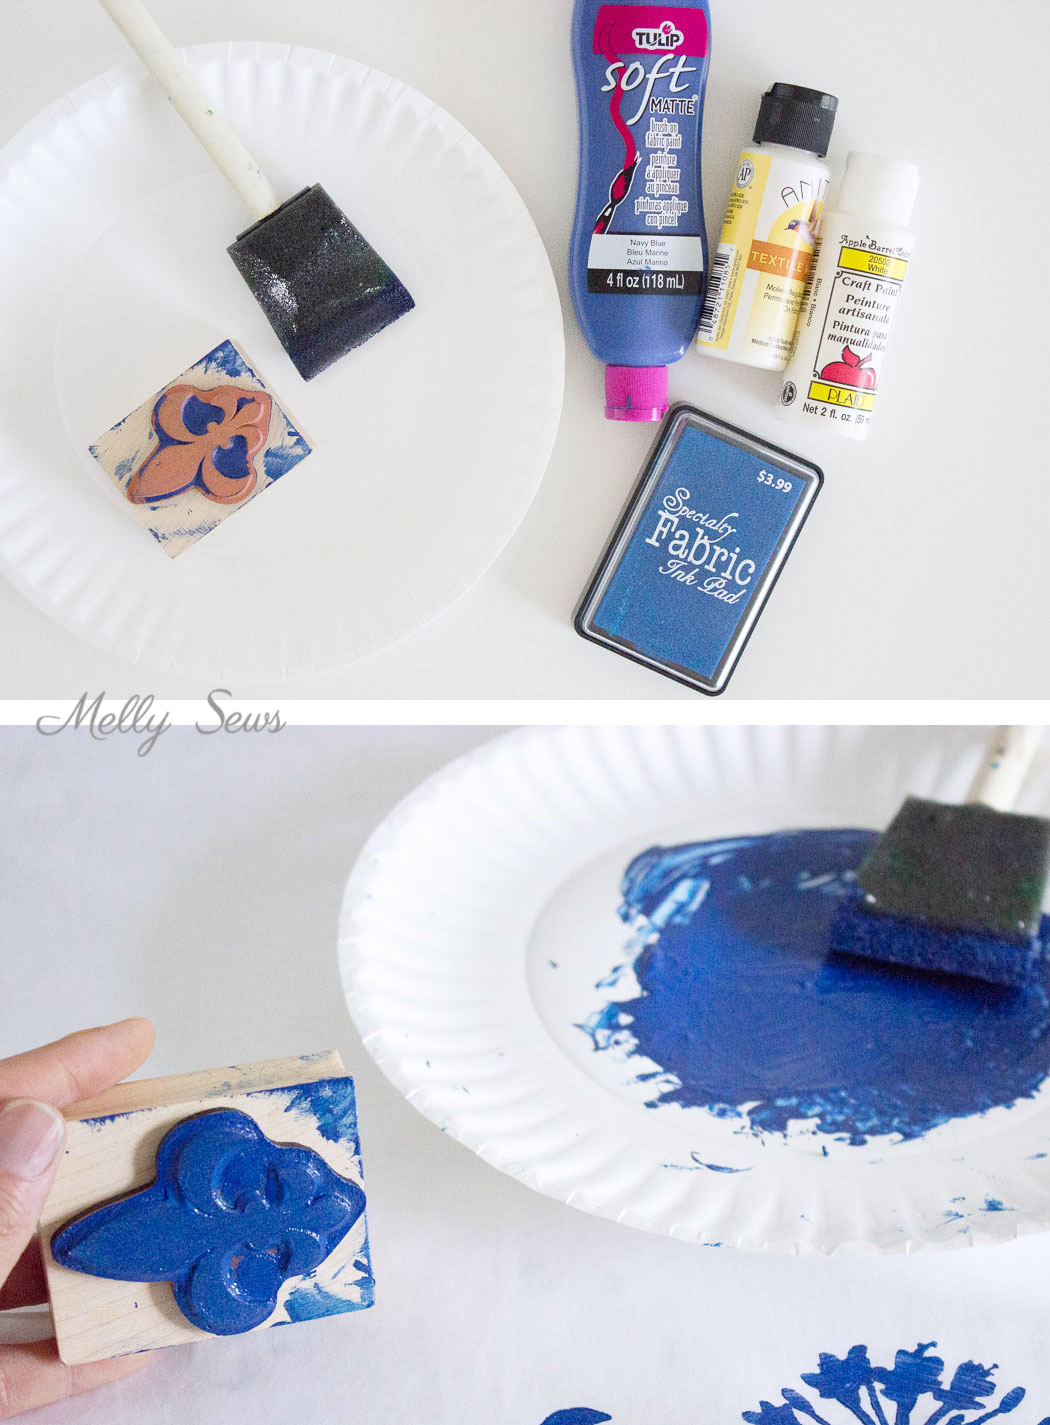
Once you are ready to stamp, either press the stamp into the ink pad, dip the stamp onto a thin layer of paint on the plate, or brush paint onto the stamp. Make sure the stamp is coated from edge to edge and use paper towels to clean off any excess.
Then carefully place the stamp on the fabric, pressing it straight down.
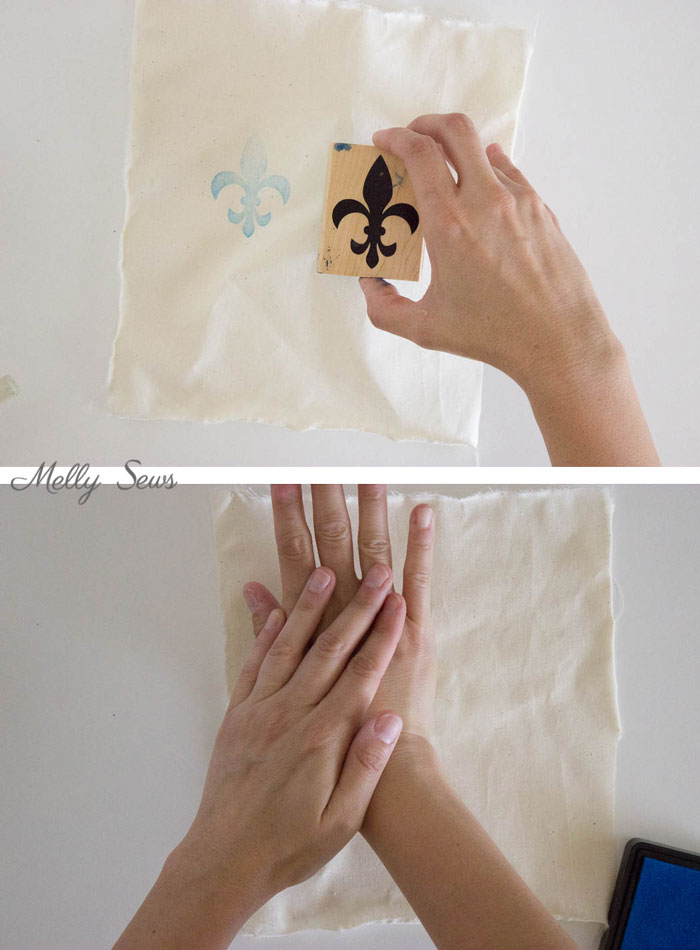
Once it’s on, hold it in place and press harder around each edge (almost like a rocking motion, but without sliding the stamp or moving it) to make sure all the edges have transferred. Then lift the stamp straight up to make sure paint doesn’t smudge anywhere. It’s a good idea to practice this on a paper towel before going to your actual fabric.
Depending on your design and your paint, you may be able to stamp more than once before re-coating your stamp. I chose to use fabric paint for this project to get a more saturated color and crisper edges. But using fabric ink stamp pads can be fun too – you get a softer, almost vintage image, as you can see on the left below.
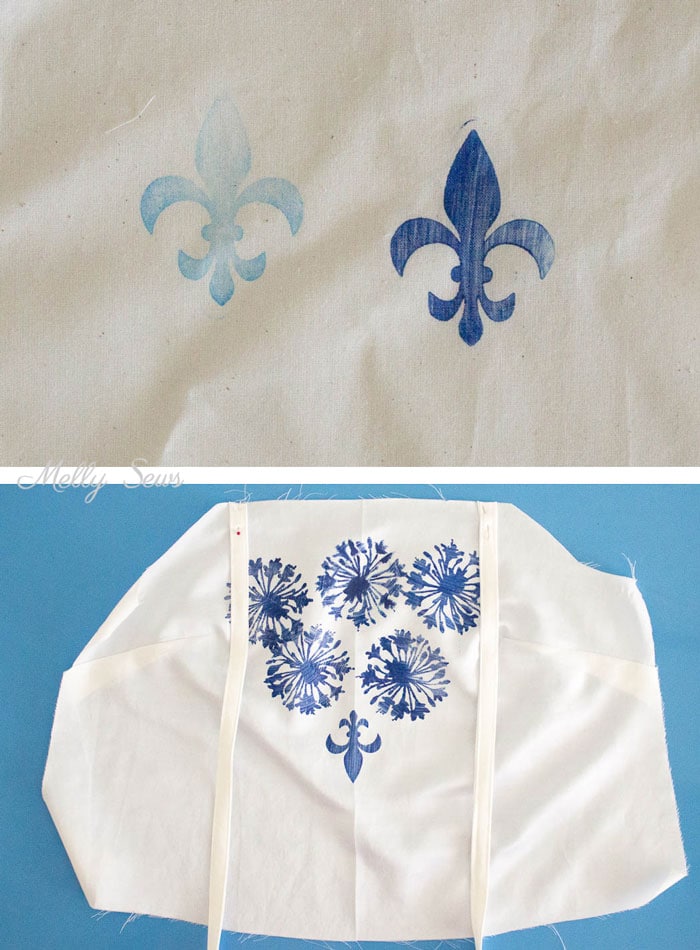
For most textile projects, I do the stamping before I assemble the garment. So I had cut out the fabric, and then laid it out to stamp, remembering to stay away from my seam allowances for this particular design. Creasing your fabric with an iron can also help give you guidelines to center designs. Combining stamps and adding brushstrokes can add even more dimension to your project. So can combining colors, layering stamps…really your imagination is the limit.
When you’re finished, let the paint or ink fully dry, the follow the manufacturer’s instructions to set the design. This usually involved setting the paint with heat or washing in vinegar or both.
And then finally, sew your garment!
Christina Way
I have been thinking of making a stamp and doing a border print on cloth for a long time. I have a mug with Japanese modern style horses at various stages of their gait. The techniques shown above really helps to teach me how I might go about doing just what I envisioned. Thanks for the great information.
Karen
I was really into fabric for quite a while but somewhere along the road I got into stamping and papercrafts. Now I’m getting back to the sewing and fabric and the idea of being able to use my stamps to create my own fabric is right up my street, so thank you for the post and tutorial. I want to purchase loads of white or cream cotton use my stamps to create beautiful designs on it. So thank you very much Karen x