
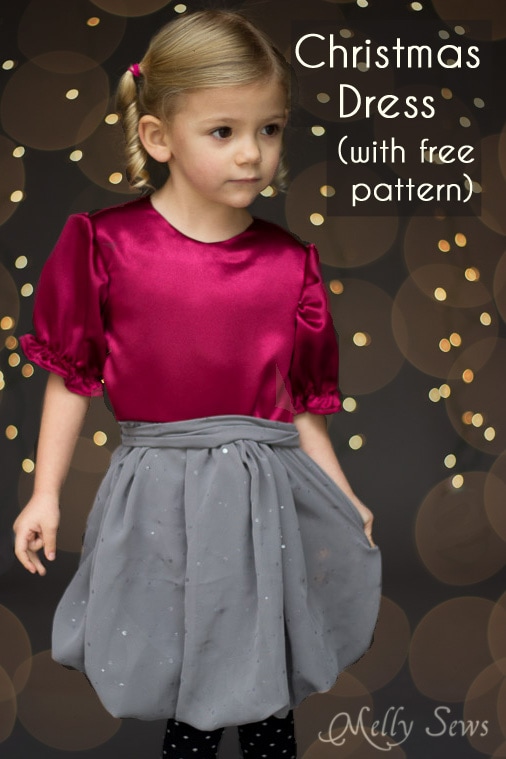
For any of you procrastinators out there – there’s still time to get a Christmas dress sewn before church. I made this one for my niece in a couple hours – it’s based on the Fiesta Frock pattern that I used for her birthday. However, instead of finishing with bias tape, I did a lined bodice. I also did a bubble skirt, and I’ll show you how to make both of those changes in today’s tutorial.
To make your own you’ll need:
- 1/2 yard of 44/45″ wide fabric for the bodice
- 1/2 yard of the outer skirt fabric
- 1/3 yard of skirt lining
- 3 buttons, at least 1/2″ diameter
- Elastic thread (affiliate link)
- The pattern, see below
How to Get the Pattern
The free pattern is in size 3T. To get it, click your preferred option below to get the free digital pattern only as a newsletter subscriber. Or if you need a different size pattern, you can buy the full Fiesta Frock digital sewing pattern in sizes NB -10.
 |  |  |
Please note that all my free patterns are licensed for personal use only (no selling items made from this unless you purchase it) and by downloading you are agreeing to this license.
Next, DON’T FOLLOW THE CUTTING INSTRUCTIONS ON THE PATTERN! You need to change the pattern back by removing 1/2″ from the center back as shown below.
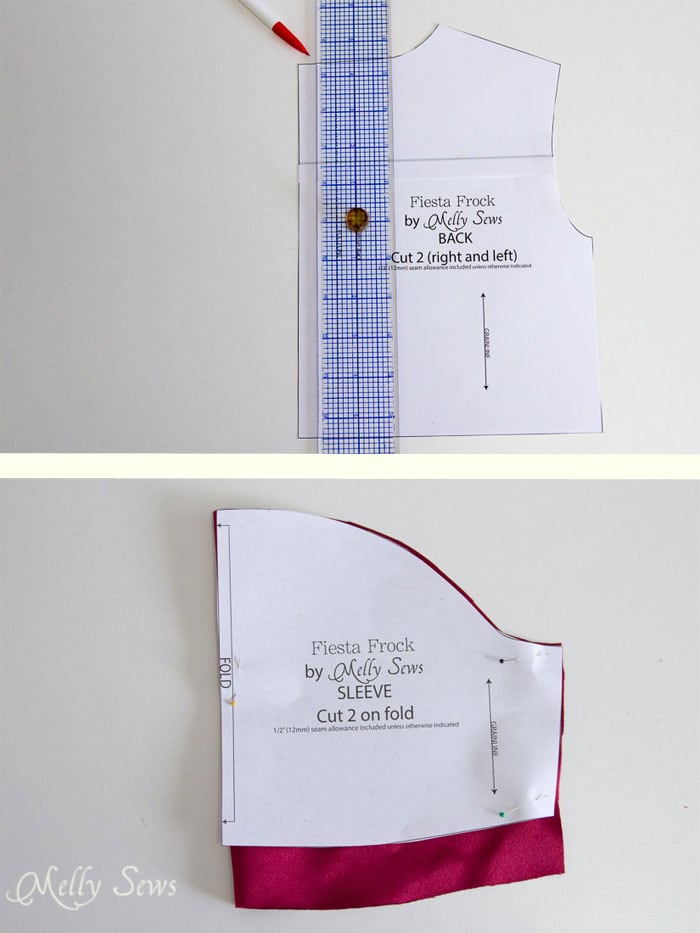
Add 1 1/2″ to the bottom of the sleeves when you cut them.
Cut 4 backs and 2 fronts for the dress. For the skirt lining, cut a piece 23″ wide by 12″ long. For the outer skirt, cut a piece as wide as your fabric (44/45″) and 15″ long.
Fold your skirt and skirt lining pieces right sides together, matching the short edges. Sew the short edges, so that you have a skirt make of lining and a skirt out outer fabric.
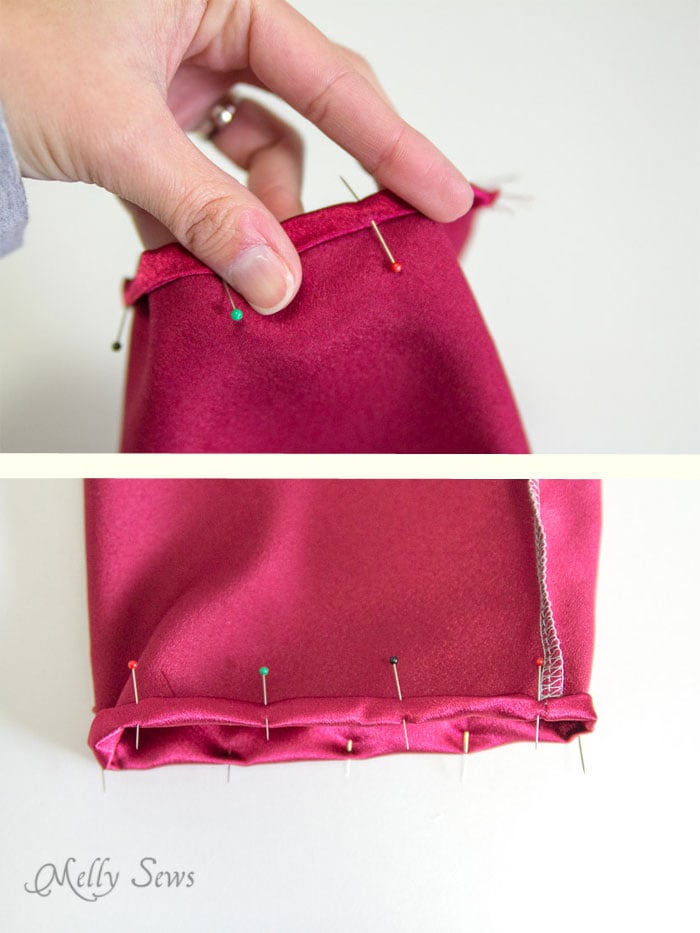
Sew basting stitches along the top and bottom of the outer skirt to use for gathering. Need more info on how to gather fabric? See this post. Place the skirt and skirt lining right sides together, matching the seams. Gather one edge of the outer skirt to the same width as the skirt lining, then stitch. This will be the hem of the skirt.
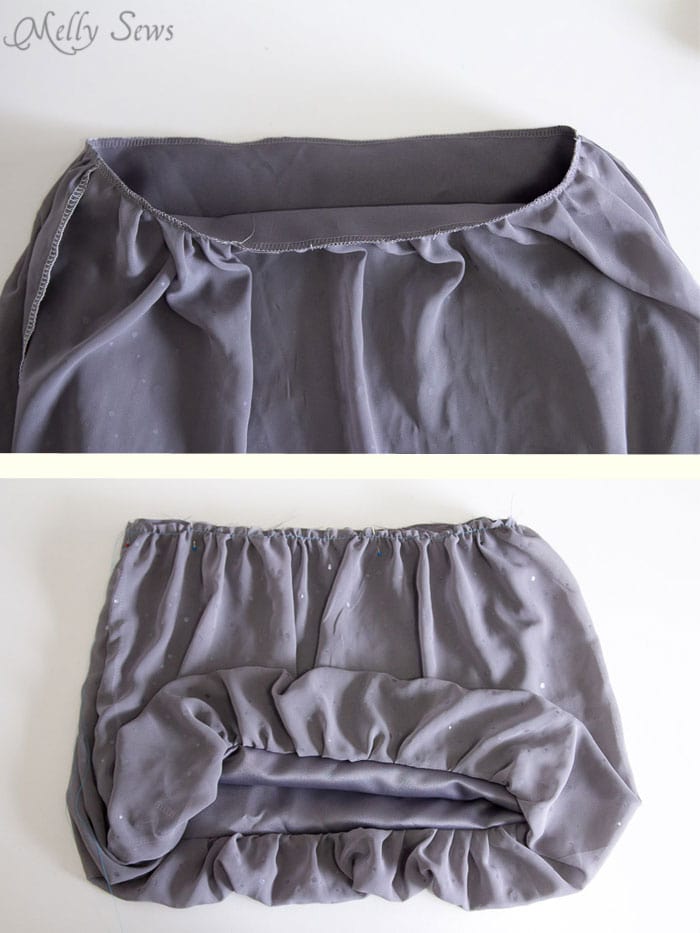
Turn the skirt so that the lining and skirt are wrong sides together. Gather the other edge of the skirt to match the skirt lining. Baste this in place. Set skirt aside for now.
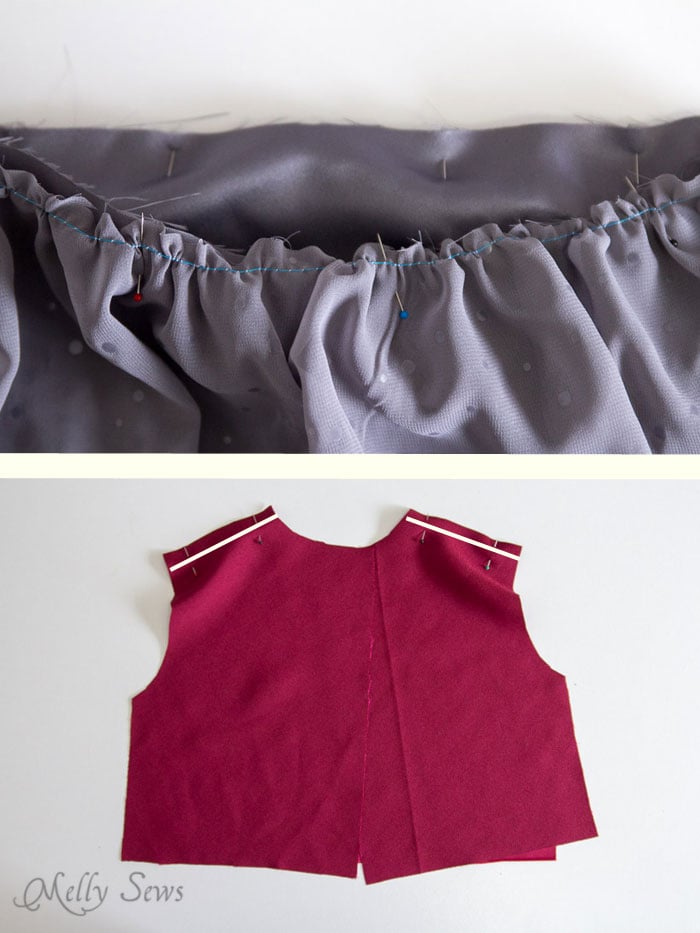
Sew the bodice fronts to the bodice backs at the shoulders, right sides together.
Place the two bodices right sides together, matching the shoulder seams. Sew along the center backs and the neckline as shown below. Clip corners and curves.
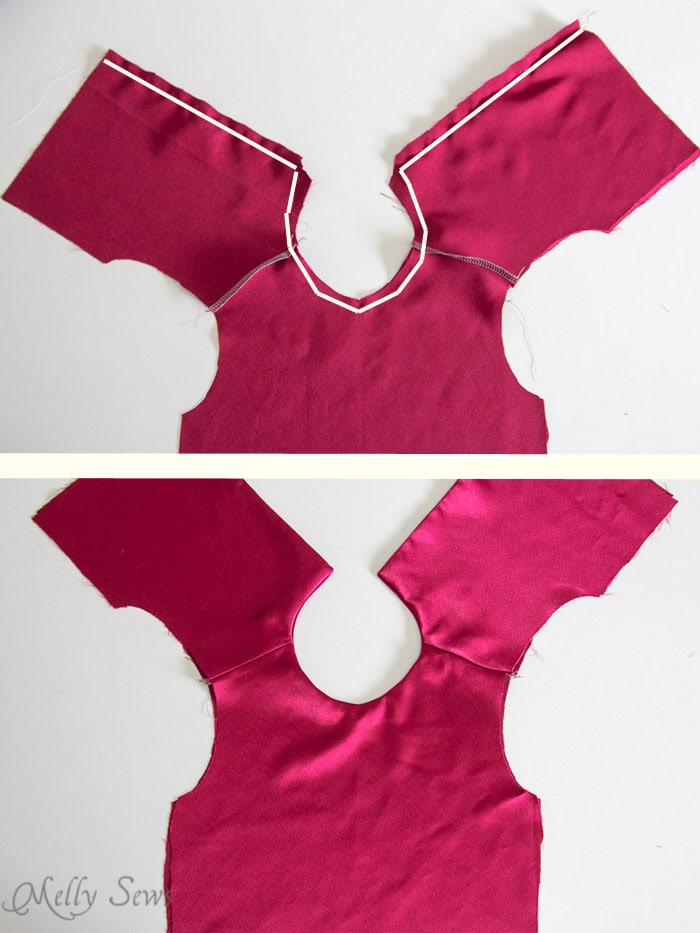
Turn the bodice right sides out and press. Match the side seams of the outer fronts with the outer back, and match the side seams of the inner fronts to the inner backs, right sides together. Stitch.
Set the bodice aside for now.
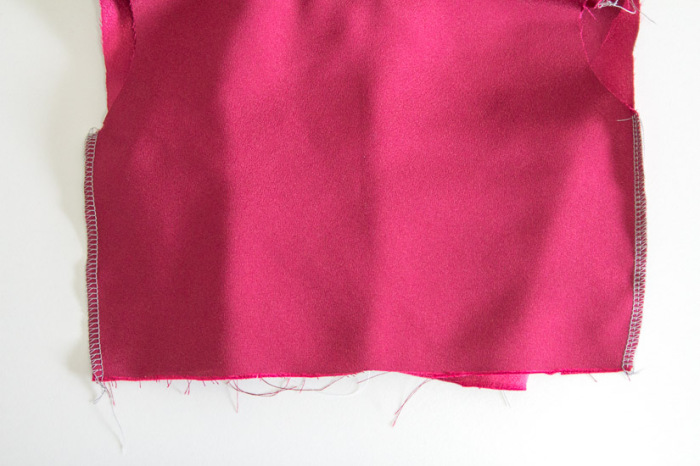
Sew a gathering stitch along the top of each sleeve, then fold each sleeve in half, ride sides together, matching the underarm seams (white line shown below). Stitch underarm seams, making sure to finish these seams.
Pin a very narrow hem by turning the bottom edge of each sleeve 1/4″ to the wrong side twice. Stitch in place.
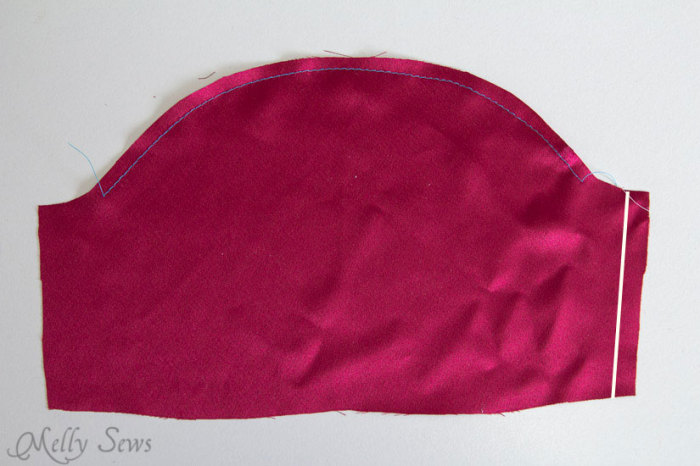
Thread your bobbin with elastic thread. Dial your tension up slightly, and lengthen your stitch to the longest one your machine will do. Sew about 3 rows 1″ above the hem of each sleeve.
Note: If you’ve never sewn with elastic thread, this is a good explanation of it. I will add, though, that I have found I get better results when I do machine wind my bobbin. So definitely try a sample first with a hand wound bobbin, and if it doesn’t work, then try machine winding.
Note number 2 – if you don’t have elastic thread, you could also use a piece of 1/4″ wide elastic and stretch it as you zig-zag it on to the sleeve.
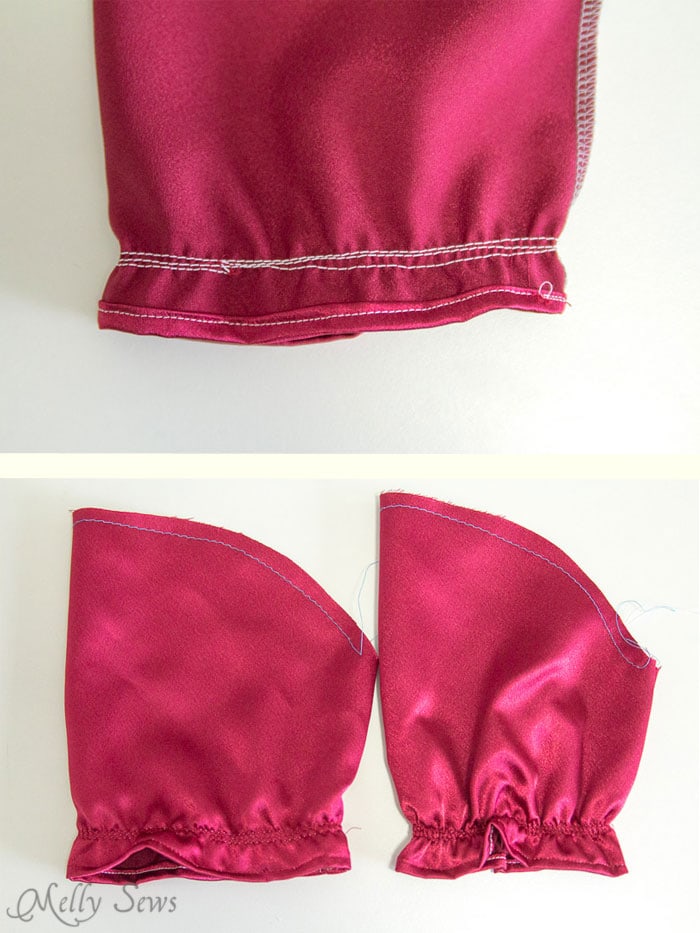
Also, don’t panic if your sleeve doesn’t seem to gather very much with the elastic thread. Hit it with some steam from the iron and it should shrink right up – see the difference above between the un-steamed sleeve on the left and the steamed sleeve on the right above?
With the bodice wrong side out and the sleeves right side out, insert sleeves into the sleeve holes, gathering the tops of the sleeves so that they fit the holes and matching the sleeve seams with the side seams. Stitch through all 3 layers (sleeve, outer bodice and lining) and finish this seam.
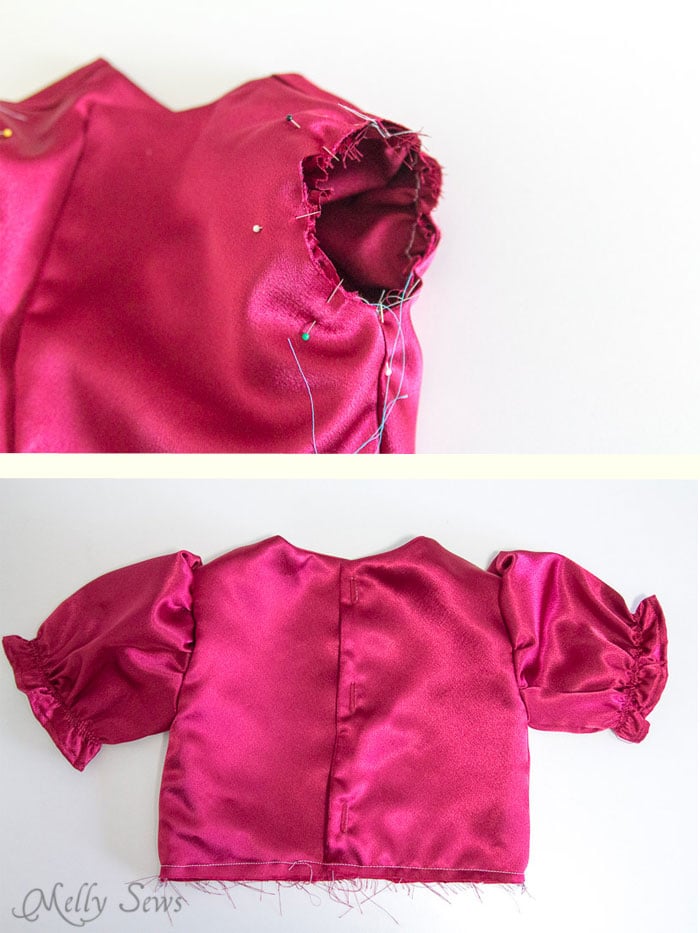
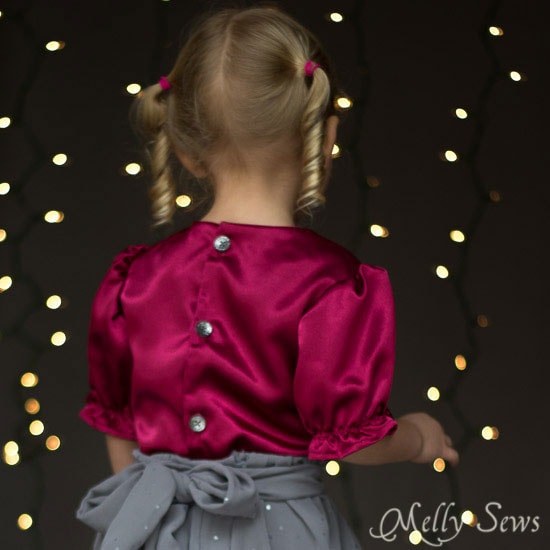
Stitch buttonholes on the bodice back. Need help with buttonholes? See this post. Overlap the bodice backs so they lie flat, and baste the bodice together with the lining around the bottom.
Place the bodice inside the skirt, right sides together and matching the center back of the bodice with the back seam of the skirt. Stitch around the waist through both layers of the bodice and both layers of skirt, and finish this seam.
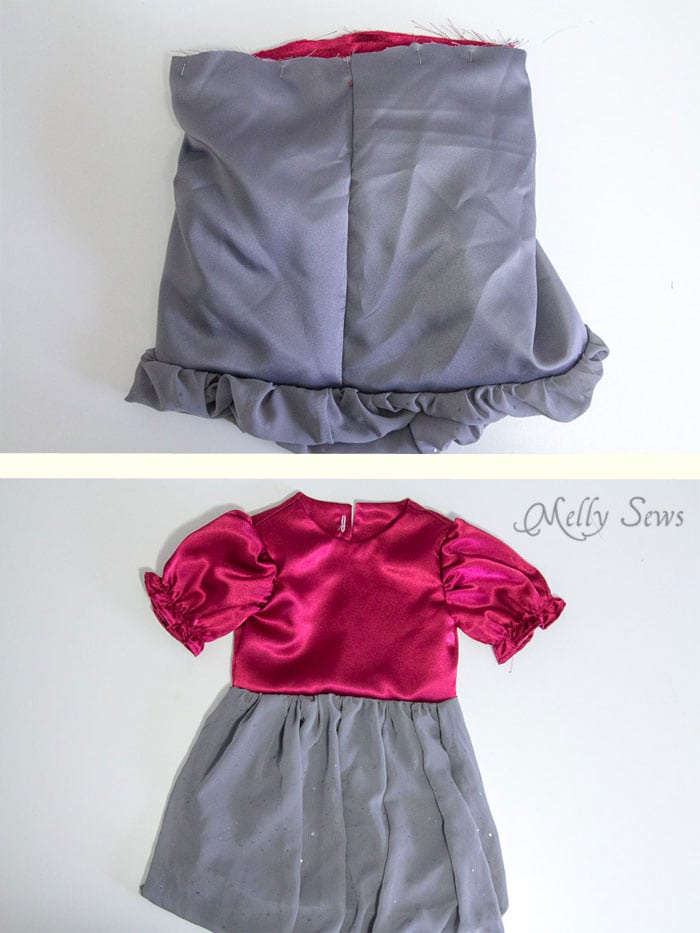
And you’re done! If you want to add a sash, I just sewed a very long (60″) tube of the outer fabric, turned it right sides out, pushed the raw edges to the inside and topstitched the short edges. I should have tacked it to the dress at the side seams before letting my niece wear the dress, but she was excited and so we went ahead and took pictures. I’ll definitely tack it on the sides before she wears it again.


Danita Courtney
Thank you for this lovely dress. It is perfect for my granddaughter! She is such a girly girl at 18 months. She is a size 3 already. VERY tall and thin. I have to alter all her clothes!
Thank you again!
Georgia
Thank you for this pattern! I have been looking for something just like this for my granddaughters. Missed it Christmas week.
Agatha R Winarni
Hi! I just started my sewing activity as a hobby. I looked at your posts very often to get some ideas what to make. It really helps!!! Warm regards from Indonesia