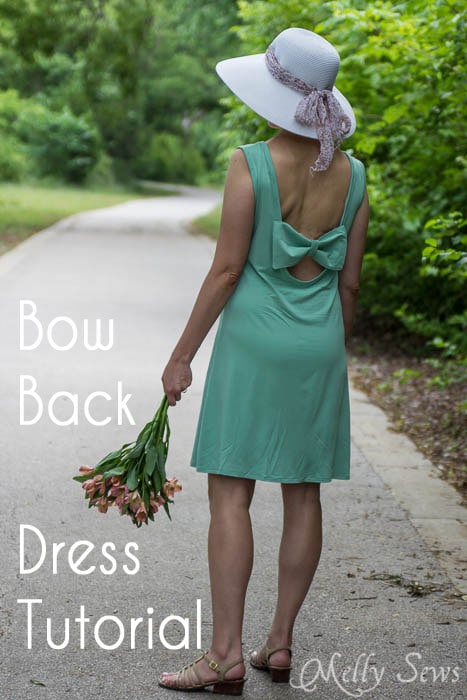
Yay! It’s the first day of (30) Days of Sundresses and I get to kick it off. Today I’m sharing this bow back dress tutorial.
Thanks to our awesome (30) Days of Sundress Sponsors – Baby Lock Sewing and Embroidery, and this week’s giveaway sponsor Raspberry Creek Fabrics – go here to enter for a chance to win a $50 store credit.
And if you want to share your sundress goodness on Instagram or Facebook, use the #30DaysOfSundresses hashtag. A small sampling:
[iframe]
[/iframe]
We have a wedding to go to this summer. Well, fall really, but September is still summer weather in Texas. It’s a wedding that’s been a long time coming – my brother-in-law is finally marrying the girl he’s been with for almost a decade. Anyone else get to go to one of those kind of weddings? We’re pretty excited, and the boys will be dual ringbearers again. And I love to sew dresses for weddings, so this one is a definite contender. That is, if it doesn’t get worn out before then.
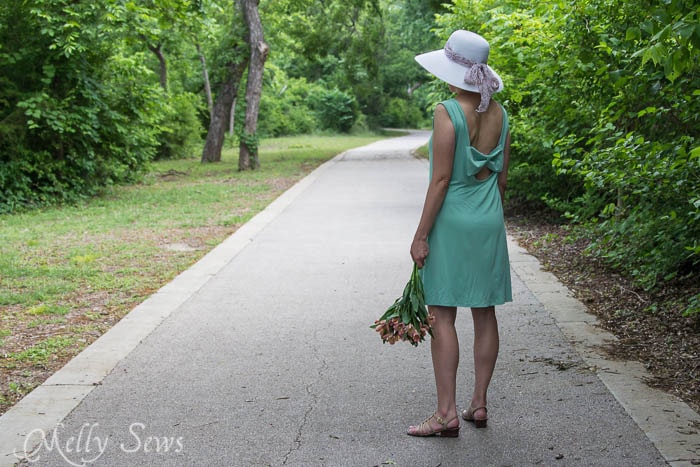
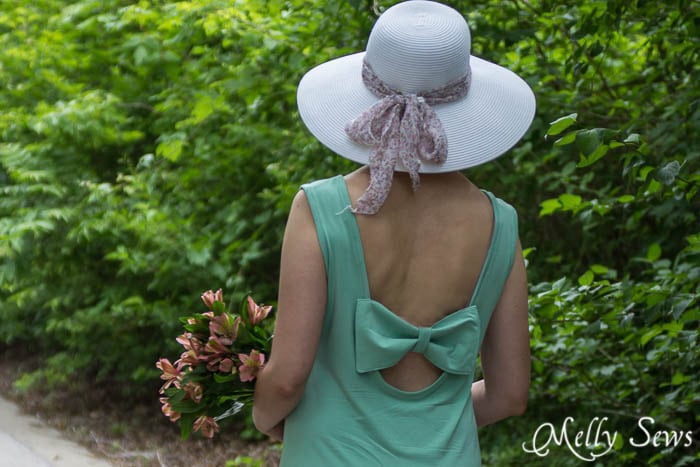
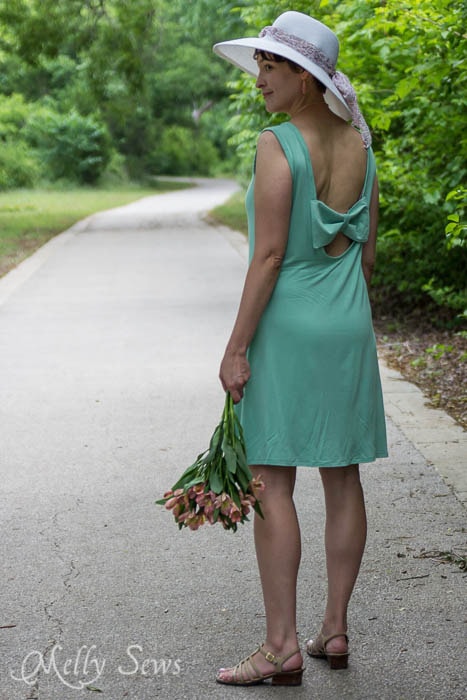
In a hot summer like we have in Texas, this open back catches the breeze. But the wide straps and the bow mean you can still wear a regular bra. And dress it up with the right accessories and it is perfect for a summer wedding.
To make your own, first you’re going to need a tank top pattern. There are several ways you could get one if you don’t have one. One way would be to rub off a pattern from a tank top you own, using this method. Another option would be to start with a bodice pattern, maybe even the free one from this post. You’ll want to cut the seam allowances off the armscyes. (Don’t know what armscyes are? Check this post).
If your bodice has a front bust dart, you’re going to want to to close it. To do this, you cut a slit in the pattern, then rotate the dart closed. This will make the side seam flare out, and you can continue this flare for an A-Line style dress.

For the back bodice, which usually doesn’t have a dart, all you have to do is draw in the A line for the skirt, and cut out the opening on the back. Drop a line straight down from the shoulder point and curve in a few inches above the waist.

To make the dress, start by sewing the shoulders and side seams, right sides together.

To finish the edges you’ll need bias tape or, if you’re using a knit like I did, knit fabric reinforced with knit interfacing to use similarly to bias tape. Your knit tape should still stretch. You want the knit interfacing to keep the armholes/back neck from sagging under the weight of the fabric and stretching your neckline down to reveal more than you want.
Sew the bias tape or knit interfaced tape around the neckline, right sides together. You want to stretch around the curviest parts in the back and the front. This is so that when you fold the tape over it doesn’t wrinkle up on the inside edge.

Sew tape around the armholes, right sides together as well, stretching the tape slightly, but not the fabric.

Fold the bias tape or knit tape to the wrong side of the fabric, folding the raw edge under, and stitch close to the edge. The WRONG side of the dress is shown below.

To make the bow, I cut a 10″ x 10″ square. You may want to make your bow piece wider depending on the size of your back opening. Fold it right sides together and stitch around two sides.

Use the open side to turn the bow right side out. Press, then press the raw edges to the inside. Topstitch around the bow to close the opening.

Pin the bow piece over where your bra strap goes – you may need to try this on to check. Measure from each shoulder seam down the neckline to make sure you have the bow piece sitting even.

On the inside of the dress, hand stitch the edges of the bow in place, sewing only through the bottom layer of the bow.
Cut a tube about 3 inches wide and 3 inches long. Fold in half, right sides together, and stitch down one edge. Turn tube right side out. Sew a snap onto the ends of the tube so that when you close the snap it forms a ring. Since I used knit fabric I didn’t worry about finishing the ends of my tube, but if you are using woven you can push the raw edges to the inside and topstitch closed like you did for the bow piece.

Snap the tube around the bow center to form the bow. When you wear the dress, you’ll snap this around your bra strap, making sure everything stays in place.

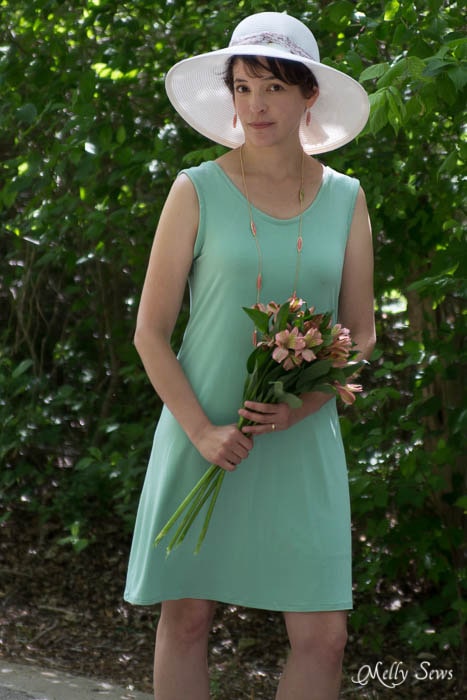
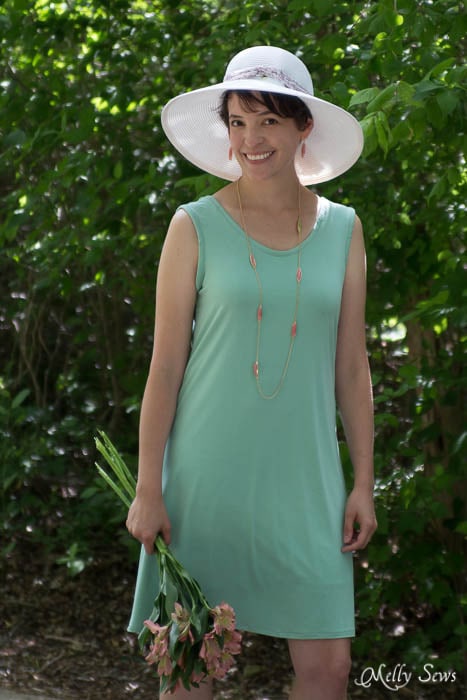
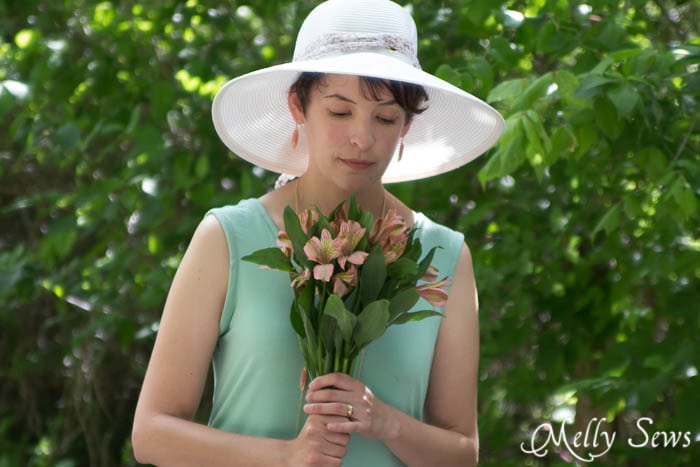
Add a big hat and some flowers and you’re styled to go!
Don’t forget to come back tomorrow – we’ve got a giveaway from Raspberry Creek Fabrics and a new tutorial from One Little Minute.

Catherine Dorsey
This has beautiful drape to it. And really quite simple to sew.
Wendy H.
I love Love LOVE this! …and the snap piece to keep your bra strap in check? Fantastic idea!
The WinterSewstice
The dress….is just so doggone cute!!!!! And I love the look.
Peggy
Thanks for one of the best and most simple summer dresses I have seen yet this year. Even with what I have seen out in the stores! I love it!
Christy
Love so much!! What weight knit did you use??
sorahart
Snapping the tube around the bra strap is genius!
Kelly T
Oh my, that’s so pretty! I think I need one…
Anne
I guess I’m old because whenever I see a scoop back top or dress, I think “yeah, but how do you wear a bra with that?” A scoop back with a bow that snaps around the bra – genius!! I’ve got a Craft Gossip post scheduled for today that links to your tutorial:
http://sewing.craftgossip.com/tutorial-deep-scoop-bow-back-dress-you-can-wear-with-a-bra/2014/06/01/
–Anne
Hannah Smith
Oh my goodness, I would never have thought about using the snap around the center of the bow to go around your bra strap to keep things in place! This is a genius of an idea and one that I KNOW I will be using many times this summer. Thank you so much you clever, clever lady 😀
Hannah
http://www.madewithhugsandkisses.com
suzanne winter
LOVE!!!!! It is simply gorgeous on you!
Emily
Pretty!
Miranda
So great! Totally genius the way it snaps around your bra strap. I’m so excited to see all of these dresses this month! Whew!
Kaitlyn
About how much fabric does this cute little dress require?
Shelley
This is such a cute dress! Simple, easy, quick – my three favorite words when it comes to sewing for summer. I have used the bow across the back to hide the bra trick, but not recently. I see a new sundress in my future. Thanks for taking time to share. Great job!
Alba
Muy bueno el vestido. Facil y nada complicado para hacerlo.
Queenie
I’ve been given 2 lots of lightweight material which I’ll make this dress with – but reversible, so no slip required. And I can make two bows so I can have a contrast or matching one. So pretty, I’ve been wondering what pattern to use as we are coming into hot weather. Thanks so much.
Maria
This is brilliant.Thank you for sharing!
Lisa Mecham
This dress is soooooo cute! I love how you could still wear a bra with it but you get all the fun of the backless dress. Plus, your tutorial is awesome. How cute would this be in black and white?! I’ll be trying this out this weekend!
Judith Pece
This is really quite clever, and very cute. I’ll try this for me, and make a version for my doll store.