
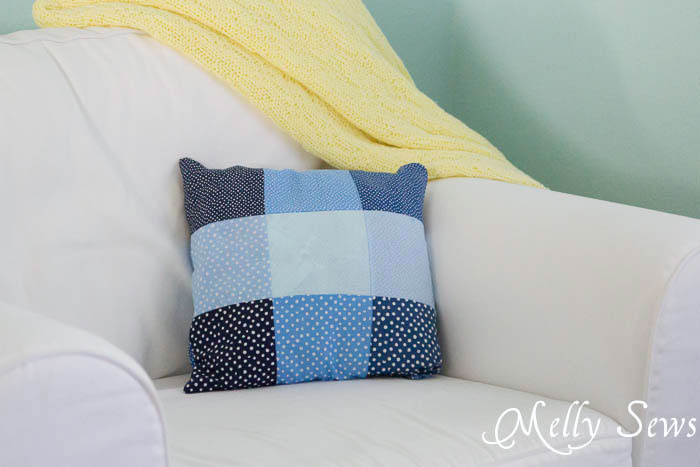
You might be saying to yourself, “Hey wait, I thought this month was about organization. Why are you showing me how to sew a pillow? How does that fit in?” And to you I say, just wait until tomorrow. In my most mysterious voice. And while you wait, let me show you how I sewed these zippered pillows.
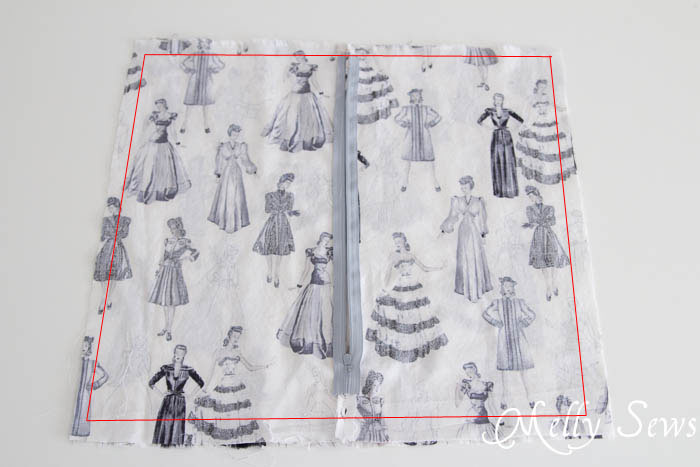
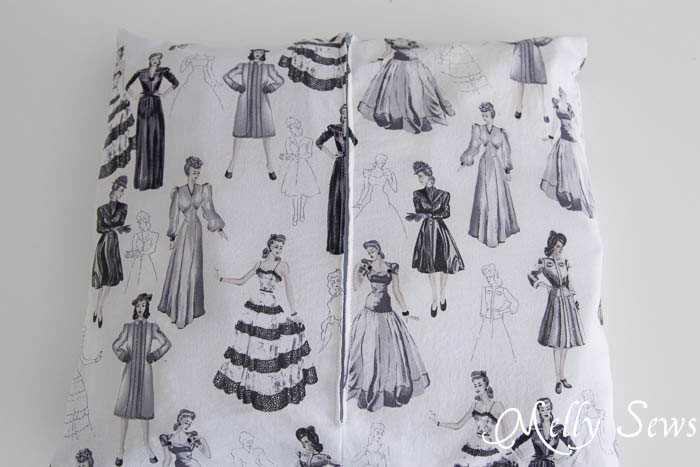
To start, decide whether you want your zipper on the center back or on the side. For the center, do this:
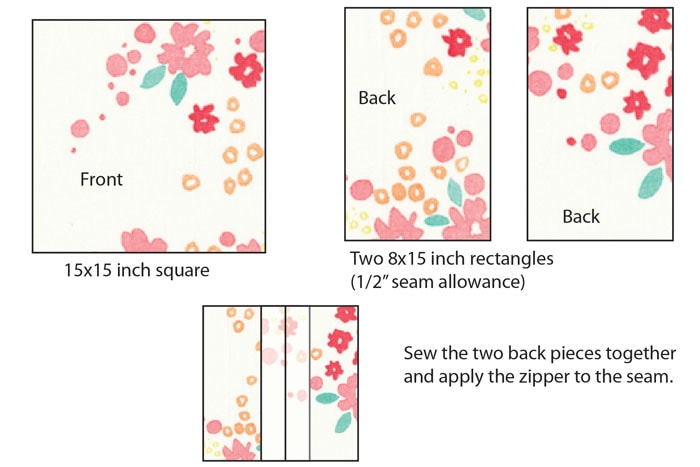
Note that these measurements are hypothetical, for a finished 14×14 pillow. You can adjust this to any size you want, as long as your rectangles for the back are each 1/2″ wider than 1/2 of the width of the front.
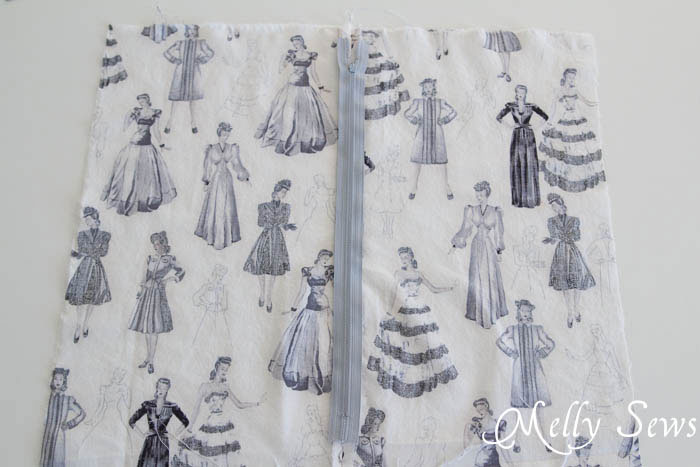
Need help applying your zipper? See this post on how to sew zippers.
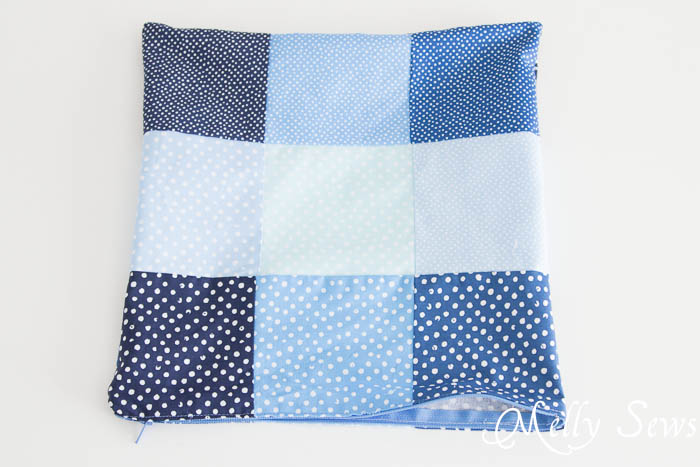
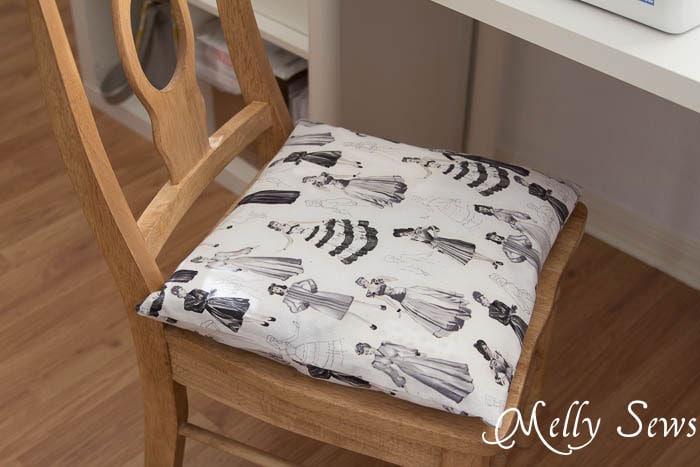
If you want your zipper on the side, do this:
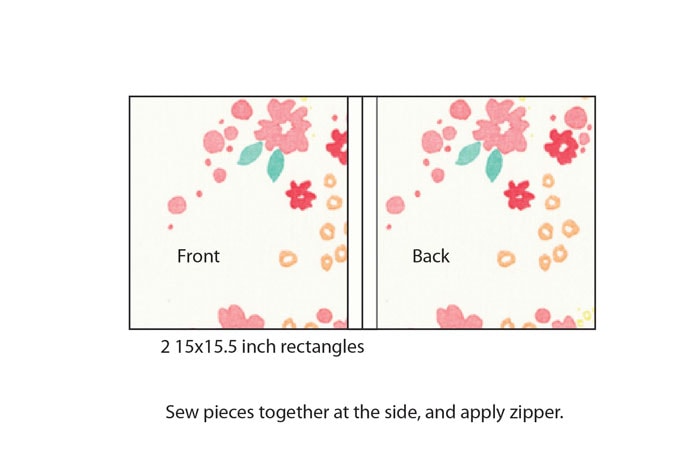
Again, the measurements are hypothetical, just make sure each piece is 1/2″ wider than it is tall and you’ll get a square that way.
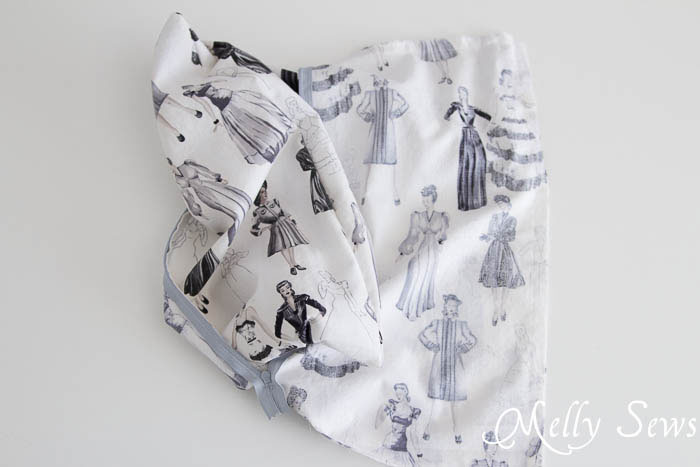
Once your zipper is installed, unzip it and sew around 4 sides (for a center back zipper) or 3 sides (for a side seam zipper.
Clip your corners and turn right side out.
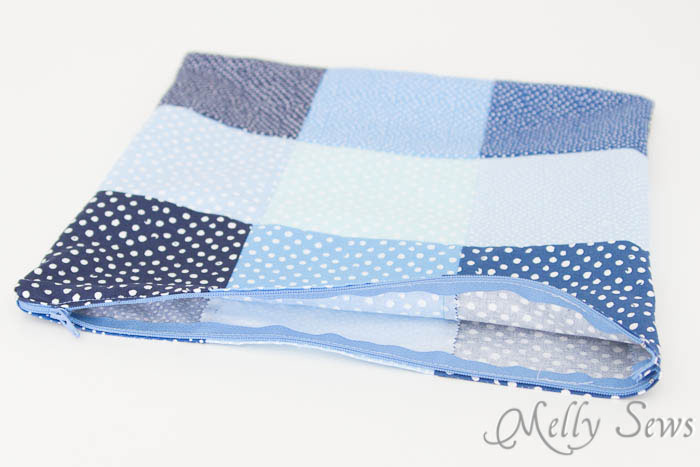
Stuff with stuffing, foam or a pillow form, and zip it shut.
Done!
And like I said, more on how these pillows fit into organization tomorrow. In the meantime, maybe you can try to get a sneak peek at my new studio. Observation number 1 – no more carpet.
nancy
hi
I was on line to day and I seen the table for ironing board . so I thought I make one . since I have two tables
and I try it out today . which it took me and hour ,to do . and I love it so much .
I am going to make one for my niece .thank you