
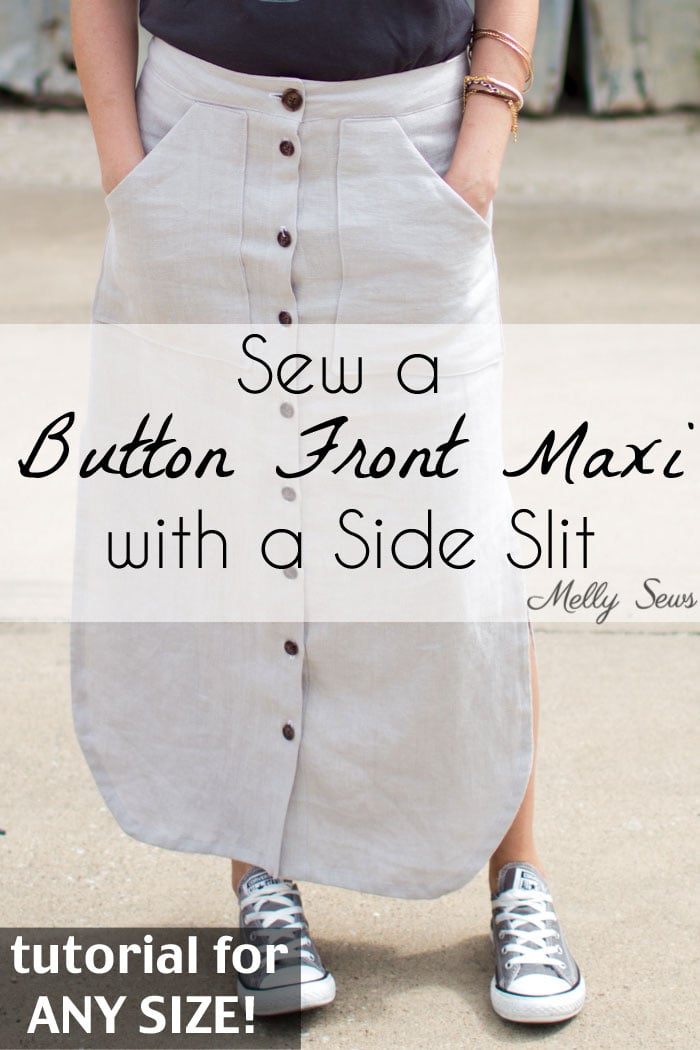
Hey y’all – today I’m going to show you how to sew a side slit. So I ordered this linen fabric a while back that was described as gray…a description I don’t think it fits, and I did not use it for my original intent while ordering (which was the Forsythe Trousers in this post).
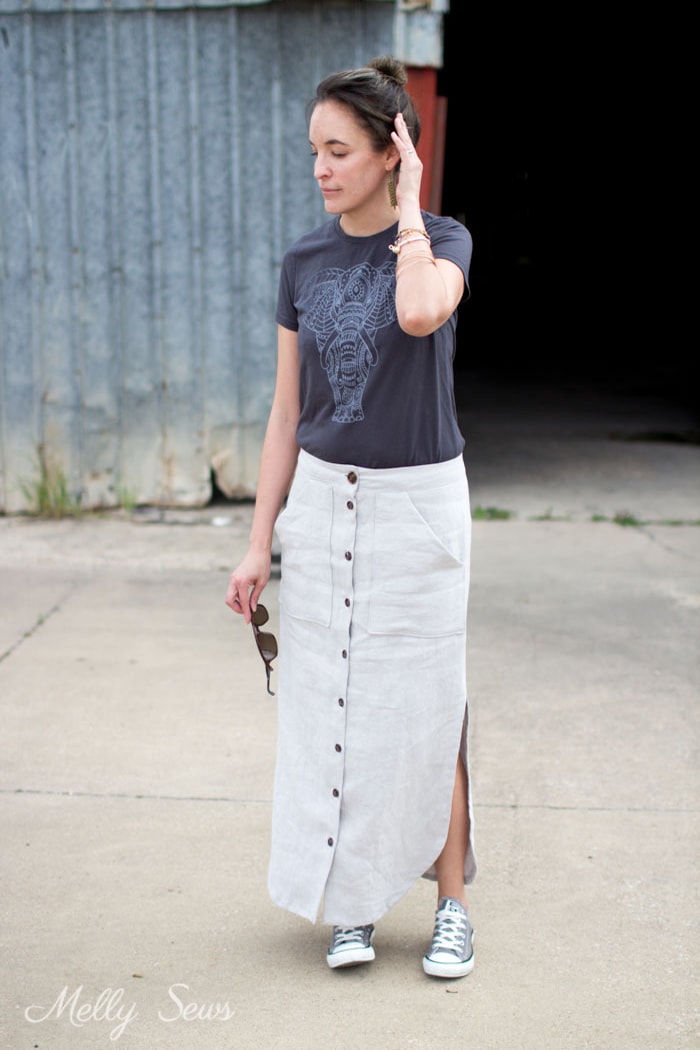
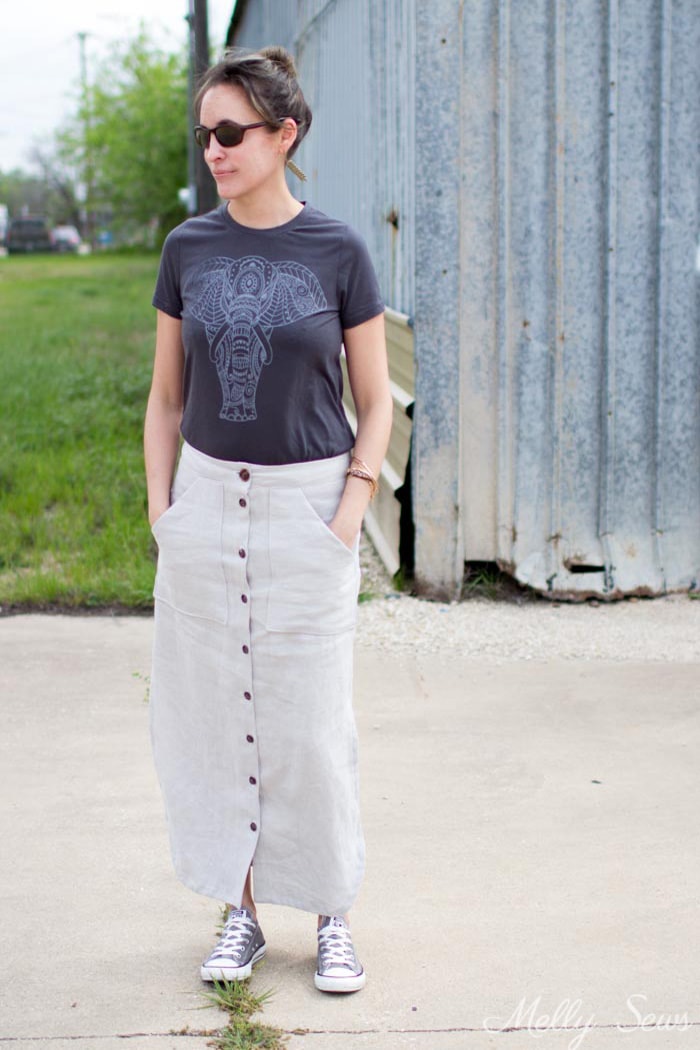
But it was nice linen even if it was the wrong color, and I didn’t want to mess with returning it, so I kept it. And in thinking about my closet – in which I need more neutral basics – I decided to make this skirt with side slits. And it’s actually super comfy.

Not only is it perfect for the cold/hot/cold spring weather we’ve been getting, it goes quite well with a tshirt and even sneakers while not being as tight as pants, so I’m kind of enamored with it. My hair, on the other hand, not so much. It’s now long enough to put in a sock bun, which I find myself wearing often along with ponytails and…more ponytails. Seriously contemplating whether I should just whack it off again.

But I digress. Today we’re here to talk about the skirt, not about my hair.
To make your own, you’ll need:
- about 1-2ish yards of fabric, depending on your size and height
- some fusible interfacing – 2 strips 1 inch wide and the length of your skirt plus enough to cut a waistband, so around 1 yard.
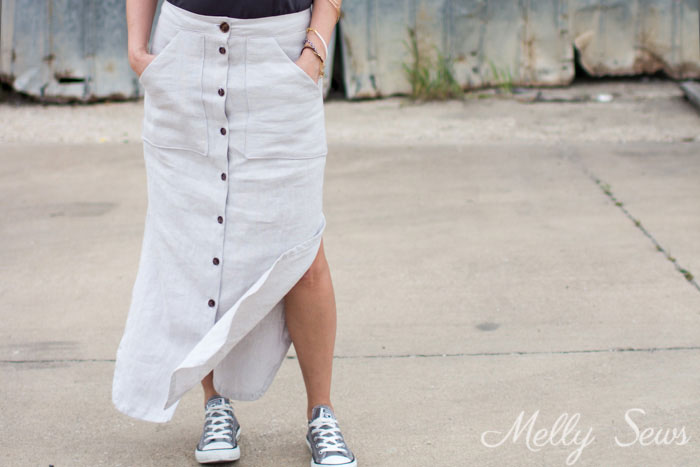
- Buttons. I used 1 1inch button and 8 3/4 inch buttons for mine, but I kind of wish I’d had a 9th button on hand because I’d like them to be just a little closer together
- Double fold bias tape, around 1 yard. I made my own.
So I’m going to mash up techniques from a few posts today in order to show you how to make this skirt. To start, you’ll need to check out this post about drafting a skirt block (it’s not hard, I promise!) and then once you’ve got your own personal skirt block, here’s how you’ll alter it.
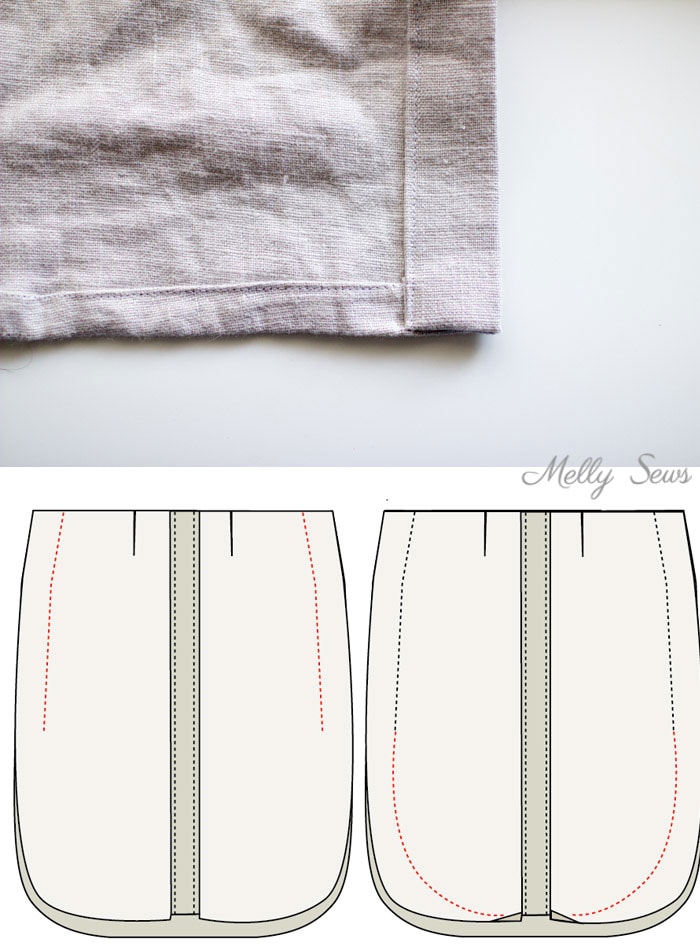
To start, trace off your front and back blocks, then draw a line 1 1/2 inches down for the waistband.
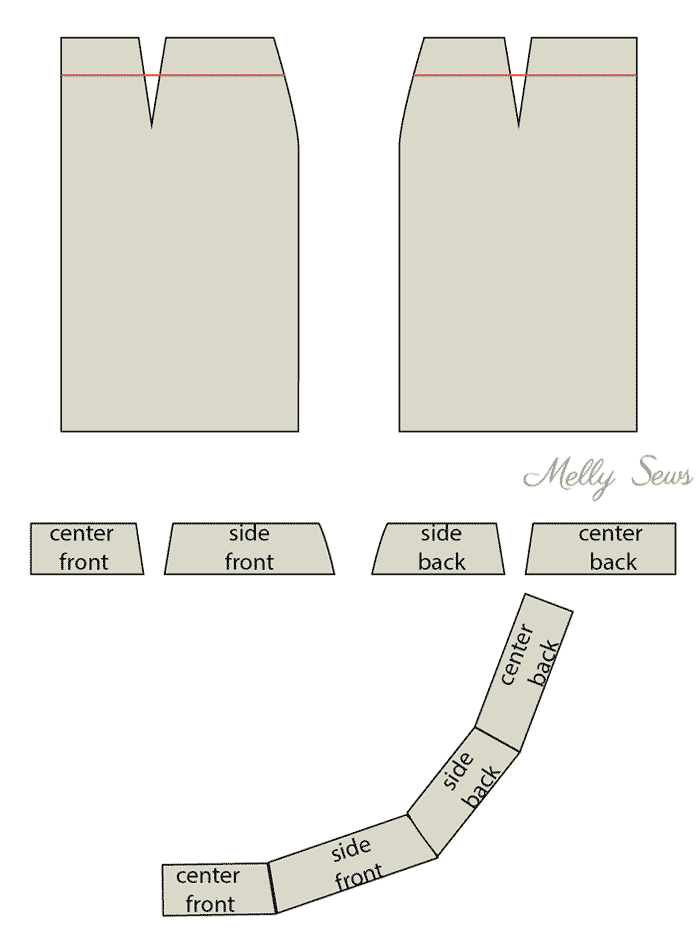
Chop off the waistband pieces and tape them together as shown above. Then add a 1/2 inch seam allowance all the way around the waistband except at center front, where you want to add 1 inch.
Next, add length to the bottom of each block, curving the side seams. How much length to add depends on your height and the length of your block.
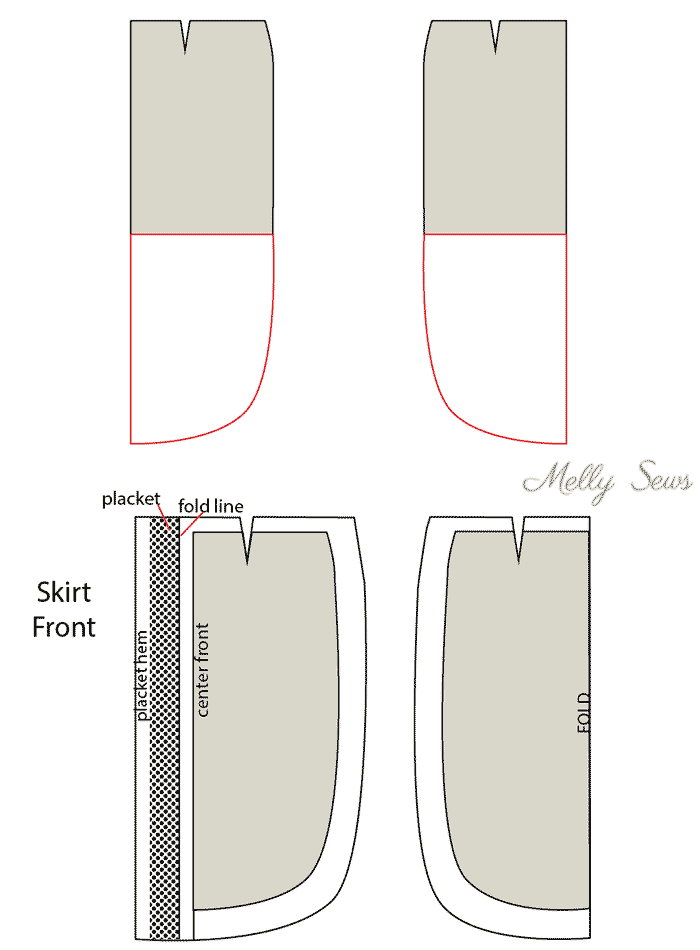
Next, add 2 inches for a front placket to the skirt center front, 1/2 inch seam allowance to the waist seam of the front and back pieces, and 1 inch to the side and bottom edges of the front and back, as shown above.
Cut out two skirt fronts and one back on the fold. Mark darts, and fuse interfacing to the placket wrong sides as sort of shown below – I forgot to change the color of the skirt front to my wrong side color, but that is the wrong side. Also mark the knee length point on each skirt front.
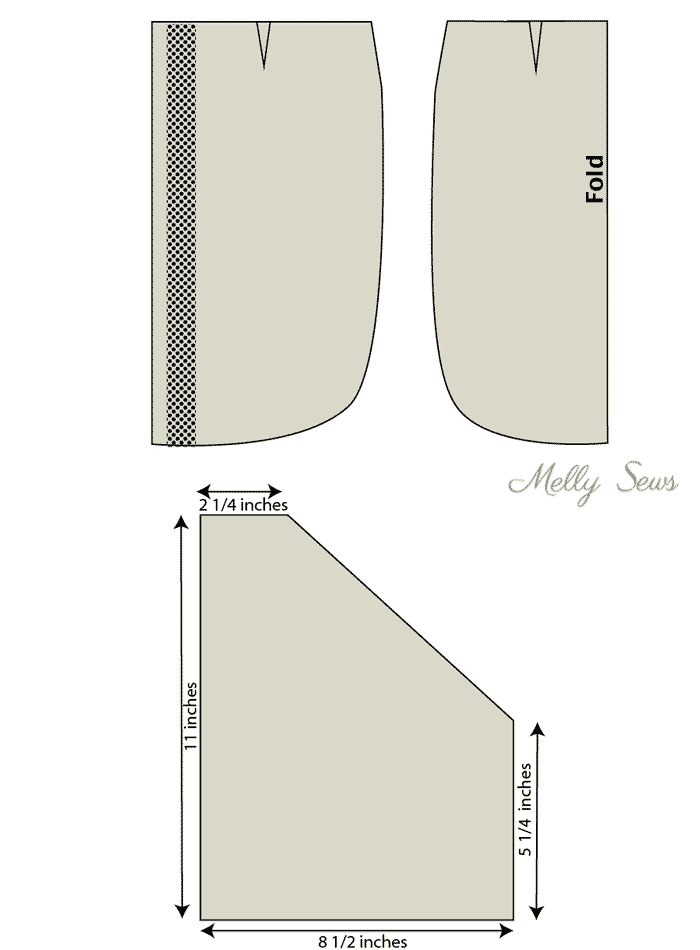
Also cut out 4 waistbands (2 of each side mirrored) and 4 pocket pieces. I used a letter sized piece of paper with 1 corner chopped off, dimensions shown above.
Sew the darts on your skirt fronts and skirt back.
Prepare your front plackets: Fold in 1/2 inch to the wrong side on each center front edge and press. Then fuse the 1 inch wide interfacing strips with their edges lined up agains the crease lines you pressed on each center front. Then fold the center front edges again 1 inch to the wrong side and press again. Now you have two 1 inch wide front plackets.
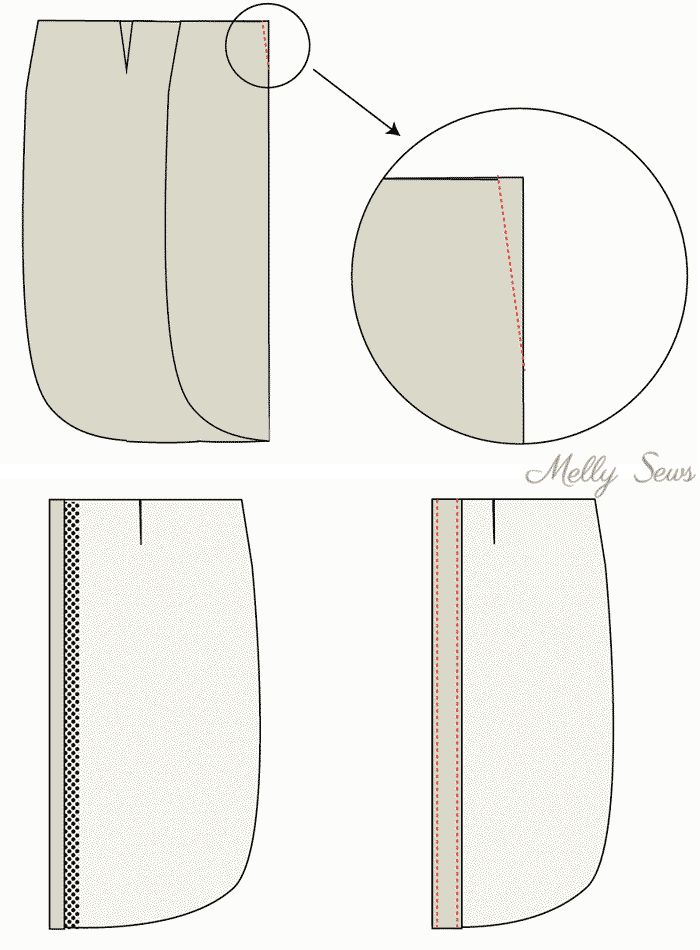
At the bottom of each placket, turn the placket back so it is right sides together with the center front, and stitch across the placket only 1 inch from the bottom edge. Turn right side out; this gives each lower front corner a nice finish without a turned hem there. Topstitch down each edge of the each front placket. For more pictures of how the front placket is formed, see this post, I did it exactly the same way.
Next, sew the skirt fronts to the skirt back at the side seams, using a 1 inch seam allowance as shown above left. Backstitch at the knee length point. Then switch to a basting stitch and baste through a single layer of fabric all along the front, back, and other front skirt pieces. This basting stitch is going to help you create the front hem.
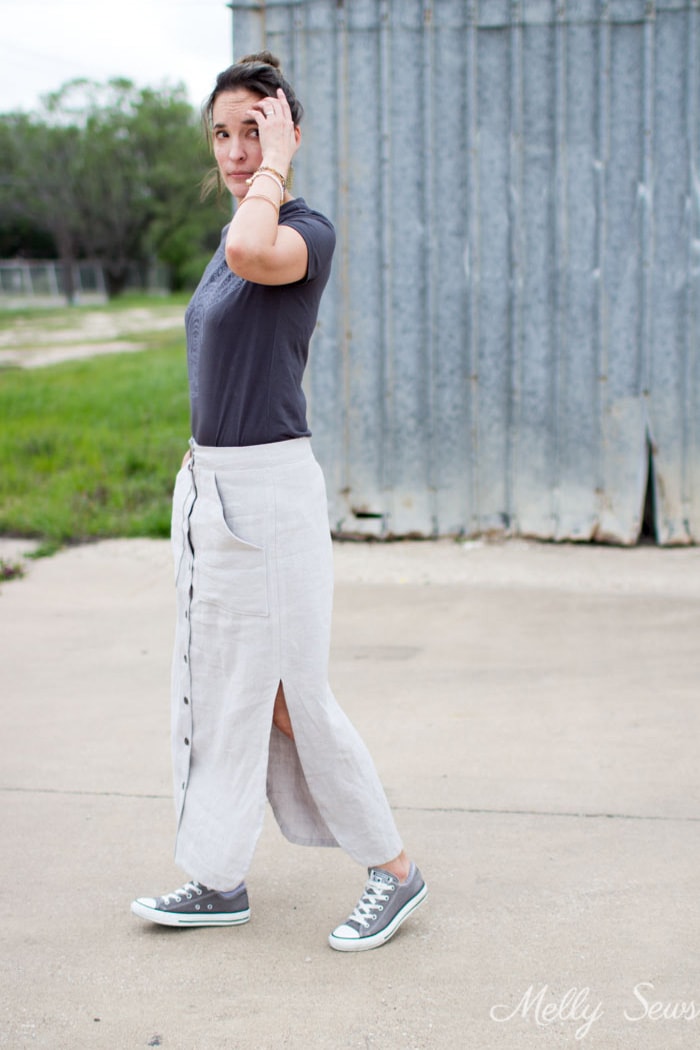
Turn the raw edges of each seam allowance under – the same way I did on this skirt – to finish the edges. Press the hem to the wrong side along the basting stitch. Then continue folding the hems under, using the basting stitch as a guide and folding the raw edges back to meet the basting and pressing as you go. The inside of the hem will wrinkle around the curves, but the outside will lay flat. Topstitch along the folded edge all the way along each side seam and hem. When you’r done, the sides of the skirt will look like the image below.
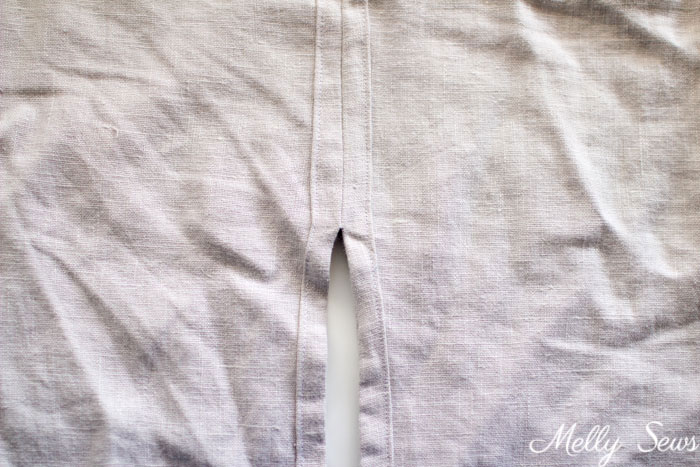
So you’ve created fully finished side slits! Now create the pockets like I did in this skirt, omitting the folded back flap (because it’s cut off in this skirt).
And then sew and attach the waistband just like I did in this post.
Finally add the buttons. I use this tool (affiliate link) to space mine out. And you can see this post about sewing buttonholes and this video about sewing buttons on if you need help with either of those steps.
And you’re done!
Bracken
Thank you. Love the skirt but especially thanks for the pockets. I really need that for a current project and its so simple design-wise that my poor head couldn’t cope with it!!
Ame
Melly, I was recently reminiscing and longing for a long button front denim skirt I had many years ago, which has somehow disappeared. It was so flattering with knit hugging tops. And now, miraculously, you are showing me how to make one. Yeh! Thank you. p.s. I’ve got many yards of neutral duck fabric which I haven’t used yet. How do you think duck would work?
Gytha Ogg
Thanks for the tutorial, and also, that’s a very beautiful t-shirt!