
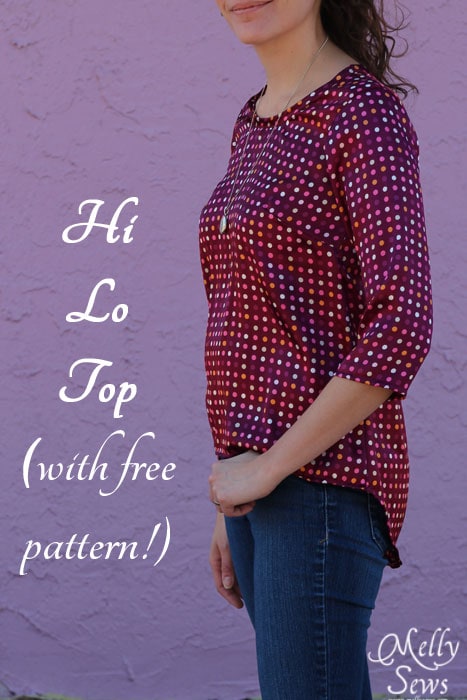
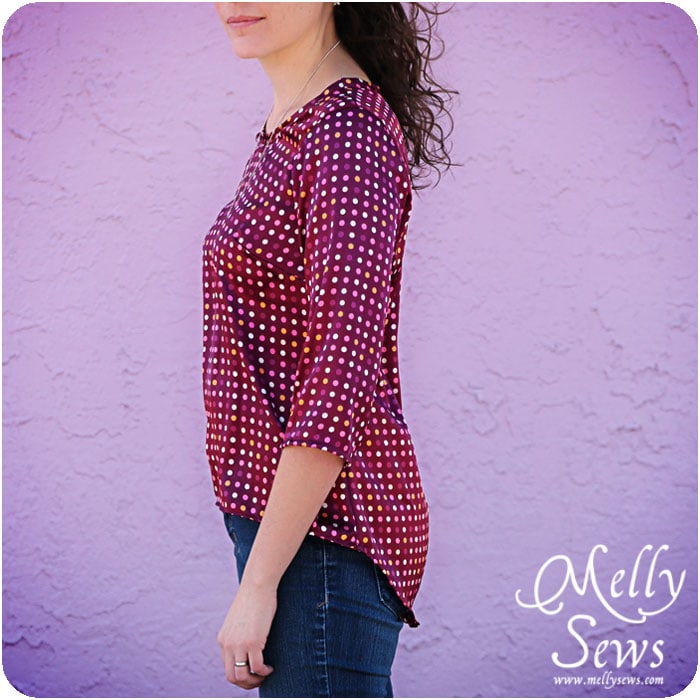
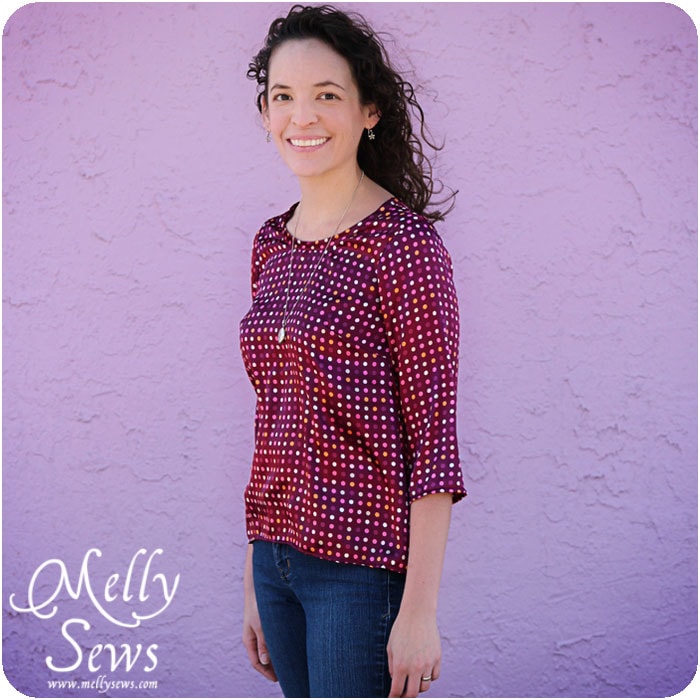
Today I’m going to share a high low shirt tutorial and share the free pattern. This is a really easy shirt to sew (I will be making more) as long as you take a few things into consideration.
A few caveats:
- Pattern is drafted for a size small (34″ bust). The darts will have to be adjusted for a fuller bust – luckily you can find a great tutorial here on how to do a bust adjustment. If you need to make the pattern bigger or smaller, check out this post.
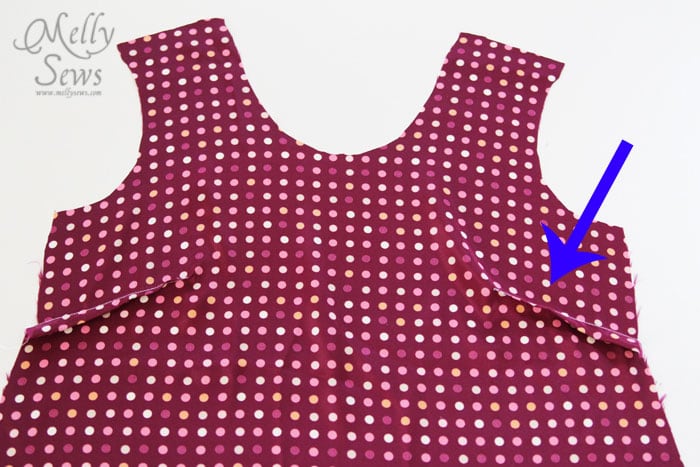
- I have forward shoulders. You can see them very clearly below. If you do not have forward shoulders, you will want to add about 1/2″ to the front shoulder edge. How do you know if you have forward or straight shoulders? Stand with your back against the wall. If the backs of your arms touch the wall too, you have straight shoulders. If not, you have forward shoulders. This is a skeletal thing, not necessarily a posture thing.
- The finished shirt measurements are about 35″ bust, 40.5″ hips and 26″ from neck to finished edge in the back.
- I DO NOT recommend using quilting cotton for this shirt – it won’t flow. I used a polyester blend woven fabric. Make sure whatever you use has some drape to it. You could probably also make this out of knit if you wanted to.
- Finally, because of the things listed above I highly recommend you make a muslin with the front, back, and at least one sleeve before cutting into the good fabric.
So, are we good? Ok. To make this you’ll need:
- 1 1/4 yd of 58/60″ wide fabric
- The pattern, see below
How to Get the Pattern
The pattern is in a women’s size small (34″ bust). If you need to make the pattern bigger or smaller, check out this post. To get this pattern, click your preferred option from the buttons below as a newsletter subscriber or gallery access pass purchaser. Note that the free version of the pattern does not have printable instructions.
 |  |  |
Please note that all my free patterns are licensed for personal use only (no selling items made from this unless you purchase it) and by downloading you are agreeing to this license.
Instructions
1. Print and assemble pattern according to the instructions on the first page. Cut out your fabric according to the directions on the pattern pieces. IN ADDITION TO THE PIECES ON THE PATTERN, YOU WILL NEED 24 INCHES OF DOUBLE FOLD BIAS TAPE TO FINISH THE NECKLINE. You can make this out of the same fabric as the shirt as I did.
Use a 1/2″ seam allowance for all seams.
2. Sew the bust darts.
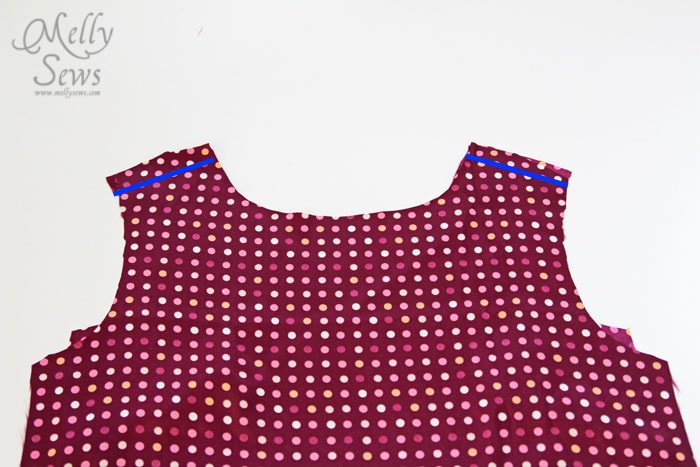
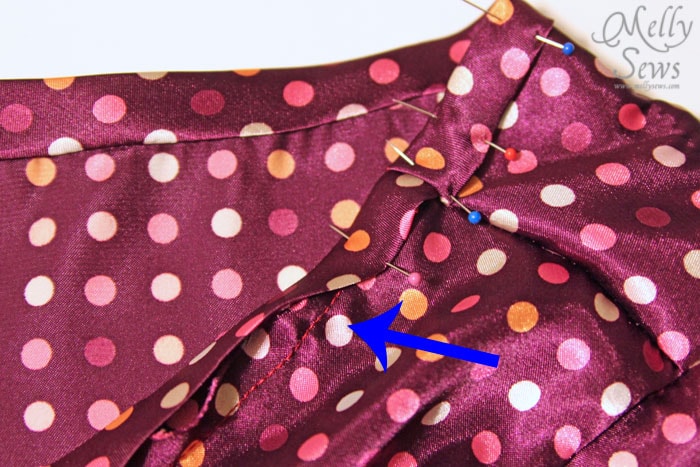
3. Sew the shirt front to the shirt back at the shoulders, right sides together.
4. Sew in the sleeves.
5. Sew the underarm seam and the side seams all in one seam.
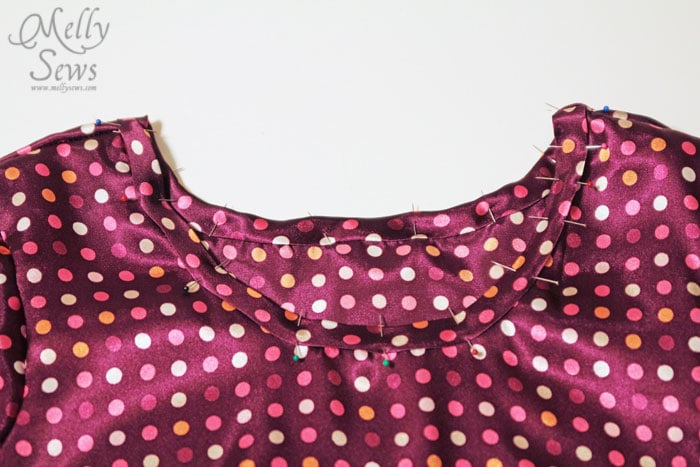
6. With the shirt inside out, unfold and pin the bias tape around the neckline. You will fold the raw short edge of the bias tape under when you begin, and overlap the tape at the end. The edge of the bias tape should be even with the edge of the neckline. Stitch in the fold closest to the neck edge on the bias tape.
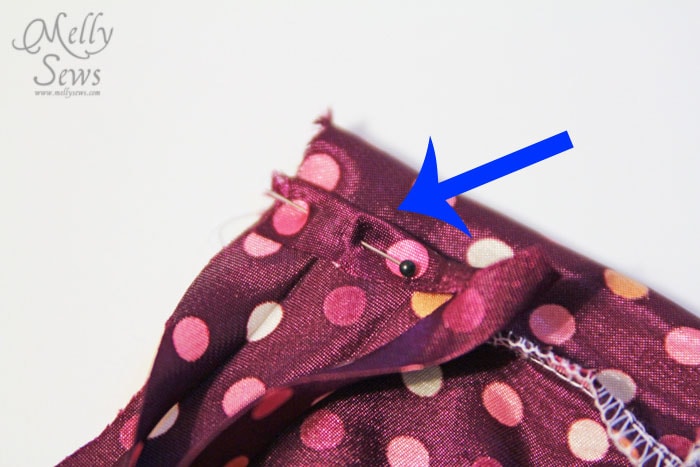
7. Turn the shirt right side out. Fold the bias tape to the outside of the neck and pin, covering your seamline from step 6. Topstitch in place, close to the edge of the tape. The folded short edge should cover any raw edges, and you will want to stitch this piece down as well.

8. Hem the sleeves and bottom edge of the shirt.
Wear your new shirt!

If you enjoyed this post or have any questions, I’d love a comment to let me know.
Peggie
Wow do I have to enlarge if it is for a small 😉 Thanks, I just love this blouse!
Carol
Is this for knit fabric. I didn’t see it mentioned anywhere, but assume if the fabric is 60″ wide, it must be. Thanks. What an adorable top! Nice job.
Danietta Lucas
Hi! I just wanted to post to your comment- She mentions it above: I DO NOT recommend using quilting cotton for this shirt – it won’t flow. I used a polyester blend woven fabric. Make sure whatever you use has some drape to it. You could probably also make this out of knit if you wanted to.
Jen Schumann
Melissa,
I love this top! So great.
Quick question for you… I stood against the wall and for sure I have rounded shoulders too. In general with other patterns, especially fitted ones, would adjusting the shoulder seam help the back neckline not gape? Or maybe that is another adjustment!
kristin
So pretty, Melissa!! Thanks for the free pattern! 🙂
Fosterf
Love the polka dots. You can’t beat a free pattern! Stopping by from Sew Country Chick.
JB
this top it lovely! i’m really liking hi-low tops at the moment :] thanks for sharing!
Jordan – jbseatsandtreats.blogspot.com
Sumo
I am so in love with the high low trend right now. And I think it’s about high time that I sew something for myself. Thanks for the inspiration! I’ll be featuring this on my blog tomorrow!
http://www.sumossweetstuff.com
Thanks for linking up!
Sumo:)
Debbie
I know I’m the only one here that doesn’t know how to convert the pattern to adobe reader..can someone help me..
Thanks,
Debbie
Rachel
I’ve been interested in trying this style, thank you for the pattern. No standing against a wall for me- round shoulders it is!
Amy Mayen
So cute! Thanks!
K-Sue
Thank you – I look forward to trying this…in a somewhat enlarged version 🙂
kirsten larsen
hi – just printed and ready to start. does anyone know if I need to add a seam allowance like with the burda patterns or do I just cut?
Vernelle
Melissa –
This is one of the most adorable, yet functional tops I’ve seen in a long time. I love the fabric choice and it’s easy to assemble. Also looks like it would be perfect with short sleeves or no sleeves at all! Keep up the good work.
Corey
Love this pattern and tutorial! I made myself one of these tops last week with Anna Maria Horner’s rayon challis material and it came out great!
I’ve added pics to your Flikr pool, pinned it on Pinterest, and blogged about it here:
http://counterpane.squarespace.com/my-craft-journal/2013/8/10/challis-hi-low-top-for-me.html
Thanks Melissa! 🙂
Amanda
I used this pattern with a client and it fit her great! She is a size 2 and very busty. it was the perfect beginner pattern!
Amy B.
Hi. I love this top. I need to enlarge the pattern, especially the length, and I am not sure where to slash and spread in order to keep the lovely lines of the top. Any chance of a tutorial for this project?
Thanks!
Susan
Thanks for the free pattern! Is 5/8″ seam allowance included on the pattern or do I need to add?
tata
thanks for the free pattern! cant wait to try it 🙂
Jo
Thank you for this pattern, I love it 🙂 I have just done a blog post on it too: http://bubalablog.blogspot.com.au/2014/05/melly-sews-hi-lo-top-and-mmm14.html
Penny
I made tyour High Low top, it does fit but just a tad small, will it be available in different sizes soon? It is a great top! I love to look!
Natalie
Love your blog. Very helpful and inspiring. Thank you!
catherine robets
Thank you heaps for this wonderful magazine
Pamela Frederick
Hello:
This looks so very nice on you (or whoever your model is).
I am waiting now for the free pattern email. I need to make one in the XL size. I think I may try my hand at enlarging the pattern. I’m not sure how it will turn out but, I thought it would be worth the try.
Could you consider offering this pattern in a variety of sizes? Especially plus sizes? It’s difficult at times to find stylish looking patterns if you are not S/M or L.
I think there would be a market for the larger sizes if you should decide to venture that way!
Thanks,
Pam Frederick
Sandy
Thanks for you free pattern
D
Another really good tutorial. You make things so much easier for me. I am so glad I found your website. I may be a few years late finding it, but I am very pleased I did as am gaining confidence with your guidance. thank you.