
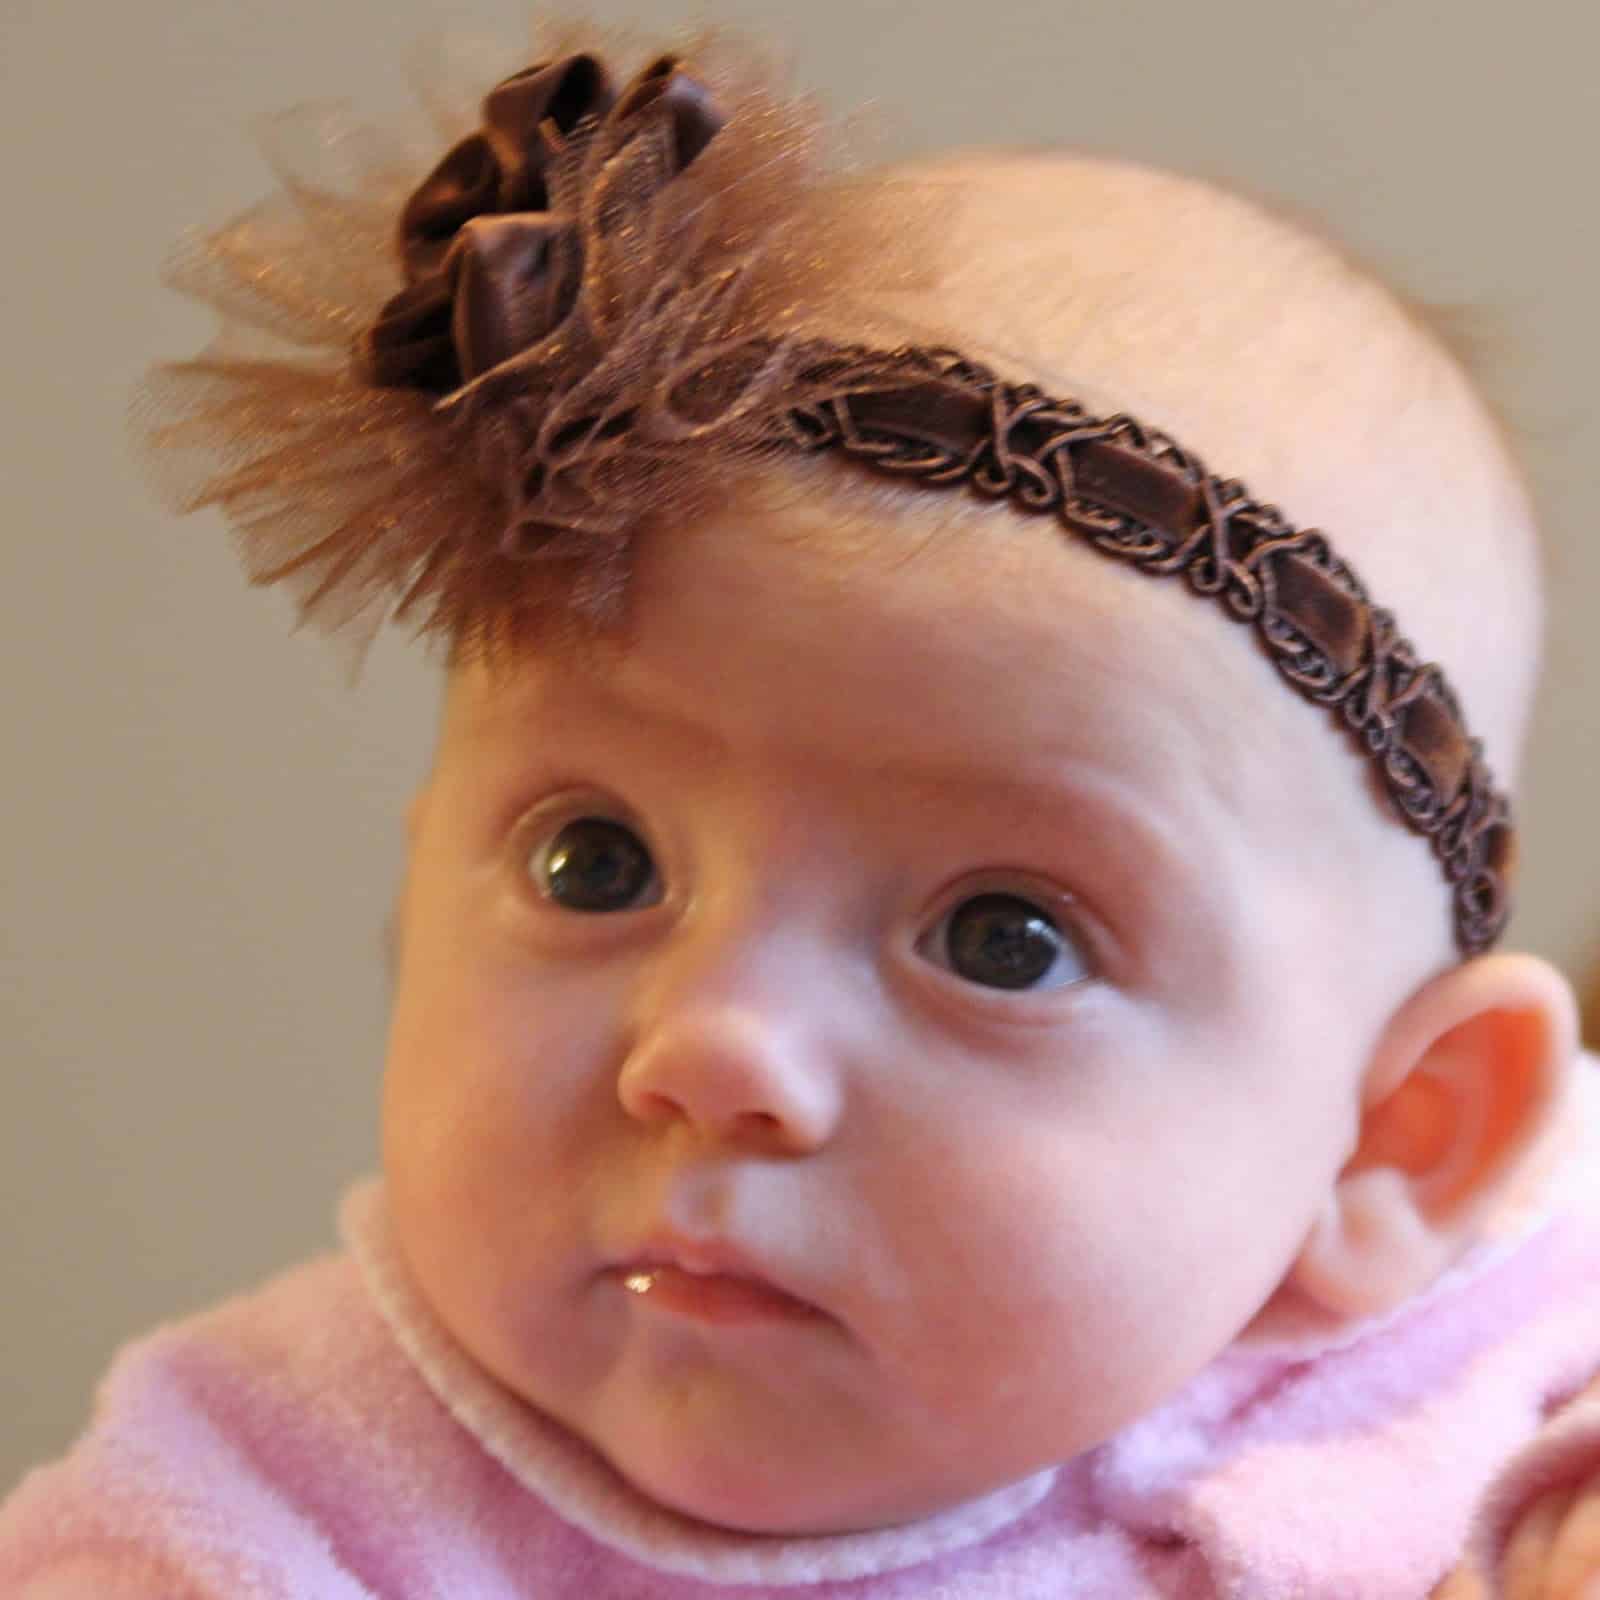
Today I made this tulle headband
from the scraps left over after I made my Tulle Ruffle Skirt
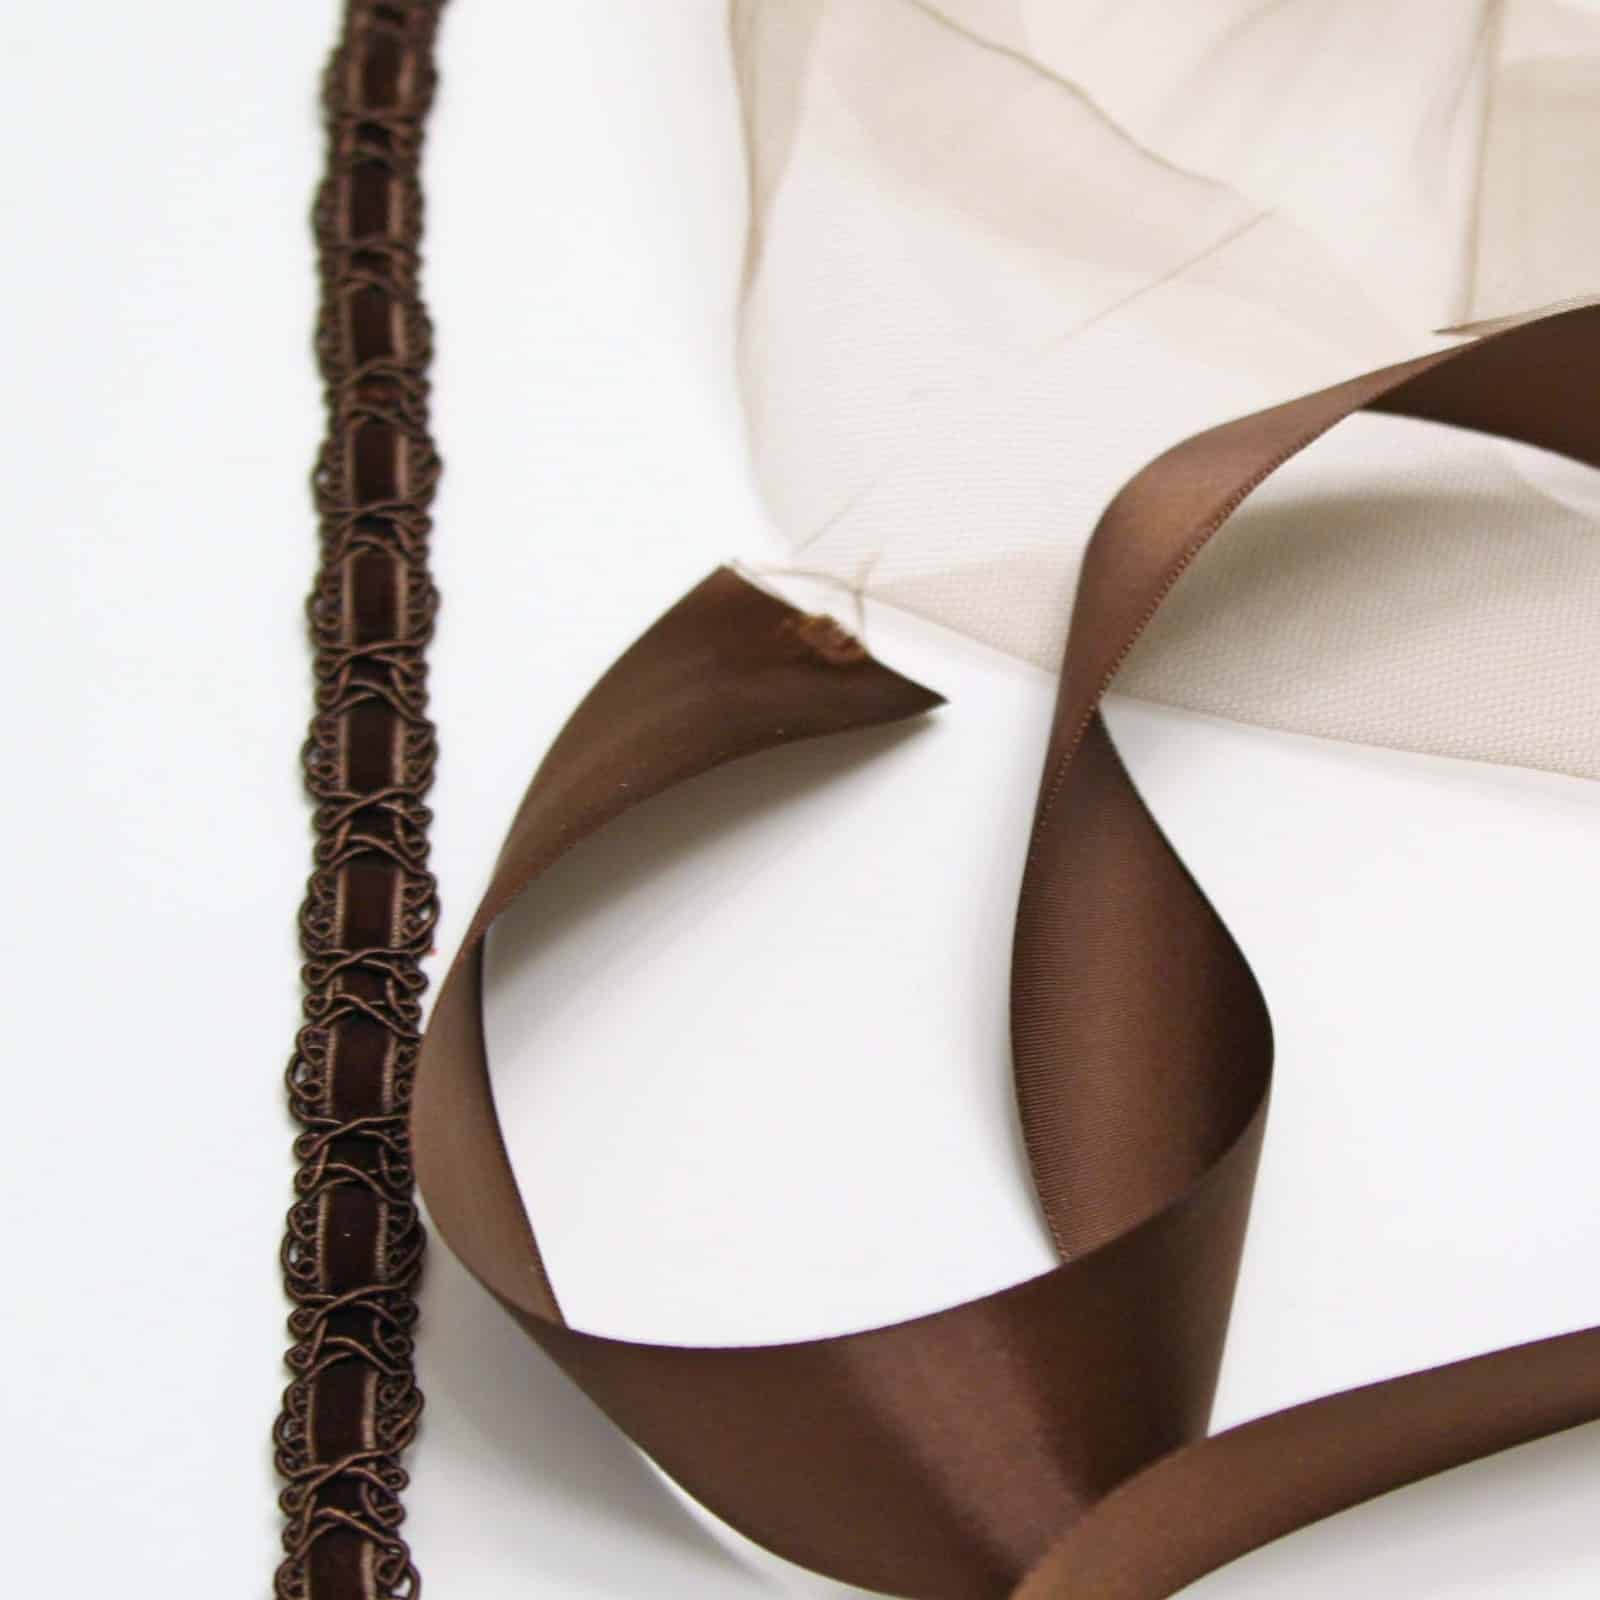
and some 2 inch brown satin ribbon.
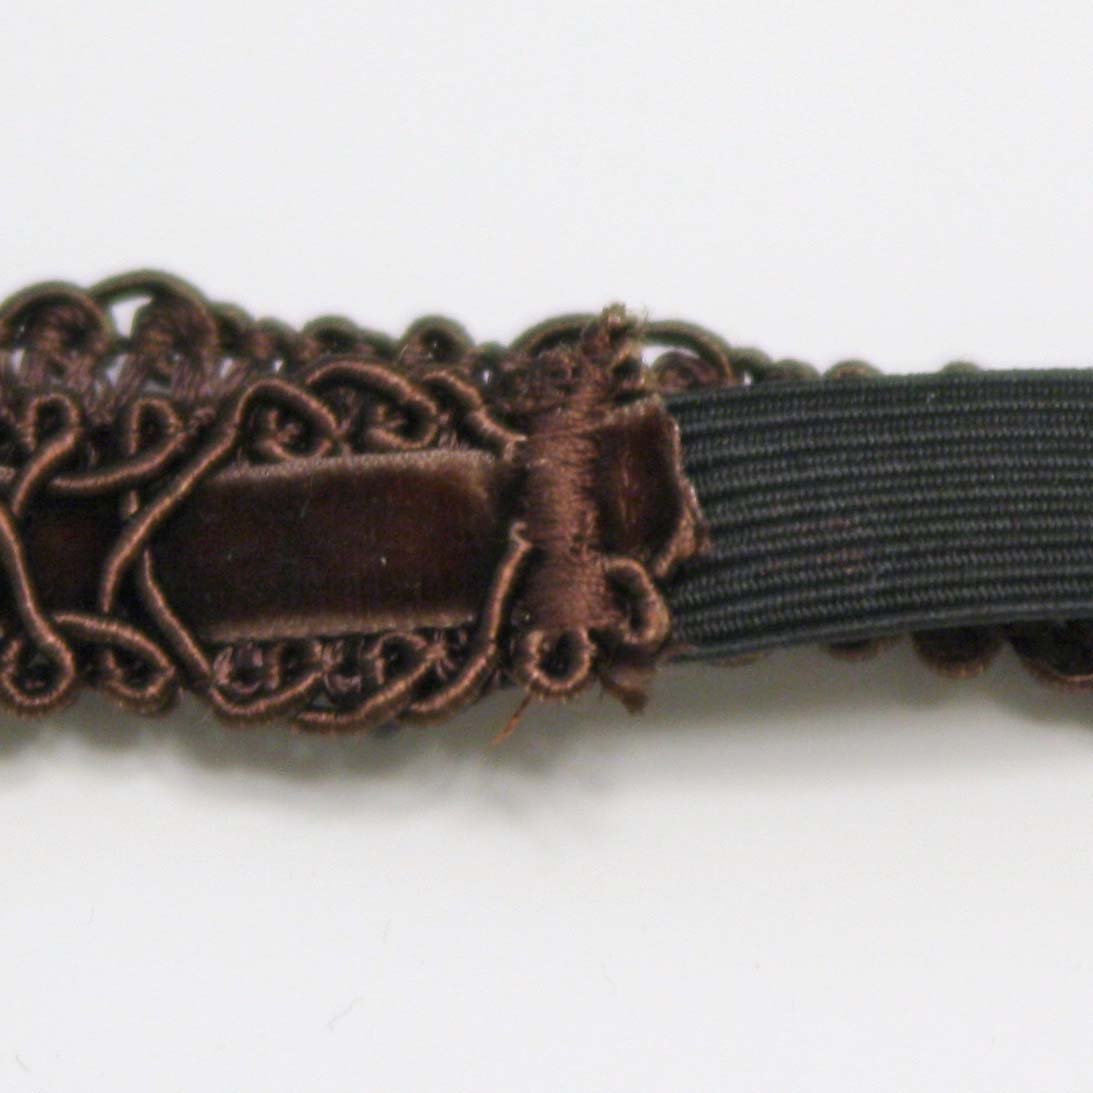
I had an 11″ left over piece of the velvet ribbon, and about 40 inches of 3 inch wide tulle. Here’s what I did. First, I sewed black elastic to each end of the velvet ribbon with a satin applique stitch (basically the widest zig-zag and the shortest stitch length on my machine).
Then I wrapped the tulle around a 3 inch piece of cardboard

I slid the tulle off the cardboard, and wrapped thread very tightly around the center.
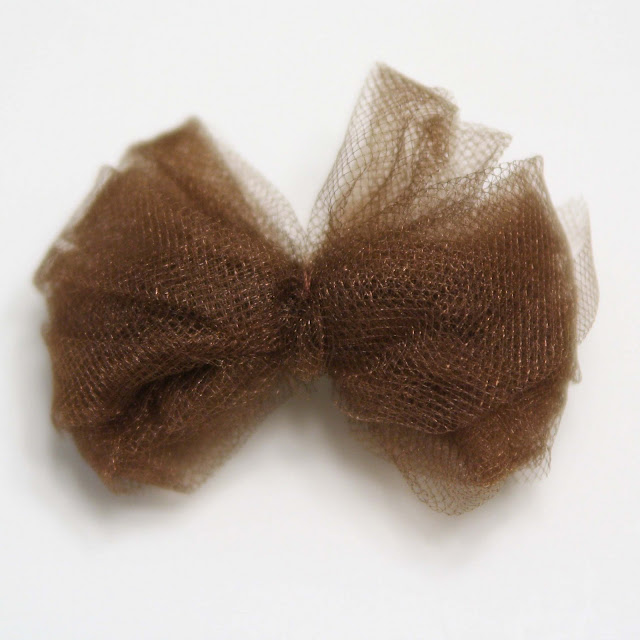
I cut through the loops at the ends, and that made the pom-pom pouf part of the headband

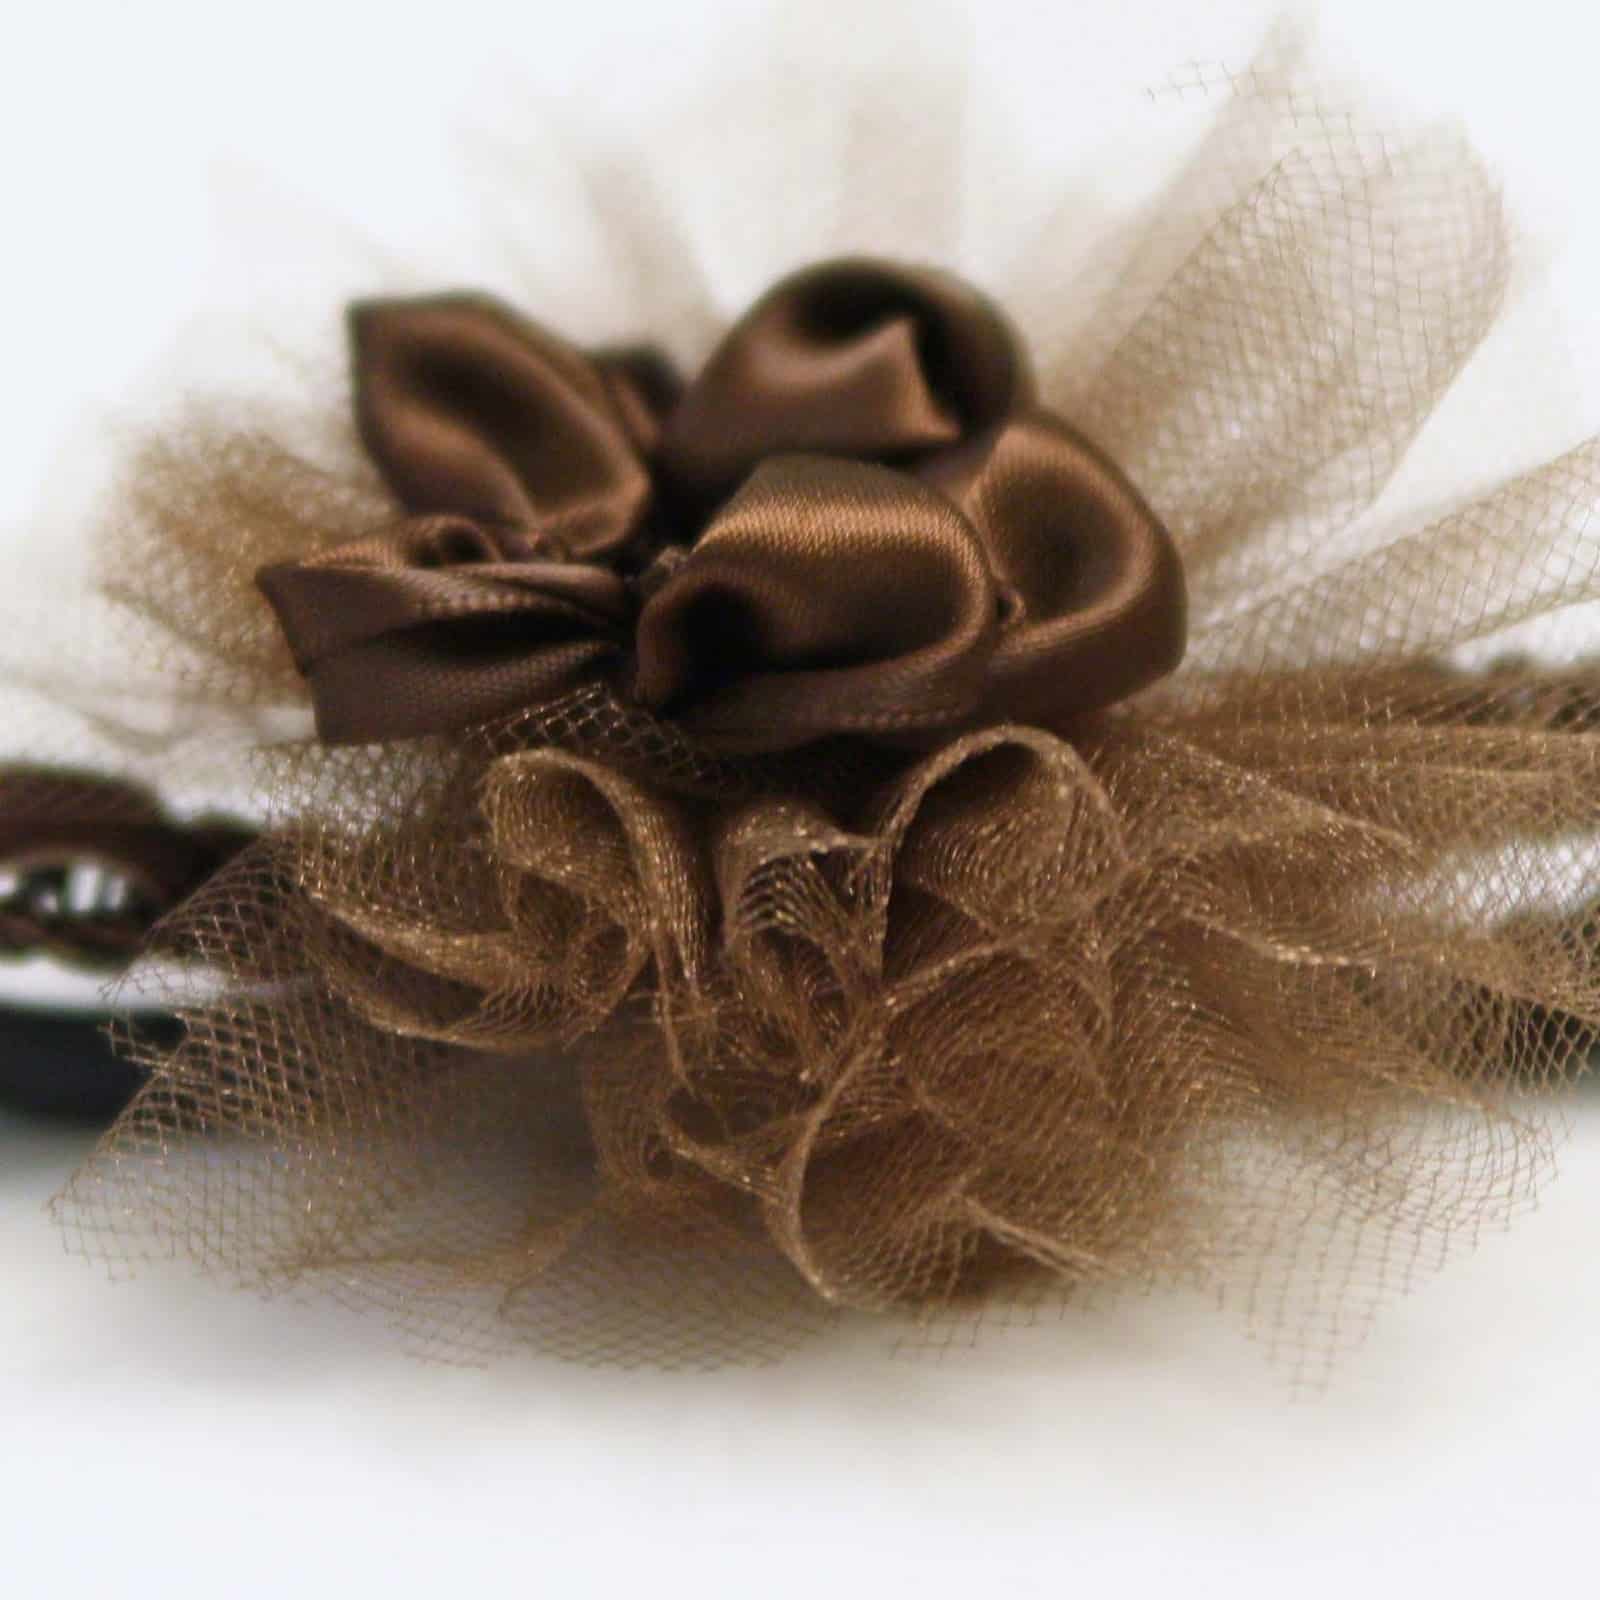
I sewed this pouf onto the headband with a few stitches. Next, I made the flower. To do this, sew gathering stitches across the bottom of the ribbon
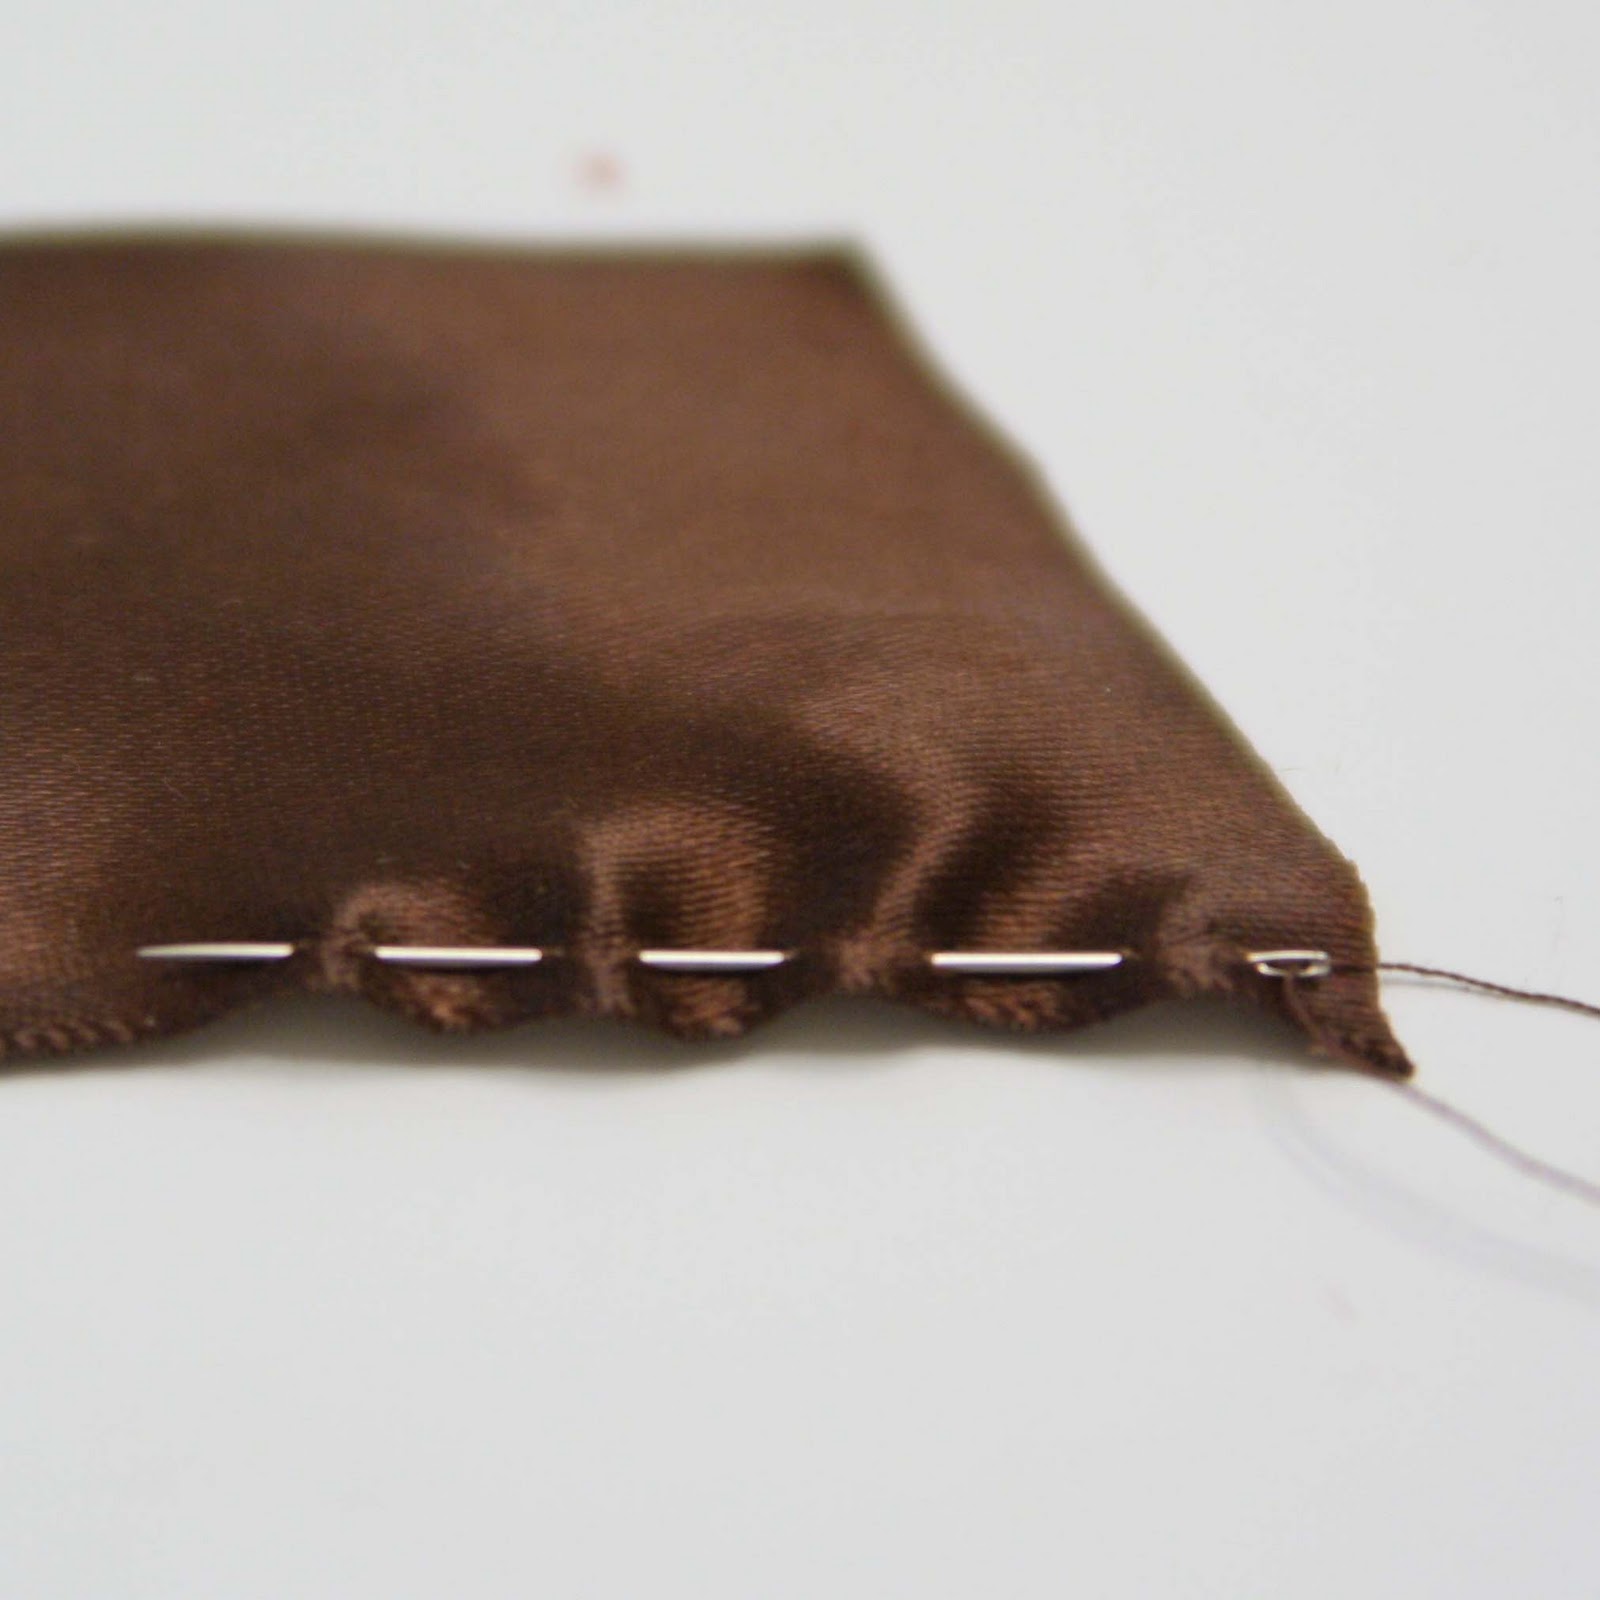
About every 1 1/2 inches, loop the thread over the ribbon, then sew another gathering stitch

Now pull the thread tight – it will start to pull the ribbon into little petal shaped poufs. You’ll have to help shape them a little, and it works better for me if I do it after each time I loop the thread over instead of waiting until the end.
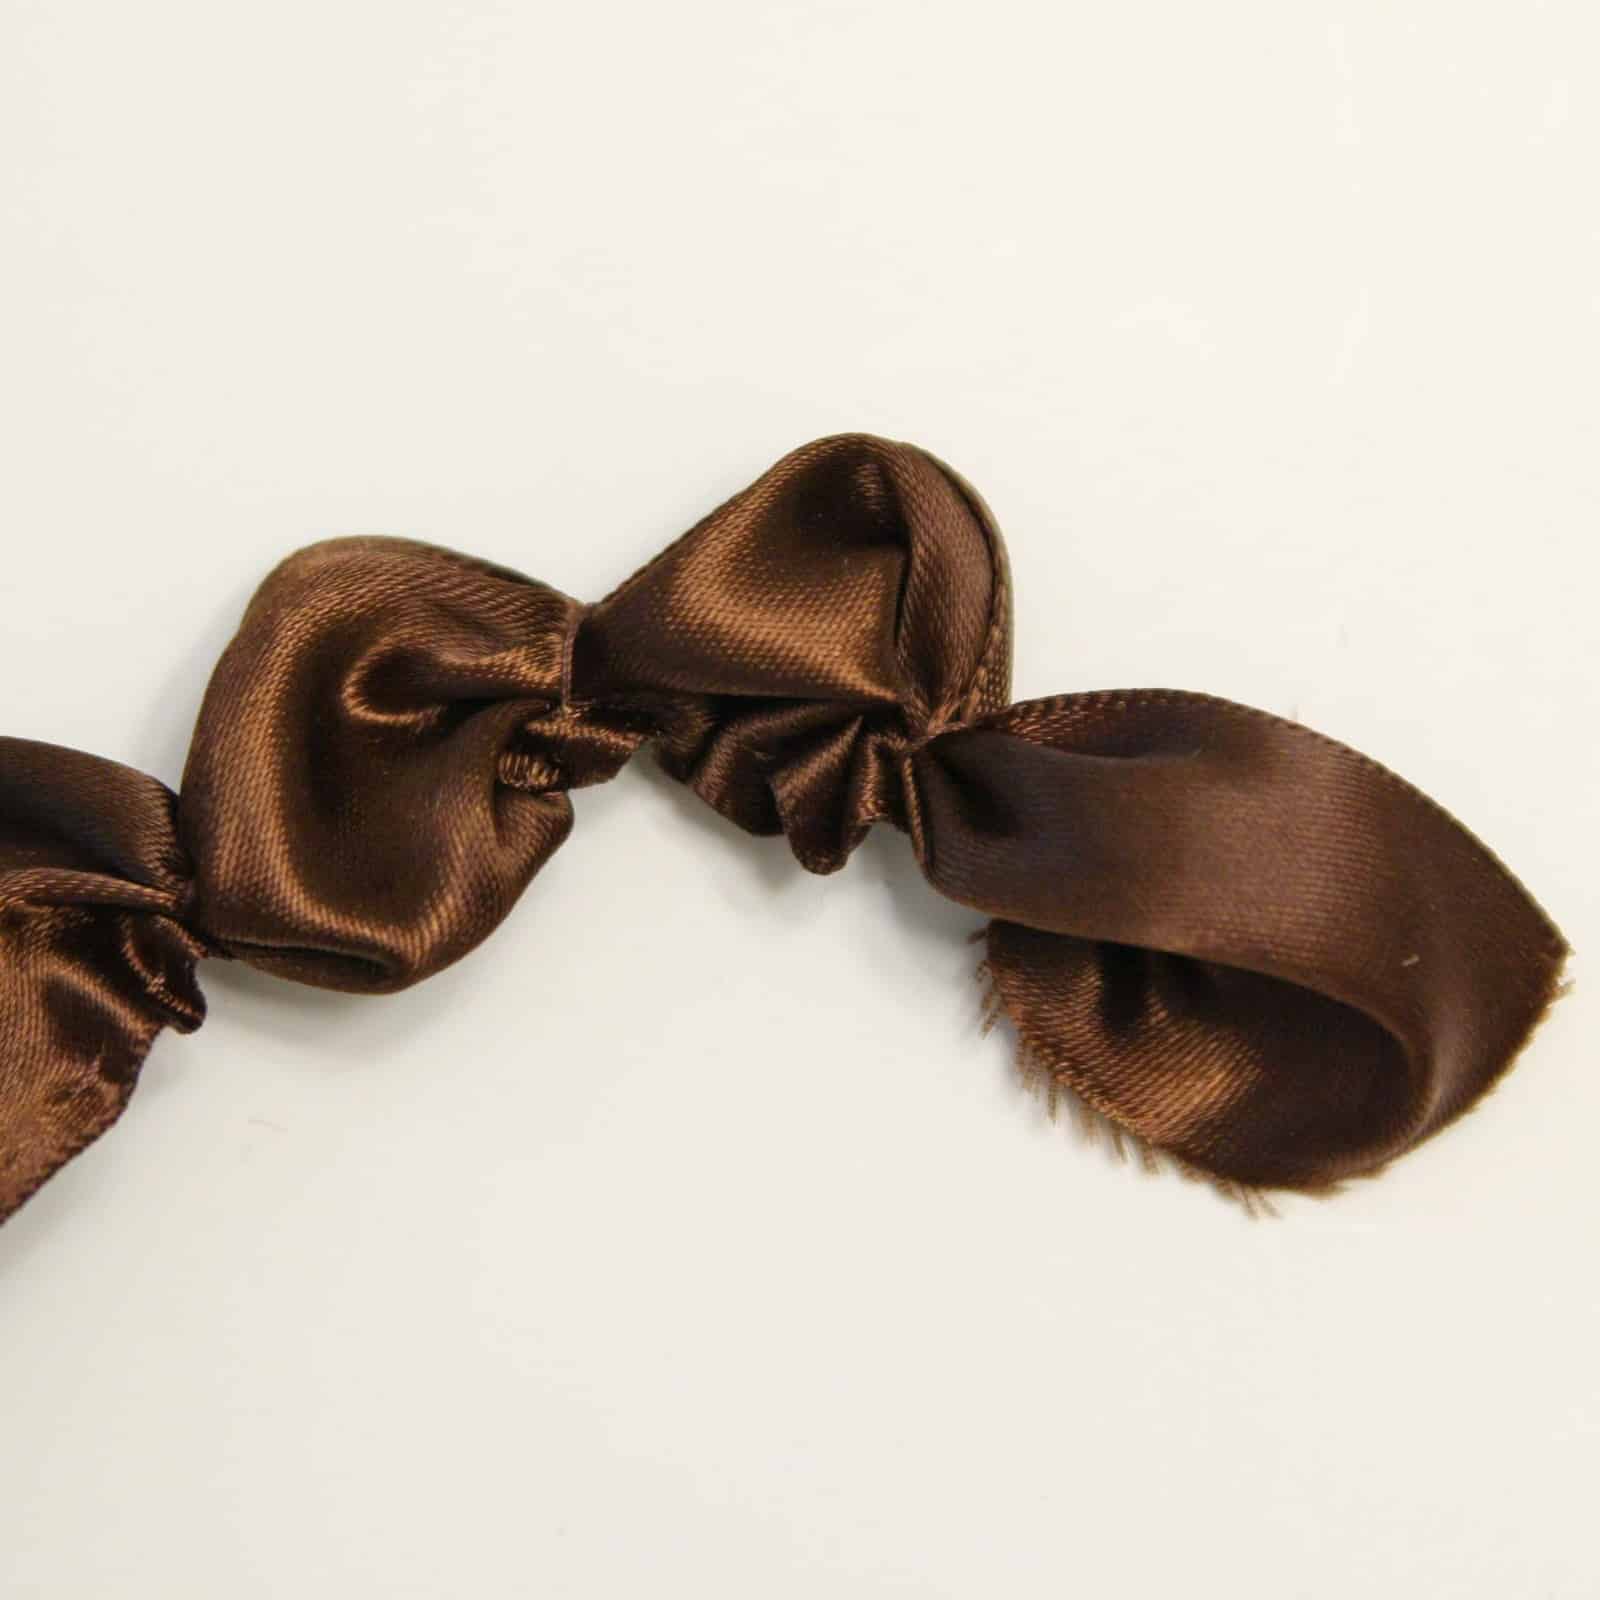
After you have 6 little poufs, cut the ribbon but not the thread. Take one of the end poufs into the middle, folding in raw edges, and take the other end and join it to the rest of the petals. Sew a couple of stitches into the middle, to keep that pouf in place.

Sew this flower into the center of the tulle pouf and onto the headband and you’re done.

It could be perfect for you, or you might have a little cutie who needs one, like I did


shopannies
how precious for a beautiful little one come see what I shared at http://shopannies.blogspot.com/2011/12/tasty-snack-or-appetizer.html
artsy_momma
I love it! Can’t wait to try making one myself 🙂
Valerie Hayes
This is BEAUTIFUL! And you’re tutorial is so well-written and detailed. Thanks so much for sharing!
Valerie
BeehiveChic.com
Kelley @ TheGrantLife.com
Hi! Visiting from keeping it simple. What a simple and cute idea 🙂 I love little headbands like this.. so adorable!
I would love for you to share this at my friday link party if you get a chance 🙂
southernscraps
So pretty!
Aubree
Found you on Hope Studios. Beautiful!
The Southern Product Queen
Love your ideas! I’m having a linky party as well on my blog. Here is the link http://www.thesouthernproductqueen.com/2011/12/27/the-linky-party-1227-1231/
Space 46 Design
Saw this feature on Tip Junkie. So pretty! Would love love love for you to share this at my Best of 2011 party going on http://space46.blogspot.com. Feel free to share a couple projects if you’d like. Happy new year! My
Christina
So cute!
MYPINKRAINBOW
love this bow
Dana Caffrey
Love the bow! It suits perfectly to this very cute and adorable baby. Thanks for sharing this tutorial. Will try this for myself.
Pennyp
Ah ha!!! Now I know what I can do with all the brown tulle my neighbor gave me!!! The school has a “hoe down” dance coming up and I can make these to decorate skirts and vests and hats and headbands and…. Yee Haw!!!! 🙂 Also, I checked out the link to the skirt and that is AWESOME!!! Just my style, a little flair on something simple. LOVE ‘EM BOTH!! (headband AND skirt!!)