

Hey y’all – I hope that you’ll excuse a little bit of a “not sewing” post today. You see, we redid our kitchen/living room (but mostly kitchen) over the summer. I shared some of the photos on Instagram, and there were a lot of requests for more details, so this very long post is going to go through everything we did.
I’d call this a budget kitchen makeover in that it was less than $500 for everything, except the floor. Since we redid the floor in both the kitchen and living room, that added another $3500 to the project; it was by far the biggest expense and by far the one I love the most. And with the entire thing well under $5000 when we covered 800 square feet between the two rooms, it was a whole lot less than if we hadn’t done it ourselves.
Our house was a foreclosure that we bought way back before we had any intention of having kids, and it was in good structural condition but very sad cosmetic condition. The Coach and I really like DIY, so the cosmetic issues didn’t scare us and we got a heck of a deal. Then we slowly started redoing room by room, starting with the most egregiously bad things, like the filthy carpet in the master bedroom that we had removed before we moved in.
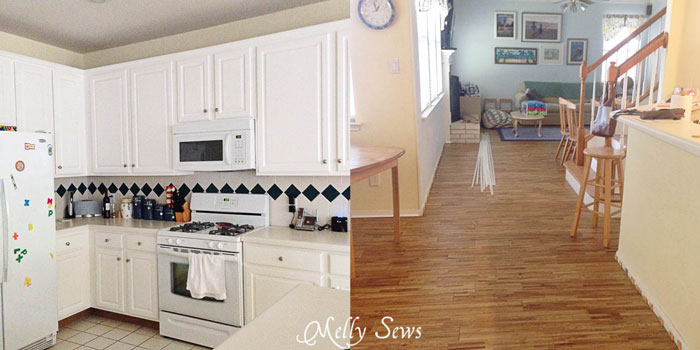
The kitchen originally had forest green floral and fruit wallpaper, which we removed, then textured the walls and painted them pale yellow. We also switched the ugly porcelain cabinet pulls for simple brushed nickel. That was all the decorative stuff we could afford to do at the time though. Since we had to replace the broken dishwasher, faucet and garbage disposal, that meant that cabinets, flooring and countertops were beyond our budget.
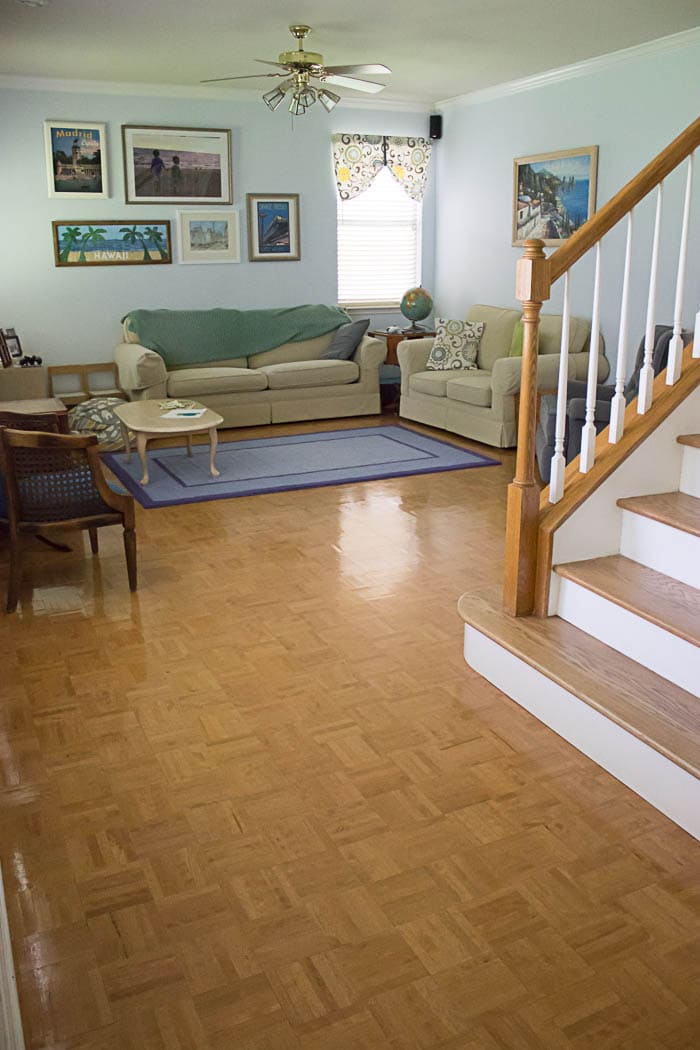
As you can see from this shot, the living area actually had solid wood parquet flooring, which would not be my first choice, but which I didn’t mind. This is the room we did the least amount to when we moved in – all we did was paint it light blue (it was originally a medium tan, blech!).
The stairs were originally carpeted, and replacing them with wood stairs (including custom bottom steps) was the most expensive renovation we did up until this project. But it is soooo worth it to me to not have to vacuum stairs. I don’t think I could ever go back to living in a house with carpeted stairs.
The kitchen, on the other hand, had ugly, off white, builder grade tile that we’ve hated since we moved in 12 years ago. So we first tried to match the parquet flooring, thinking we’d rip out the tile and replace it with parquet to match the living room, but after ordering several samples from different companies, we came to the conclusion that nothing pre-finished would match, so we’d end up demolishing the tile, installing unfinished parquet, sanding the old parquet and re-staining all the flooring to match. That was a little more of a project than we wanted to tackle, especially when we realized that it would be cheaper (and less work) to install a floating wood floor on top of the existing parquet and tile.
The only problem left to solve was finding a new flooring that matched our oak staircase, because I reallllllly didn’t want to re-stain the stairs. And it had to be hardwood that we could float (because our house is built on a slab, so if we demolished existing flooring we would have had to install a subfloor for regular hardwood installation).
The flooring issue kept us busy for months, until I finally found this Timberclick flooring that was solid oak, coordinated with our stairs, and could be installed over existing flooring. Finally!
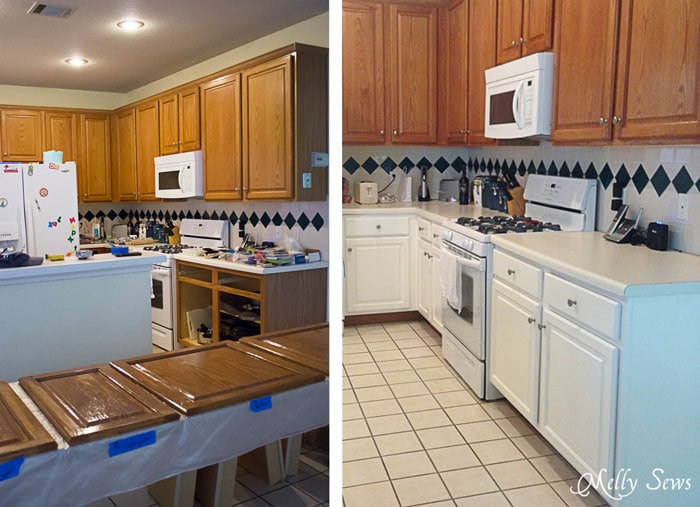
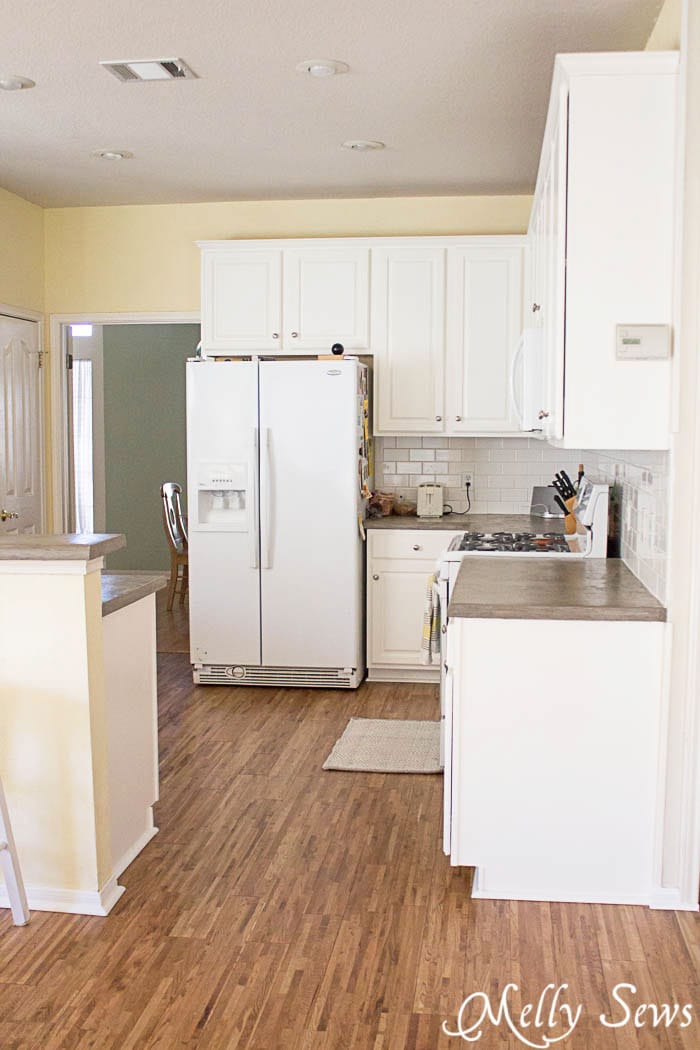
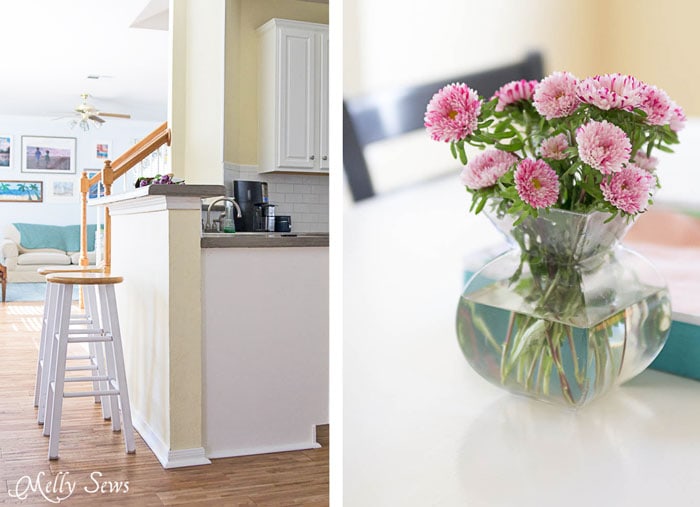
Once the floor was decided, the rest of the kitchen fell quickly into place. First, we sanded and painted the cabinets; after a few misfires we settled in Benjamin Moore Simply White paint. It was so weird; the white paint on our trim that looks white in every other room in our house turned yellow in the kitchen, so we had to go with a much starker white than we thought we would to balance things. White paint is soooooo hard!
After the cabinets were painted we moved on to the flooring, and at that point realized we were totally going in the wrong order – we should have gone backsplash, then counters, then cabinets, then flooring, but instead we did cabinets, then flooring, then backsplash and counters last. Almost the exact backwards order of what we should have done. Oh well, it worked out.
Once the flooring was done, we pulled appliances out and tried to pry the old backsplash off the wall. It kept pulling the drywall off with it, so we ended up using a saws-all to cut out the drywall behind the tiles, then replaced that drywall before we started on the new backsplash.
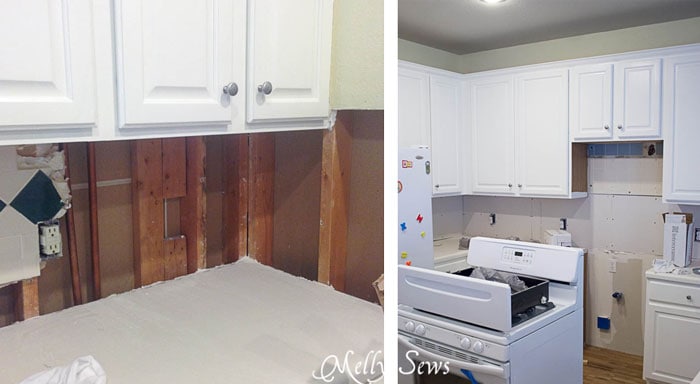
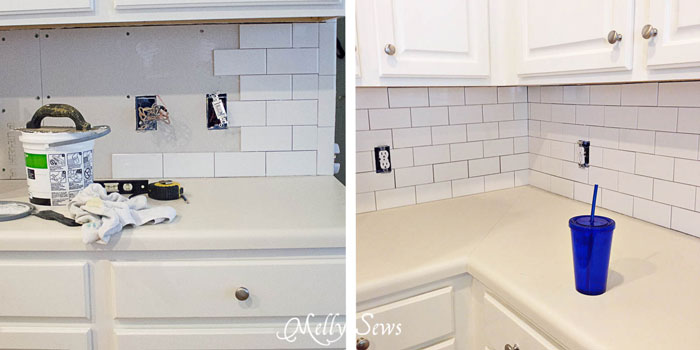
The new backsplash is white subway tile, and is such a breath of fresh air over the 1990s cream and forest green that came down.
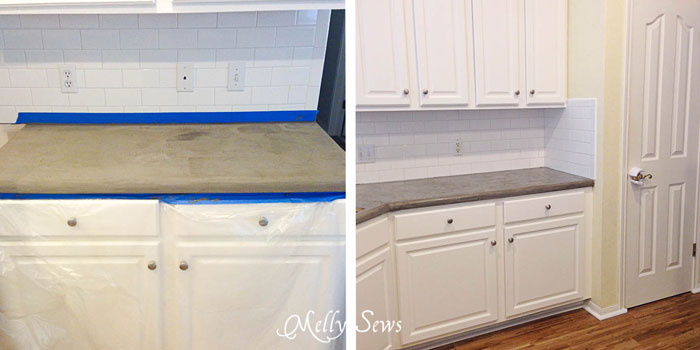
Finally, we did a concrete feather finish over the existing counters. We basically followed this tutorial, and used this food safe sealant (affiliate link) to seal it.


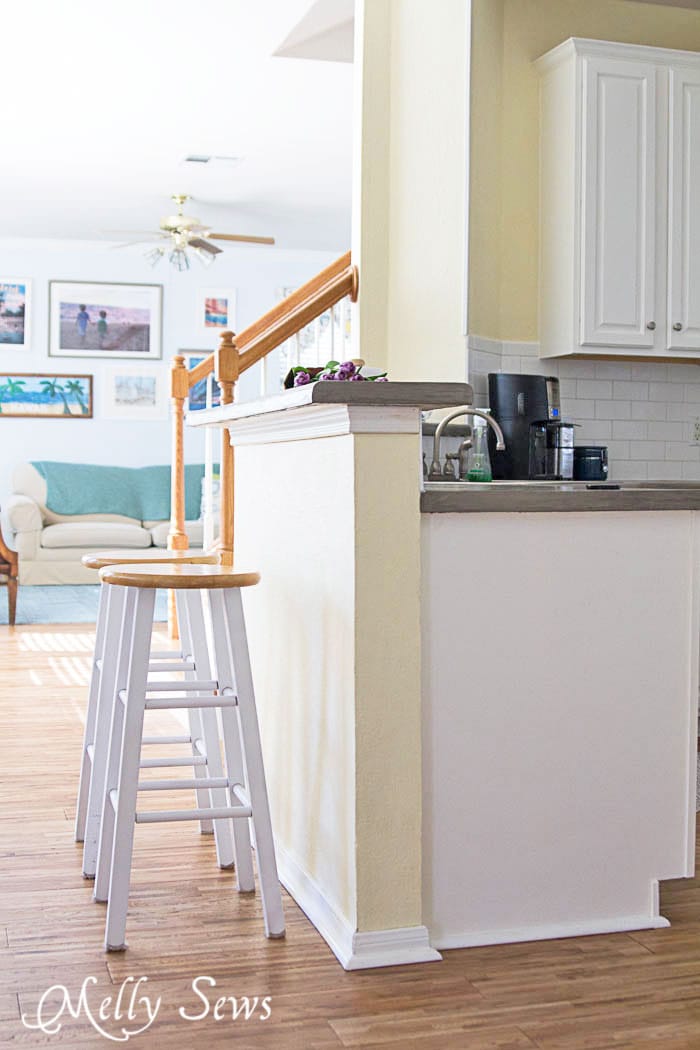
But then…the kitchen furniture didn’t look right. Too much wood and the wrong color wood.
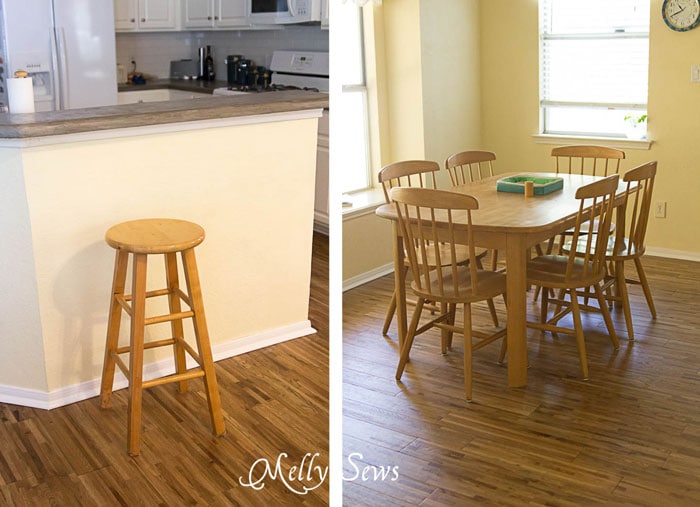
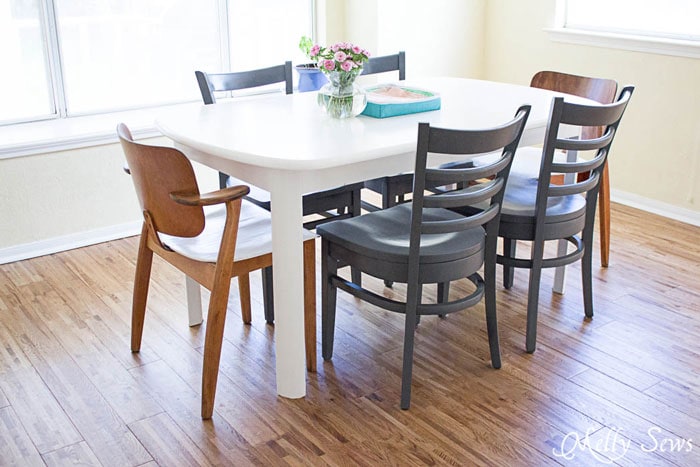
I solved that by spray painting the bottoms of the stools white, then used the same paint as we used on the cabinets on the table. We sold the chairs and bought others off Craigslist that I restored, then I painted the main chairs gray (they were black when I got them) and the accent chairs had their seats painted white (because I couldn’t restore the cracked wood veneer fully without using a bonding product, which needed to be painted over). And sooo much better!
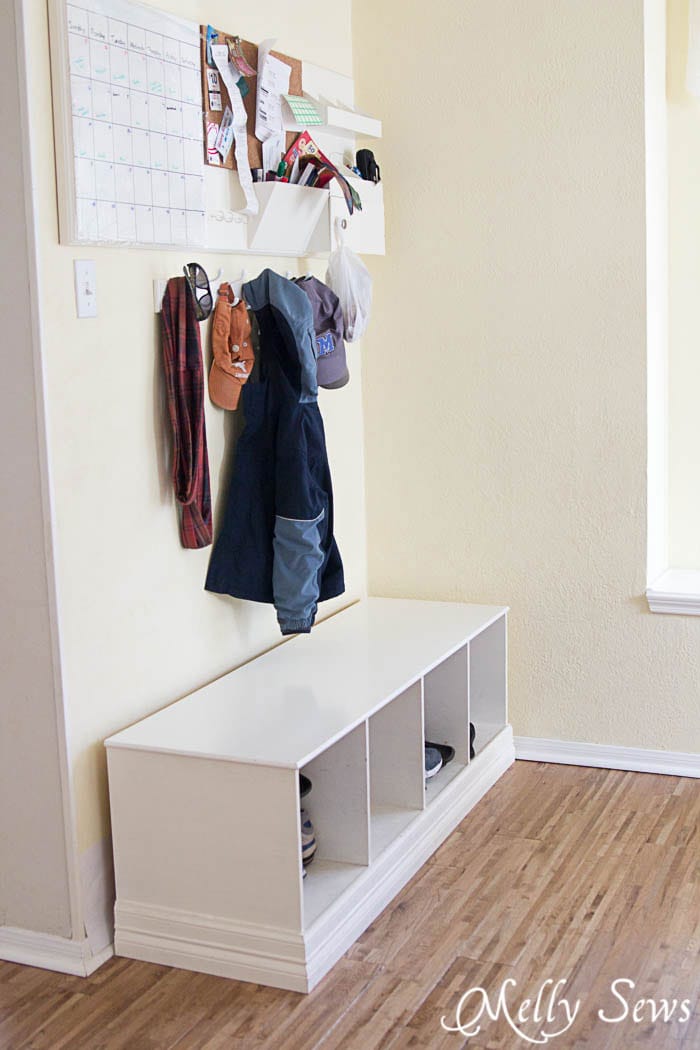
Even our shoe storage/command center looks so much better with the new floors.

I love, love, love what we did; every time I’m in the kitchen I’m just happy about my surroundings now, instead of drinking my coffee and hating every surface around me. It was well worth the 12 year wait to be able to do this, and I’m glad to get to share it with you today!
My Handmade Space
Congrats in the new kitchen! I have to do some organizing in mine, we all need to take a break from sewing once in a while 🙂
Dara
Very Nice. Melly!! Thanks for sharing!
Alice
Beautifully done!
Sue
Amazing! Y’all are DIY royalty. We have a concrete countertop that is definitely not repelling anything, I might try that sealant, I’ve been looking for one and the people at Lowes looked at me like I was crazy when I asked. Also, your command center looks amazing. Definitely saving that one for inspiration.
Samina
Wow, that’s really nice! It looks so bright & fresh. Well done!
Emily
You’re so real! Thank you for sharing! Love your updated spaces!
Karen
Nicely done. Great tips. Thank you for sharing.
Beverly
I like what you did in your kitchen. I particularly like the subway tile backsplash. I want to do something like that in my own kitchen some day.
I really like the color you painted your living room. Do you happen to remember what color it is? (I know you said you painted it when you moved in.)
chickadeejenn
Thank you so much for the concrete countertop idea. I didn’t think I could afford to redo my countertops. There is hope.
Jessica
looks great! Such a transformation.
Laura
My husband and I bought our house when we got married 3 years ago. The kitchen was decent, but not optimum. We just replaced the stove, upgraded the faucet and I will be restaining the cabinets this summer. Next is to build pull-outs for the lower cabinets and replace the cheap flooring.
Your kitchen is lovely and gives me hope that I will finally get the kitchen of my dreams! It might take a couple more years to get it all worked out, but I’m willing to put in the work to get it the way I want. You will be glad you waited until you could get what you wanted. It looks gorgeous!!