
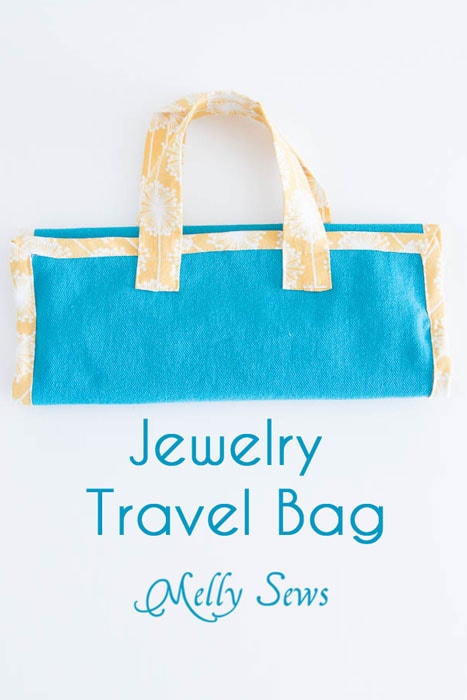
Hey y’all. Are you an accessories person or not? I am SO.NOT. While I’m great at putting together an outfit and even shoes, I stink at adding the finishing jewelry and accessory touches. I carry the same purse every.single.day. But Alt Summit last month pushed me out of my comfort zone and I a) had to wear accessories, and b) had to carry them somehow. Thus the Travel Jewelry Bag Pattern/Tutorial was born.
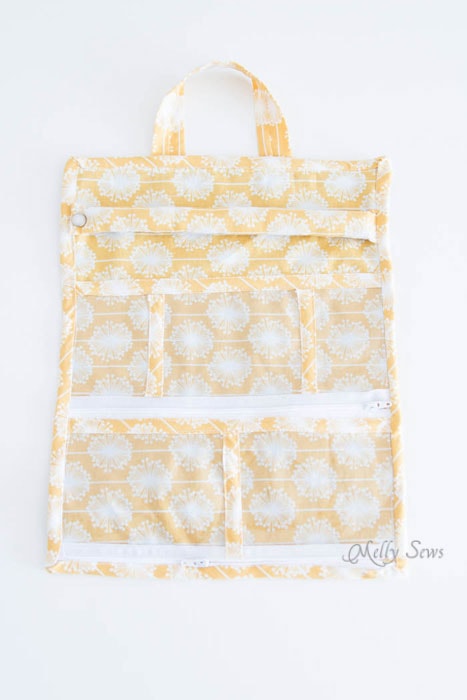
This looks like a cute little clutch, but open it up and you find see through compartments to store your jewelry!
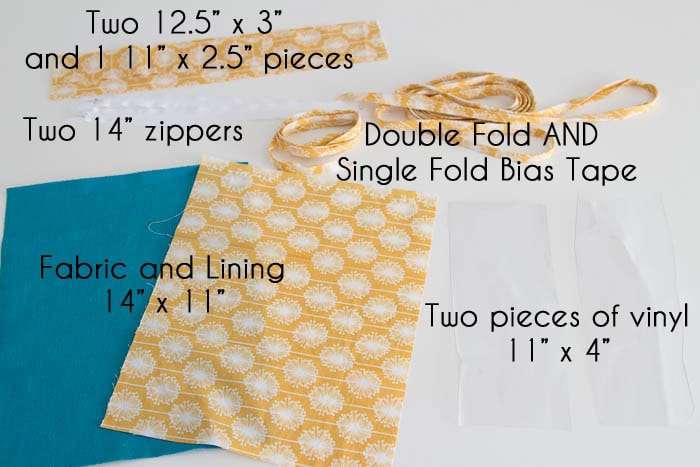
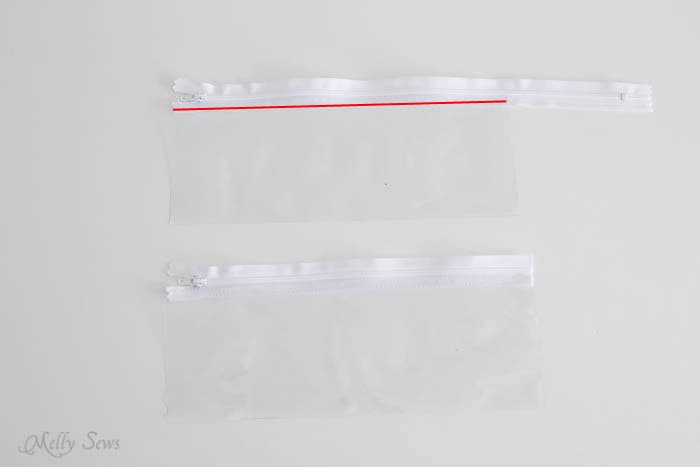
To make your own, you’ll need the materials in the picture below. I used Moda Crossroads Denim in Teal for the outside and Riley Blake Andrea Victoria Gold Wish for the lining and trim. I also used two 14″ zippers in Marshmallow , a little bit of clear vinyl, a pearl snap and a small amount of polyester stuffing.
Start by laying your vinyl on top of your zipper along one edge and stitching it to the zipper. If you find your presser foot sticking to the vinyl, try reducing the foot pressure, or try putting a piece of tissue paper between the foot and the vinyl. The paper will tear off easily after stitching.
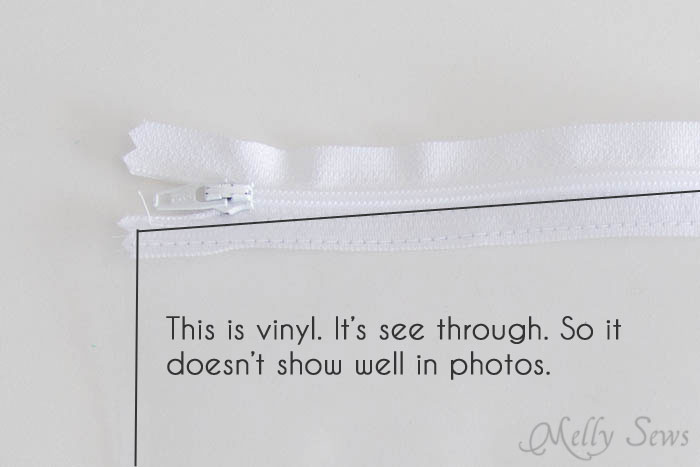
You’ll cut your zippers off even with the edge of the vinyl (Red line is stitching).
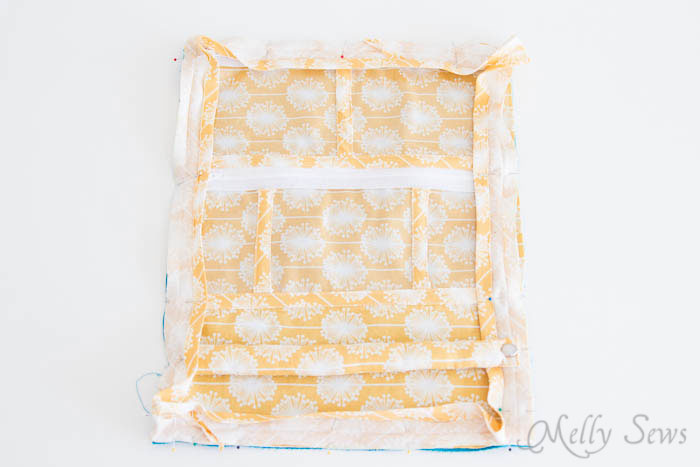
Now lay your vinyl/zipper combos on the lining piece and stitch in place along the other side of each zipper.
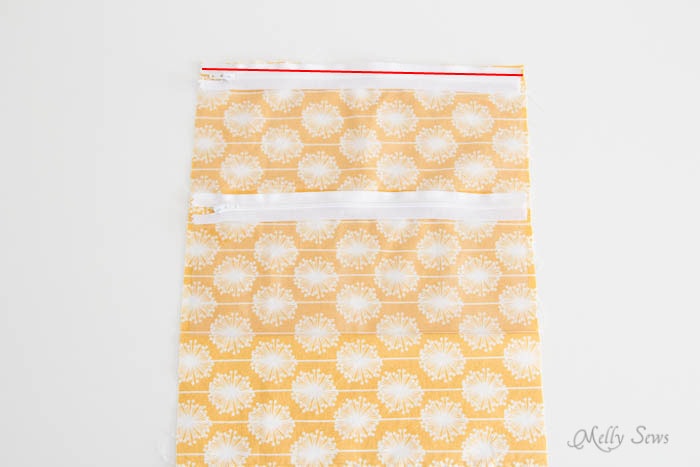
To divide the vinyl portions into compartments, stitch single fold bias tape down over the vinyl. Want to know how to make custom bias tape? See this tutorial.
You don’t want to pin on vinyl, so to hold the bias tape in place for stitching, I just used transparent tape.
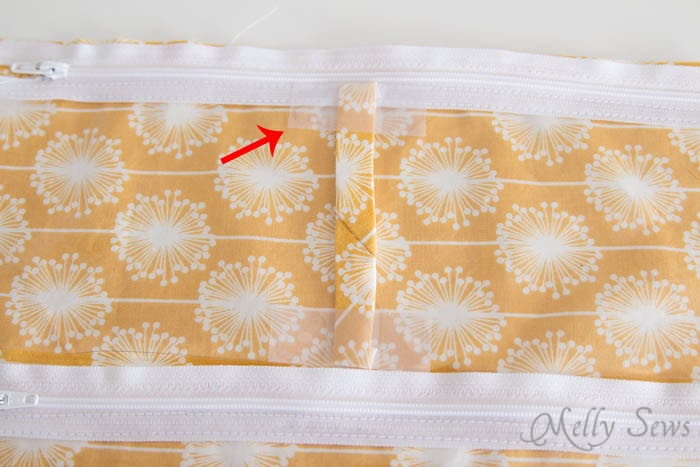
The tape peels off fairly easily after stitching, though it will peel in three pieces.
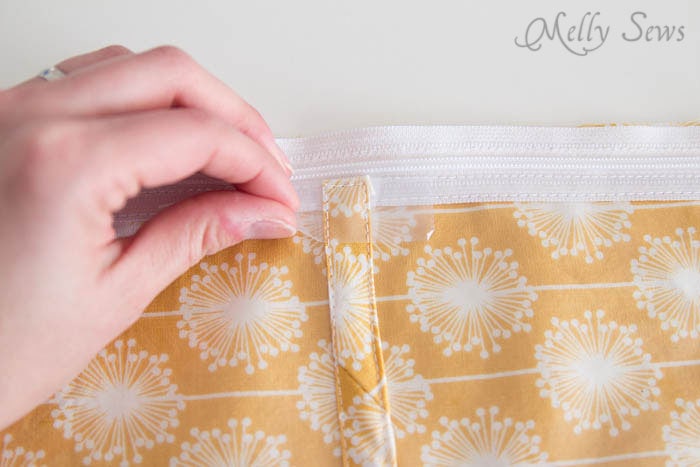
Stitch more single fold bias tape across the bottom of each vinyl piece to secure the bottoms of the compartments.

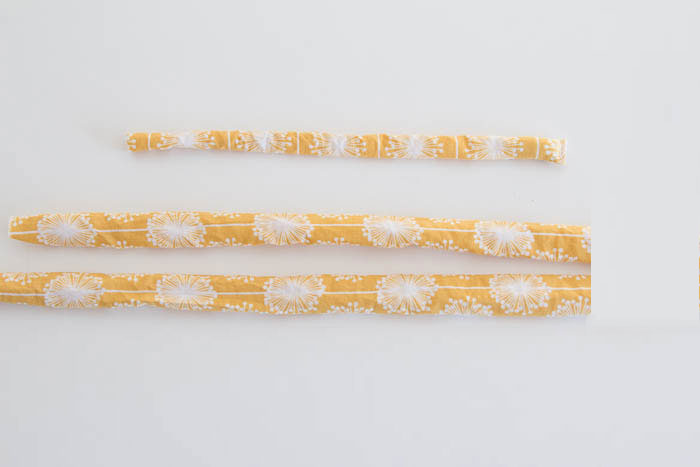
Fold your three rectangles in half, right sides together, matching the long edges. Stitch. Turn the tubes right side out and press.
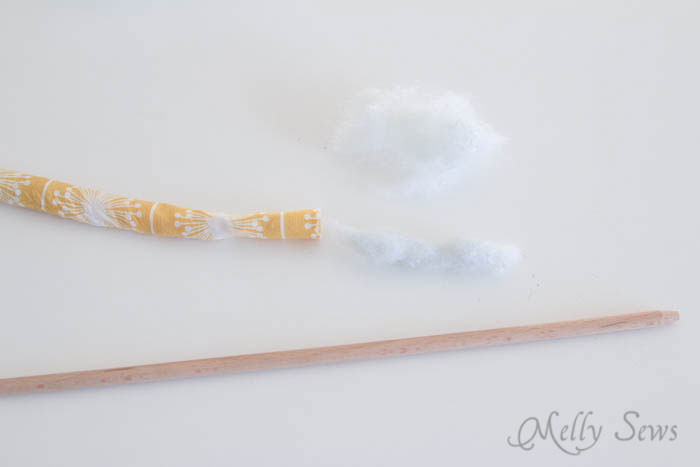
Take the smallest tube and stuff it – it helps to roll the stuffing into tubes and poke it in with the stick from the tube turner. Don’t fill this too tightly – you want it to hold your rings, but you don’t want to have to push too hard to get the rings on.
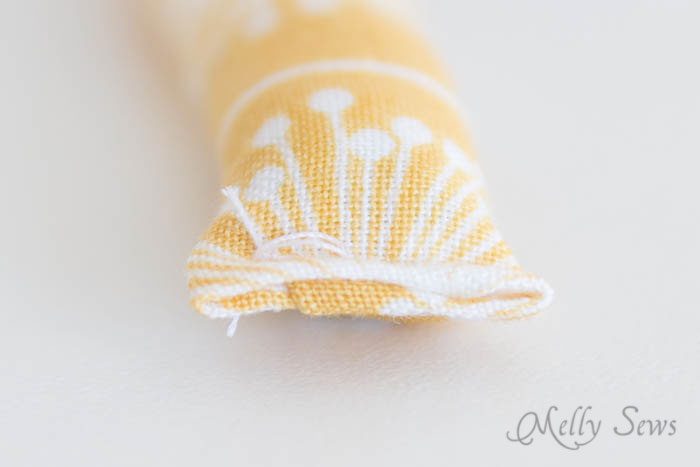
On one end, push the raw ends to the inside and stitch across the end.
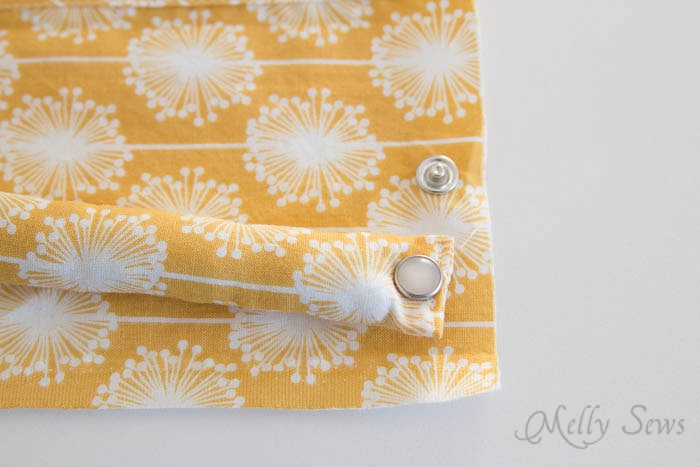
Add a snap or velcro to the closed end of the tube and to the lining. Make sure your lining snap end is 1/2″ in from the edge.
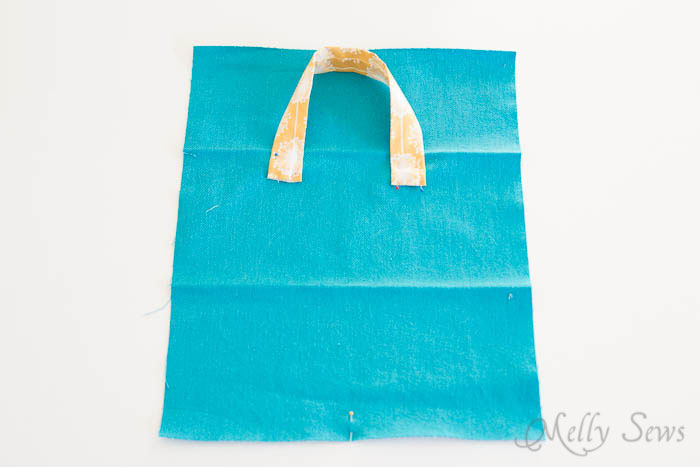
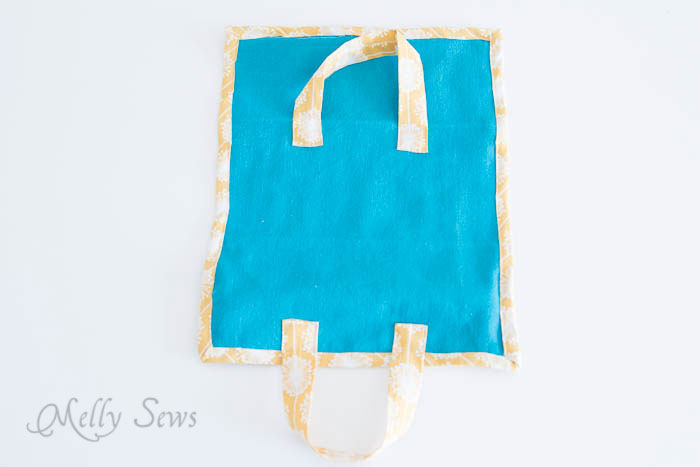
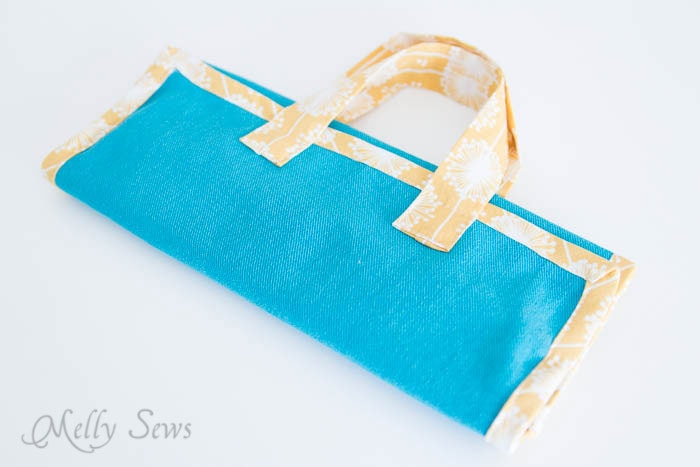
Press raw edges in on your other two tubes as well, then stitch one onto the outside fabric as shown, stitching around the end in a square. Repeat with the other handle at the bottom edge, where the pin is in the picture.
Pin bias tape around the edges, mitering the corners. Don’t know how to do that? Check here.
Then fil your bag with jewelry…
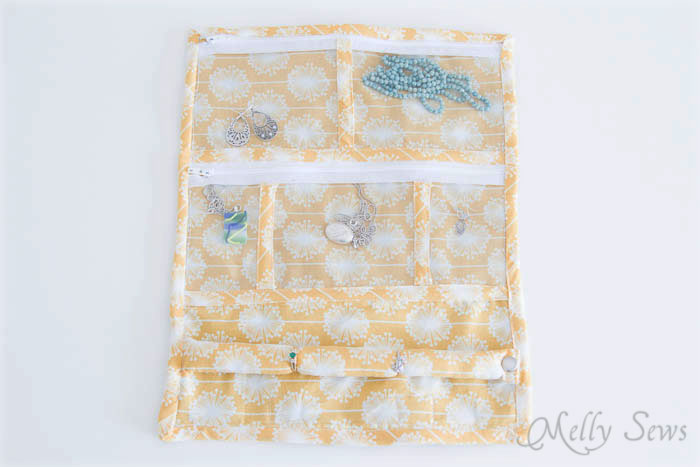
And fold it up to jet set off.
Sheryl
Very nice! Thanks!
Quinn
Very nice sharing these bags are very useful during travel. I also used such type of bags for keep my accessories. It is very easy to make and looks like a simple little clutch. Your post provided us an ever growing collection of teachings through projects, patterns, sharing and inspiration to get the things that we can make out of our head and into closets and homes.
Veronica
Neat project! I just might have to make myself one!
Barbara Quinn
I like this pattern, it will travel well when I go on my cruise.