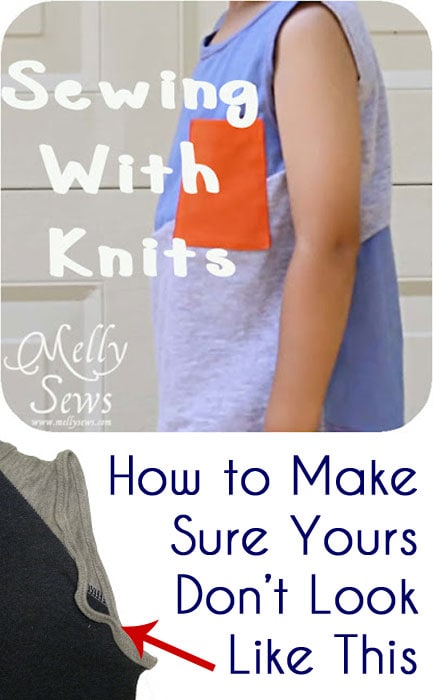
If you stretch the fabric, it will end up wavy looking and you don’t want that. If your machine has a presser foot adjustment, adjust it to the lowest amount of pressure. This will help you not to stretch the fabric as you sew. This point is the one I used to mess up the most; I don’t know why I had it in my head that you were supposed to stretch, then I’d cry over ugly seams. Like this one:
The way you deal with stretchy fabric/non-stretchy thread is to make sure your needle is doing some sideways motion. This is why a zig-zag stitch is perfect for sewing knits – the back and forth movement adds extra slack to the thread, so it doesn’t break when the fabric is stretched. It’s why sergers handle knits so well – the way the thread wraps around the edges is naturally stretchy. So use a zig-zag, a built in stretch stitch, or a serger.
UNDER PRESSURE
The next stretching culprit is often the presser foot/feed dog combination on your sewing machine. Sometimes this stretches the fabric just slightly as it is sewn, even if you’re not stretching it. There are a few ways to combat this. First of all, look for a presser foot pressure adjustment on your machine – it’s often a knob on top – and lower the pressure. This solves the problem for me on my machine.
If you don’t have a presser foot adjustment or it doesn’t fix the stretching, there are some other things you can try. You can try putting transparent tape on the bottom of your foot, so that the fabric slides easier. You can try putting tissue paper under your fabric (against the feed dogs) to try to achieve the same thing. You can try a walking foot, which “walks” across the fabric, reducing the chance for stretching.
If all else fails (say you’re working on a really thin, very stretchy knit) you can use a fusible, wash away stabilizer. Pellon sells a new one called Stitch n’ Washaway by the yard. It looks like interfacing, and you iron it on. It will make your fabric behave like regular, non-stretchy fabric, and then when you wash, it dissolves and is gone.
NEEDLES MATTER
Finally, if you’re running into issues with thread breakage, it’s probably your needle. Universal needles can handle most knits, but thread breakage is a sign you need to switch to a jersey or ballpoint needle.
For stitching that will show, if you prefer a straight stitch look to a zig-zag on the outside or your garment, you can try a twin needle. I wrote a tutorial about using them here.
So, in summary
- Don’t stretch
- Use a zig-zag, stretch stitch or a serger
- Reduce the pressure
- Use the right needles
 |
| My knit stash as of last spring |
Types of knit fabrics – see this post
When sewing knits or ordering online, it helps to know what type of knit you’re working with. See the link above for a rundown about how to tell them apart and how they are formed.
Some knit FAQs I’ve received:
Q: What do I do about my knits curling on the edges?
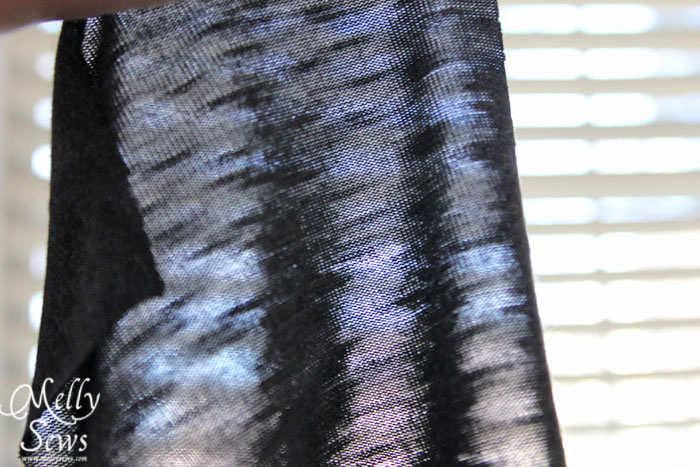
A: Knits like jersey definitely tend to do this, and especially when they are lightweight:
What works for me is spray starch – I use Faultless heavy spray and spray the heck out of my edges, then iron them. The starch adds just enough body to keep the edges from curling too much, and it washes out.
Q: My machine tries to eat my knits – what do I do?
A: First, check your needle. It seems counterintuitive – if my needle is shoving my knit down through the throat plate, shouldn’t I use a sharper needle? NO! Make sure to use a ball point or jersey needle – it is made to slide between the stretchy threads instead of catching on them and shoving. You may also need to change to a smaller size; very fine knits need thinner needles.
Next, tissue paper can be your best friend here. Let me show you. This is some lightweight rayon jersey:
To sew this without my machine eating it I used a size 70 jersey needle, and I placed a piece of tissue paper under it.
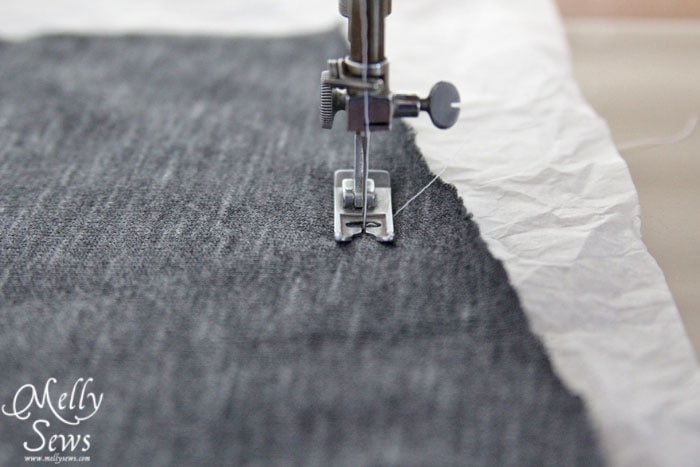
The tissue paper helps keep your needle from pushing the fabric down through the hole in your throat plate. When you’re done, you tear it off the back. Unfortunately, this can leave small pieces of tissue paper behind. A tweezer is helpful here. Or you can try the next trick.
Q: What do I do when I want to embroider on my t-shirt?
This will work both for embroidering and for knits when you don’t want to pick tissue paper (or tear away stabilizer) out of your stitches. Pellon has a great new product called Stick n’ Washaway. I used it in this project for embroidering some t-shirts – my kids drew on it with washable markers and I sewed over their drawings. (Full disclosure: I am a Pellon Project Artist and received the Stick ‘N Washaway for free, but I think it’s awesomely useful stuff regardless and will be buying it when my free sample runs out).
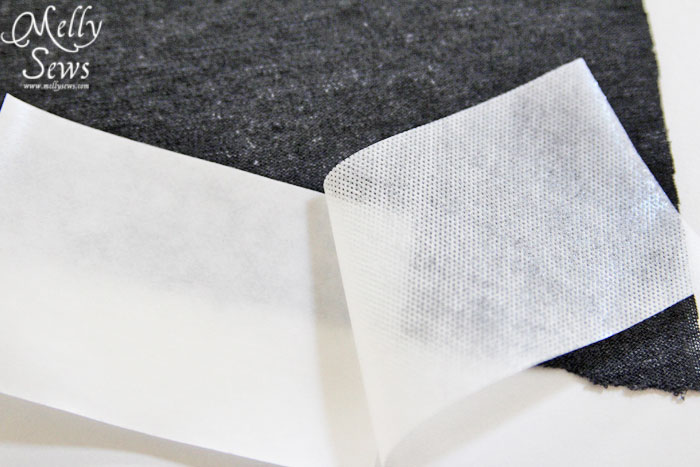
It looks and feels kind of like interfacing with a sticky backing that you peel off.
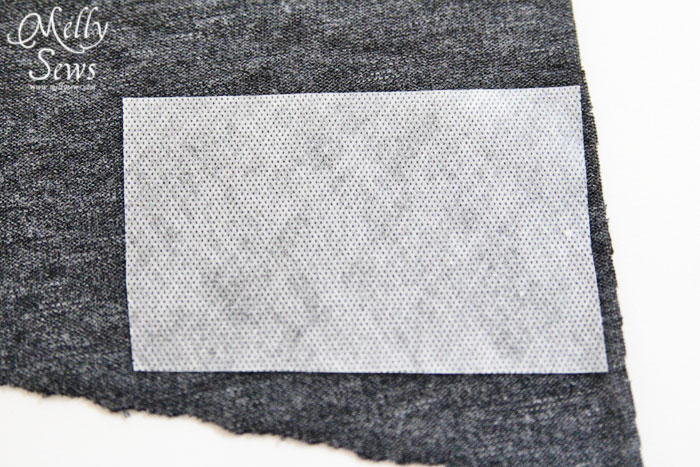
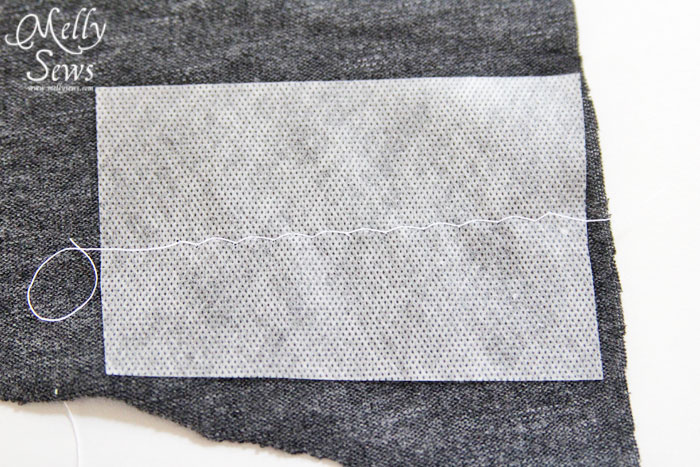
Then you stick it to your work and sew right through it.
I used it on the wrong side of my fabric for this example, but in the other project I did I stuck it right on the front (right side). The great part about this stuff is that after you’re done sewing, you just throw the project in the wash, and when you get it out it’s gone, like it was never there.
This is a brand new Pellon product, so it may be a little hard to find at first. Joann just started carrying this in 8.5 x 11″ packages; if those do well maybe they’ll start carrying it to buy by the yard. Otherwise you can ask your local fabric store to order it; they can get it in 10 yard bolts. If you want 10 yards of it, you can also order your own big bolt through Amazon.
Q: What size zig-zag do you use?
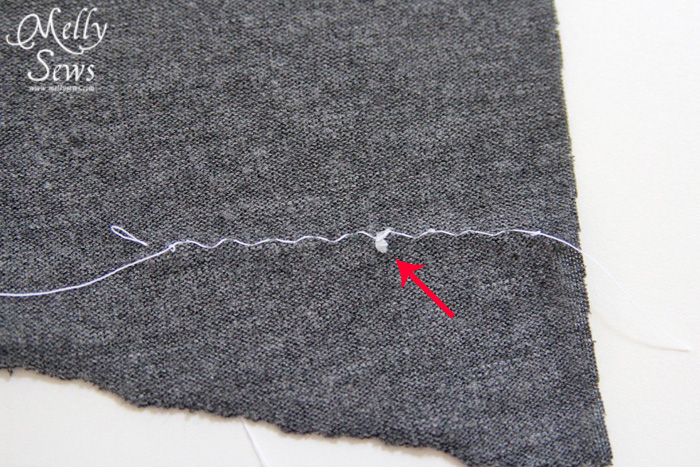
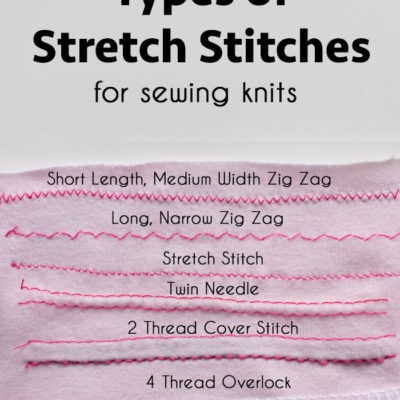
A: Well, it depends on how much stretch I need. My default is to go to the longest stitch length and narrowest zig-zag my machine will do (see above) this looks almost like a straight stitch. But it’s not the stretchiest of zig-zags, so I use it for side seams and things like hems that don’t have to be too stretchy. For a high stress area like a neckline, I’ll use a slightly wider zig-zag (mid-range on my machine) and a shorter stitch length (around 10 stitches per inch). This is much stretchier.
So, I hope that helps you and you conquer your fear of knits – I’d say at least half my fabric stash is now knit!
Want to read more about sewing with knits? See these posts:



Lindsay(PACountryCrafts)
OK, here is the thing. I HAVE a serger and I STILL don’t know how to sew with knits on it. I can’t seem to find instructions ANYWHERE- only how to sew knits without one. Can you offer any help here? Pretty please with a cherry on top?
ladybird57
Thank you for this article. I am totally enthused now to give it a try. Keep up the good work.
Amanda Taylor
I wonder if this roller foot would actually work. I can’t adjust the pressure of my presser foot. Any thoughts?
http://www.amazon.com/Distinctive-Roller-Sewing-Machine-Presser/dp/B003263QBY/ref=wl_mb_hu_m_18_dp
Heather
Hello, everytime I sew knit I would serge the edges around the neckline. This would cause the neckline to stretch & be bigger than I wanted it. Any tips to keep that from happening?
Veronica
I’ve never heard of a presser foot adjustment. Would using a walking foot work?
Denise Kramme
Thank you so much. You answered my questions about stretching & what kind of stitch to use! 🙂
Cindy Kramer
Thank you so much for the insightful and easy-to-understand instructions you’ve provided. Now I am enthused to work on an abandoned project that I had been dreading tackling! Great job!
Cheryl
Well, I just finished your one-of-many great articles. Now, I am going to go cut out a couple of shirts that I have been dragging (read burrowing) my feet on. Now I’m excited and can hardly wait to get started. I also have a serger, 5 thread that I have been so intimidated I haven’t even threaded it. But, first, off to the shirts! Thank you so much for your tips, tutorials, and inspiration. They mean so much to me.
Leslie Guglielmetti
thank you for your tutorial on how to finish a neckline using fabric on the bias. I used this method on some pajama’s for my grandson and it came out beautifully. Your instructions were very easy to follow.
Thanks again,
Leslie
Cassie @ Looks Good to Us
Hi Melly!
Thanks for this awesome tutorial- I used it quite a bit making several of my knit projects on my sewing machine. And now that I have a serger, I’ve been looking back at your post again. I loved that you included ideas for where to get knit fabric, including recycling things from thrift stores. I actually have used my husband’s old shirts several times to make things for my kids. My 3 year old always feels proud to wear his papa’s old clothes 🙂
– Cassie
Sheila Robson
There are a couple of other things you can do to stop fabric getting sucked into the machine. One is to start at least half an inch from the beginning of the seam, then turn the garment round and finish the seam, just overlapping the stitches a bit. The other is to hold on firmly (nt tightly, just firmly) to both threads until the stitching is established – then you can let go.