
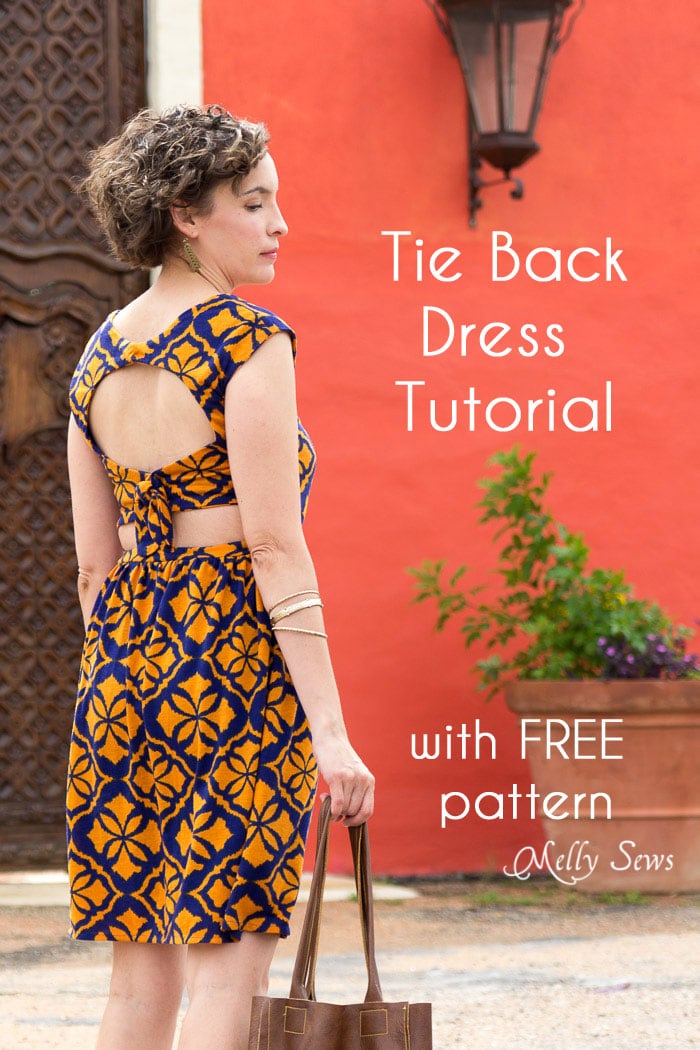
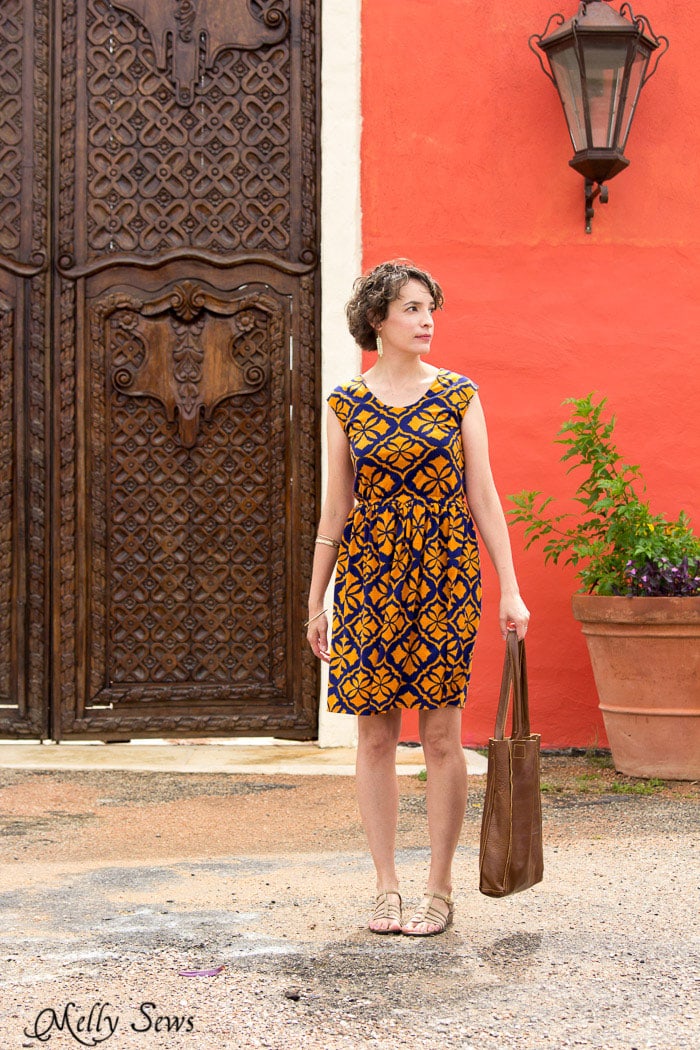
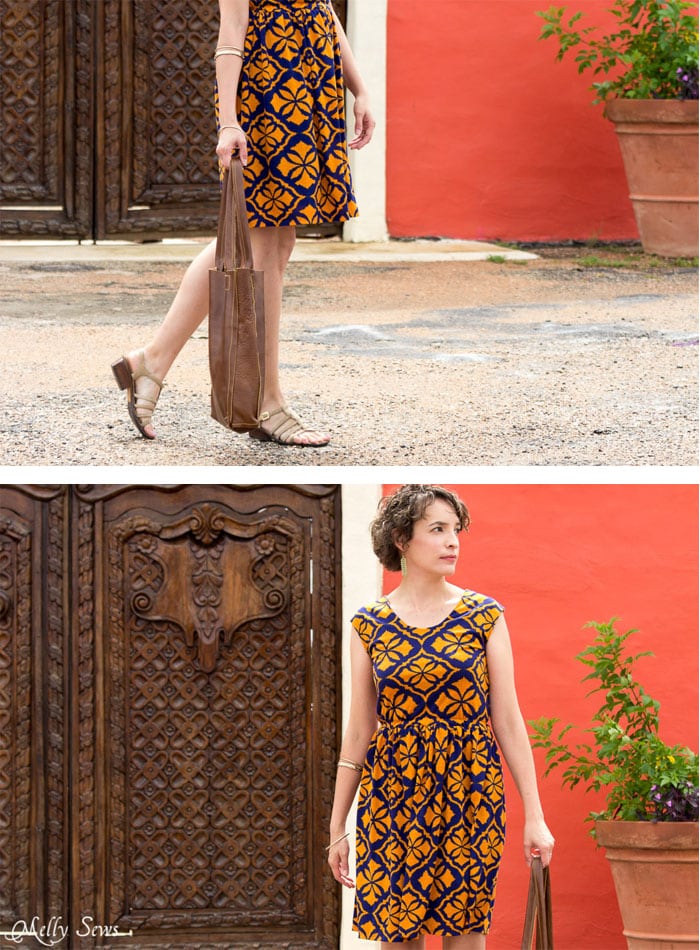
Squeee! It’s my favorite month of the year on the blog everyone – (30) Days of Sundresses!!!! Today I’m sharing the free pattern and tutorial for this tie back dress. And I have to throw out a compliment to the Coach here – not only did he guest write last week’s post, I think he did a FABULOUS job with these photos.
So, ready to make your own? You’ll need
- At least 2 yards of fabric, depending on skirt length. The bodice and lining take a full 60″ wide yard by themselves. See this post for a chart of skirt lengths to help you figure out yardage.
- 3/4″ wide elastic, the same amount as your waist measurement.
- The pattern – see below
How to Get the Tie Back Dress Pattern
This free pattern is in a women’s size small, for bust 34″ and waist 28″. There’s a little give, since you can tie the back a little looser and it’s sewn from knit, so if you adjust the elastic you could maybe make this fit a medium. If you need to make the pattern bigger or smaller, check out this post.
To get this pattern, click your preferred option from the buttons below as a newsletter subscriber or gallery access pass purchaser. Note that the free version of the pattern does not have printable instructions.
 |  |  |
Please note that all my free patterns are licensed for personal use only (no selling items made from this) and by downloading you are agreeing to this license.
How to Sew the Dress
This pattern includes 1/2″ seam allowances and should be sewn with a stretch stitch unless otherwise noted. Need knit sewing tips? See this post.
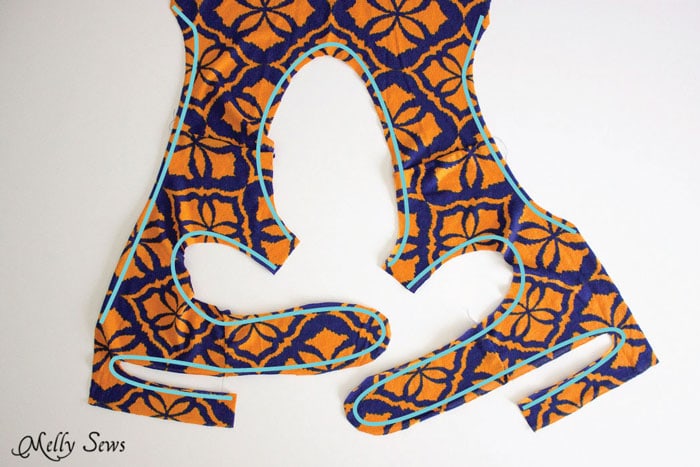
Alright, to start, place your two backs right sides together with the front and stitch across the shoulders. Repeat with lining.
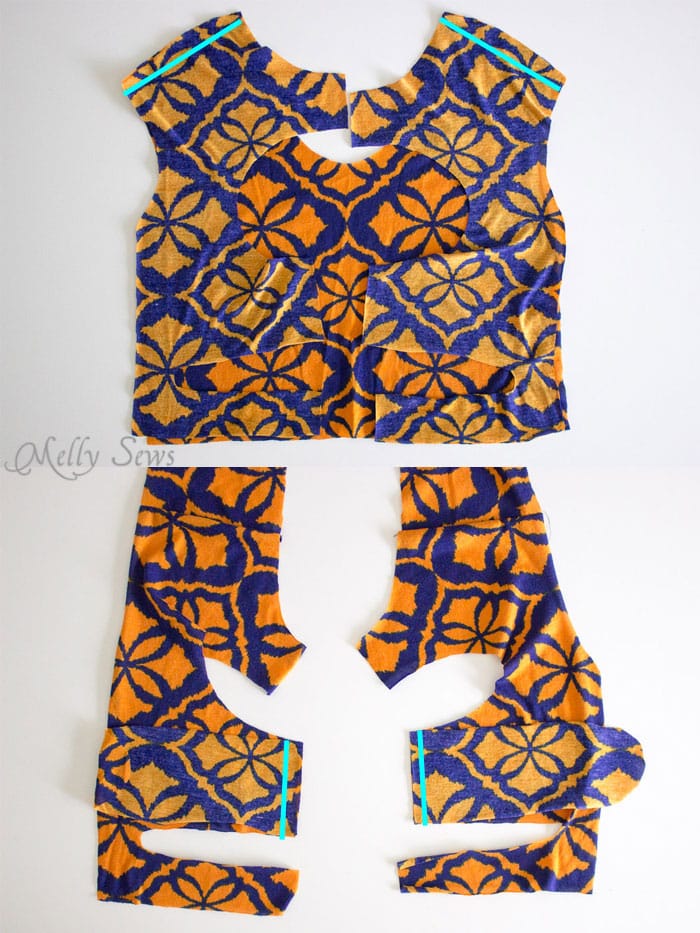
Sew the ties to the center of each back piece as shown above.
Place the bodice and lining right sides together, lining up all edges. Stitch the armholes, neckline and the curved parts of the back cutouts as shown above. Use a straight stitch for the back bodice cutouts – it will help stabilize the knit over the back bodice. When you’re done, turn the bodice right side out and press, and it should look like the image below.
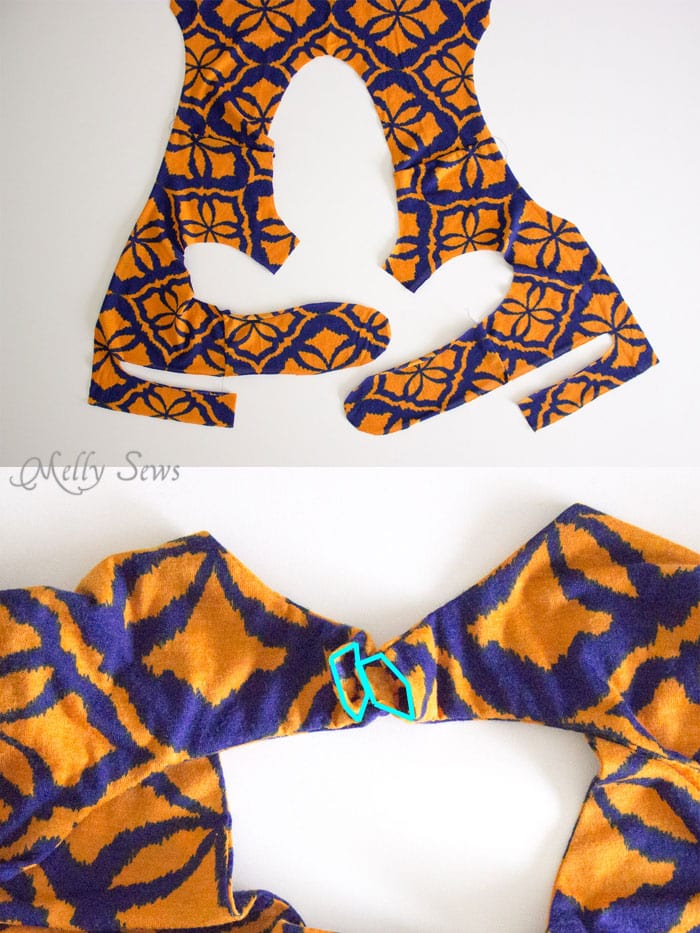
Line up the openings at the top center back as shown above. Whipstitch one side of the tubes together (the parts touching above) then turn in the raw edges and switch to a blind stitch to finish. It will look like the image below when done.
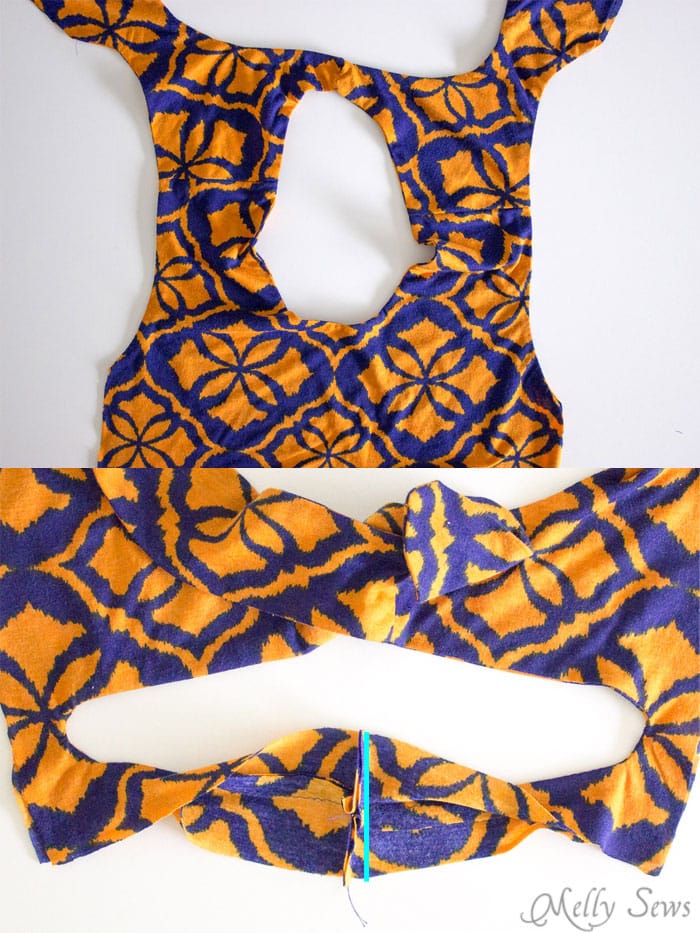
Take the bottom part of the bodice and pin right sides together, matching the seam, and then stitch, as shown above.
The next step is tricky to show in a picture. You need to pin the outside bodice back to the outside bodice front at the side seams, right sides together, then pin the front lining to the back lining at the side seams, right sides together. You’ll be able to sew this all in one seam for each side after you match the armscye seams that you sewed earlier. It will make a U shape, as shown below. Stitch these.
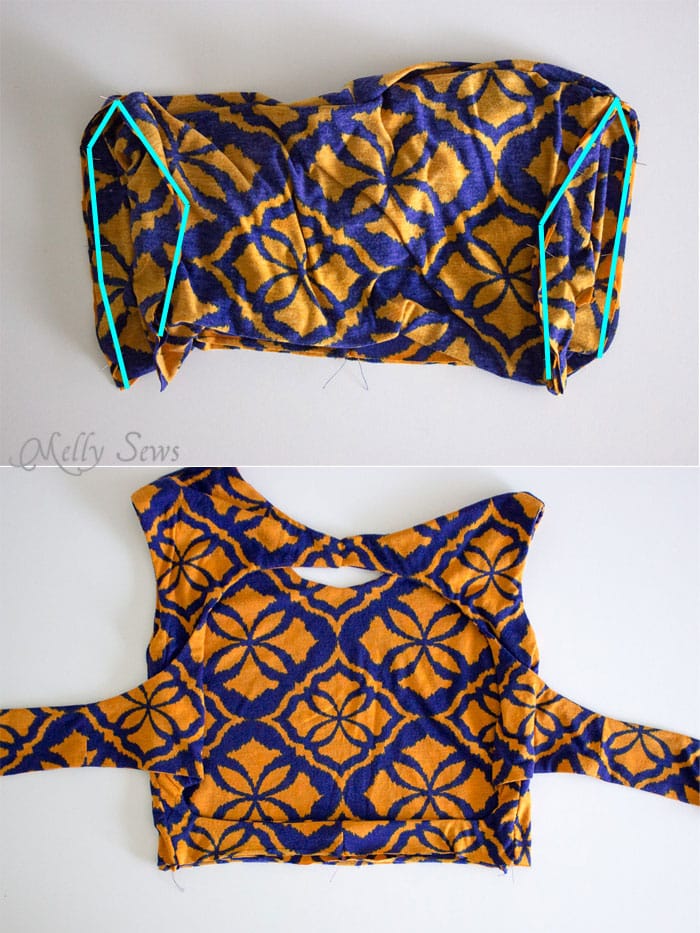
Turn the bodice right side out; it will look like the image above.
Cut a skirt panel using the skirt chart as a reference. I wish I had had enough fabric to make this a maxi dress length, but I didn’t. Sew your skirt into a tube (either one center back seam or two side seams – depends on how you cut your skirt) the gather the skirt to match the width of your bodice as shown below.
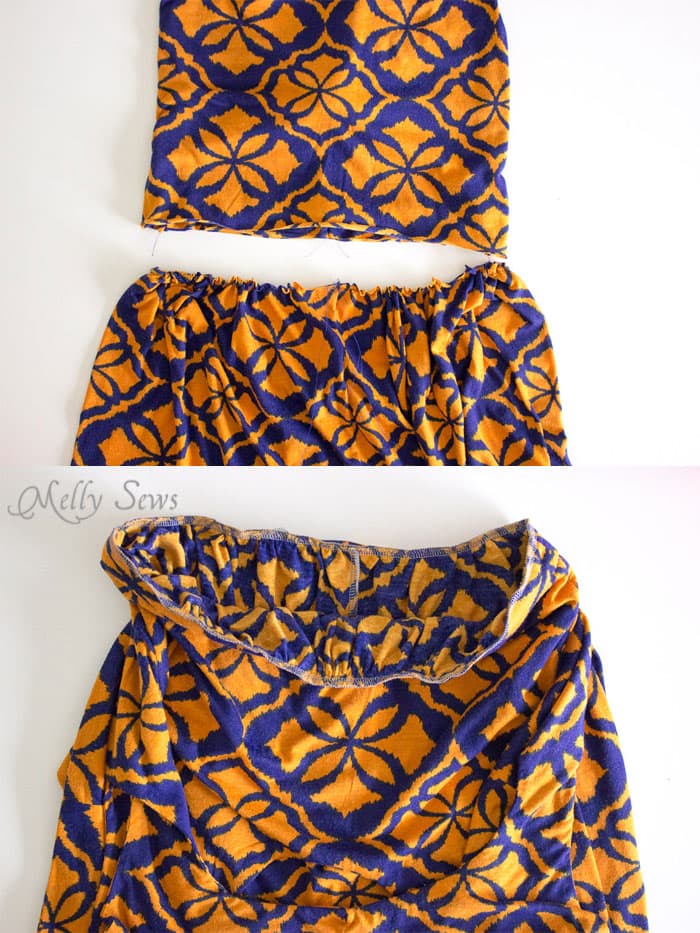
Place the skirt inside the bodice, right sides together, and stitch around the waistline as shown above.
Stitch a line across the front of the dress that is even with the top part of the waist on the back bodice to create a channel for the elastic to run through.
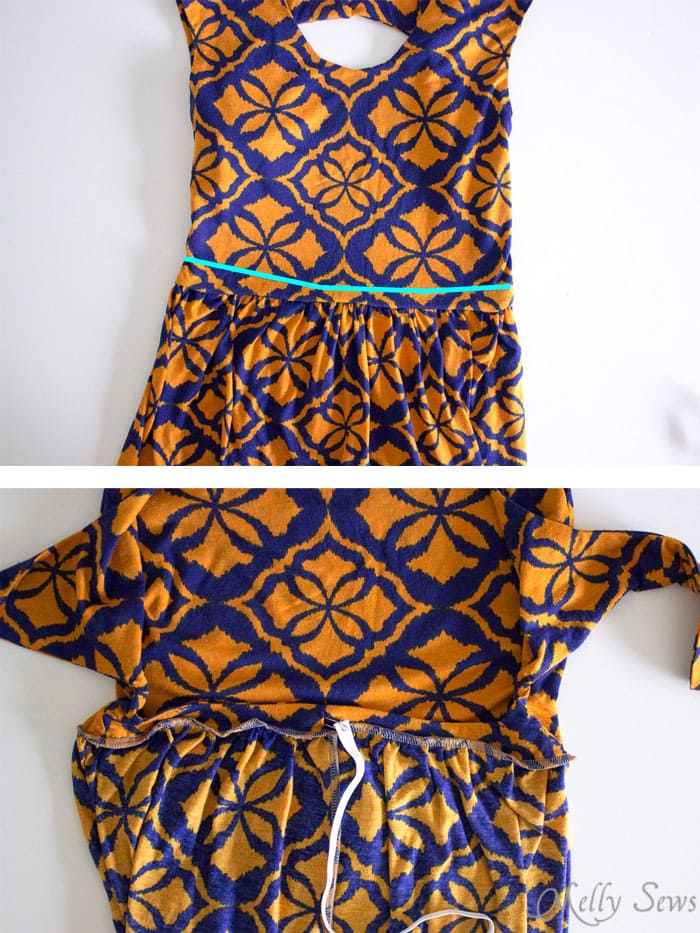
Unpick just a few stitches at the center back waist and insert elastic equal to your waist measurement through the casing. Overlap the ends of the elastic 1/2″ and stitch them together. Hand stitch the seam shut again, or sew over the seam and the elastic with your machine.
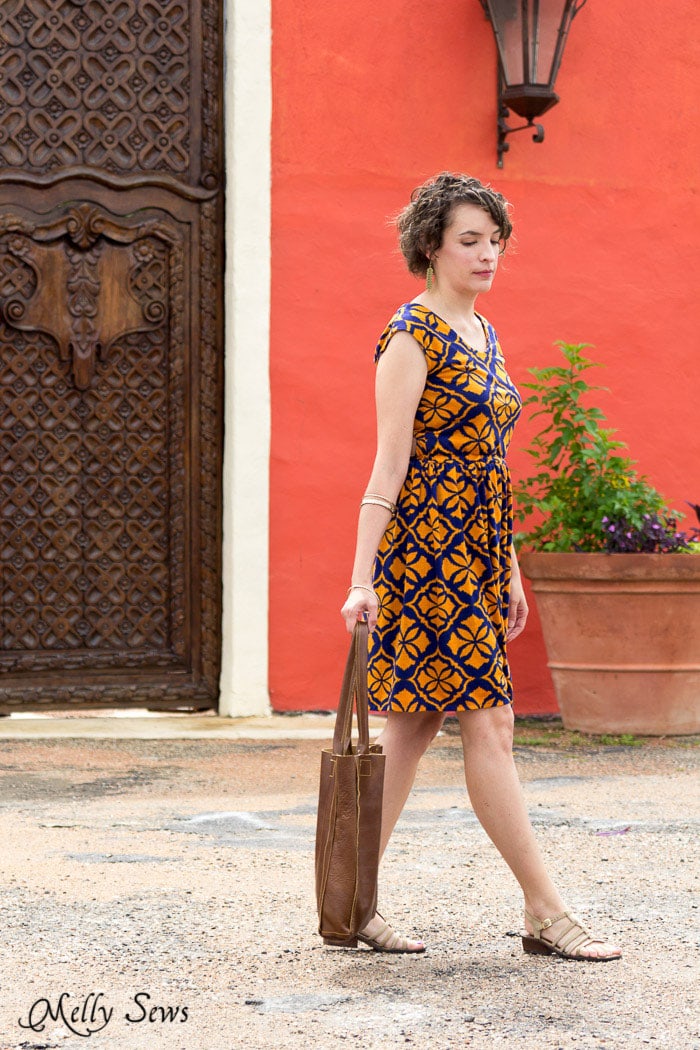
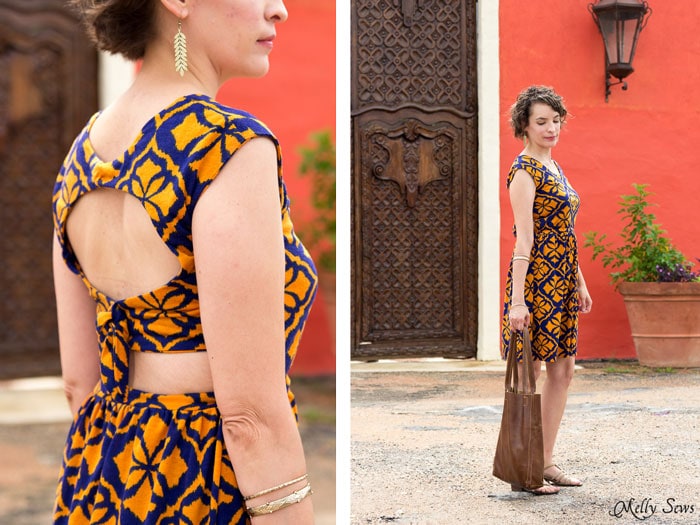
Style note – I had to wear a strapless bra with this – the side cutouts are too wide to hide regular bra straps for me. The bag I’m carrying is from this tutorial.
Kara
Looks fab! I like the look of a cutout dress, so thank you for the tutorial.
Davina
Nice pattern and I know I won’t be able to keep up but I will try.
melissa evans
Thanks for sharing tbe pattern. I like that you can wear a bra with it too. Your waistband construction also has helped me work out a problem with a design idea of my own
Kelly T
I love this! I think I have just the fabric too- only it might be too sheer. But then I guess thats an excuse to go fabric shopping! Thanks for the free pattern! 30 days of Sundresses is my favorite series that you do every year!
Danielle D.
Love it! I’m so making this Xoxo Thank you for sharing 🙂
Abigail Jones
This is amazingly cute! Bout that fabric tho! Where can I find it?
Danielle D.
I can’t seem to find the pattern? Can someone point me in the rt direction???
Elizabeth
So cute! I’m looking forward to what you have planned this month! My summer wardrobe is small and contains too few dresses. I think this is the year to rectify that!
Danielle D.
Yay got the pattern! Can’t wait!!
Shannon C.
Gorgeous! You look fantastic in those colors, Melissa!
erin
Oh man, this dress is Fab.U.Lous. I’m so excited to make one. The print is amazing too!
Veronica
You look amazing! What a fun dress for summer!
Emily
so so cute!!! what a great way to kick off the series!! love this! can’t wait to try the pattern.. we are the same size – yeah!
Anne
oooh, love!! I’ve got a Craft Gossip post scheduled for later this morning that links to your tutorial: http://sewing.craftgossip.com/?p=82778 –Anne
Emily
So gorgeous on you! The pictures are fabulous too!
kirstin @ kojo
LOVE this dress, friend! And what a great backdrop- that door is beautiful. Pinning!
emmanuelle
hello, J’ADORE!!! it’s lovely, and the pictures are “superbes”!!!
Meghna
I love this!!! Would be so cute a separate crop top and skirt or crop top and basic shorts set!!! I can’t wait to make it! The possibilities are endless!