
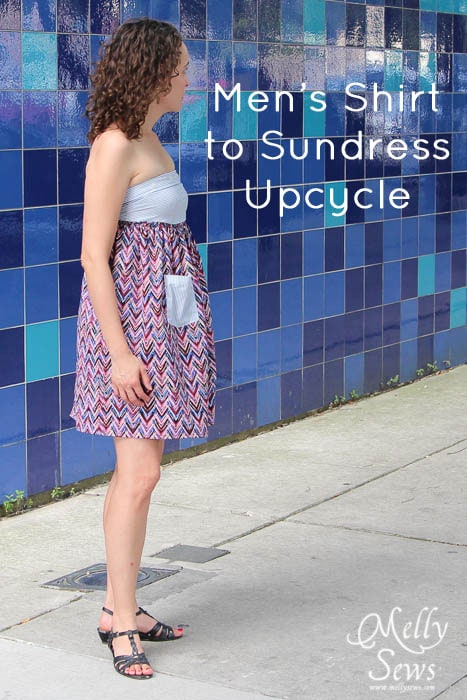
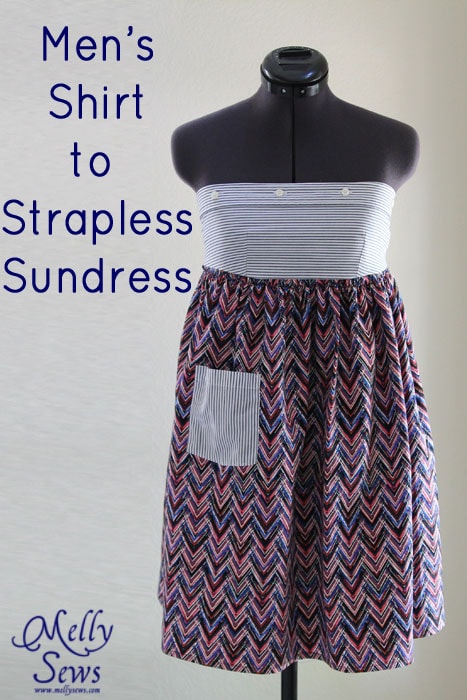
Hello all – can you believe this is the last week of (30) Days of Sundresses? For today’s sundress tutorial, not only am I sporting a new dress, you get a good look at my new, shorter, curlier hairdo. I chopped off about 5 more inches. I think the inches I chopped were the last of the growth from before I started the whole curly girl routine, so the combination of losing the weight of that hair and this mostly being new growth since I stopped straightening means my mop is curlier than ever. And I like it. (For those of you who are new around here, I didn’t always sport my curly hair in public).
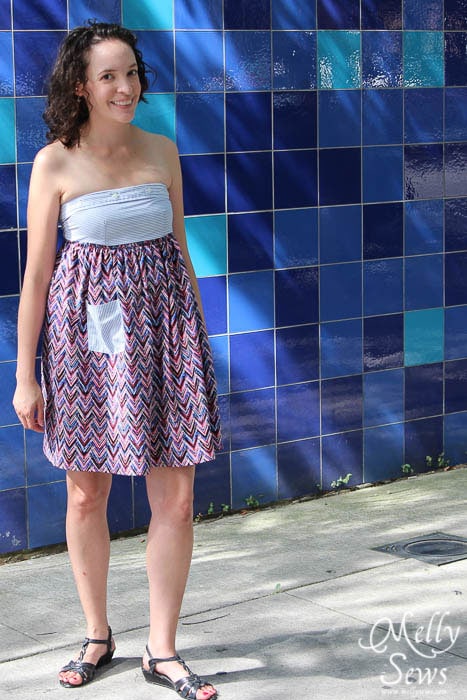
This dress combines a men's shirt I've been wanting to upcycle and this Jay McCarroll Center City Denver fabric from sponsor Remnants: Fiber(culture).
I originally had a different design in mind, but then decided I wanted to go strapless and feature the button placket of the shirt. I think the best upcycles keep details (like the placket) from the original garment while giving them fresh new life.
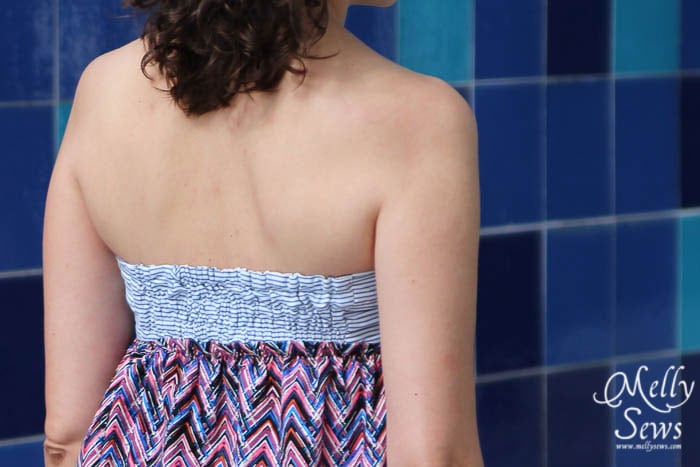
The back of this dress has elastic casing. I originally was going to shirr it, but I didn't want only shirring to stand between me and toplessness. So elastic it is.
Want to make your own? You'll need:
- A men's dress shirt, with a button placket long enough to go 2/3 of the way around your high bust.
- 1 1/2 - 2 yards of fabric for the skirt
- 1/2" elastic - about 2 yards.
- The pattern, see below
How to Get the Pattern
The pattern is in a women's size small, approximately 34" bust. If you need to make the pattern bigger or smaller, check out this post.
To get this pattern, you must either be a free newsletter subscriber or have purchased a gallery access pass. Then click your preferred option from the buttons below. Existing newsletter subscribers should look at the bottom of the most recent Friday newsletter for the current free pattern gallery password. If you purchased the all access pass you’ll log in to your shop account to download the pattern. Note that the free version of the pattern does not have printable instructions so you’ll need to refer to this post for instructions.
 |  |  |
Please note that all my free patterns are licensed for personal use only (no selling items made from this unless you purchase it) and by downloading you are agreeing to this license.
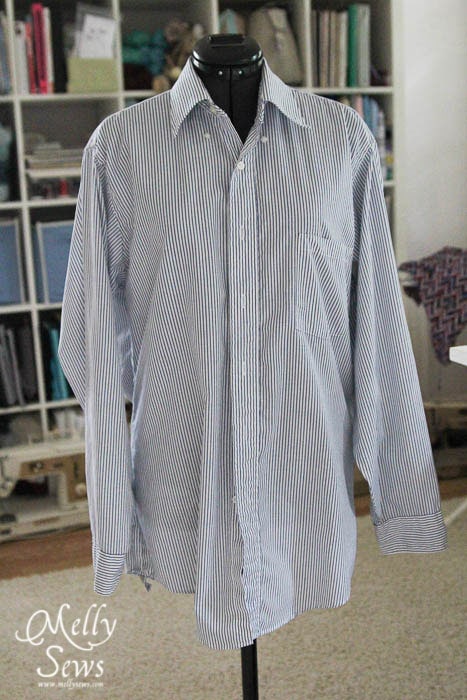
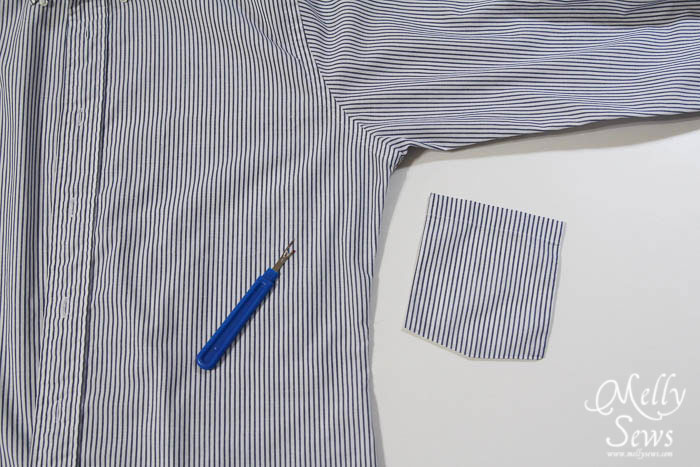
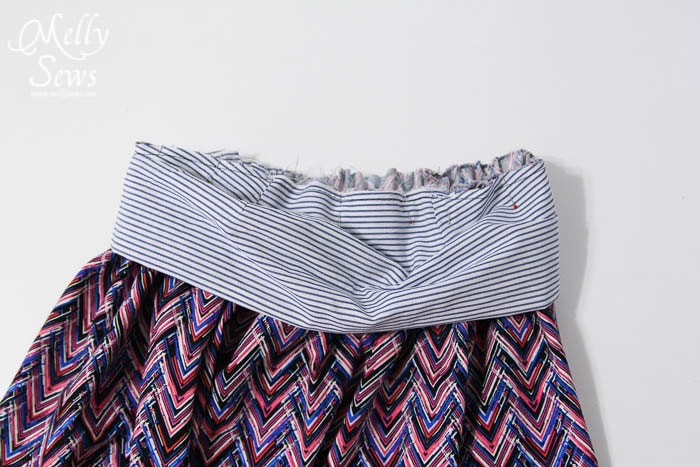
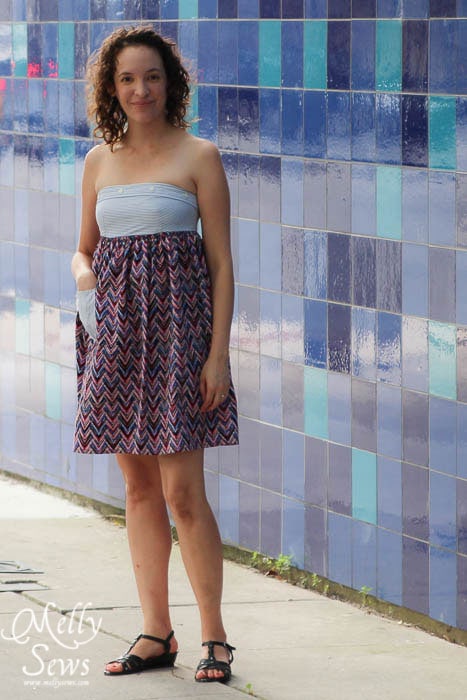
If your shirt has a pocket, start by carefully unpicking the pocket. Set aside if you want to use it on the skirt.
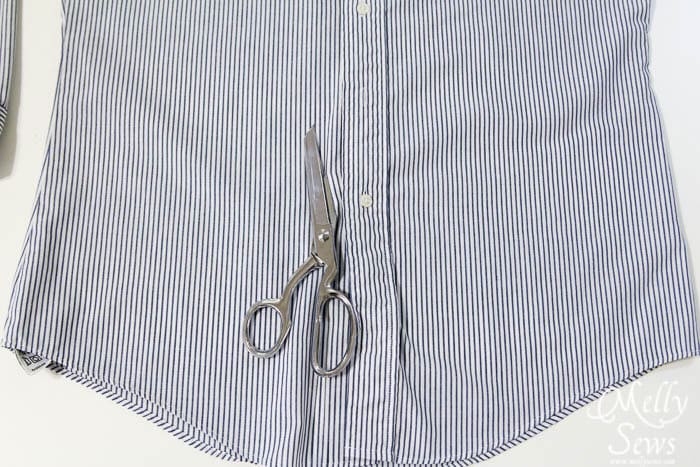
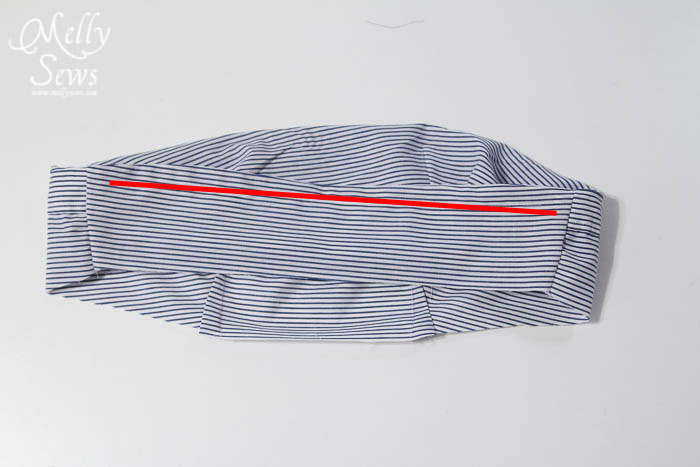
With the shirt buttoned, cut 1/2" away from the button placket, (the 1/2" is your seam allowance) all the way up the shirt and through the collar, so you can lay the shirt out flat.
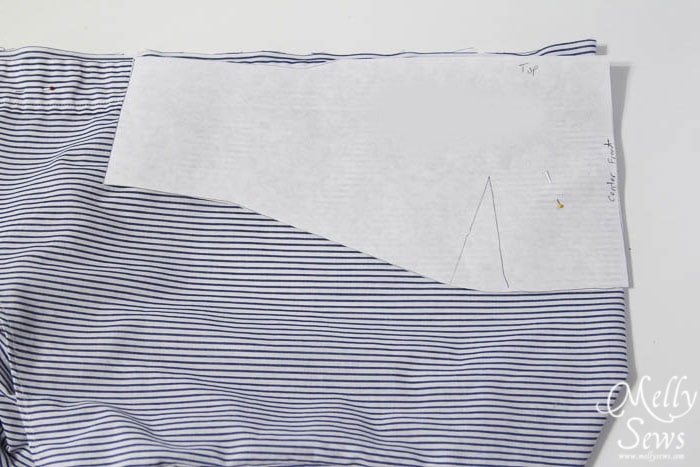
Lay your bodice piece out on the folded placket, keeping the top edge even with the cut edge of the shirt's placket.
Mark darts on the wrong side of the front bodice.
Pin and stitch your darts on both the outside piece (the one with the placket) and the lining piece.
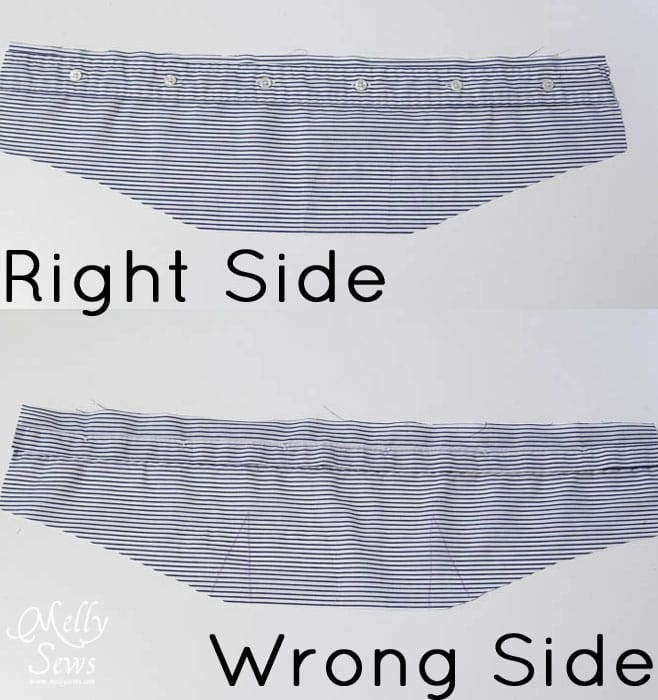
Stitch your bodice front to the bodice front lining across the top, right at the top of the placket from the shirt.
Stitch the bodice back to the bodice back lining across the top as well.
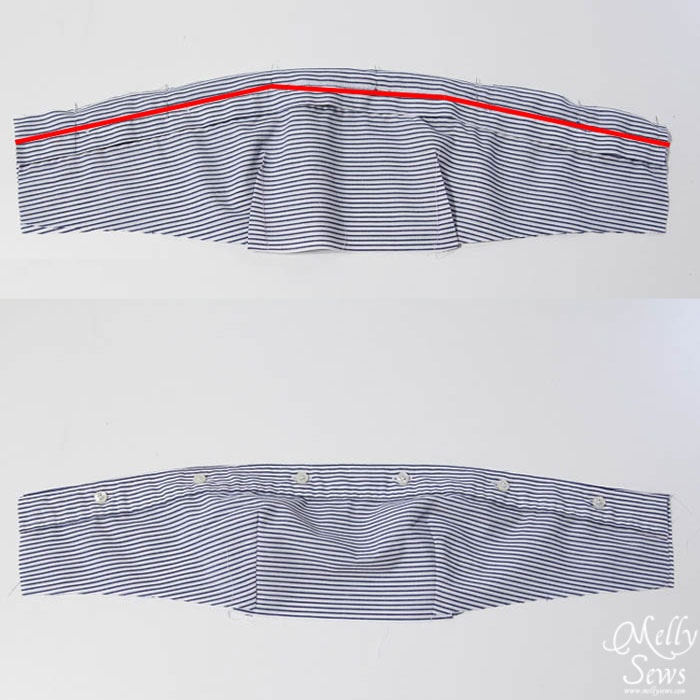
Open the bodice front and the bodice back. Place them right sides together. Match the bodice back side seams to the bodice front side seams. Match the bodice back lining to the bodice front lining at the side seams. Make sure to match the top seams. Sew down each side in one seam.

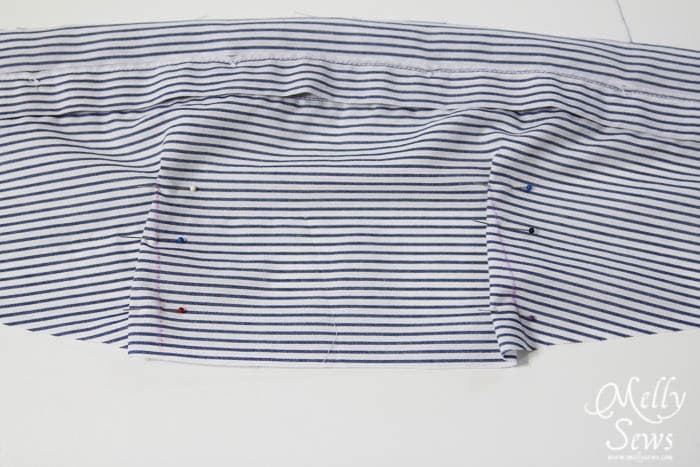
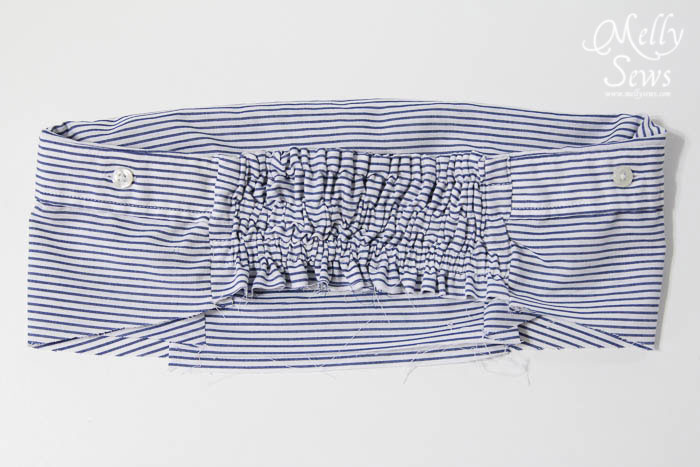
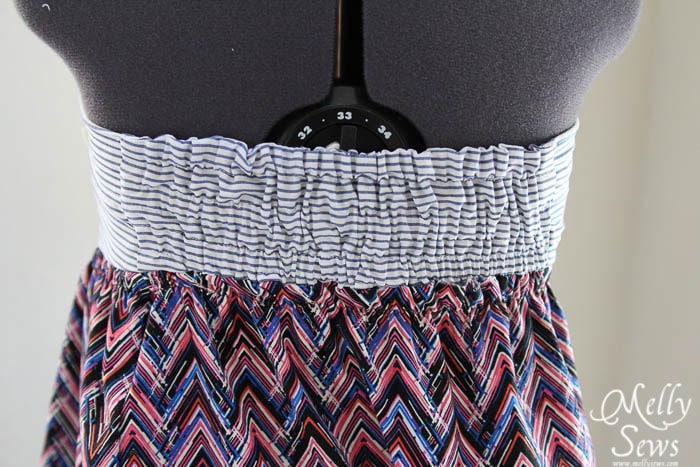
Turn bodice right side out. Stitch a line across the top of the back bodice, through the bodice and lining, to form an elastic casing. Start and stop your stitching 1/2" from the side seam.
To figure out the back elastic length, measure the width of your bodice currently. The measure your chest. Subtract the chest measurement from the bodice measurement. We'll call the answer A. Then measure the back bodice, and subtract A. We'll call this answer B. Take 1/2" from B, and that's the length you should cut your elastic.
Using a safety pin, thread elastic through this casing. Pin the edges of the elastic to the side seams of the bodice, then sew them in the side seams.
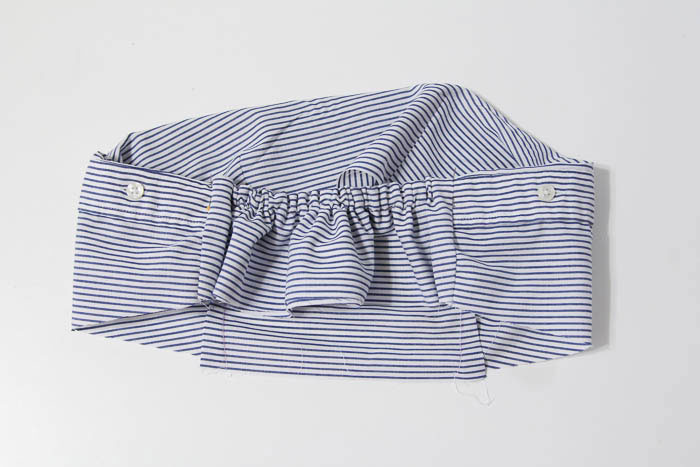
Repeat these steps to make a second casing and put elastic in it. You'll need to stretch the back bodice flat as you sew the second casing.
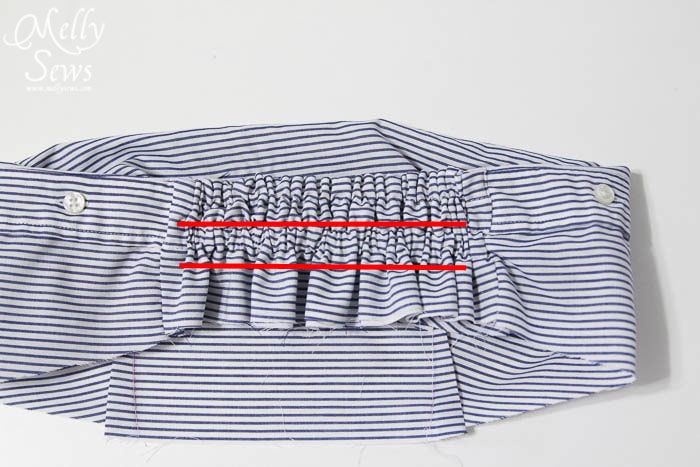
Sew in one more casing and elastic, again stretching the back bodice flat as you sew the casing line. Make sure your last casing is at least 1/2" above the bottom edge of the bodice back.
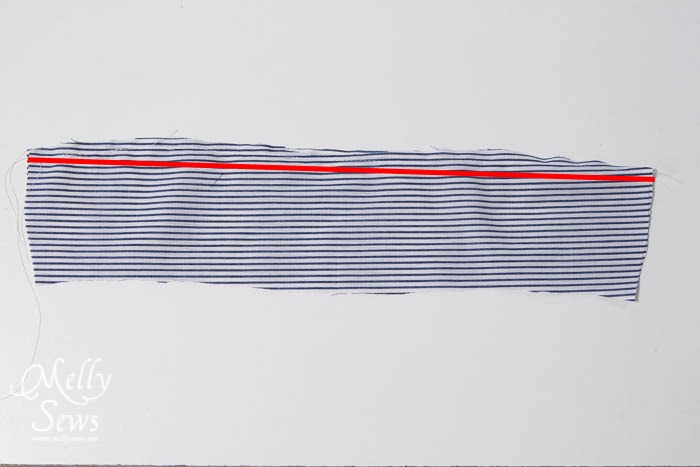
To gather the skirt, I sewed on elastic that was 1" shorter than my under bust measurement with a zig-zag stitch. The skirt rectangle measured 56" wide by 24" long (I pieced it together, sewing one side seam). I stretched the elastic as I sewed, then sewed the remaining side seam. The elastic was positioned 1/2" away from the fabric edge.
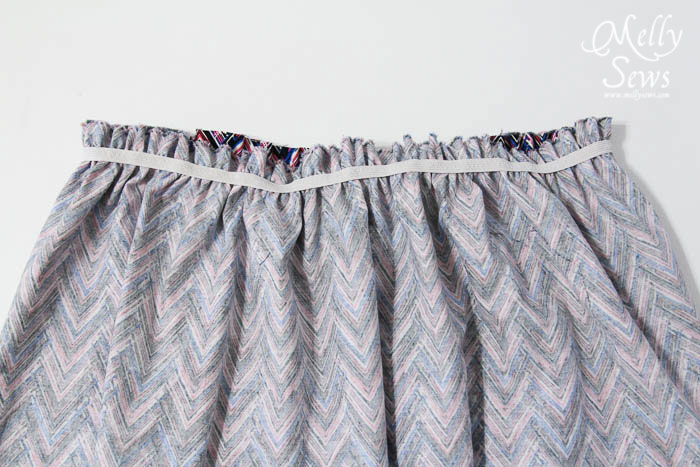
Pin the bodice to the skirt, right sides together. Stitch. WHEN YOU GET TO THE BACK BODICE AREA, IT IS IMPORTANT TO STRETCH THE BODICE AND THE SKIRT AS YOU SEW THE SEAM. If you don't stretch here, then you did all the elastic work for nothing and will not be able to pull this dress over your shoulders or bust.
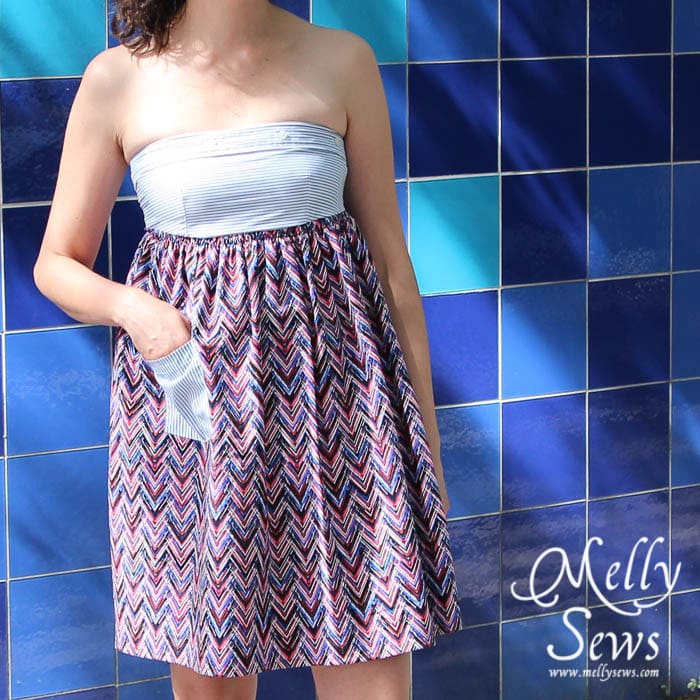
Add the pocket back on the the skirt if desired, by sewing around the three sides of the pocket, remembering to backstitch at the beginning and end.
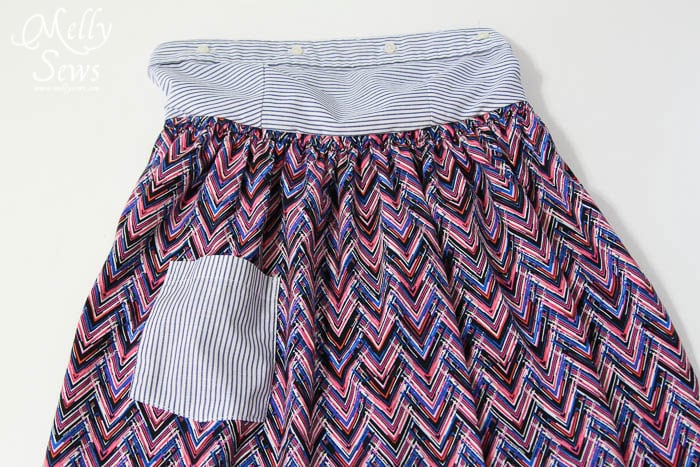
Front detail:

Back detail:
And worn. With curly hair.
And in case you’ve somehow missed out on one of the awesome and fabulous tutorials this month, you can click any picture to go to the post.
 |  |  |  |
 | 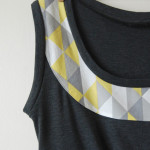 |  | |
 | 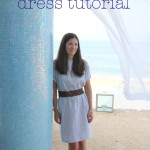 |  |  |
 |  |  |  |
 |  |  |  |
 |  | 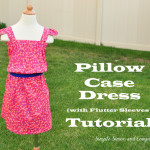 | 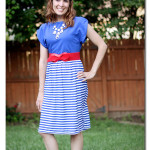 |
christina
i love your hair short…and curly! i always envied those with curly hair. funny how that is!
kelly
I need to raid my husband’s closet and gently “suggest” a few shirts that look worn out or too big! The dress looks great, and so does your hair!
Amber
I have to say, I LOVE your hair! I have lots of curly hair too and have always worn it curly because I refused to take the time to straighten it. I have incorporated lots of the ideas from the curly girl handbook too, and it has really made my curls look better and last longer between shampoos. I would always get so frustrated to see all of these “makeover” shows/style advice straighten curly hair. It is what God gave you and I think it is gorgeous! And fully embracing it instead of fighting it has really made managing it easier!
Rachel
Get upcycle!
Rachel
that should have been great upcycle!
Elizabeth
Adorable! !